CANAMSA - SA stratch build

Hi Thomas

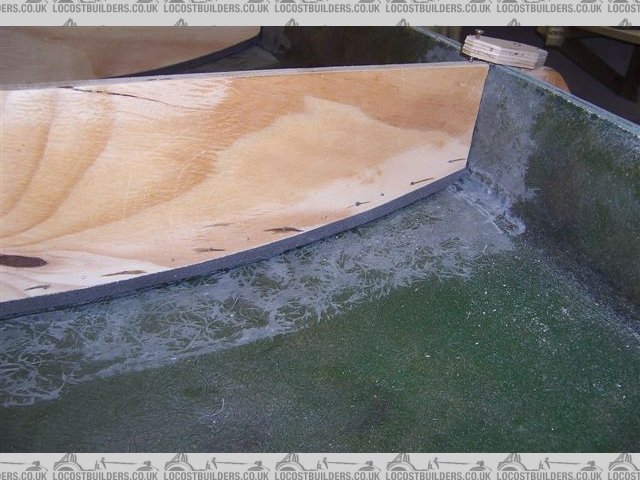
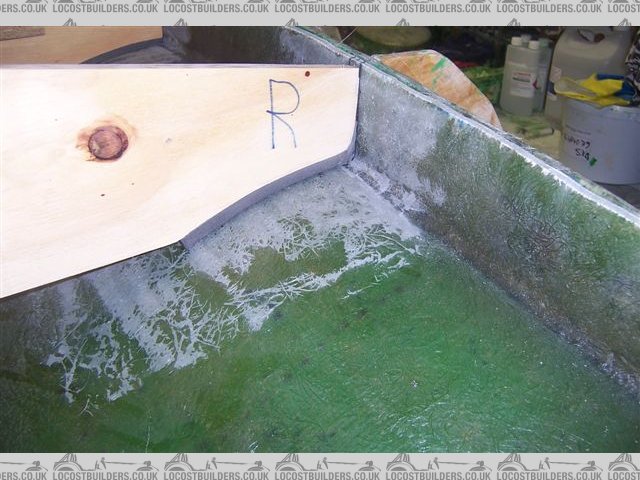
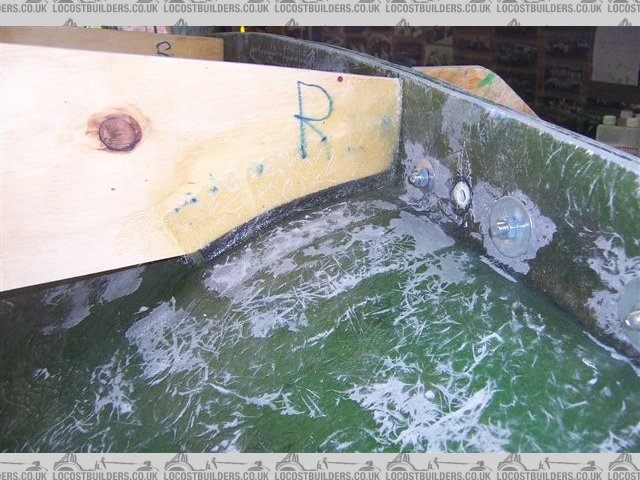
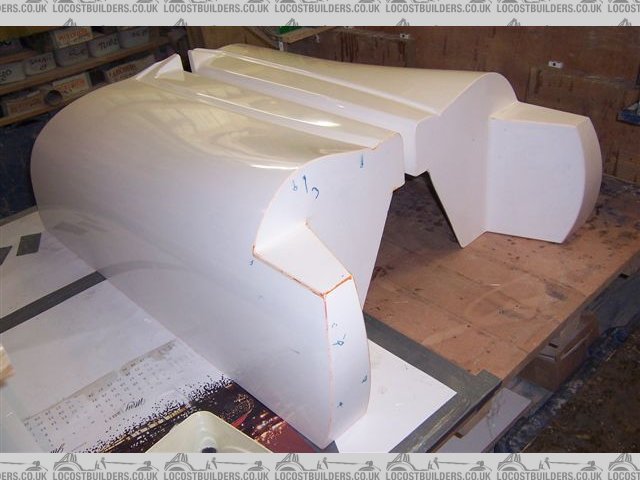
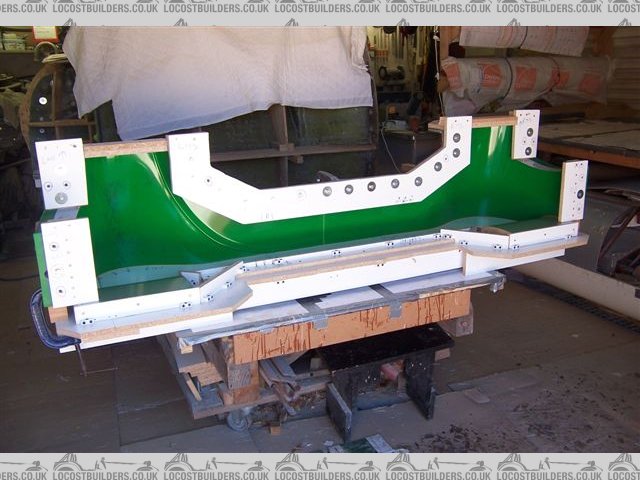
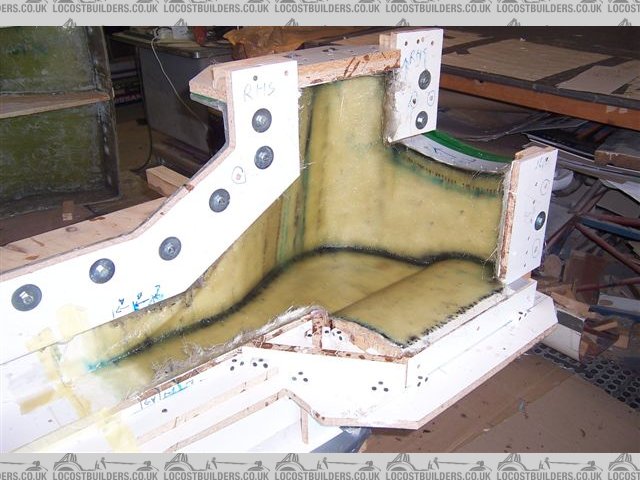
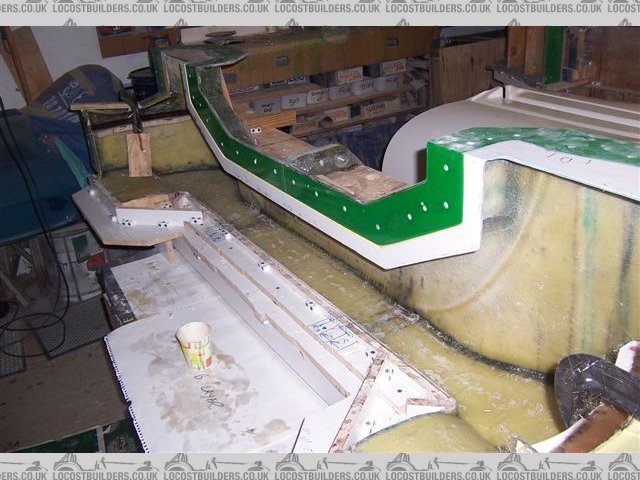
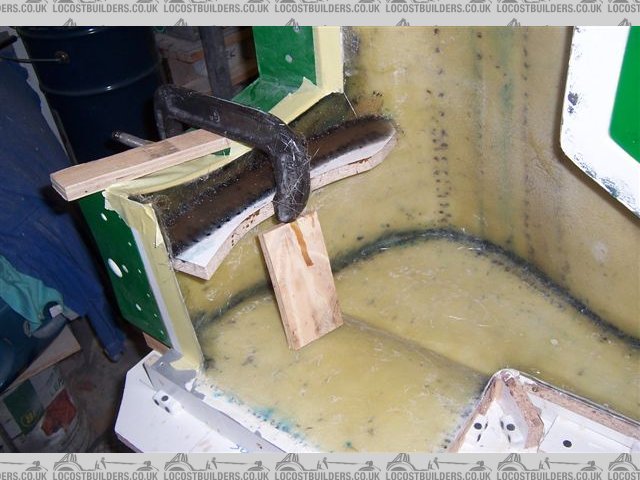
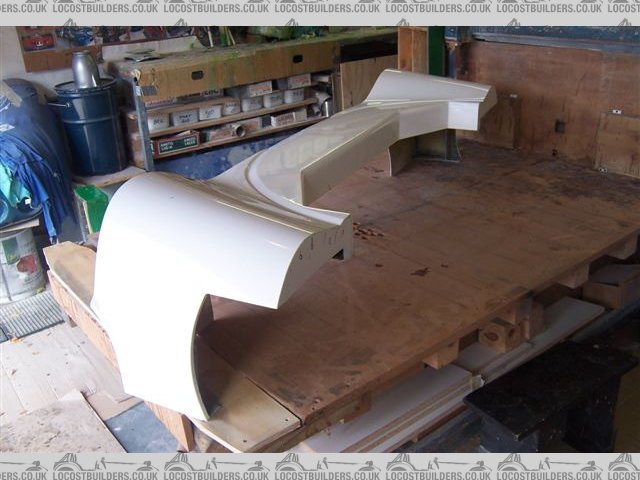
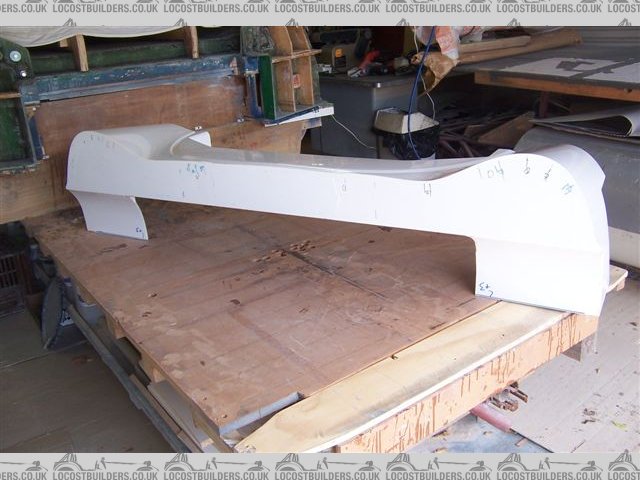
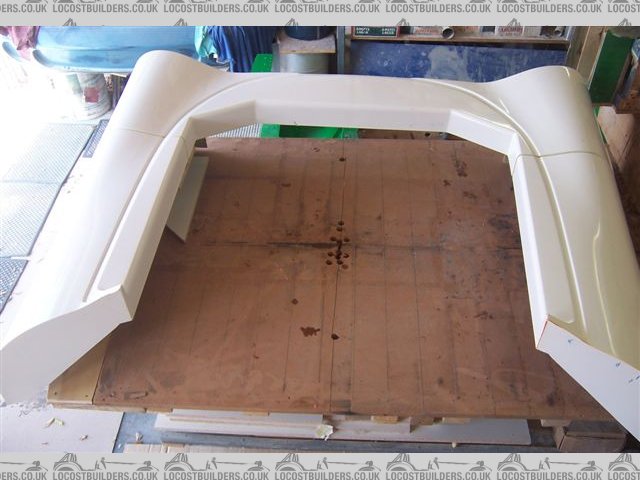
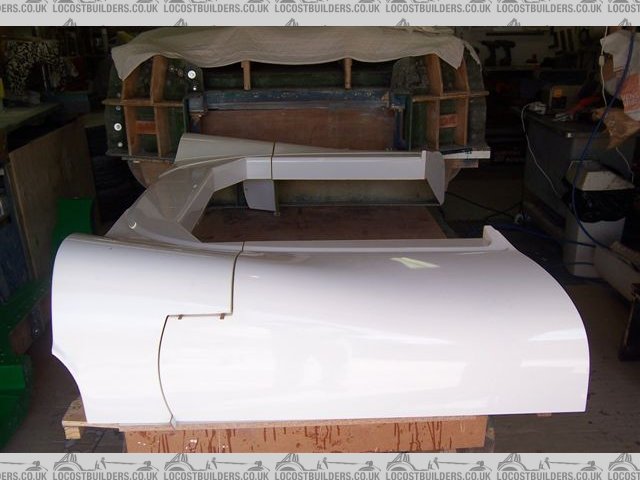
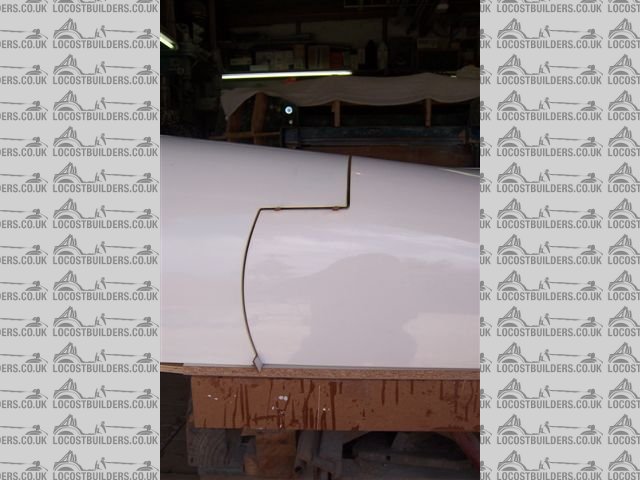
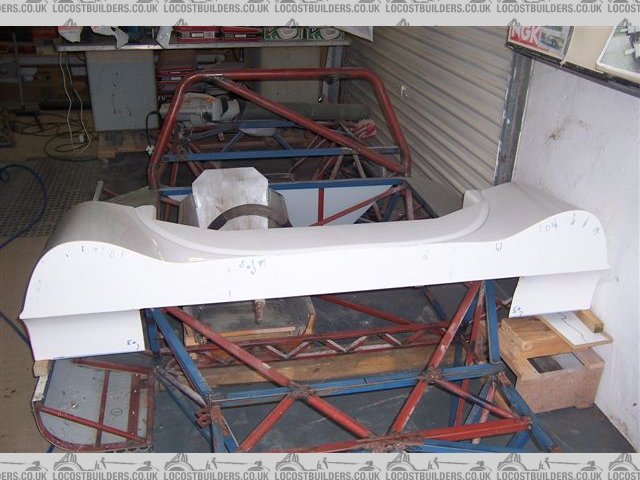
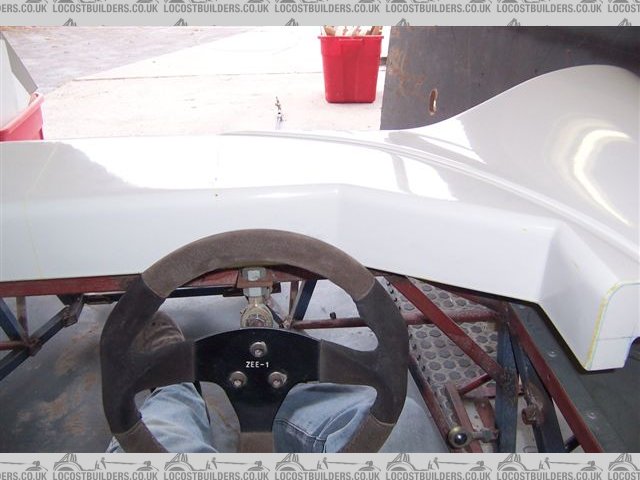
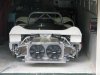
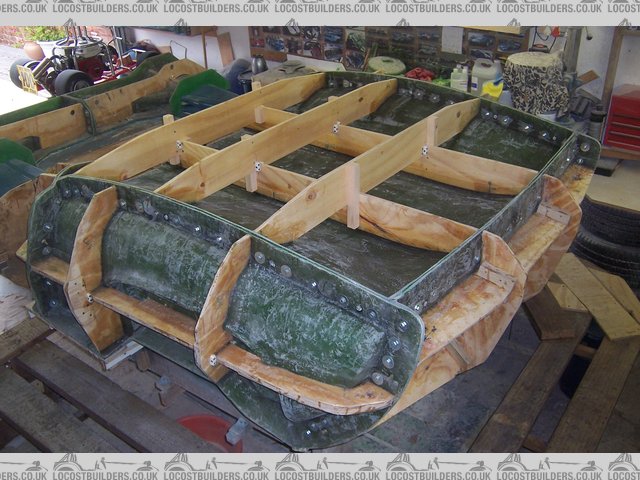
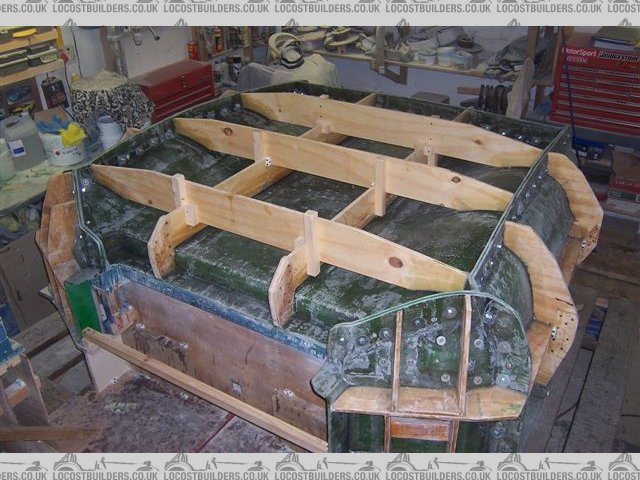
Thanks for the interest. Over the last few weeks it has been difficult to find much garage time but I can report that now the top section of the tail mold is done, the bracing is bonded on, all the fastening bolts through the flanges are fitted and finally I can say the body molds are finished!! Only took 1 week short of 6 years since starting to build the pattern.
bigsmile.gif


Have a good Christmas and New Year All!

Cheers

Fred W B

tail%20mold%20dec%2024%20002.jpg


tail%20mold%20dec%2024%20003.jpg
 
Last edited:
In these pictures you can see that I am experimenting with putting a strip of closed cell foam between the braces and the surface of the mould. This is to hopefully prevent "print through" from the braces on the large flat expanse of the tail top surface. First 2 pics are before the braces are bonded on.

Cheers

Fred W B


pics%20december%202012%20008.jpg


pics%20december%202012%20010.jpg


tail%20mold%20dec%2024%20001.jpg
 
Well done Fred, bet you`re itching to bang out a body, you`ve done a superb job, congratulations and Happy New Year to you too!
regards Chris
 
Hi Fred, man that's looking very proffesional to me. Whe is the frist complete body to be expected?

It is time to get cracking on some tech stuff, that'll get your motivation in highest gear after Fidling with grp for so long, (at least that was my experience).

Keep is posted!

Grtz thomas
 
Thanks for the kind words and good wishes guys. Have got the second door laid up (although it is still in the mold at the moment) and am now preparing the scuttle mold for part layup. Making cutting templates, cutting matt and waxing. Will post pictures when thier is something to see.

Then I have to tackle the nose and tail so it will still be several (many?)months before the body is complete.

And yes, Thomas, I am really looking foward to working on some mechanical bits eventually.

Cheers

Fred W B
 
So an update. I now have both doors made

pics%20march%202013%20094.jpg


and I the scuttle is laid up, I just want to leave it in the mold a few more days before I pull it.

As I wanted to have returns on most of the scuttle edges making the part turned out to be a bit of a nightmare.

pics%20march%202013%20021.jpg


pics%20march%202013%20020.jpg


pics%20march%202013%20024.jpg


In the below two pictures the camera is held where it is not possible to get your head, so some of the detail on the return flanges had to be laid up blind (and some upside down!).

pics%20march%202013%20026.jpg


pics%20march%202013%20033.jpg


Because of this complexity I decided to lay-up the scuttle in three sections. The left hand and right hand pieces were done first. The above and below picture is of the side I did first, I got the flanges neater on the next one.

pics%20march%202013%20029.jpg


These were then connected by doing the centre section later.

pics%20march%202013%20098.jpg


The layers in the lay-up in the join area are tapered to try keep the thickness even across the joint. I did make a bit of a mess of the gell side of the joint, but I think it can be saved by sanding and it's experience that will stand me in good stead on the larger parts still to be made. The picture below is of one side of this joint.

pics%20march%202013%20084.jpg


And just tonight I've added internal flanges to support the body shape where the perimeter flange has to be omitted to permit the door to open.

pics%20march%202013%20082.jpg


So I feel that some good progress has been made as 3 body sections are now finished. Just the small detail that the nose and tail which are still to be done each have a larger area than all 3 parts made so far.
bigsmile.gif


Cheers

Fred W B
 

Jim Craik

Lifetime Supporter
Just incredible, Fred, you are the man!

I cant tell you how much I enjoy your posts.

It really is fine art!
 
Thanks for the very kind responses Guys.

Today I took the scuttle out of the mold, and I could not resist mocking it up with the doors. Does it look like part of a car yet?

Cheers

Fred W B


5scuttle%201.jpg


scuttle%20front.jpg


door%20scuttle.jpg


door%20scuttle%201.jpg


door%20scuttle%203.jpg
 
Fascinating thread, very professional work, congrats!

I had the idea of doing something like this with another type of car body, after seeing this thread and the amount of work it took I am glad I never started that project. I would have given up or took short cuts to finish.

This is true craftsmanship, something that is disappearing at a fast rate with the event of computers and 3D copying.

Once again congrats on a fantastic job.
 
Thanks all for the comments.

All this time the mock up chassis has been supporting the cutting table. I pulled the top off, cleaned up the huge accumulation of sanding dust and glass fibres and tried the scuttle on the mock up chassis. It doesn't fit badly considering that when I made the mock up I did not know what body I might use.

And yes I tried sitting it and just sat there contemplating the progress for a while. I didn't make motor noises though
bigsmile.gif


Cheers

Fred W B


scuttle%205.jpg


scuttle%204.jpg
 
Oh man Fred, that's looking very nice. :thumbsup:

Watching the way you do thing makes me feel like I've cheated.... and I have been building for about 2600hours, do you even keep track of time at all?

I must compliment you on the shutlines, they seem to be spot on, which is very very difficult to do!

One tip, store you body on the chassis with aditional supports. It being fresh will work and change form over time when you store it in a strange position. Be carefull there!

Seeing the view with you legs and noting but the steering wheel and scuttle sure brings back memories.
(And I don't believe you didn't, secretly yet still to loud made "brum brum" noises which obviously someone overheared.....:embarassed: )

Grtz Thomas

btw nice color!
 

Attachments

  • trial fit 1.JPG
    trial fit 1.JPG
    103.4 KB · Views: 401
Thanks Guys

Thomas, I haven't tried to count exact hours but I try to get in at least 10 a week, of course sometimes weeks go by without any garage time, but then sometimes I do a lot more some weekends or on holiday days so if we take 10 hours per week as an average I would be up to over 3200 hours on the body alone so far.

I store the parts in the moulds so distorsion will not be a problem.

As for making engine sounds while sat in the chassis, if I did make some it would be how a V8 engine sound was depicted in writing in those wonderfull "CARtoons" 70's comics, like this ..... Duga Duga Duga Duga....:laugh: If you say it right it does sound like a V8 with open exhausts at idle:laugh:.

I still have some of the comics

Cheers

Fred W B
 
Back
Top