CANAMSA - SA stratch build

Thanks Michel, but don't hold your breath, everything takes me ages.

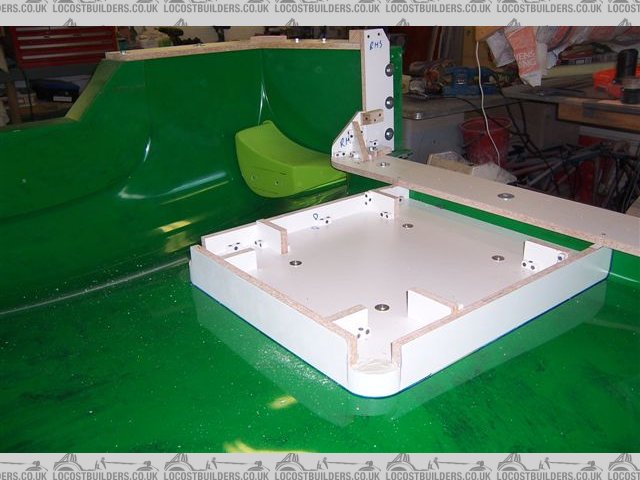
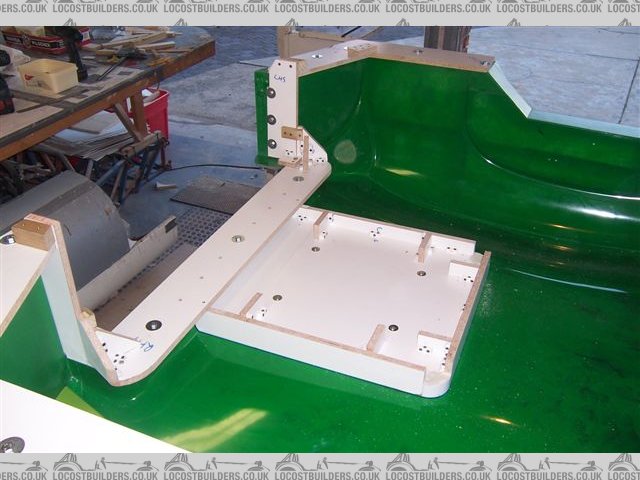
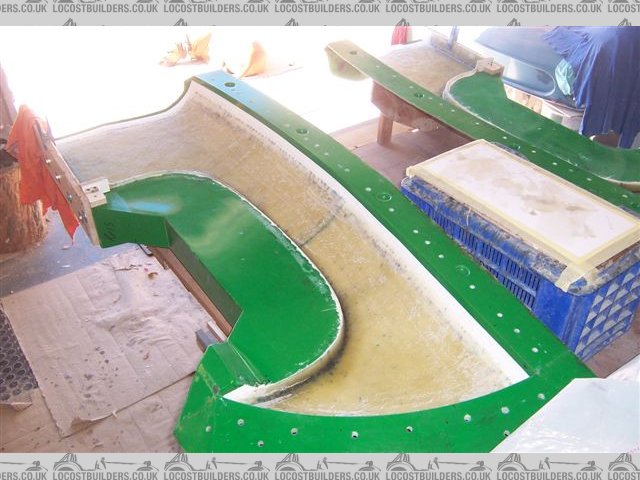
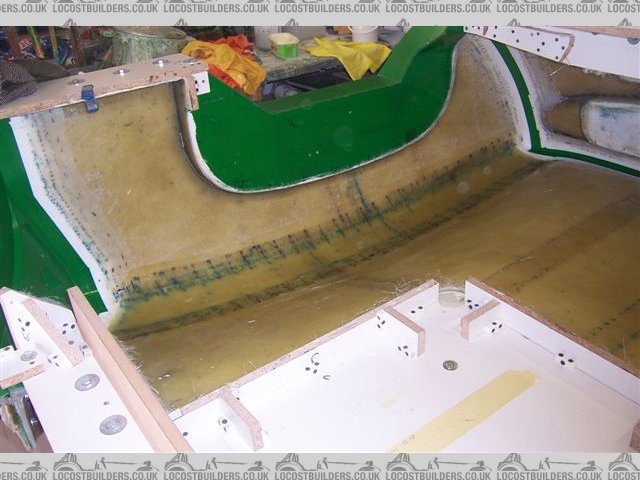
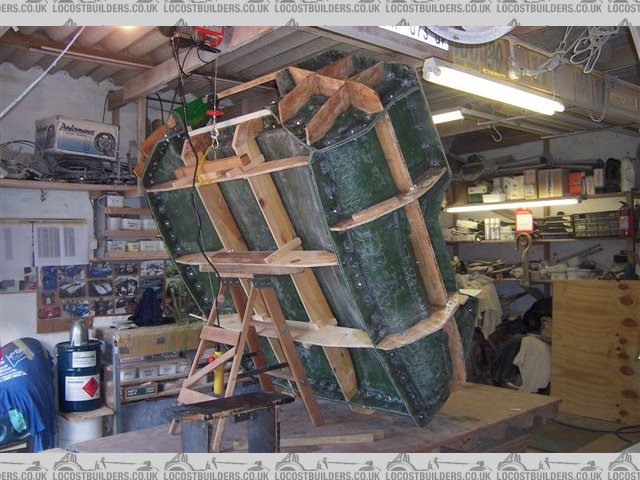
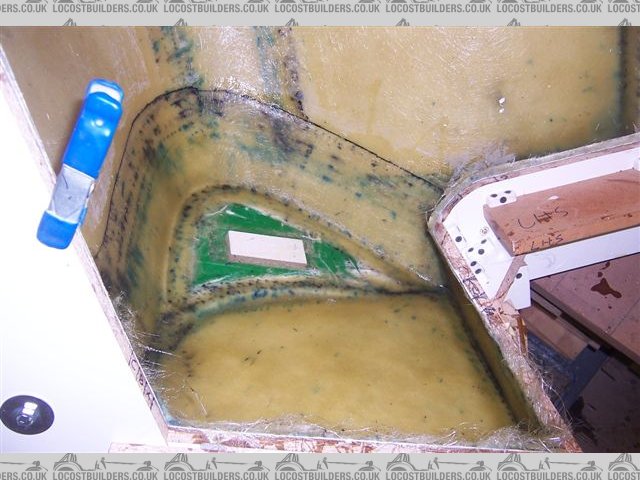
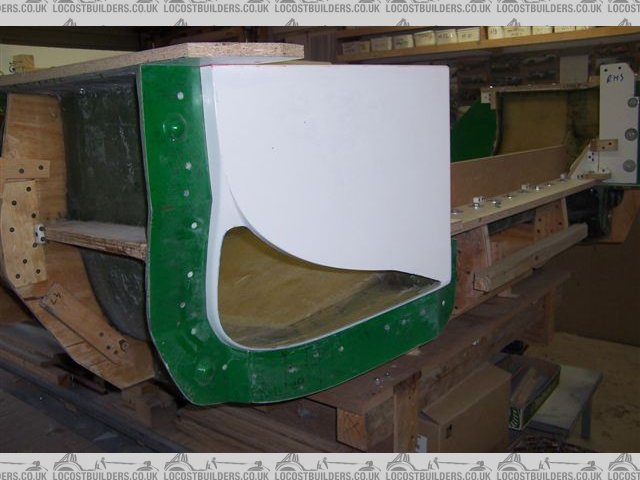
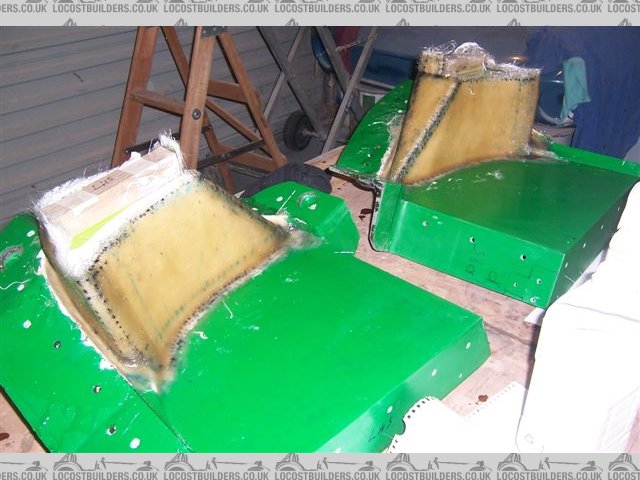
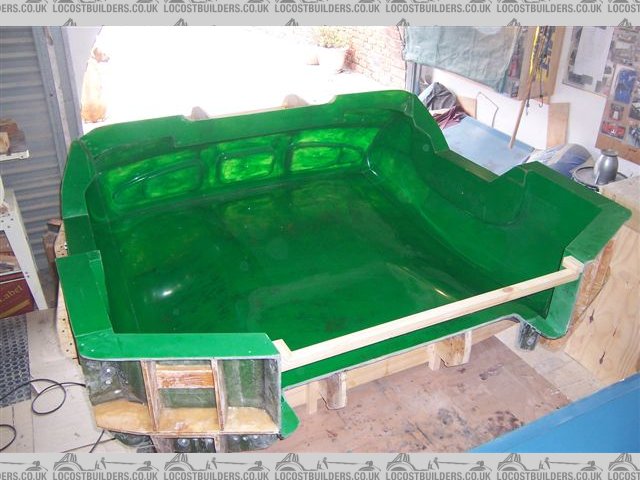
In further news, now that the scuttle is out of the way, a friend helped me pull the tail mold off what is left of the pattern.

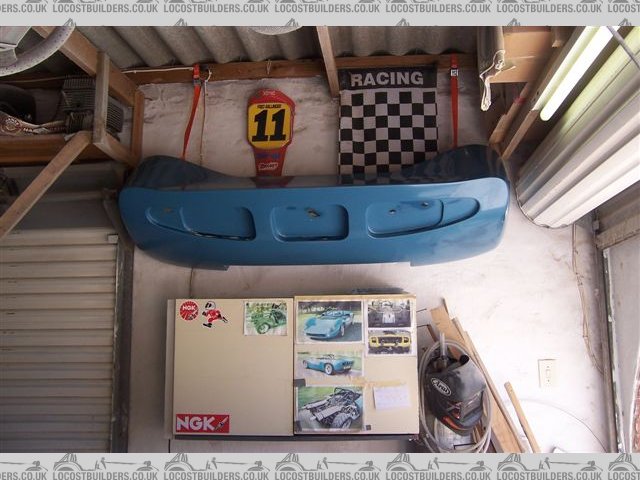
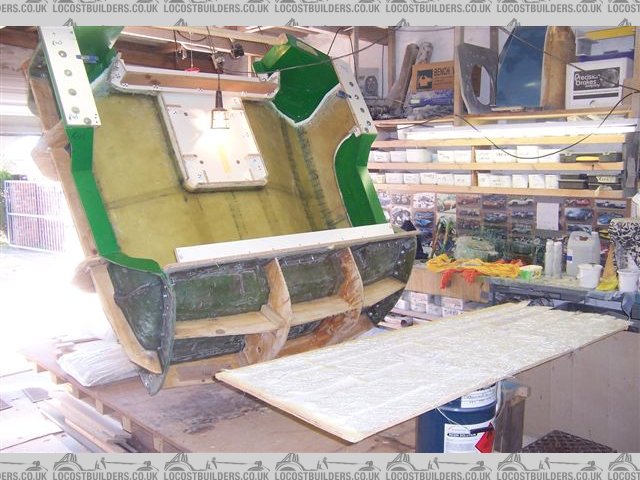
We bolted it tougher roughly to get an idea of the scale of the next step. It's a big part, the surface area is over 6 m2. Now to get on with preparing this. Some more return fences to make, then more polishing, matt cutting etc etc.

tail%20mold%20001.jpg


tail%20mold%20002.jpg


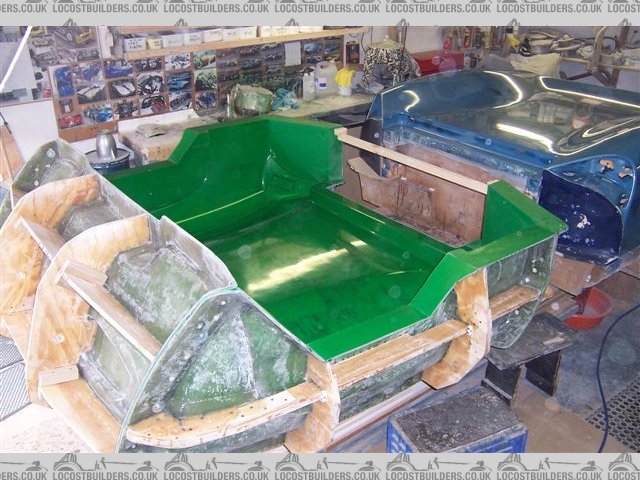
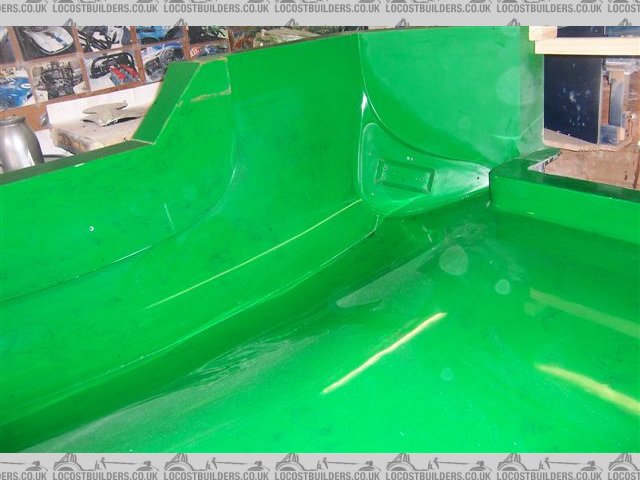
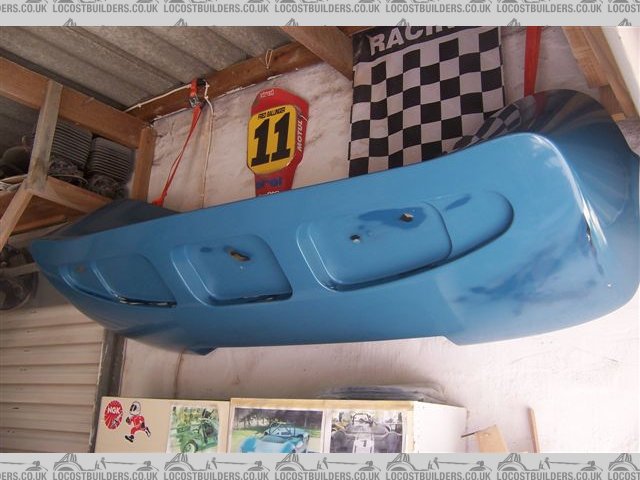
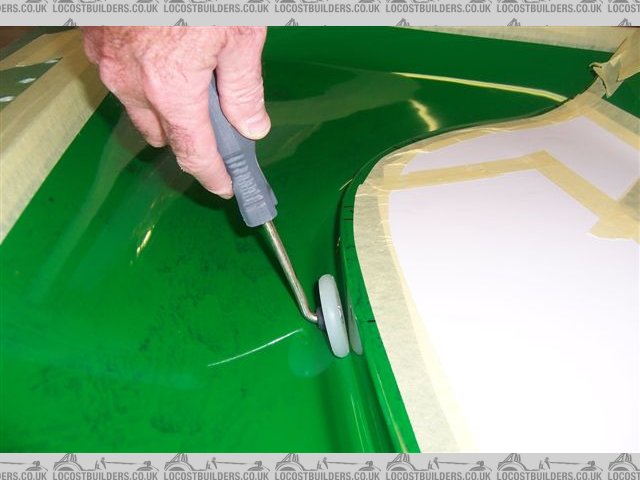
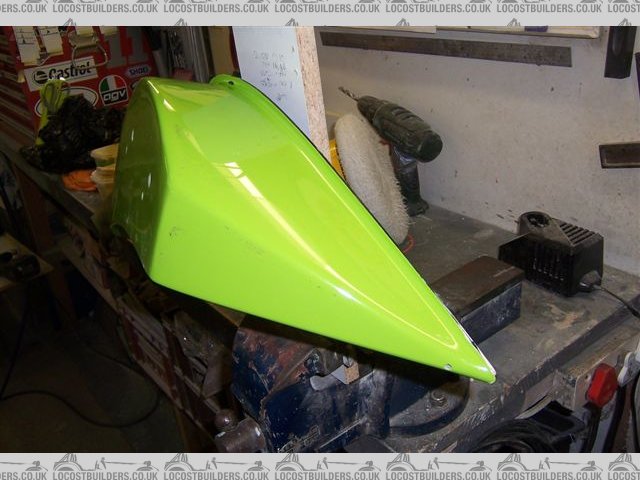
My gell coat application does not look so good when the rear panel is backlit in the open door like that


tail%20mold%20003.jpg


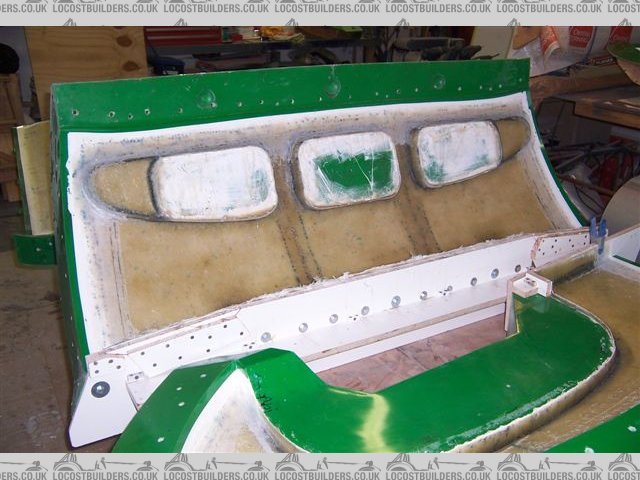
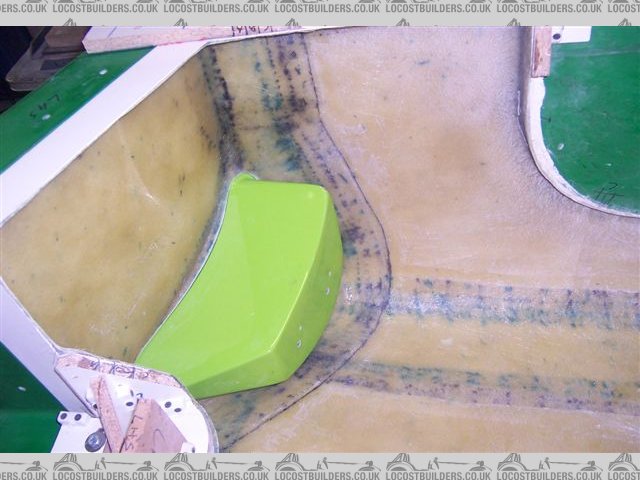
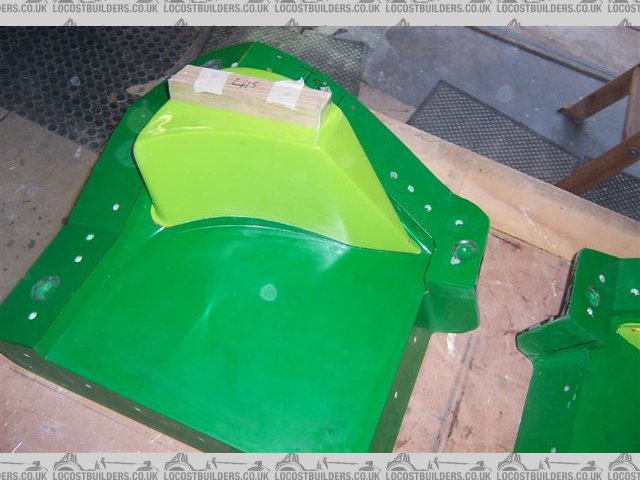
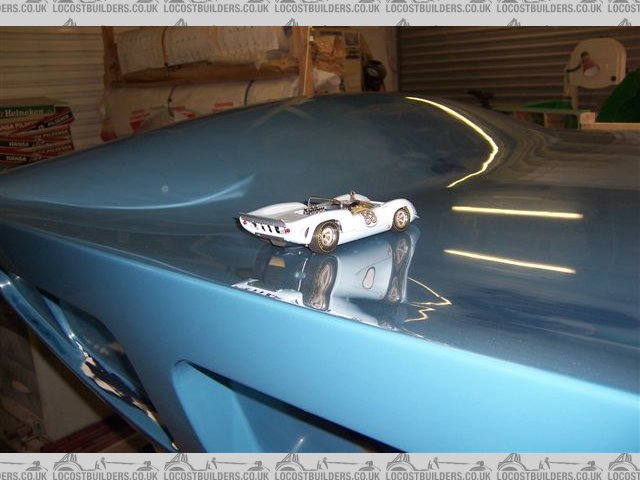
Feels like I've come a long way since I bought the model to copy!


tail%20model.jpg


Cheers

Fred W B
 
Last edited:
Hello
Do not worry about that effect in gelcoat ( it's only in transparency !!)the most important is what you finally had done with your mold ; an super excellent work and I can tell you that most of the molds I ordered when working in race field where not so shining and perfect !
seems too that your master is in perfect condition !! Very often professional people does not apply much wax to save hours work and the plug sometime is broken !!

Very good work indeedand I can feel your happyness when comtemplating the model of your start !!
will follow you as always with big interest !!
 
Yeah no prob in the shine through on the gelcoat, I think you need to apply a tonne before the sun stops shinning through. I wouldn't worry

Looking good Fred, expecially the picture with the model in the same orientation!

Grtz thomas
 
Hi Fred

I have been following this thread for some time and I find with the shorter work week, that I actually had time to reread this thread from the beginning. You have come a long way and it is very impressive.
I see your timeline somewhere along page 12 seems to have drifted a bit. Any idea when you'll have your baby on the road?

Keep up the excellent work.

Peter
 
Hi Peter

Thanks for the comment, and yes, my previous comments with regard to when I might be finished have turned out to be very optimistic. I've now given up predicting when I might be finished. ;)

Cheers

Fred W B
 
Finished the returns on the edges of the tail, and made the former for the hole above the engine.

pics%20may%202013%20002.jpg


pics%20may%202013%20004.jpg


I made this a separate piece so that I can change the size of the hole, or omit it altogether on future parts.

Cheers

Fred W B
 
Last edited:
Fred
that looks awesome as usual. It is starting to sound like there might be a production line in your future...
 
Thanks Pete

In new news I've made some progress on the tail section. Because of the size of the part, difficulty of access and as I work mostly on my own I have to make the part in sections.

I laid up the side sections first


rtts%202013%20014.jpg


I made this tool to help work the matt into the tight corners of the wheel arch lip


rtts%202013%20005.jpg
 
Then the main top surface


rtts%202013%20039.jpg


I masked the 2 layers of gell edges and staggered the edges of the 3 layers of matt to enable me to blend in the joining sections

rtts%202013%20022.jpg
 
Then I dressed the edges of the part sections and bolted the 6 outer pieces of the mould together. The next step was to glass over the join between the sides and the top section. Again the joining pieces of matt were staggered in width to give an even thickness across the join. The dark marks in the layup are pen marks I use to align the matt pieces

rtts%202013%20041.jpg
 
Looks a great job Fred, a lot easier doing it the way you are rather than doing it all in one hit, like I do. So you`ll be popping it out shortly, bet you can`t wait to see it pop out the mould!!!
The step at the edge of each mould section, do you work on any ratio`s? 10.1 or just by eye? I know when repairing gliders they work on ratio`s ie. thickness of part x5 or x10 for the scarf joint. I may do a body this way on my moulds, seems an ideal way of getting everything perfect by only having to work on small sections at a time then join them.
So when are you going to update us with the de-moulded pics??????
regards Chris
 
Hi Chris

Thanks for your comment

Re building in sections, it guess it does make the actual layup easier but it's a real pain doing the masking and cutting all the matt sections.

As for the taper, I just thumb sucked a 15 mm overlap on each of the three layers, so that equals 45 mm. Taking that over my approx 3.5 mm finished panel thickness makes the ratio 12.9, a bit more than the top of range you mentioned. I started with an extra thickness of 300 matt in the "gap" without an overlap so the centre of the bonded era is actually tissue/300/300/600/600.

Demoulding won't happen for a while yet, I still have to do the front faces of the clip and make and fit the "nostril" inserts. I am keen to see the finished part but after all this time I can wait a little longer to make sure it is right and gone off properly.

Cheers

Fred W B
 
Great work I respect the top notch work you do, are you using a two part epoxy or polyester resin? Have you ever looked into vacuum bagging? What type of air temperatures are you working under?
 
Looks a great job Fred, a lot easier doing it the way you are rather than doing it all in one hit, like I do. So you`ll be popping it out shortly, bet you can`t wait to see it pop out the mould!!!
The step at the edge of each mould section, do you work on any ratio`s? 10.1 or just by eye? I know when repairing gliders they work on ratio`s ie. thickness of part x5 or x10 for the scarf joint. I may do a body this way on my moulds, seems an ideal way of getting everything perfect by only having to work on small sections at a time then join them.
So when are you going to update us with the de-moulded pics??????
regards Chris

Hello Fred and Chris
From having molded very complicated rear bonnets ( lola T298 long tails and Courage le mans 82 long tail) I really do not know wich is the best way to proceed with this type of big and tricky molding areas
Top notch process is to be in acrew of 3 evidently one for prep matts and two laminating this gives an one shot laminated part and much more stronger and lighter than when doing in separated areas cured ( specially with polyester )
In your case being a courageaous alone home builders effectivly Fred solution
is a good process but with much more risk to have gelcoat curing process as
you do many batch of !
Another solution I tested when being alone in front of a big mold is to use a specific resin ( used there in my zone by race boat builders) named "promotorised poly resin" ; this resin contents on the M50 catalyser a compound that regulate hardly the "pot life " and gives to the laminate operator about 2 hours brusching and rolling out air bulb before to start to harden so you can easily cover big areas , then turn the mold , then go into tricky places etc etc
Otherwise Fred you are doing as usal a very professional work and I am as Chris very "under pressure LOL" to watch one of your part unmolded !!!

We have there two stars of poly world !!! Chris and Fred ha ha
Congrats !! this remind me 20 years ago when I was not afraid to be white covered by this scratching powder ( with carbon prepeg you can built in "madam kitchen ") LOL

Keep on your so good and nice work Fred:thumbsup:
 
Thanks for the kind comments guys

are you using a two part epoxy or polyester resin?
Plain general purpose polyester resin

Have you ever looked into vacuum bagging?
I've read about it, but have no experience with it. These being the first parts I've ever made in fiberglass I thought I would stick with the simple approach

What type of air temperatures are you working under?
This time of year it is usually between 15 and 25 deg C, maybe down to just under 10 some nights. I use 0.75 percent catalyst, and don't mix all the resin for a layup at one time.

but with much more risk to have gelcoat curing process
I'm hoping that if I do pick up any snags with the gell coat in the join areas I can fix them when the body is (eventually) painted.
 
Back
Top