Looking good Fred, rad duct looks a pain to do!!! I can tell you, you will be sick of the sight of resin and mat by the time the moulds are done!!

You are using an out of date browser. It may not display this or other websites correctly.
You should upgrade or use an alternative browser.
You should upgrade or use an alternative browser.
CANAMSA - SA stratch build
- Thread starter Fred W B
- Start date
Thanks for the kind responses Folks.
Thomas - Any chance yet for the photo/details on how far the GD nose goes back underneath?
Cheers
Fred W B
Thomas - Any chance yet for the photo/details on how far the GD nose goes back underneath?
Cheers
Fred W B
Fred, I just finished reading the whole 16 pages of the post, and just wanted to congratulate you on the project.
The work you've done is absolutely remarkable and an inspiration to me; I'm now even more enthusiastic about starting a similar project of my own.
Keep it up, man!! Best regards form Paraguay, South America.
The work you've done is absolutely remarkable and an inspiration to me; I'm now even more enthusiastic about starting a similar project of my own.
Keep it up, man!! Best regards form Paraguay, South America.
Thanks for your note Daniel.
Welcome to the site, and good luck with your project.
Cheers
Fred W B
Welcome to the site, and good luck with your project.
Cheers
Fred W B
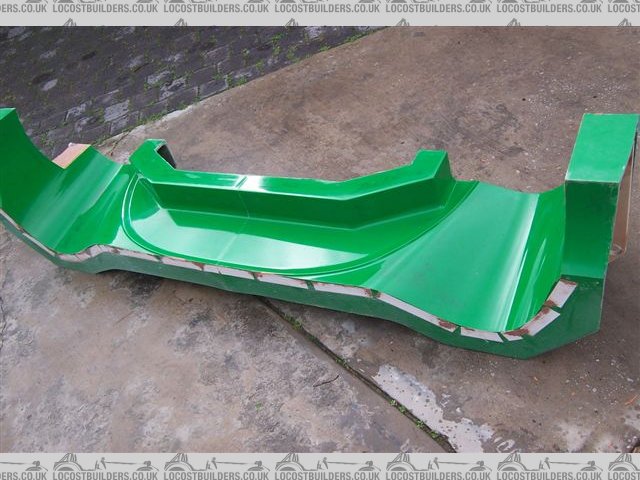
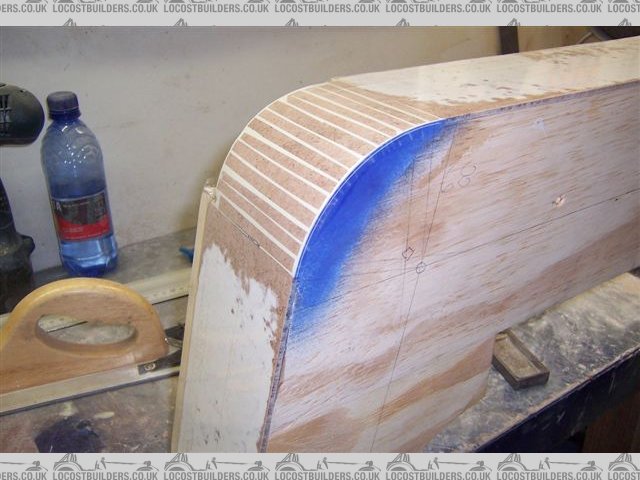
So full thickness is laid up, wood bracing is on, edges are trimmed, and the top surface of the nose mold is finished!
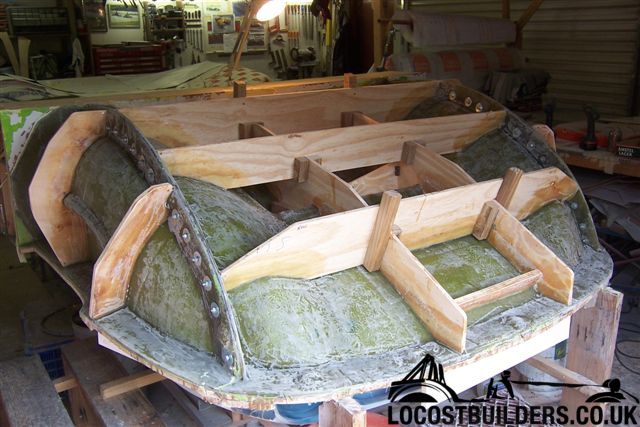
And I've started to remove the nose mold from the pattern
Just tapped some soft wood wedges between the flanges and this popped off nicely!
Very encouraged as I feel that I have got a major step finished
Cheers
Fred W B
Just tapped some soft wood wedges between the flanges and this popped off nicely!
Very encouraged as I feel that I have got a major step finished
Cheers
Fred W B
Looks a real nice job Fred, you will have a lovely set of molds to work from, bet you`re itching to lay up the first body!! Just shows how good wax is against PVA for surface finish if done right. Well done and hope the rest comes off as smoothly for you.
regards Chris
regards Chris
Thanks Chris, I do feel I am finally making some real progress
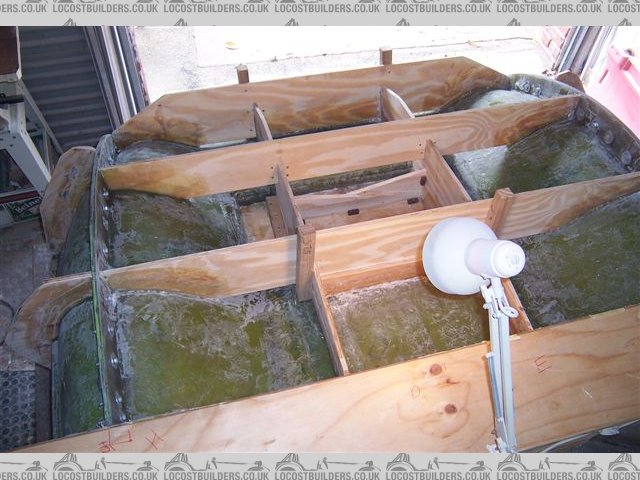
And today I rounded up some mates to help lift off the bigger bits. The scuttle mould came off easily
but the nose upper section put up more of a fight. Judicious use of levers, wedges, ratchet straps, roof rafters, hammers and mallets was necessary to "crack" it loose. It's a damn big heavy piece but it is off now.
Amazingly all the surface of the pattern stayed behind.
Cheers
Fred W B
First step of next stage done

and yes, their was a chain saw involved at one point....
Cheers Fred W B
and yes, their was a chain saw involved at one point....
Cheers Fred W B
Last edited:
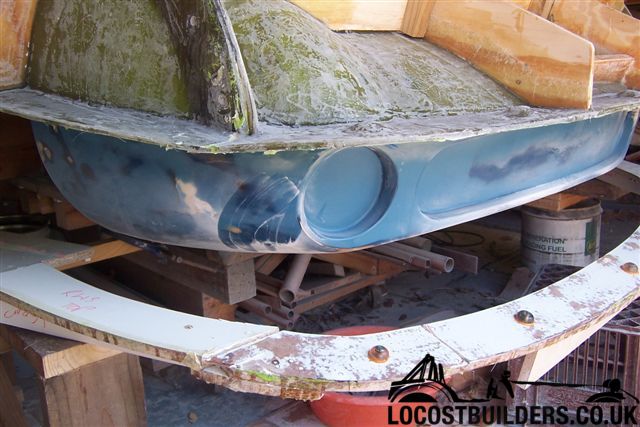
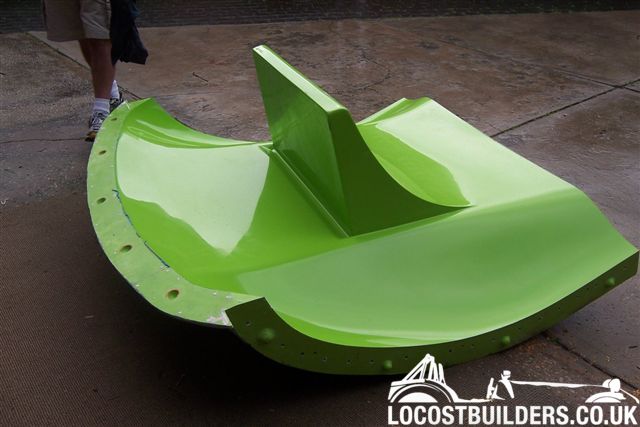
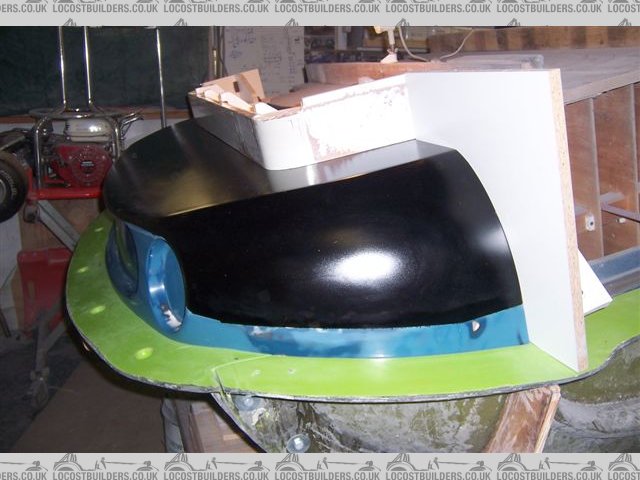
Nose removed
and turned over and replaced in mold. Took 6 of us to do this.

Cheers
Fred W B
and turned over and replaced in mold. Took 6 of us to do this.
Cheers
Fred W B
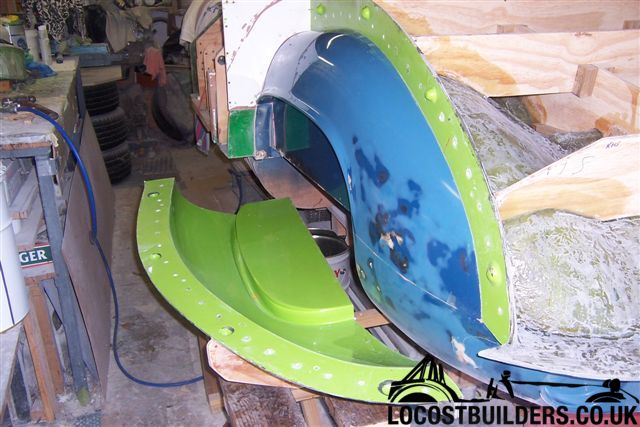
Slow progress.
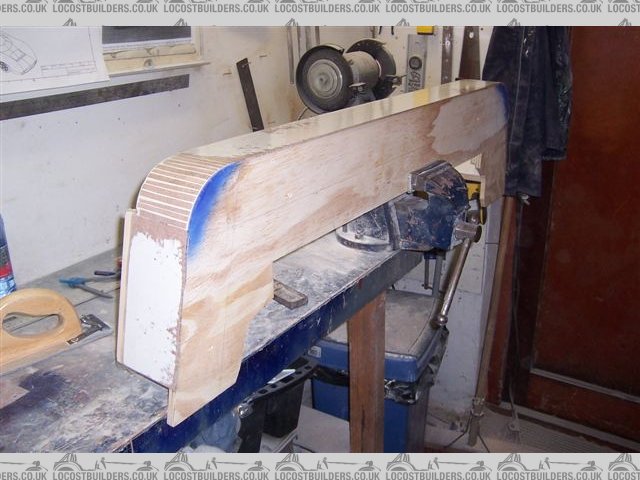
Worked up the surface on the nose underface, made the formers for the flanges and now waxing.....
Cheers
Fred W B
Slow progress.
Worked up the surface on the nose underface, made the formers for the flanges and now waxing.....
Cheers
Fred W B
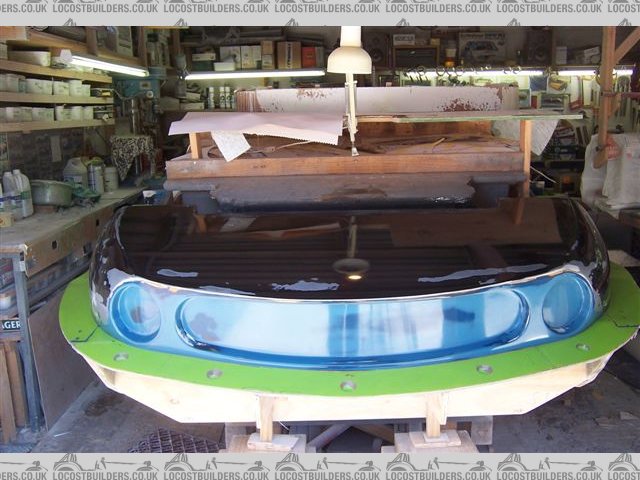
Worked up the surface on the nose underface, made the formers for the flanges and now waxing.....
Cheers
Fred W B
Slow progress.
Worked up the surface on the nose underface, made the formers for the flanges and now waxing.....
Cheers
Fred W B
Last edited:
Thanks Randy
All please excuse my editing error in my post above.
Cheers
Fred W B
All please excuse my editing error in my post above.
Cheers
Fred W B
Terry Oxandale
Skinny Man
Wondered when the next update would be. Glad to see the project moving forward.
flatchat(Chris)
Supporter
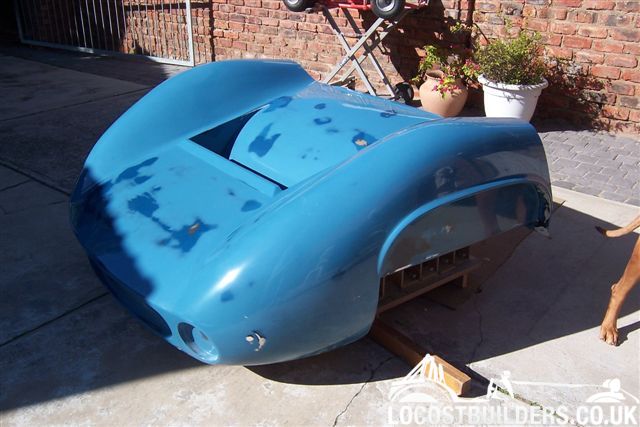
Good work there Fred -- looks like I've found a regular supply of nose cones :thumbsup:
Thanks for the kind responses Guys
Cheers
Fred W B
Cheers
Fred W B
Hey Fred,
very nice to see the first large pieces comming of the plus in one piece, I've seen pro's do a lot worse that what you are showing here! :thumbsup:
anyway, sorry to not have been able to help you out on the measurements of my nose underside section, but seeing your's upside down and looking at the underside I think you're spot on.
ps looking at your chassis you would be able to put the GD diffusor in the rear.
all in all good going keep us posted.
regards Thomas