LBC Build Log - Apex

WOW...today definitely found something I'm not good at - compound angles and tubing. Gotta give it up to you cage builders...that's not easy. When the pipes line up okay so they can be easily marked...no problem. If not I'm SOL. It was back and forth from the saw and grinder LOL. The method of using a face and throat line helped since I don't have a notcher but I couldn't do this in a couple areas.

How to notch tubes without a tube notcher
 
First I'll post a couple of pictures on a couple things I got done...then to some bad news.

Added some support to the rear sub frame to the eclipse on each side.


put together the basics of the catch can. I'm using a combination of a plate with holes, and a basic baffle with stainless mesh in between.

 
Fran, we discussed that I was missing the crossbar that links the left and right roll bars. However there are larger issues with the rollcage. I'm not sure why mine was done differently then the others but it isn't going to work out primarily because it isn't safe. It's too low and I don't plan on wearing a helmet in my streetcar (not to mention it looks pretty bad).

Mine.


Compared to this

attachment.php


Additinally the front bars are too long. When I aligned properly they hit the window (which I actually cracked).

mine


compared to
attachment.php
 
I propose sending back to you the front and top roll cage pieces that I have. For one, I don't see how you will be able to incorporate the center cross bar I'm missing without the side bars. I might be able to shorten the front pieces by cutting off the base and welding the plate back on but I'm afraid the bend angle will change and won't work with the new middle bar so it's best for you to work on it altogether.

I will still have to cut off the connection point on the rear subframe and change the angle. its now pointing down into the cabin, instead of up like the rest of the apex.

mine pointing down.


Compared to this
attachment.php
 
There are a lot of holes and open area around the B pillar making it difficult to seal off engine bay and provide an attachment surface for bulkhead.


We put in some sheet to seal it off and will rivet aluminum angle to attach bulkhead
 
I bought some 3M 5200 marine adhesive that I will use to attach the aluminum angle and aluminum bulkhead along with 1/8 aluminum closed rivets.

Is the 3M good for filling gaps as well? or should I use a sealant more suitable?


I'm not planing on slathering this stuff on but are there paintability issues with the 5200?
 
Last edited:
Top mount we made for bulkhead. This is welded along the curve of the roof for an attachment point to rivet the bulkhead.


Bulkhead is one piece 14 gauge aluminum. Mocked up won't be installed until we complete the interior roll cage.


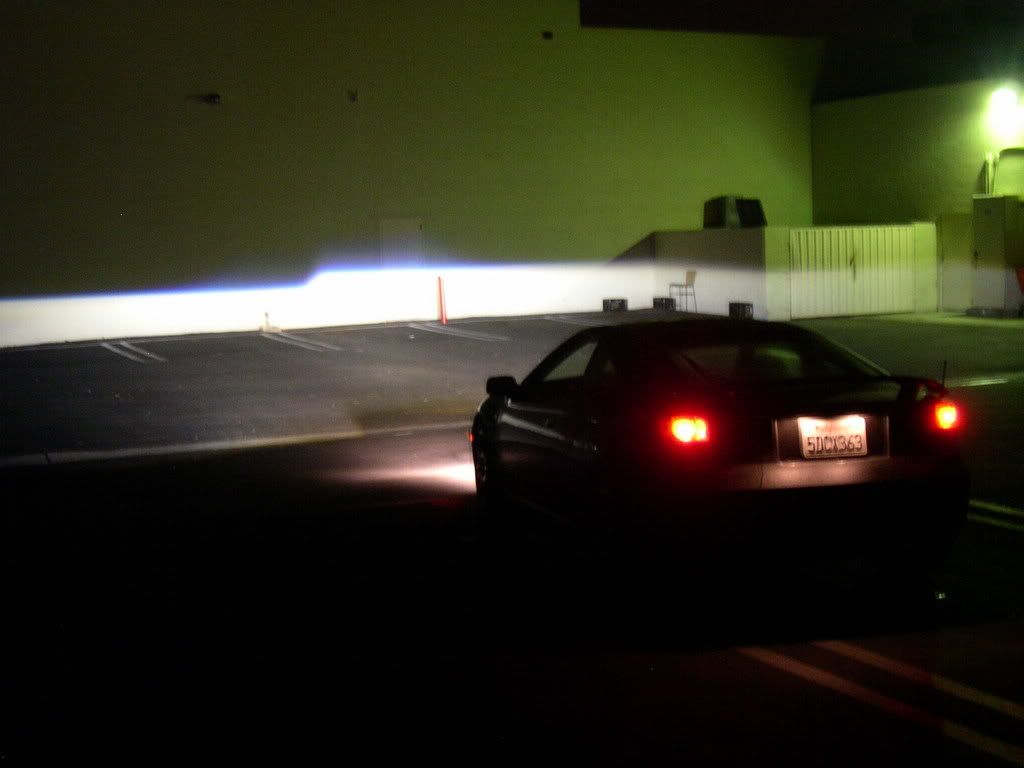
I've been doing research on the Celica front headlights. From what I read there are really three options. I have not found any aftermarket light assemblies that are worth getting. All seem to be low output low quality (poor projectors and the covers peal/yellow in 6 months).

1st option standard OEM halogen lights and upgrading to Osram Rallye 65 watt (H7) bulbs. Slightly shorter life bulb but provide 2100 lumen for @ $35 pair. I've heard you can also find decent OEM replacement assemblies at slightly lower cost (as opposed to genuine toyota). These have 10 year limited warranty @ $175
https://www.am-autoparts.com/products/headlight-assemblies/AM-15014302.html?m=386&y=2004

2nd option is an HID upgrade to the 1st option (halogen assembly).
https://www.theretrofitsource.com/hid-systems/morimoto-elite-hid-system-h7.html#.VyksOfkrLIV
This can involve not opening the assembly and just adding ballasts and bulbs (good idea to plug two holes on shield which cause glare with HID -use metal tape or similar). Can also open assembly and change to a clearer lens (tsx) which improves results. Or go all out diy and retrofit in a 2.5 HID projector in place of the 2.5 hal projector (sc430, s2k) which isn't easy in the celica assembly but possible.

3rd option is to find OEM HID headlights. These were option only after 03 and are a little pricey as a result but luckily are good quality (wide/bright). Essentially are same as SC430 projectors and can also benefit from a clearer lens if you don't mind opening it up. One pair on ebay now for like 950 but I think I've put together new for around 750 (529 assemblies, 100 ballasts, 130 best bulbs).

HEADLAMP COMPONENTS for 2005 Toyota Celica
[ame=http://www.amazon.com/OSRAM-D2S-CBI-Intense-Headlight/dp/B00KTHP9BE?ie=UTF8&psc=1&redirect=true&ref_=ox_sc_act_title_1&smid=A2YHKV6NZ50CJA]Amazon.com: OSRAM D2S CBI Cool Blue Intense Xenon HID Headlight Bulbs 5000K (Two Bulbs): Automotive[/ame]

[ame=http://www.amazon.com/DDLT002-Xenon-Ballast-Ignitor-Toyota/dp/B007FIKQ1S?ie=UTF8&psc=1&redirect=true&ref_=ox_sc_act_title_2&smid=A1RTP1E11FAUND]Amazon.com: DDLT002 D2S D2R HID Xenon OEM Ballast w/Ignitor for Lexus Toyota Mazda D2: Automotive[/ame]
 
I'm leaning for option 1 but I'd like 3. OEM Celica HID w/ tsx lens ($40).

DSCN0017.jpg


On the left is OEM celica halogen with HID bulb/balast (note glare pattern which can potentially be fixed without opening assembly). On the right is OEM halogen. The halogen projects will not be nearly as wide/bright in either case.
DCP_0019.jpg
 
Last edited:
Here's the start of how we're tieing in the front subframe to the body. We hammered the wheel well sheet metal in line/flat with the control arm bracket and welded it in place. We will close off the back part of this with sheet metal as well where it angles away from the bracket.


Test fit the front body to see what kind of space we have to work with. The flashing on the body panel needs to be trimmed before we can really tell accurately where everything will be.

 
The Apex front end is bolted on the bottom of the frame with 4 bolts and bolted to the shock towers. However the shock towers are really only supported by thin sheet metal as the thicker frame rails were cut to make room for the suspension. I didnt think the front end would fall off or anything but was very concerned about movement which would translate to the steering feel and performance. I had plans to tie in the roll cage as well but I think what we've done to tie back into the frame rail that was cut may be sufficient. The front end sounds/feels MUCH stronger now.

 
We had a friend come over with their tube bender this weekend and we worked on the interior cage. We ground off the rear mounts that were welded on the rear subframe and started over. We decided to make a halo and then tie in the front. We are going to build two small pedestals for the legs.


Here is the pedestal plate we made to attach the front leg that goes from the halo to behind the dash. This area was really the strongest part of the floorpan.


Quick question about running fuel lines in a somewhat unusual manner.

I want to avoid placing my fuel lines (and electrical) in the center tunnel along with my coolant pipes. I'm considering using the tunnels under the door jams on both sides of the car. My plan is to run conduit or similar lightweight pipe down the tunnel. Since the tunnel is fully enclosed, the conduit will only be able to be attached at each end. I plan to also use expanding foam within the tunnel to "secure" it in place and avoid rattling. Then I will run my fuel line (either hard or braided stainless) through conduit and it can easily be pulled in and out if need be. So is it okay to have the fuel line essentially laying in the conduit for that length?

some pics of area in question.

 
Last edited:
Great work - you're really doing a lot.
I want to avoid placing my fuel lines (and electrical) in the center tunnel along with my coolant pipes
Could you explain why?
So is it okay to have the fuel line essentially laying in the conduit for that length?
The only issue that I would have with doing that is what would happen in a side-impact. For that reason, I'd keep the fuel lines in the centre tunnel. Electrical in a suitable size conduit is fine IMO.

Roger
 
Could you explain why?

Really only to avoid heating my fuel. I'm running a surge tank fed by a LP pump and I just saw the fuel continually circling along the stainless coolant tubes. Not sure in practice how hot it would get but at a distance of over 4 feet side by side, I thought it could be an issue/affect performance.

The only issue that I would have with doing that is what would happen in a side-impact. For that reason, I'd keep the fuel lines in the centre tunnel.

I definitely considered this. I guess I dismissed it since cars like the 40 have their entire fuel tank there. I figured that would be far worse in an impact.
 
Back
Top