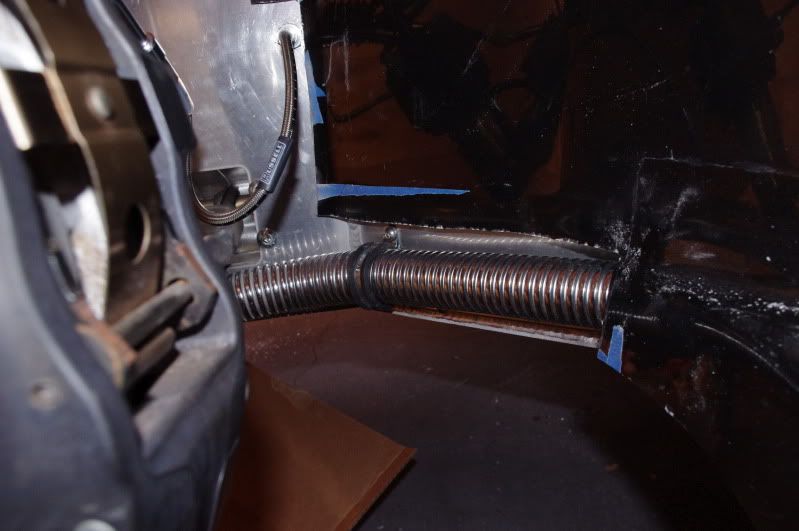
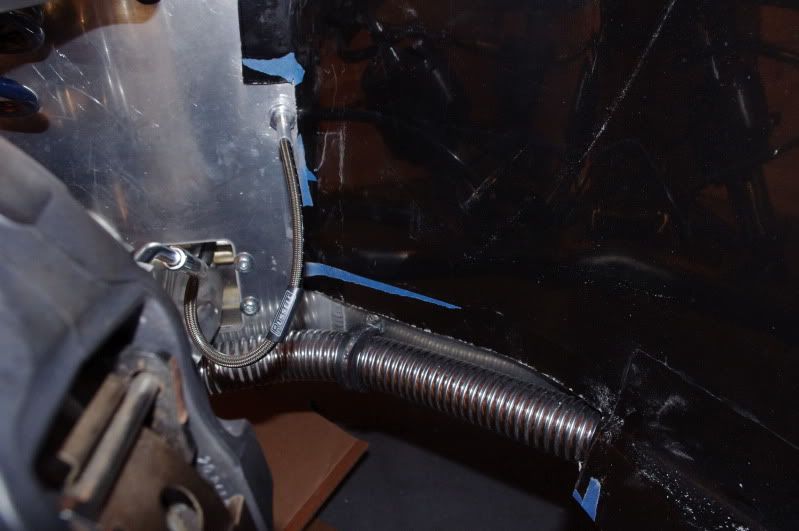
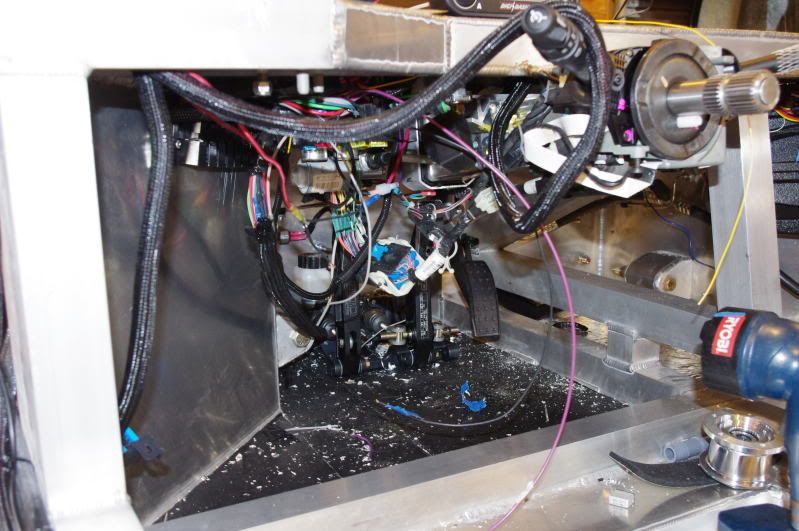
I was studying how you've routed the cooling lines (corrugated stainless) at the front, and was wondering 2 things (since I'm slowly working on cooling now)
1 - With that heat shrink connection to the solid pipe, are you worried about future accessibility? if debris somehow manages to pound through the hose (unlucky, etc...) it looks like it's body-off to replace it?
2 - With the hose clamped to the chassis along the front like that, how do you plan on fitting the spyder back since the hose would prevent it from sitting down (atleast without being stressing) - the only way I can see is if you remove about 4'' from the bottom upwards in that area on the spyder?