Hello to all, back in august of 20 we took delivery of superformance chassis 2366 and jumped head first into this fantastic forum and started trying to piece together all the things I didn’t know about these amazing cars. I have been so focused on working on it for the last 8 months I realized I should probably start my build log... better late than never I guess. I will try and get this caught up to where the car is currently at as quickly as possible


You are using an out of date browser. It may not display this or other websites correctly.
You should upgrade or use an alternative browser.
You should upgrade or use an alternative browser.
SPF 2366 Build
- Thread starter Efreeh89
- Start date
Very nice Eric. Welcome to the forum please post any pictures of the build you may have. Enjoy the journey.
Regards Brian
Regards Brian
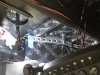
Power plant is a 363 ci Ford small block with Weber carbs, afr heads in a dart block built by Prestige Motorsports can’t say enough good things about
 them
them

One of the first things I decided to go after was the notoriously leaky brake and clutch reservoirs which were already not looking so hot. My plan is to replace with a tilton reservoir. As usual things snowball and as usual one thing leads to another and before you know it the pedal box is out and you are making new bushings and relocating pedals.


Here are some pictures of the brass bushings I made to replace the delrin bushings that came in the pedals there was a significant amount of play in the original bushings. While the pedals were off I moved the pads to the right a little bit to try and get enough space for a dead pedal like the original cars had. I also replaced the expanded metal on the pedals with a black tread material. Also added a aluminum panel to cover the edge of the carpet on the kick panel so that it your foot doesn’t catch it when your foot moves past it.


Doug, I am with you on the if it ain’t broke do t fix it thing, but one of the other reasons I wanted to go to the tilton res is to relocate it were I could keep an eye on the fluid levels without having to pull the nose off the car. I wanted to get a lot of this little nit-picky stuff done while I am waiting on the driveline. I will get a post together of how I went about the swap though.
I hear ya. I use the car for open track events, and it's a real pain if they want to inspect the fluid reservoirs. Popping the front hatch would be much better!Doug, I am with you on the if it ain’t broke do t fix it thing, but one of the other reasons I wanted to go to the tilton res is to relocate it were I could keep an eye on the fluid levels without having to pull the nose off the car. I wanted to get a lot of this little nit-picky stuff done while I am waiting on the driveline. I will get a post together of how I went about the swap though.
Looking forward to your posts.
Doug
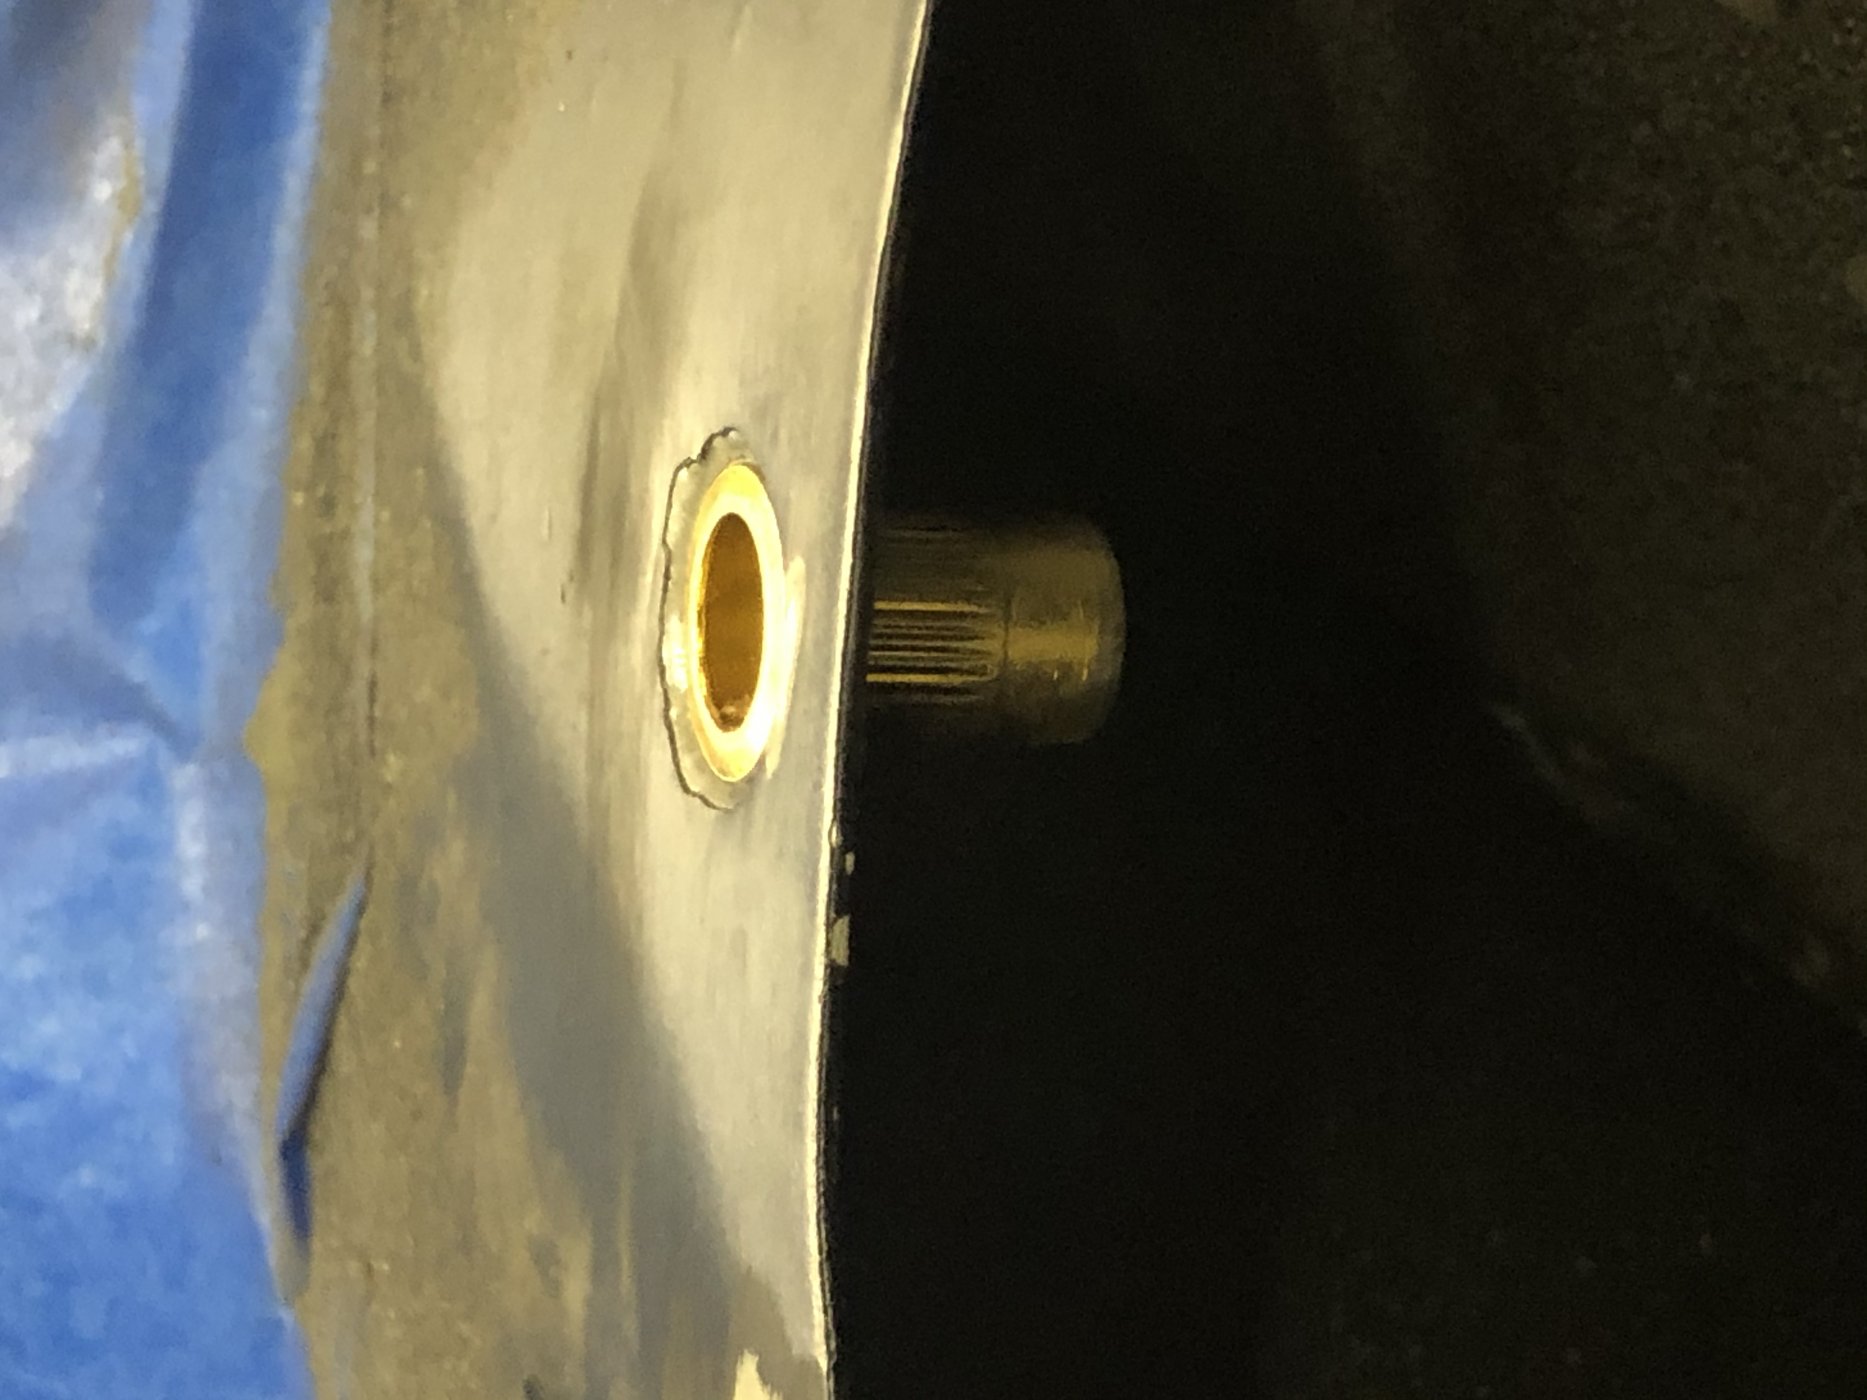
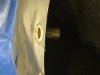
When we got started with this project I didn’t realize how difficult it could be to come up with a transaxle. Once the chassis was purchased I called Quaife and they said that they were having technical issues with their box and they were troubleshooting those so none would be released until the issue was resolved. That has been the story I’ve gotten since my TA was ordered in September.
I started beating the bushes in February for a zf ds25-2 and think I may have one nailed down but it is not yet in my possession.

I was able to come up with a Quaife bellhousing.

mine of the reasons I wanted to go this route was it had the lower mounting ears on the bellhousing like the originals did.

started indicating in the bell housing had to order a set of offset dowel pins to correct miss alignment.
I started beating the bushes in February for a zf ds25-2 and think I may have one nailed down but it is not yet in my possession.
I was able to come up with a Quaife bellhousing.
mine of the reasons I wanted to go this route was it had the lower mounting ears on the bellhousing like the originals did.
started indicating in the bell housing had to order a set of offset dowel pins to correct miss alignment.
Here are some pictures of the spreader beam I made for the front quick jack points. I haven’t finished the rear yet but it should look essentially the same just wider.


Nice job Eric. I can't beleive the amount of people that just slap a bell housing on without indicating it in. They then complain of clutch issues down the road. Details like this is what makes it a quality build.
Regards Brian
Regards Brian
Here are some pictures of the spreader beam I made for the front quick jack points. I haven’t finished the rear yet but it should look essentially the same just wider. View attachment 115116

Thanks Brian! This is a very special car for my dad and me, and the goal is to have it pretty well sorted once it hits the road so we are trying to get all of this sorted out now.
Based on all of the reading I have done on this forum one of the bog things we went after was getting the cabin sealed up a little better. I was shocked once I got in there just how holy it was lol the bulk head is like Swiss cheese at best lol. I understand it’s a race car that has been adapted to run multiple configurations for lhd/rhd but holy cow there’s a lot of holes.
Ended up pulling the carpet and filling as many holes as I could with closed cell water proof foam and aluminum covers and seam sealer. As well as laying down dynamat and DEI insulation on the bulk head covers


Ended up pulling the carpet and filling as many holes as I could with closed cell water proof foam and aluminum covers and seam sealer. As well as laying down dynamat and DEI insulation on the bulk head covers
Wasn’t crazy about the cable release for the doors so I got after making some new releases to replace the original pull cables.


While I had the carpet out of the car to put dynamat in I made a cover for the brake line and clutch line that were carpeted over out of some 0.030” aluminum and made a different hold down for the lines that allowed them to run closer together.


Attachments
While I had covers off of the cowl I noticed that the bolts holding down the filler caps had been tightened to the point that it distorted the cowl and ruined the seal between the filler neck and the adaptor they used to mate up to the Aston caps.


it’s kind of hard to tell from this picture and for some reason when I pull the pictures out of my folder it’s in the correct orientation but when I post it here they are side ways a d upside down and I am not savy enough yet to fix that my apologies. Where the filler neck bolts the larger diameter ring there was at least a 1/16” gap there so any fuel over flow or dribble would likely end up in the sponson not out the over flow tube.
As usual this is another one of those things that spirals out of control because some of the Allen head bolts that hold the filler caps down were galled which then spun the rivnuts in the cowl. Somecame out far enough I could cut the head off with a die grinder some never loosened so I had to very carefully drill the head out. Once all the bolts and rivnuts were removed I was able to flatten out the cowl with a bessy clamp and some key stock.

I used some hammer fab dies for recessing the rivnuts when I put them back in so I didn’t re create the same problem again.
Once I got all of the rivnuts replaced I sanded the cowl and re painted it

Then I got to work on whipping up some new filler necks. There was definitely some room for improvement and one of my good friends says anything worth doing is worth overdoing.


hopefully after all that it seals up a bit better. Lol
it’s kind of hard to tell from this picture and for some reason when I pull the pictures out of my folder it’s in the correct orientation but when I post it here they are side ways a d upside down and I am not savy enough yet to fix that my apologies. Where the filler neck bolts the larger diameter ring there was at least a 1/16” gap there so any fuel over flow or dribble would likely end up in the sponson not out the over flow tube.
As usual this is another one of those things that spirals out of control because some of the Allen head bolts that hold the filler caps down were galled which then spun the rivnuts in the cowl. Somecame out far enough I could cut the head off with a die grinder some never loosened so I had to very carefully drill the head out. Once all the bolts and rivnuts were removed I was able to flatten out the cowl with a bessy clamp and some key stock.
I used some hammer fab dies for recessing the rivnuts when I put them back in so I didn’t re create the same problem again.
Once I got all of the rivnuts replaced I sanded the cowl and re painted it
Then I got to work on whipping up some new filler necks. There was definitely some room for improvement and one of my good friends says anything worth doing is worth overdoing.
hopefully after all that it seals up a bit better. Lol
Attachments
Started getting my stubs for my headers put together as well. I am going to attempt to build a set of stainless 1 3/4”to 1 7/8” stepped 180deg headers for this car as well. I ordered the flanges from Burns stainless they did a fantastic job. I had briefly thought about making my own but I will admit cutting 3/8” 304 stainless on a manual mill is something I still struggle with.

I made a swage to form the tubing to the flange.


Next up I made a couple of jigs to bolt the flanges onto during welding.

Combination of the thick flange and aluminum jig to draw heat out really helped minimize any warping during welding.
I made a swage to form the tubing to the flange.
Next up I made a couple of jigs to bolt the flanges onto during welding.
Combination of the thick flange and aluminum jig to draw heat out really helped minimize any warping during welding.