A.J.'s SL-C build thread

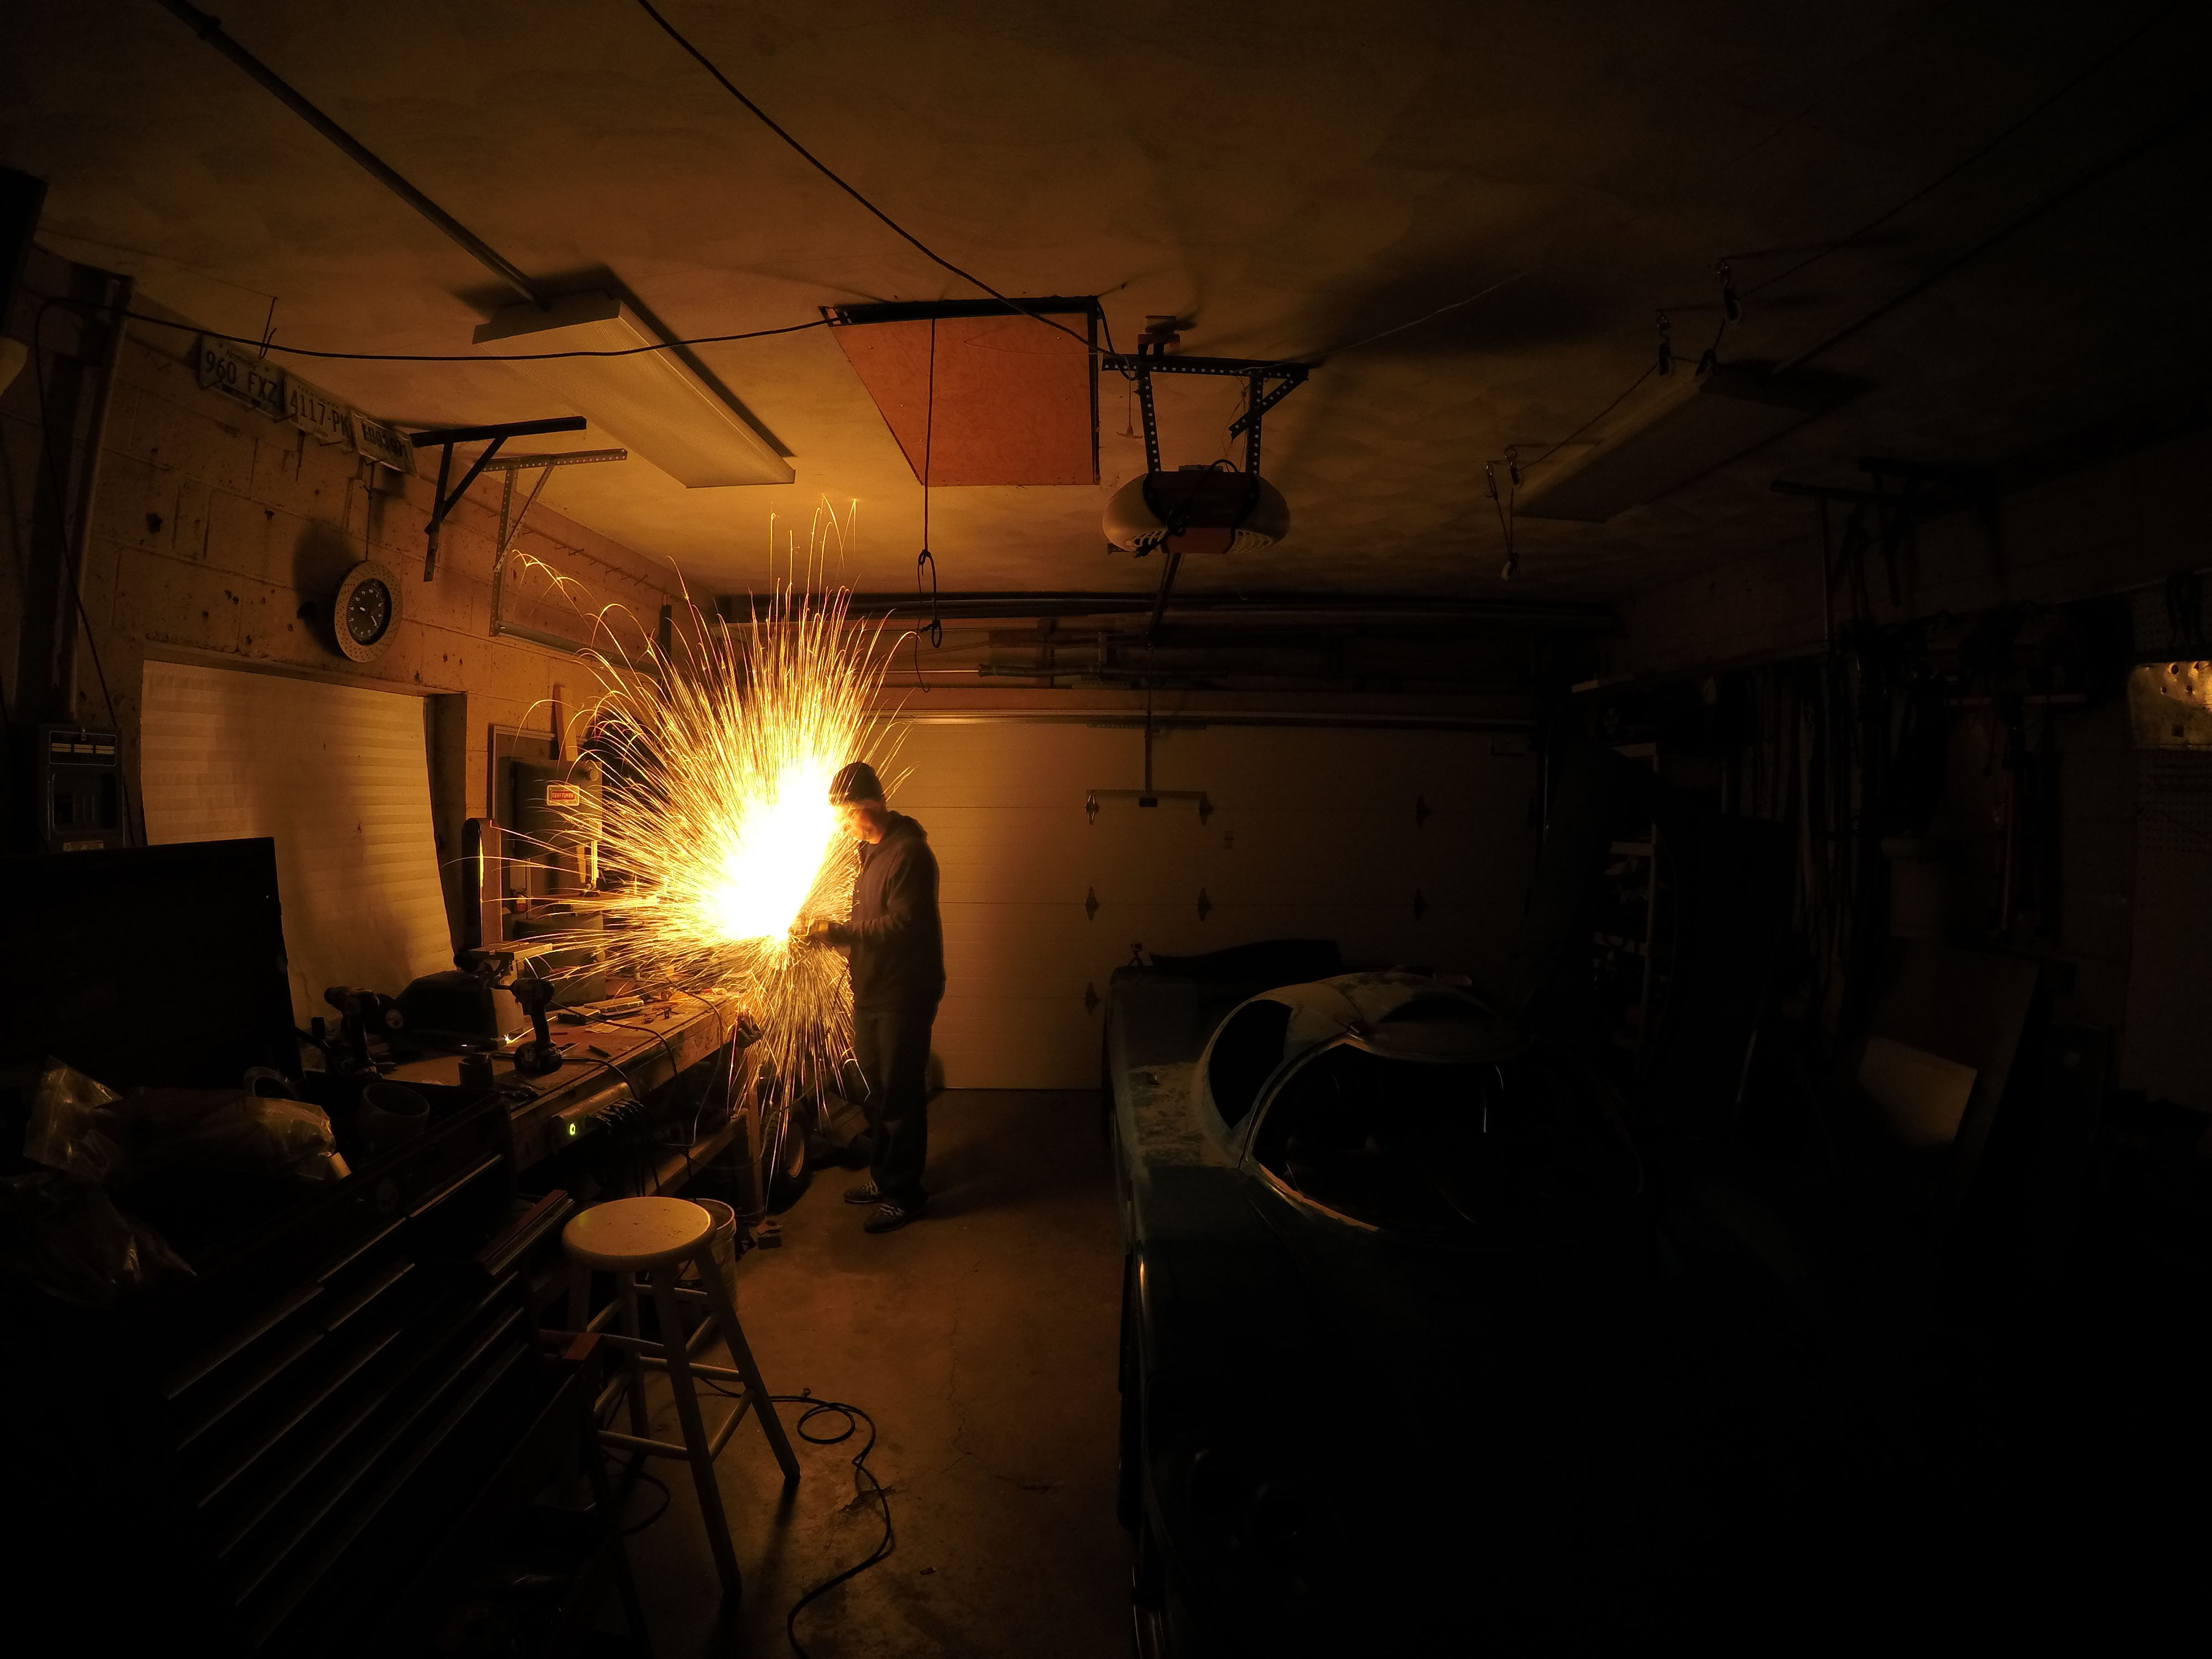
I know the feeling, Scott. Something I had to learn how to cope with early on was how to deal with a roadblock that required rethinking the plan, ordering parts and MOVING ON to something else. Far far easier said than done. I'm so persistent I tend to keep beating the dead horse and don't see the forest from the trees.

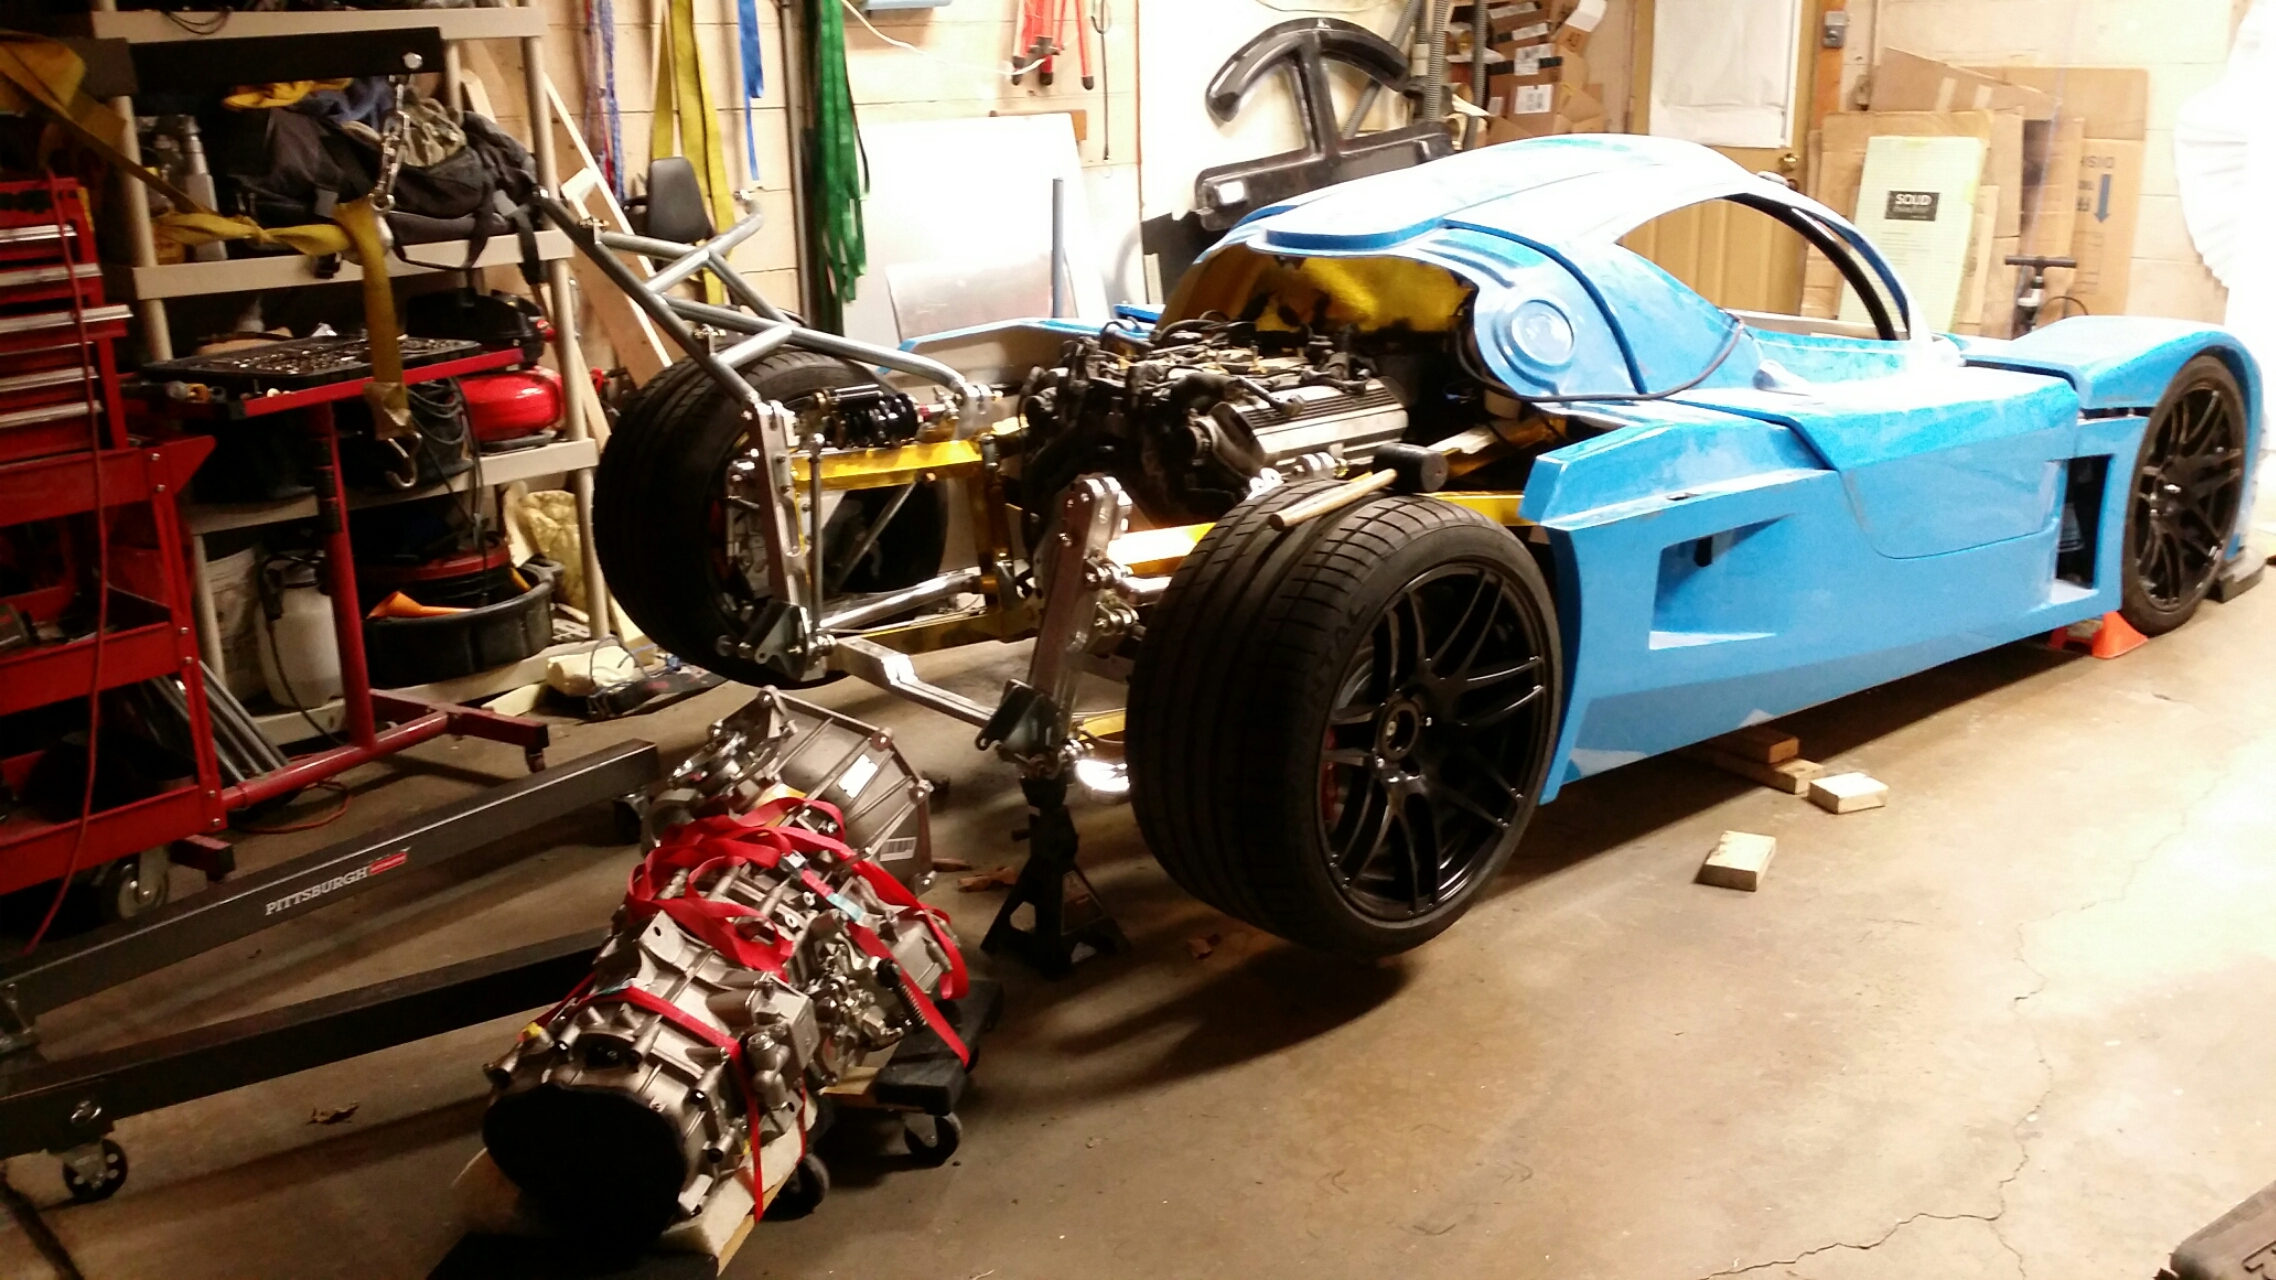
Which is the perfect segue into the next topic from last night: my body fit woes have most likely been caused by poor alignment. That may seem obvious to others...I mean, why else would the body not fit? That's the first question that is asked when discussing body fits. But I followed Allan's tutorial to the letter, right down to getting the same digital level (which I love!). I trusted the alignment so the problem must be somewhere else. After all the changes I've made lately I started over from square one on the alignment. I was never too confident about the idea of basing the alignment off my floor. I felt confident how I accounted for it last time I did the alignment but this time around I took a different approach. I leveled the car. With a 48" conventional level. Front and rear. Turns out a 2x4 was required under the left rear tire and a 1x4 under the left front. Then i resumed Alans method. Wouldn't you know, the camber now showed it was way off. As I corrected it I started making adjustments in the direction that favored centering the body on the chassis.

A.J.
 
Ya, that was one of the first things I did. Check chassis squareness and the relationship of the suspension. All rod ends threaded in equally, and same washer stacks each side on both upper and lower, then dropped a plumb-bob down from the center of the mounting surface of the hub. Check for square, and for wheelbase length. I only had a difference of 1/4" that the right front had to move forward. Easy fix, right front forward 1/8", left front back 1/8". Then it all zeroed out.
My rear clam was mounted more towards the drivers side iirc. Like an inch or so. Will be correcting that once I get to body mod stuff.
 

Michael Fling

Supporter
Will- TY for your help with the WIKI. An option when ordering the edge trimhttps://www.trimlok.com/prod/Rubber-Edge-Trim/Edge-Trims/All-Product-Categories_117/Rubber-Edge-Trim_48.aspx?categoryid=117%2c117%2c117&categoryid=117&ProductID=48
is to order it with butyl. What is the butyl for and do we want it with or without butyl?

Order the seals in EPDM. The site reference to a butyl product is as an adhesive. You can use that, or any of the popular 3M trim adhesives, or nothing at all, depending on the circumstances.
 
I learned how to fiberglass yesterday. We'll see today how well I did as I trim it up and attempt to smooth it out.

First is the steering wheel. The idea is to have a fairly OEM style wheel, with a nod to road race/F1 functionality. I removed the stalks from the steering column and want to integrate those functions on the wheel. Since the wheel is removable, the buttons need to be wireless. There needs to be room inside the wheel for the transmitter.

I built a mockup in cardboard, then rebuilt it with some sheet plastic I had laying around. It was perfect to work with, I can cut it with a dremel, band saw, or even score it with a box cutter and break it. It's soft, a fingernail can leave marks. It will bend and hold the form, and at the bottom of the wheel I used a torch to heat it and get even more form. I hot glued the pieces together to form my mold, then rounded the edges on the belt sander

Front:
2015-09-07%20(1).jpg


The squares on the inside are to give the correct angle of the cover to the horn mechanism.
Back:
2015-09-07%20(2).jpg

2015-09-07%20(4).jpg


The steering wheel cover will be bonded to the four black switches of the horn.
2015-09-07%20(3).jpg


The bracket on the back side was made so the horn mechanism clips on, and can be removed. Remarkably, this was able to be done so the original MOMO wheel won't have a single hole drilled into it. The horn wiring blocks the bottom hole that secures the wheel to the NRG adapter, but I may use that for the pass through for the horn wires. I probably won't use those wires for the horn, but some experiments need to happen before I mention the plans for that.
2015-09-07%20(17).jpg


Many thanks to Zoey for his detailed pictures on how he integrated the Audi vents on his dash. Initially, I didn't want to use those vents. I like them, but they're fairly common not only on the SLC, but many other custom projects. Once I pulled the Vintage Air vents out and looked at them, I immediately decided those were going in the trash. Rather than try to reinvent the wheel (haha - which I'm already doing above!!), I ordered a set of the Audi vents for $25 each on fleabay. I cut them out similar to Zoey. The Audi vents are larger than the VA ones, so a lot of filling in would have to be done to get them to look right. But the diameter of the hump behind the vent didn't really match the vent, either. So I bought a 3" PVC tube, which just happened to be the perfect outside diameter for the Audi vent. The inside needed some coaxing:
2015-09-07%20(6).jpg


2015-09-07%20(5).jpg


Since I was going to tear up the dash to install these things, I decided it was the perfect time to order another Audi vent, and have 3. I was always a little concerned that 2 wasn't quite enough.
2015-09-07%20(11).jpg


2015-09-07%20(12).jpg


Here they are all glassed in. I did it from both sides for strength
2015-09-07%20(16).jpg

2015-09-07%20(13).jpg


I did the steering wheel cover and center face plate at the same time. I'm not happy with the face plate. Using cardboard as a mold, much less with creases in it, was really boneheaded :thumbsdown:
2015-09-07%20(14).jpg

2015-09-07%20(15).jpg


I also cut the head lights and fit the turn signal light. There wasn't any hardware supplied to attach the signal light, so I fabricated a small bracket.
2015-09-07%20(7).jpg


I couldn't get it to sit flush on a test piece of fiberglass, so I counter bored (is that the correct term??) the mount surface
2015-09-07%20(8).jpg

2015-09-07%20(9).jpg


So now it just twists on. And is an extremely tight fit - I won't twist it all the way on because I'm afraid I won't be able to get it back off (because you can't get your fingers around it since it's barely exposed)
2015-09-07%20(10).jpg


A.J.
 
Last edited:
In the picture below, I assume the blur connector goes to switched 12v. What about the red connector? Where does that go?

Screenshot_2015-11-07-21-59-03-1.jpg


I installed a fuse box that is hidden behind the dash. A magnet holds it in place
2015-11-07~02.jpg


The idea is to flip down for easy access
2015-11-07~03.jpg


The steering wheel controls will be wireless. This picture shows the hard wired redundant buttons that will also swing out of sight. This one will mount under the dash to the right of the steering column. The wireless receiver module is at the lower left of the picture, the one with all the relays on it.
2015-11-07~01.jpg


A.J.
 
The wire with the ? is no longer used and would have been for the electrical tilt and telescoping.
The 12V? is ignition on power, there should be the other side of the spade connector in harness somewhere.
 
Thanks Allan. I have some questions for you regarding the AC. I posted a separate question about the trinary switch last month, which you answered. I finally got around to watching Eric's quick video on the AC where he says "toss out all this stuff" and used your name in vain ;-) Before I go ripping out wiring, sensors knobs and relays I would like some guidance. Is a tutorial posted somewhere? I won't be using the LS engine, so I'm not sure if the recirculating control for the heater lines will apply.

A.J.


I will take anyone's name in vain if it furthers my cause. :laugh:

lol, jk. Allan was super great about all of my inane questions :)
 
Finally had more than a couple of hours at a time to work on the car, and for once felt like I really made a lot of progress.

I picked up my Graziano from Fran a few weeks ago. It was on backorder since January. I can finally get started on installing the powertrain. The engine was from Fran, and incidentally is the one that was used as a mockup for Scott's car many years ago! I have no idea if it works, but for now it will do. If it does work, then I'll take the time to clean it and make it look pretty. If not, it will only cost me a few hundred dollars for a low mileage runner.

Troy made up an engine mount for me. I got the engine up on the cherry picker and discovered the mount won't fit. It's likely this engine is from a Lexus SC400 because Troy's is an LS400. The oil pans are different and that would explain the difference. It's significant enough that I'm going to have a new one re-fabricated. But what I have is enough to temporarily support the engine, with the assistance of a wood block.
2015-11-2907.jpg


I needed to get the engine in place to design the new mount
2015-11-2909.jpg


I got the flywheel on without too many issues. Thankfully the engine isn't seized up, but that meant torquing the flywheel bolts was a bit challenging. I put one of the long clutch studs on the flywheel and was able to keep it from rotating (along with a knee against the flywheel) to achieve torque.

2015-11-2903.jpg


Here comes the gearbox.
2015-11-2908.jpg


Love this part
2015-11-2906.jpg


I was hoping this wouldn't be an issue, but like the LS engine crowd, there's interference. The Graziano is from the R8, which is awd. The forward output shaft extends beyond the gearbox case by about 1.5", and contacts the motor.
2015-11-2905.jpg


I made a template from the case to determine what the shaft is hitting.
2015-11-2902.jpg


Turns out this rib is the culprit, similar to the LS engines.
2015-11-2904.jpg


I was able to get in there with a cutoff wheel on my Dremel and trim the rib without having to take the flywheel back off. It was actually a lot easier than I feared.
2015-11-2911.jpg


I put the gearbox on without the clutch, and no more interference! Yay!!
2015-11-2914.jpg


I don't have a clutch alignment tool, and couldn't find one thru a few simple Google searches. Rather than wait, I tried to do without. I took the Graz back off, loose assembled the clutch to the flywheel with 3 screws, then mated the Graz to the adapter plate.
2015-11-2913.jpg


The starter attaches to the gearbox, and there's a nice big hole where it goes. I could see the clutch screws through the hole, so I used a wrench on the front of the engine and turned it manually until each of the 3 screws came into view. Since this is all a 1 man operation, I used the "beauty face" option on my phone camera to watch for the screws as the engine rotated.
2015-11-2912.jpg


I tightened each of the 3 bolts to hold the clutch in place, removed the Graz again, put all 9 clutch screws on
2015-11-2910.jpg


...then assembled the whole thing.....again
2015-11-2901.jpg


The axles have a cap on one end and the other end the CV joint is exposed. Which side gets mounted towards the gearbox?

That took up about a third of the time I spent on the car this break. The rest has been spent on wiring and other tedious stuff that's not nearly as rewarding to look at. I'm inching closer to sending electricity through the system. The slowdown is self-inflicted, as usual. The wireless steering wheel controls, subsequent redundant hard wired controls, and the fact that I'm not using the GM steering column controls has added a bunch of work. Using a centralized fuse box is also time consuming. It would be easier to use inline fuses, like what came with the Ram Lift. But I know that after the car is built I'm never going to remember where the fuses are or what had inline fuses and what didn't. Having all the fuses in one spot will be invaluable the first time I need to diagnose a problem. So it's all worth it. It's only time! I didn't take any pics of the wiring because it's still a huge mess and is nothing to look at. Although I did add another hidden drop-down panel next to the fuse box. This one is for a cigarette lighter and dual USB charger port.

Incidentally, I'm at 440 hours on my build.

A.J.
 

Mark B.

Supporter
Very nice progress!
The axle side with no cap goes to the transaxle; cap side goes to the axle hub.

I noticed that your adaptor plate has alignment dowels in it for the transaxle. Did you buy those or did they come with it? Mine doesn't have them and I can't find the right size anywhere.
 
Thanks Mark.

The alignment dowels came in the adapter. Definitely an advantage as I muscle the gearbox into position. The center of gravity is way off center so it doesn't hang level. I would line up the upper dowel and put a bolt through it to rotate the rest of the holes into position.

A.J.
 
We have video! This is a big deal to have a feed from my gopro show up on the dash monitor. The gopro is a digital output and they will only allow wireless communication with the camera using their software. I found a digital to analog converter on Amazon that does the trick. Next up is wiring the 4 channel DVR so I can record multiple camera angles with one button record, all stored in a central location.

2015-12-06.jpg
 
Back
Top