A.J.'s SL-C build thread

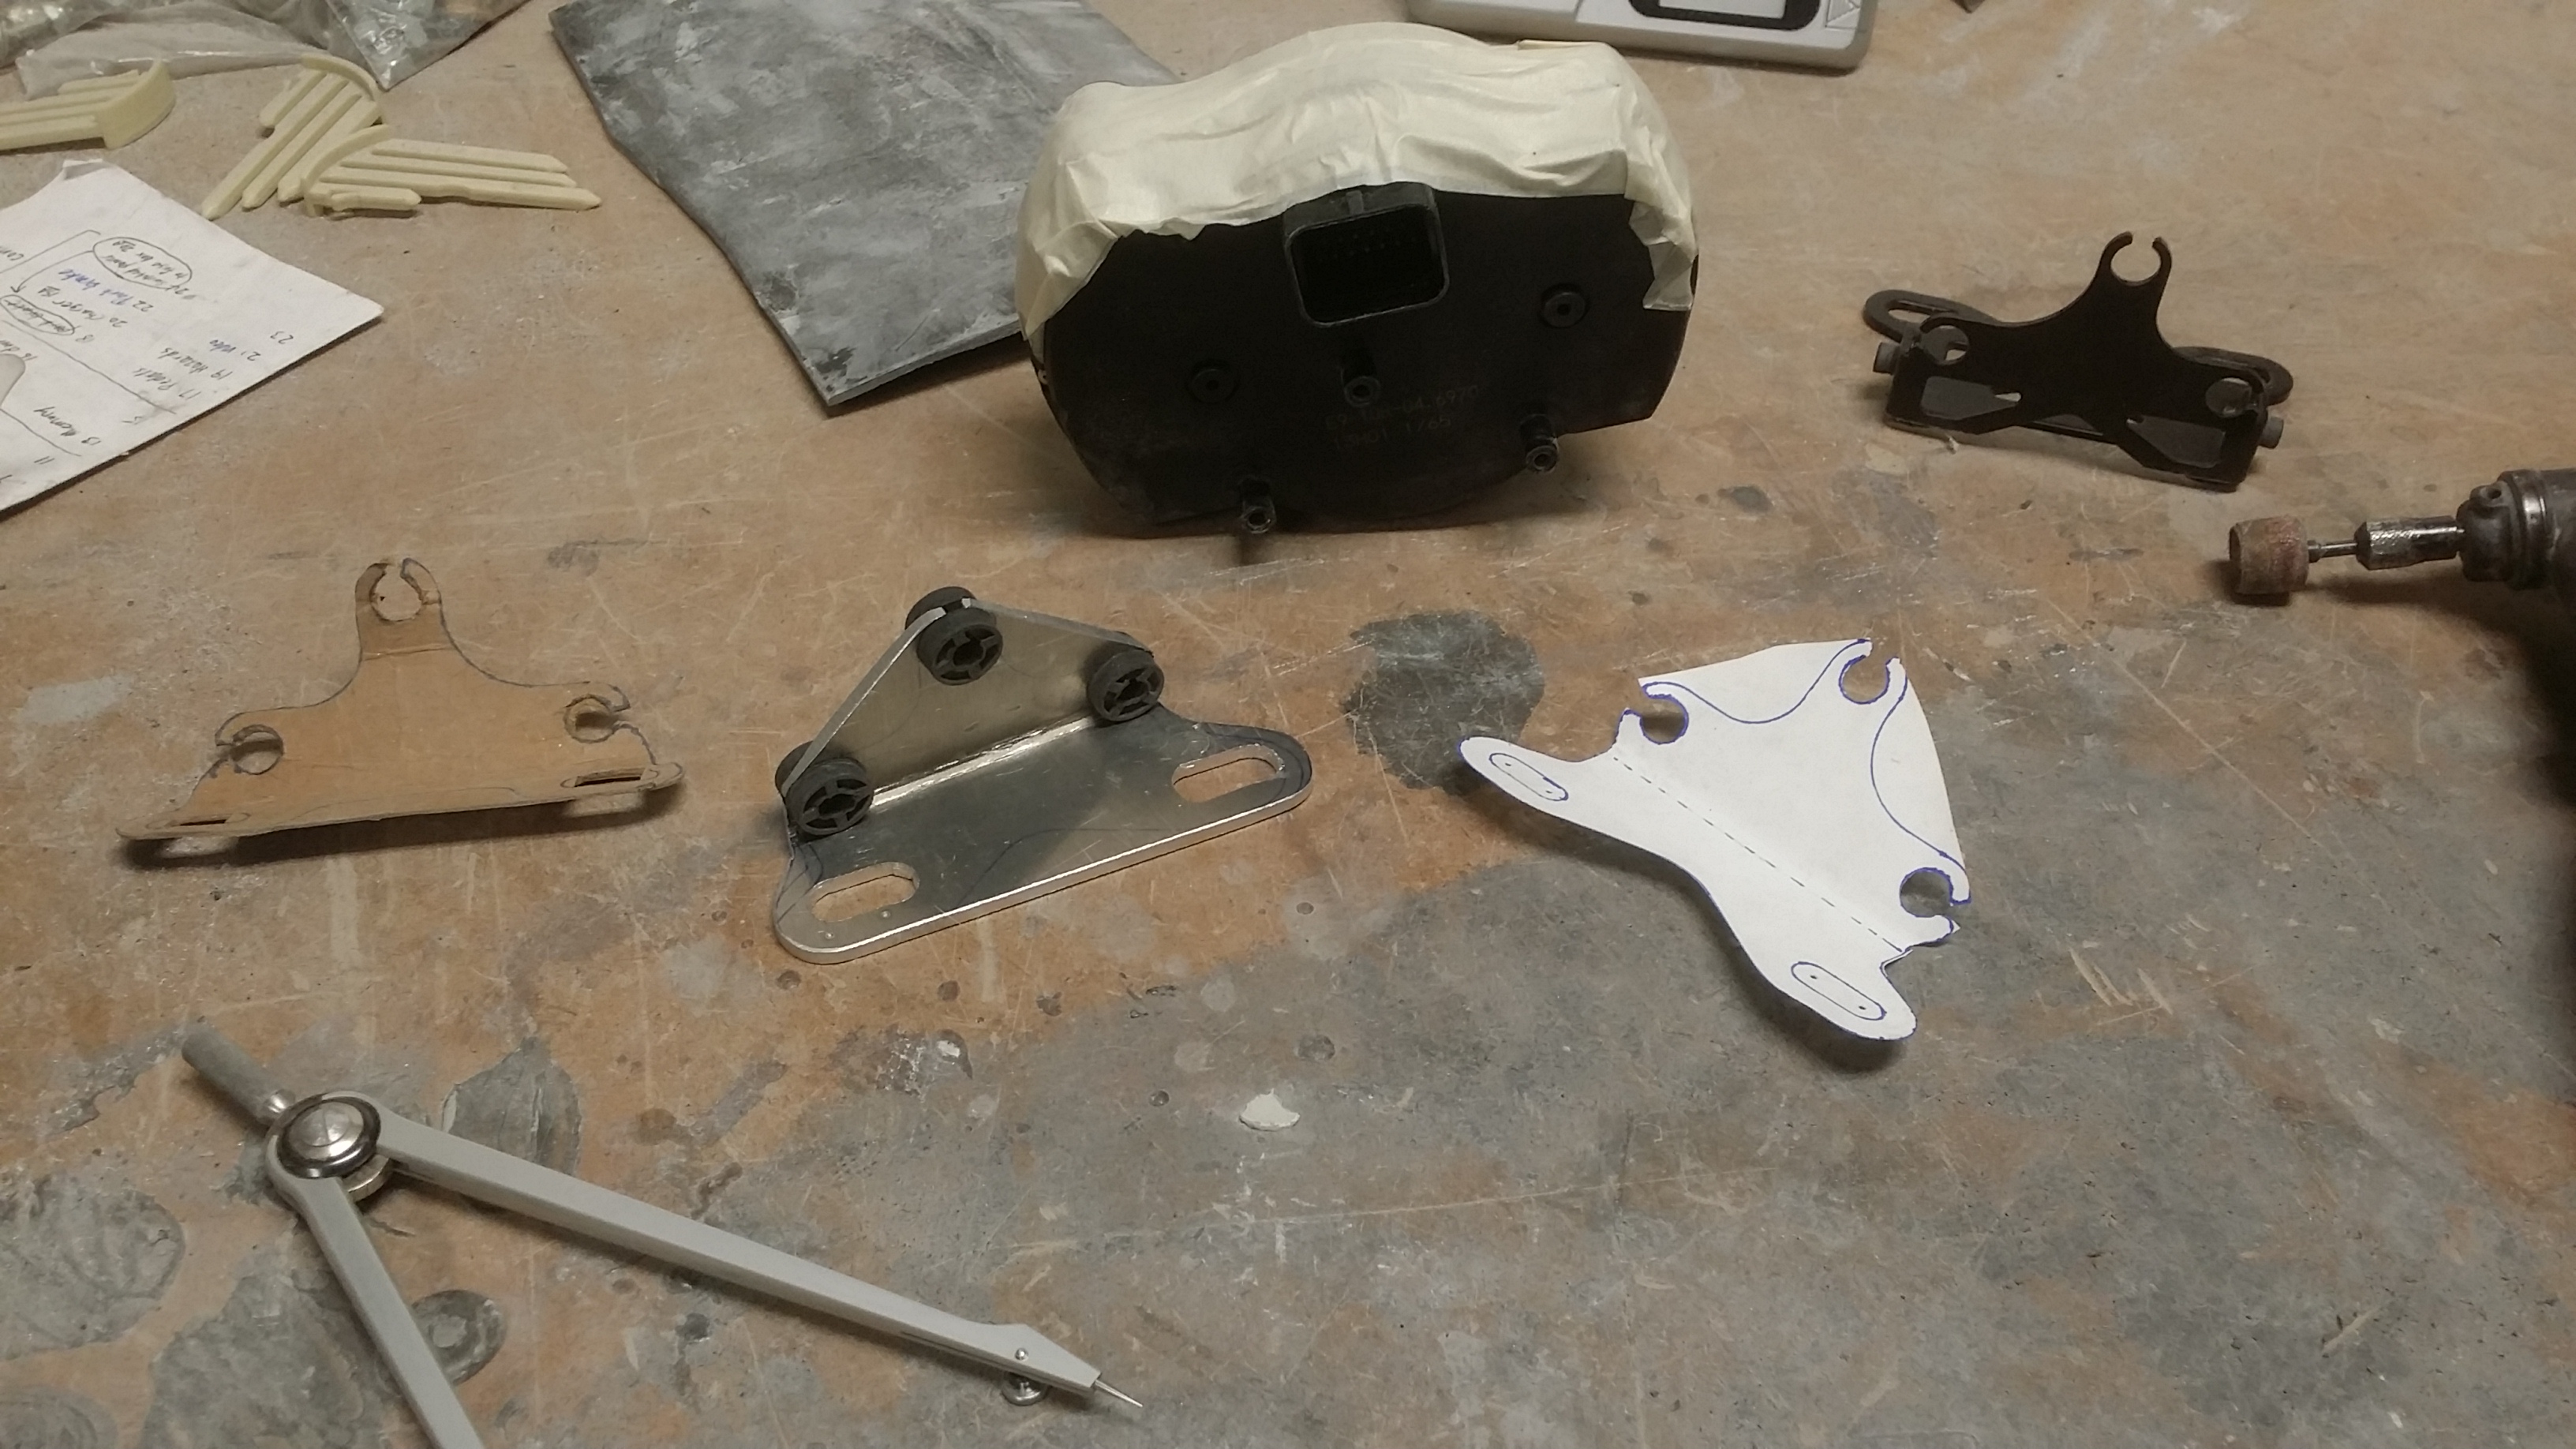
Troy was gracious enough to build me an engine mount, but it didn't fit. His 1UZFE is from an LS400, so I guess that means mine is from an SC400. Either way, the engine mount had to be redone. I designed and fabricated it myself. My first engine mount. I didn't weld it, I had to farm that out

2015-12-10.jpg


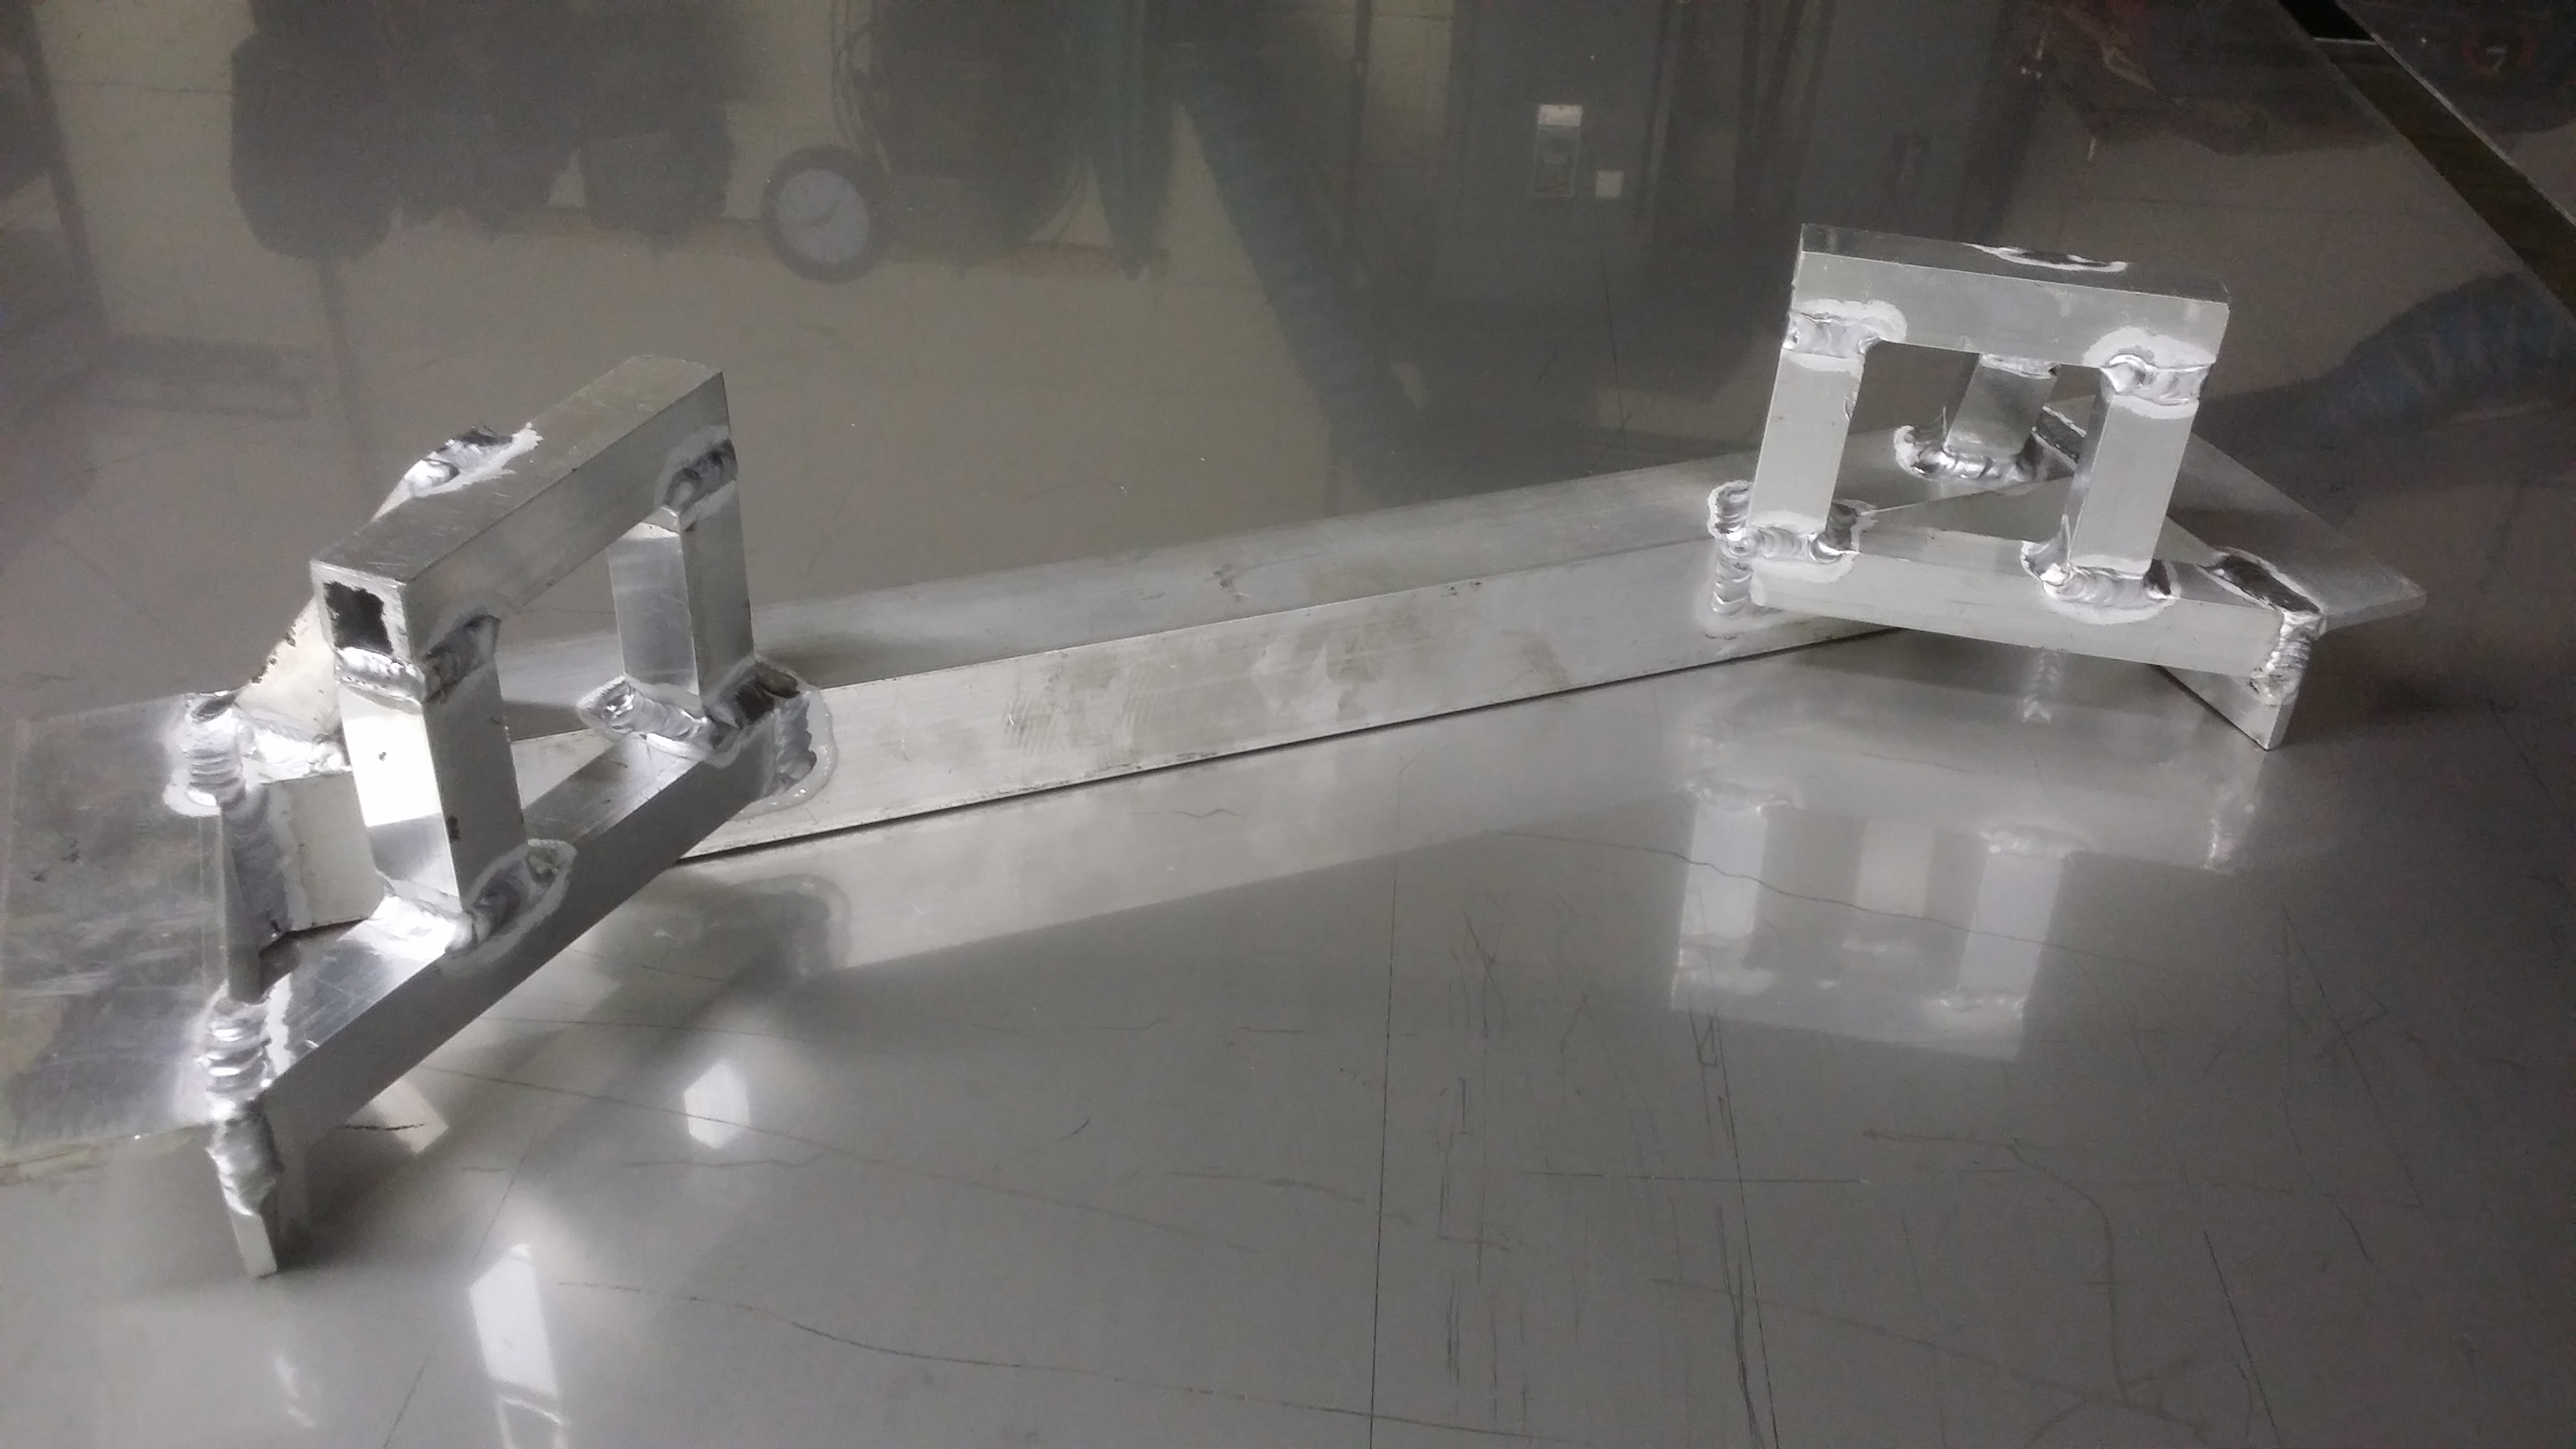
Before posting this, I figured I better run out and see if it fits. I DID design this by eye with a measuring tape. It does in fact fit. One of the holes is off center and too close to the edge but that can be fixed.

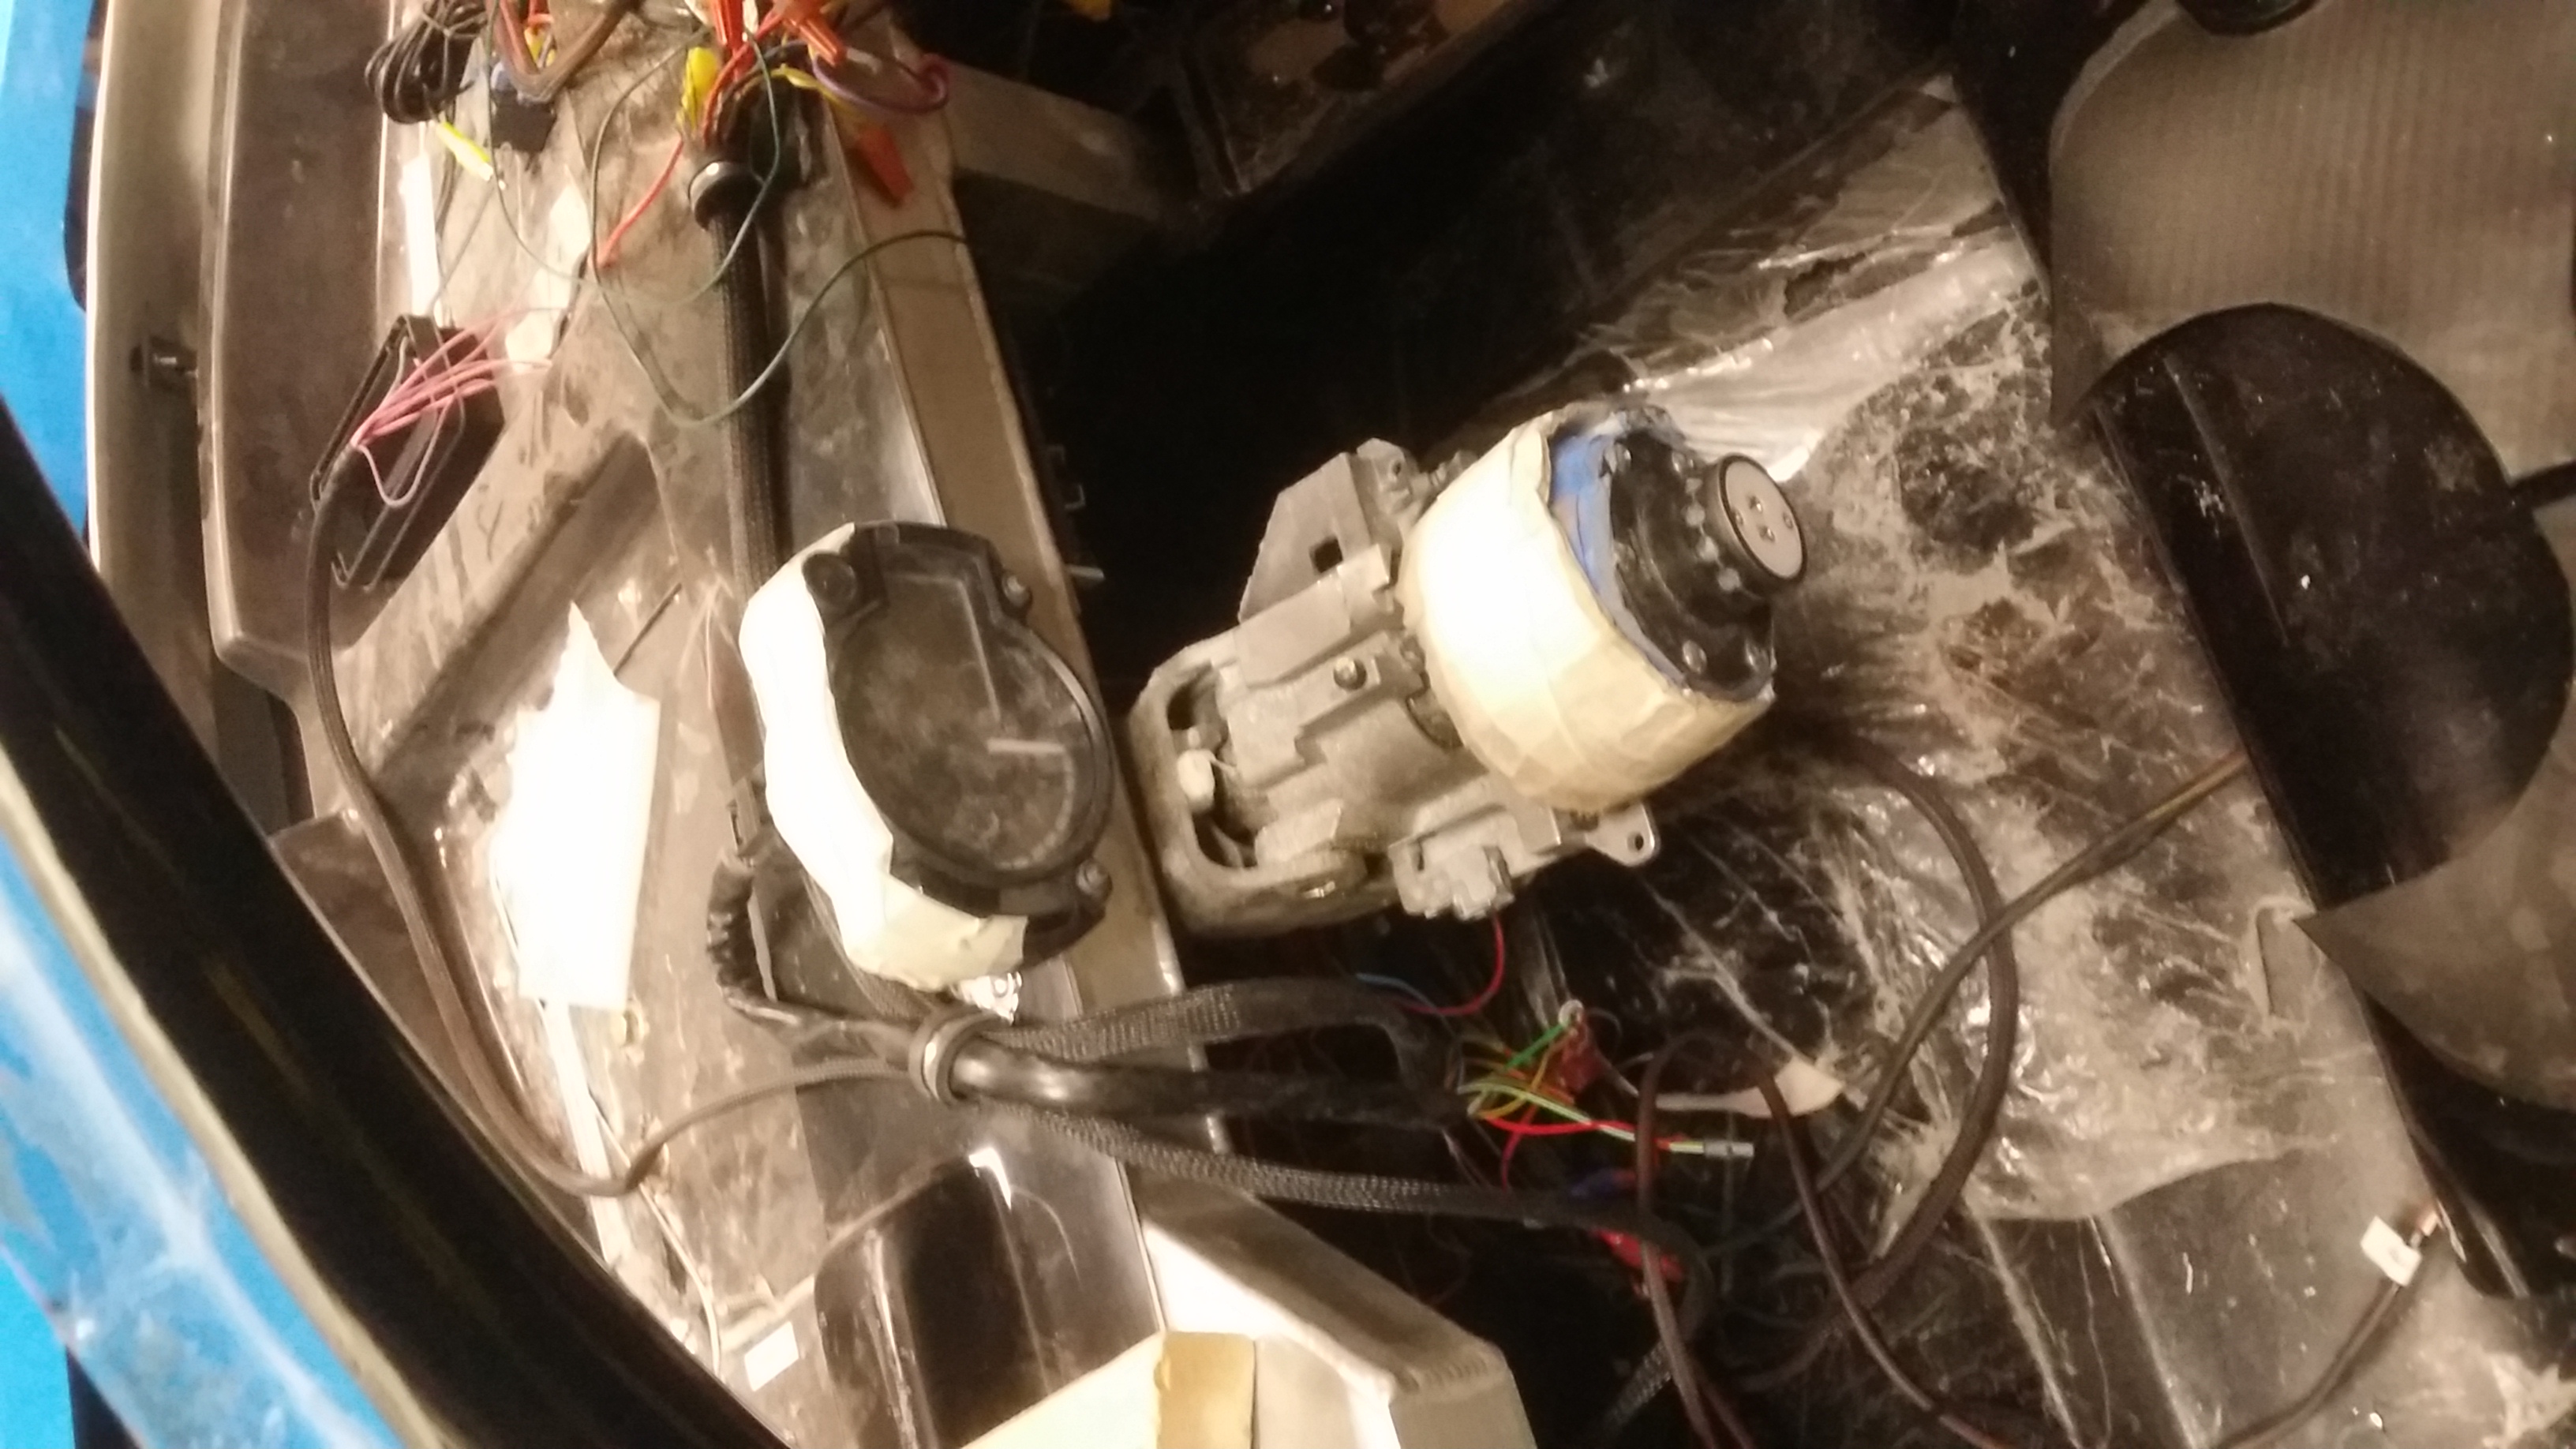
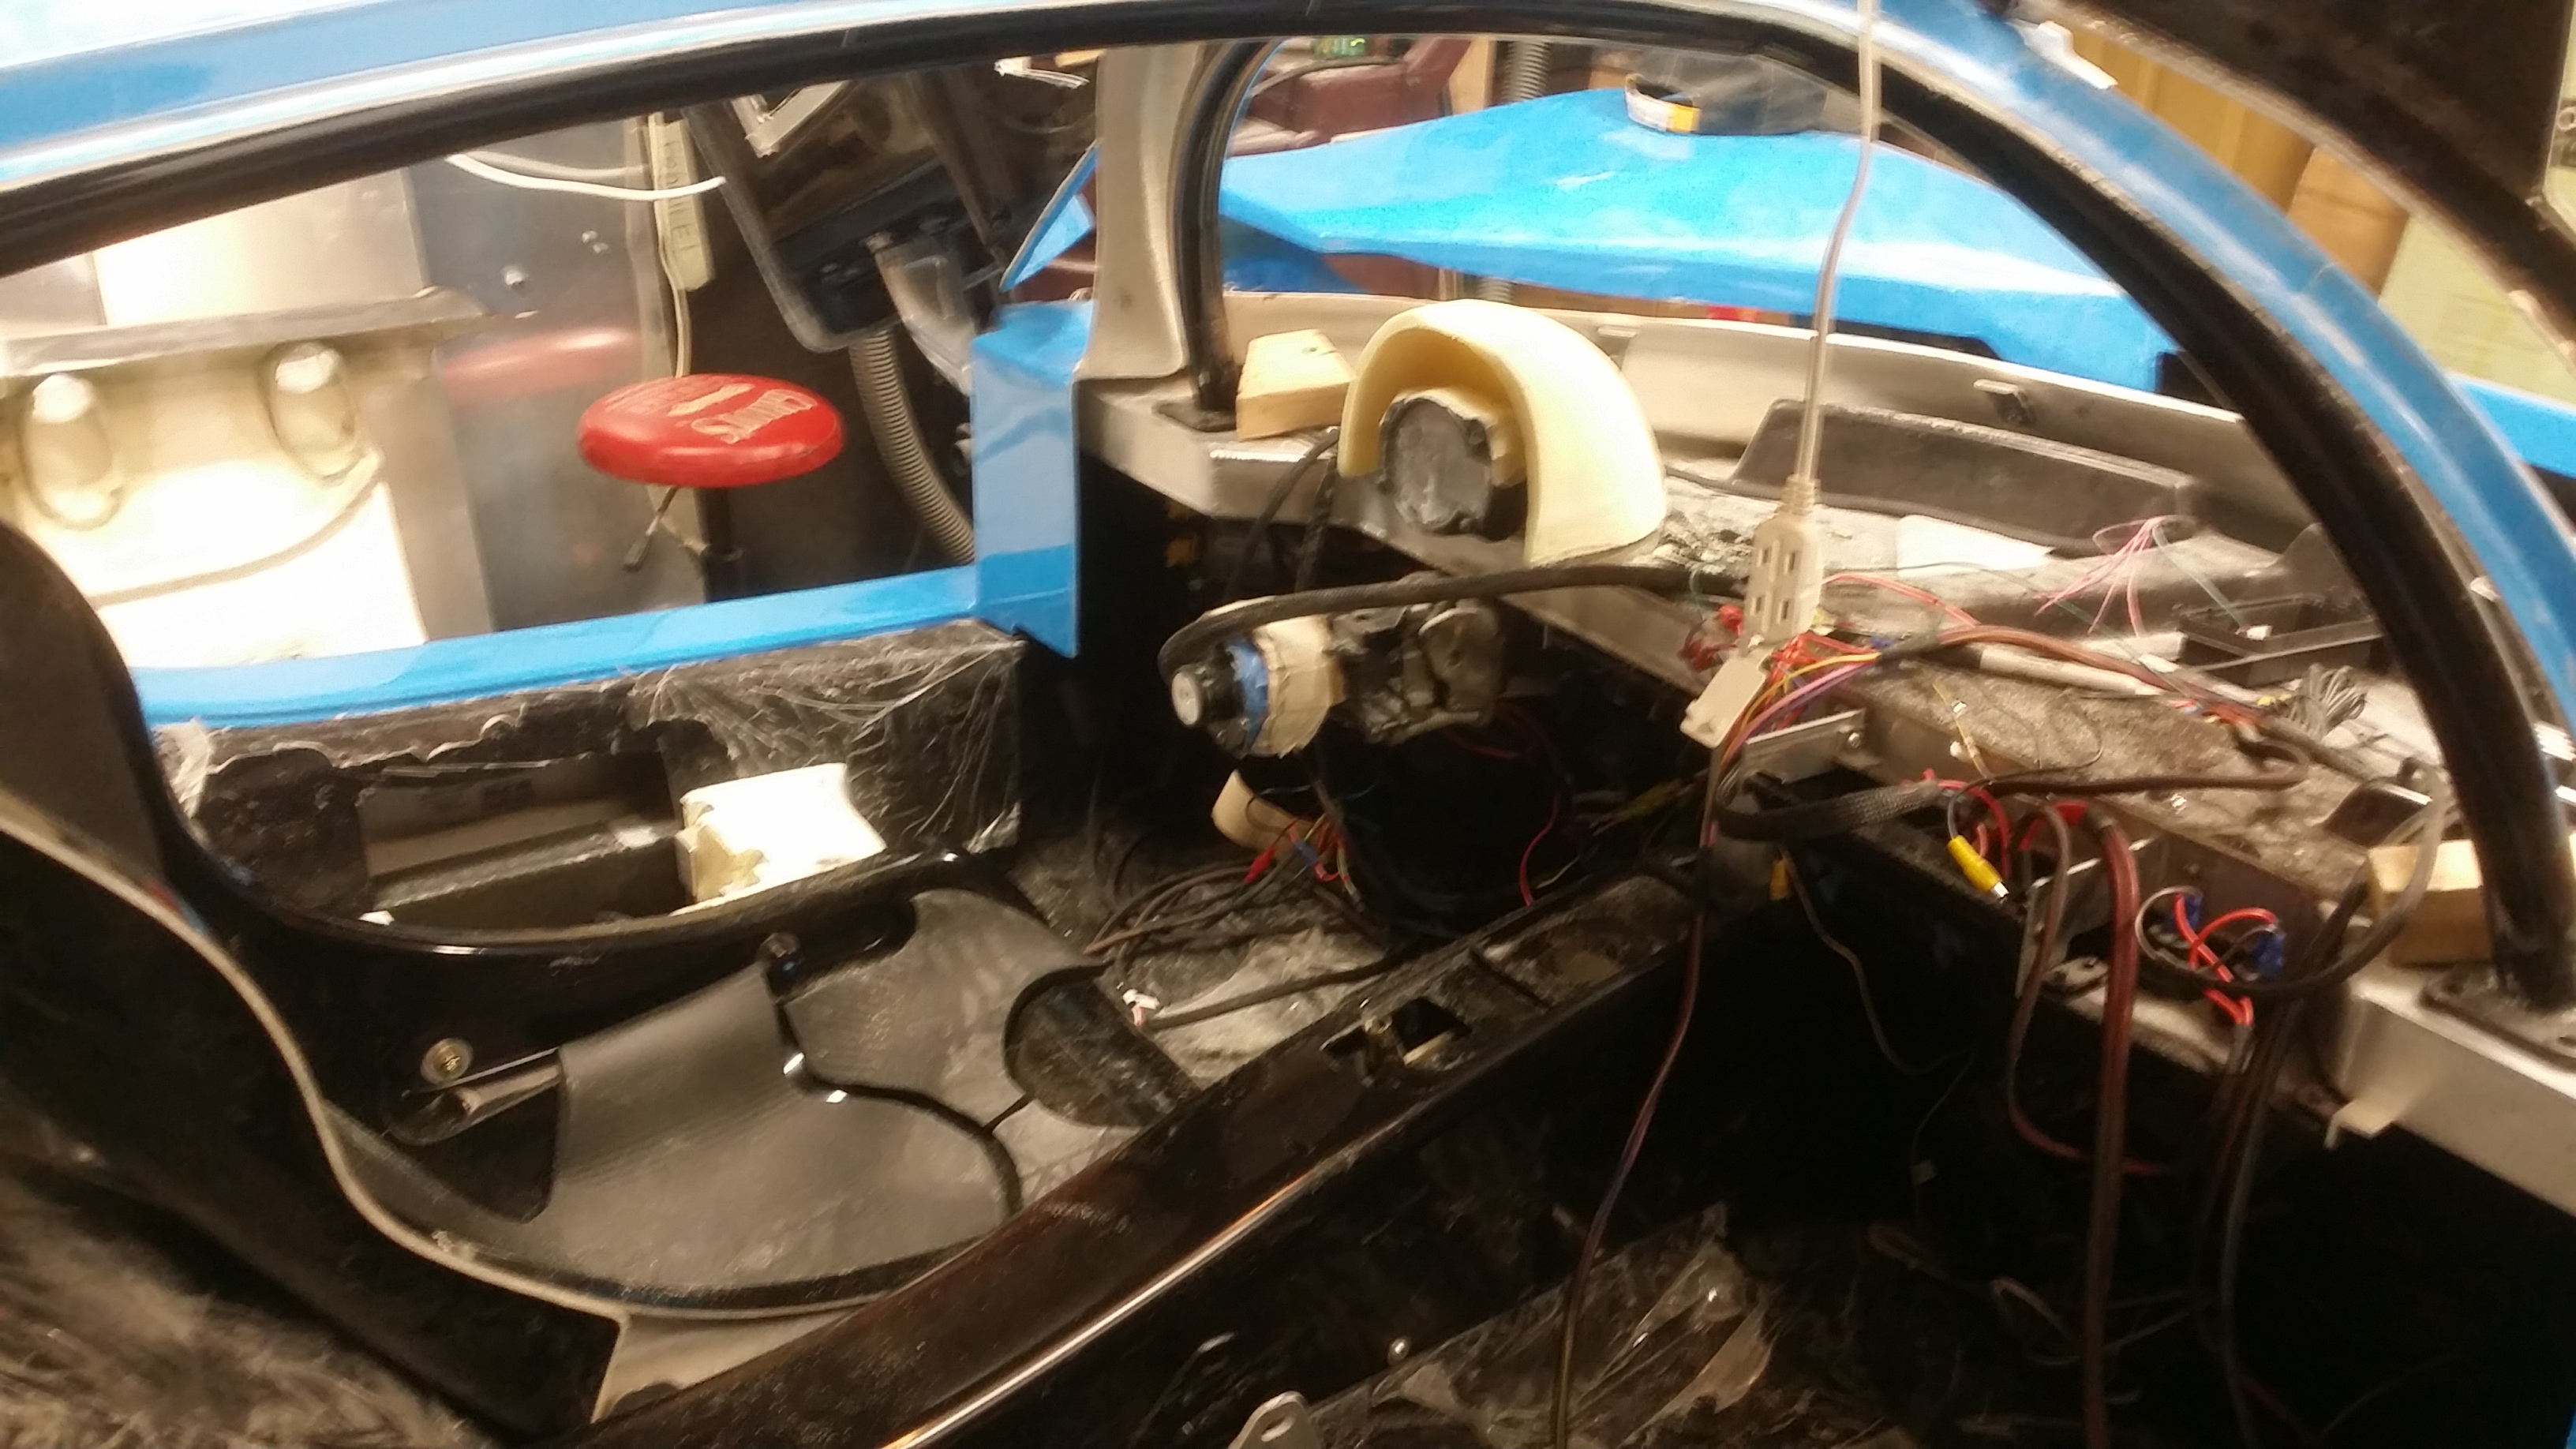
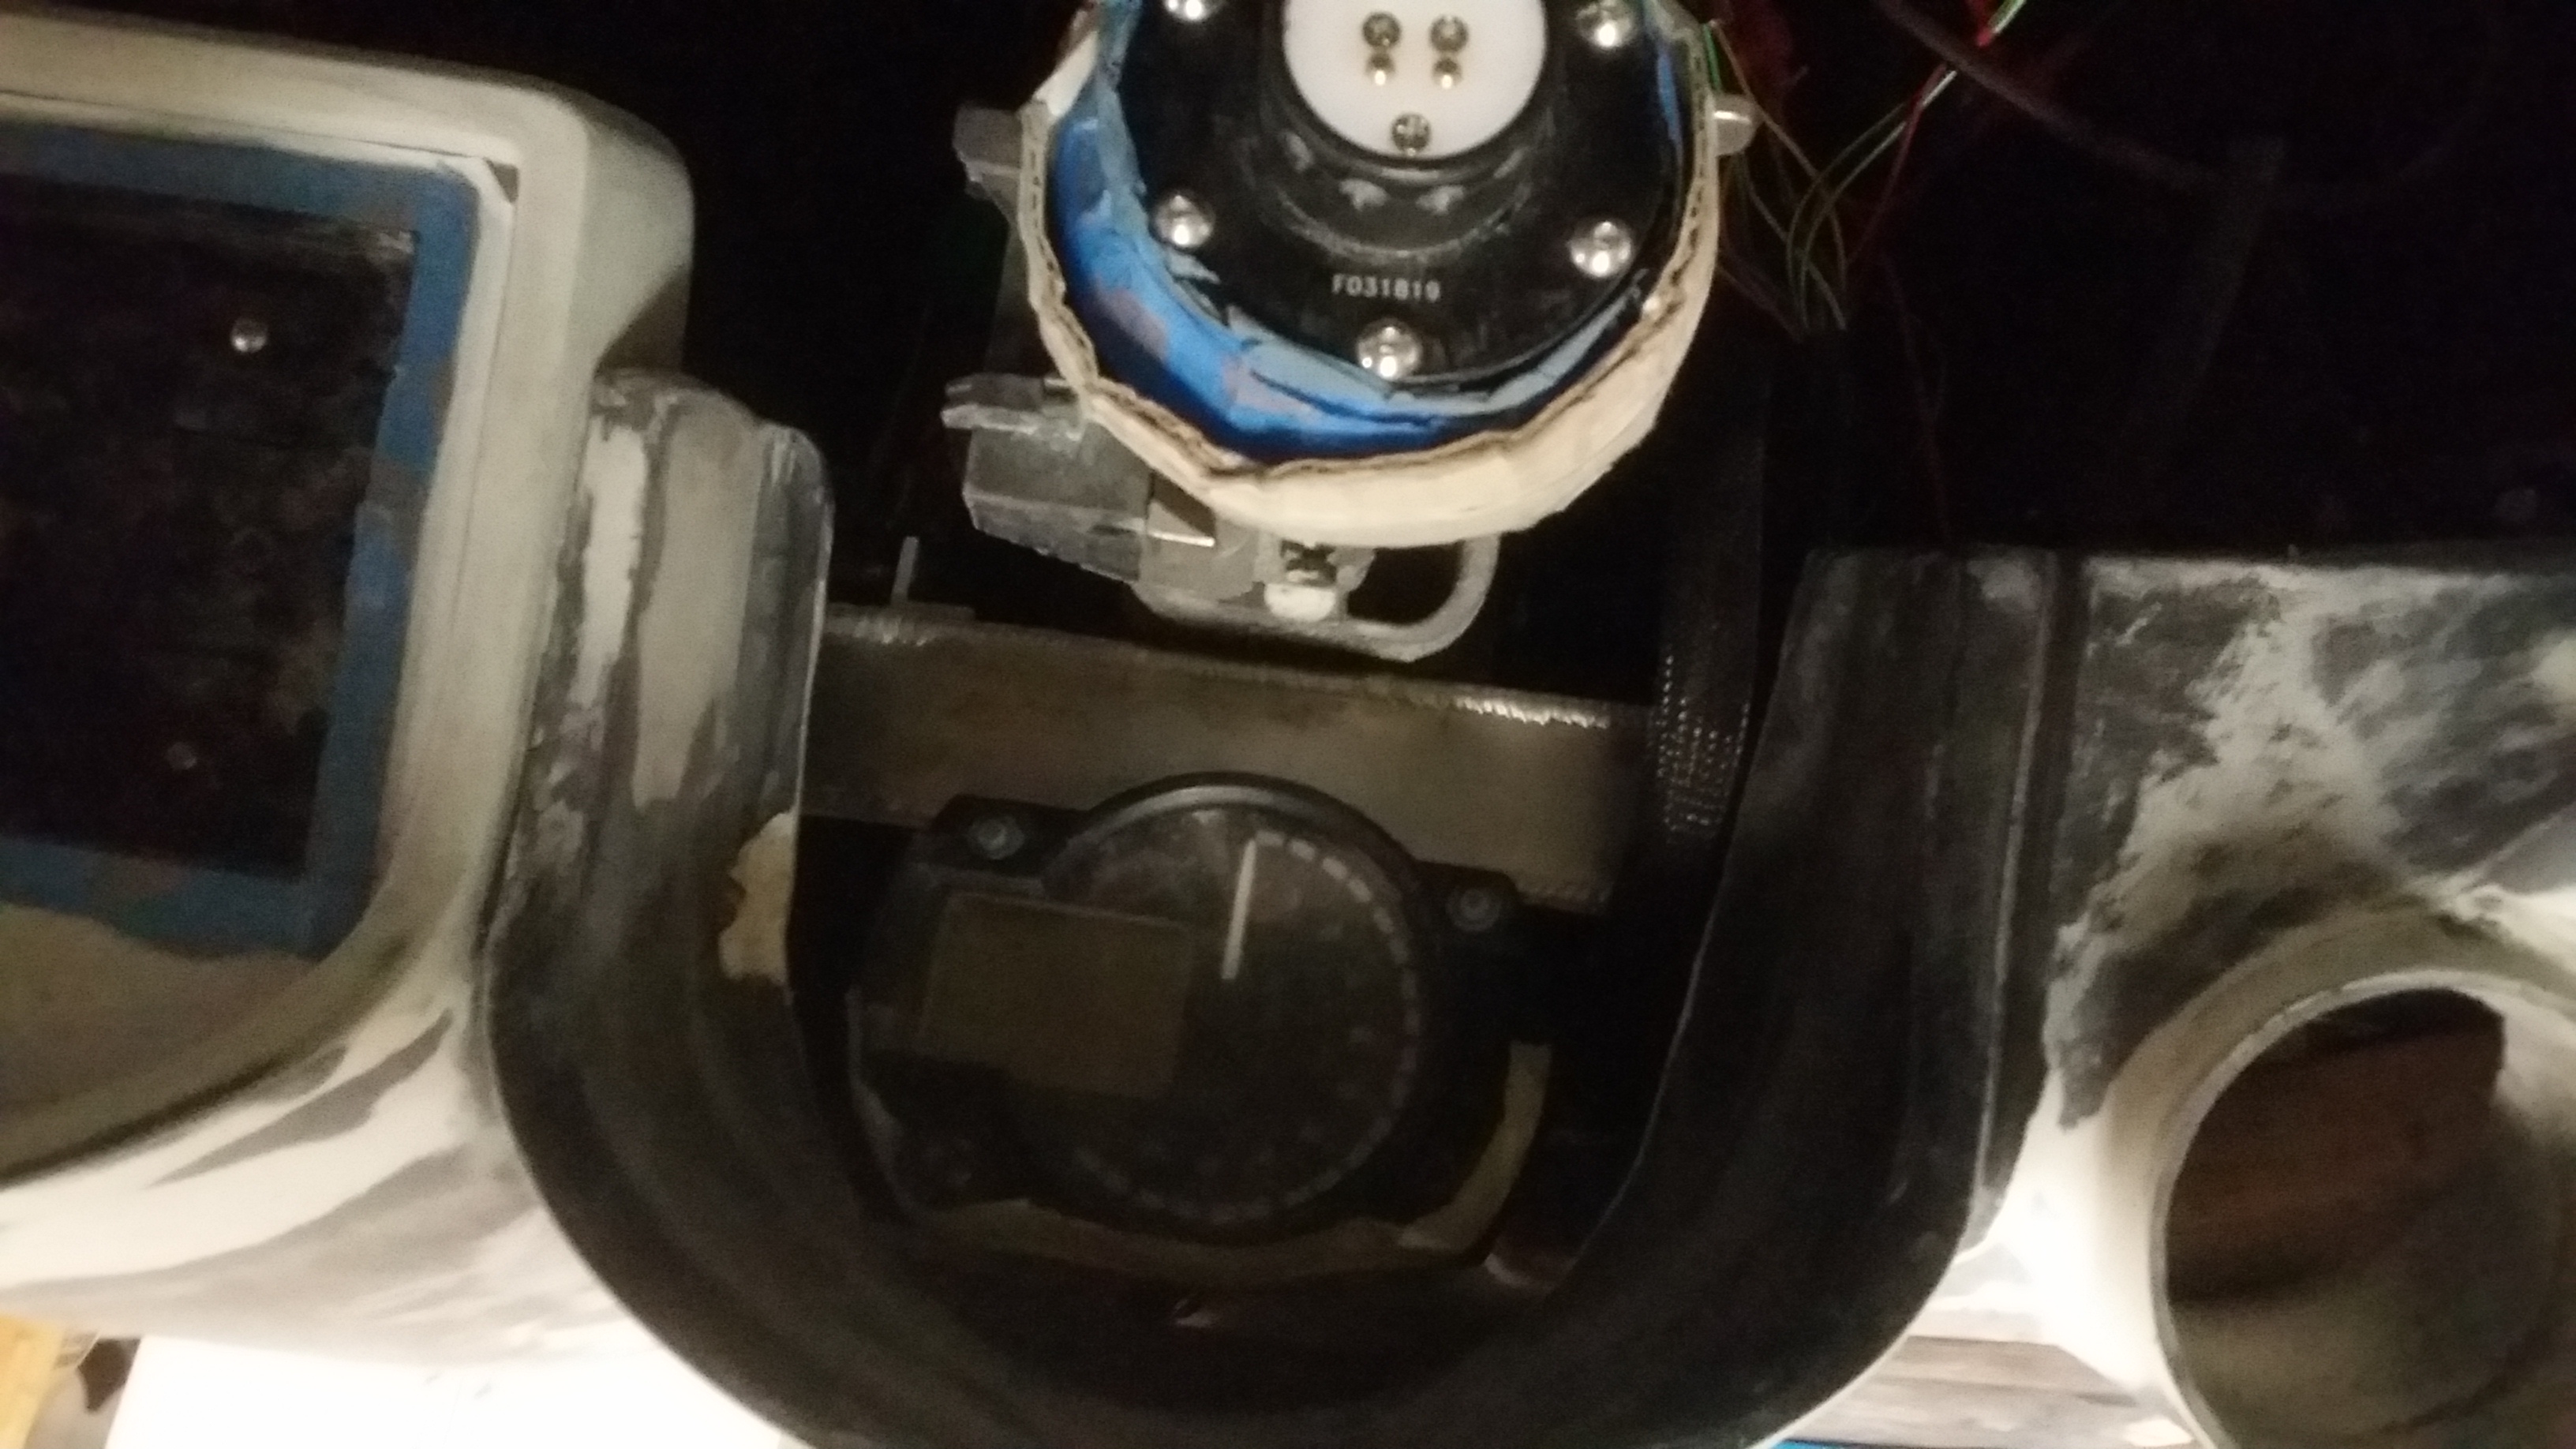
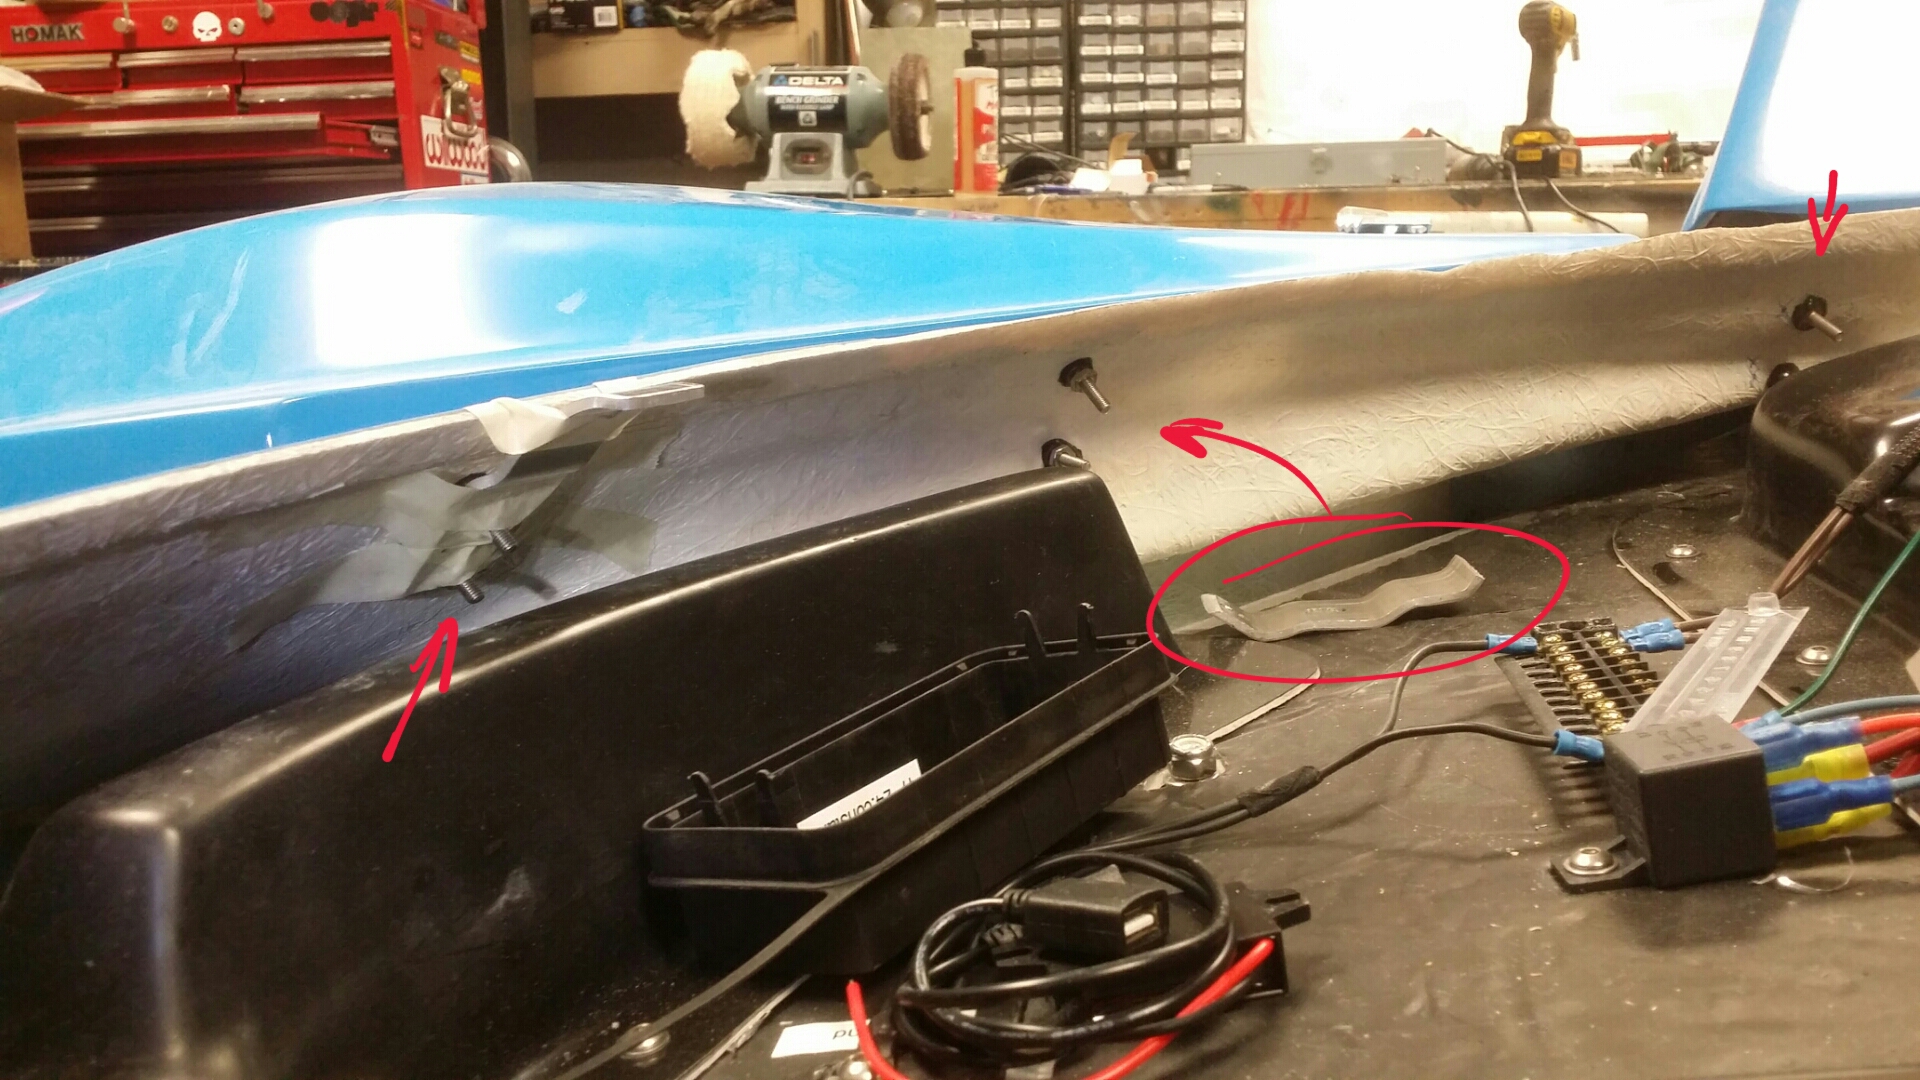
I also got my dash supports installed. I bonded 10-32 screws to the windshield opening. The screw heads were sanded smooth to look like a miniature weld stud. I also ground flats on both sides of the head so it had less tendency to rotate under torque. The brackets are slotted so I can adjust each point so I can fine tune the dash location. I knew there was no way I was going to get this just right on my first try if I glued the brackets themselves to the opening. So I designed in a little adjustability. I plan on putting the hi temp silicone strips (which is from McMaster and was purchased to use on the fuel tank installation) on the bracket ends to keep the dash from rattling.
2015-12-14 02.jpg


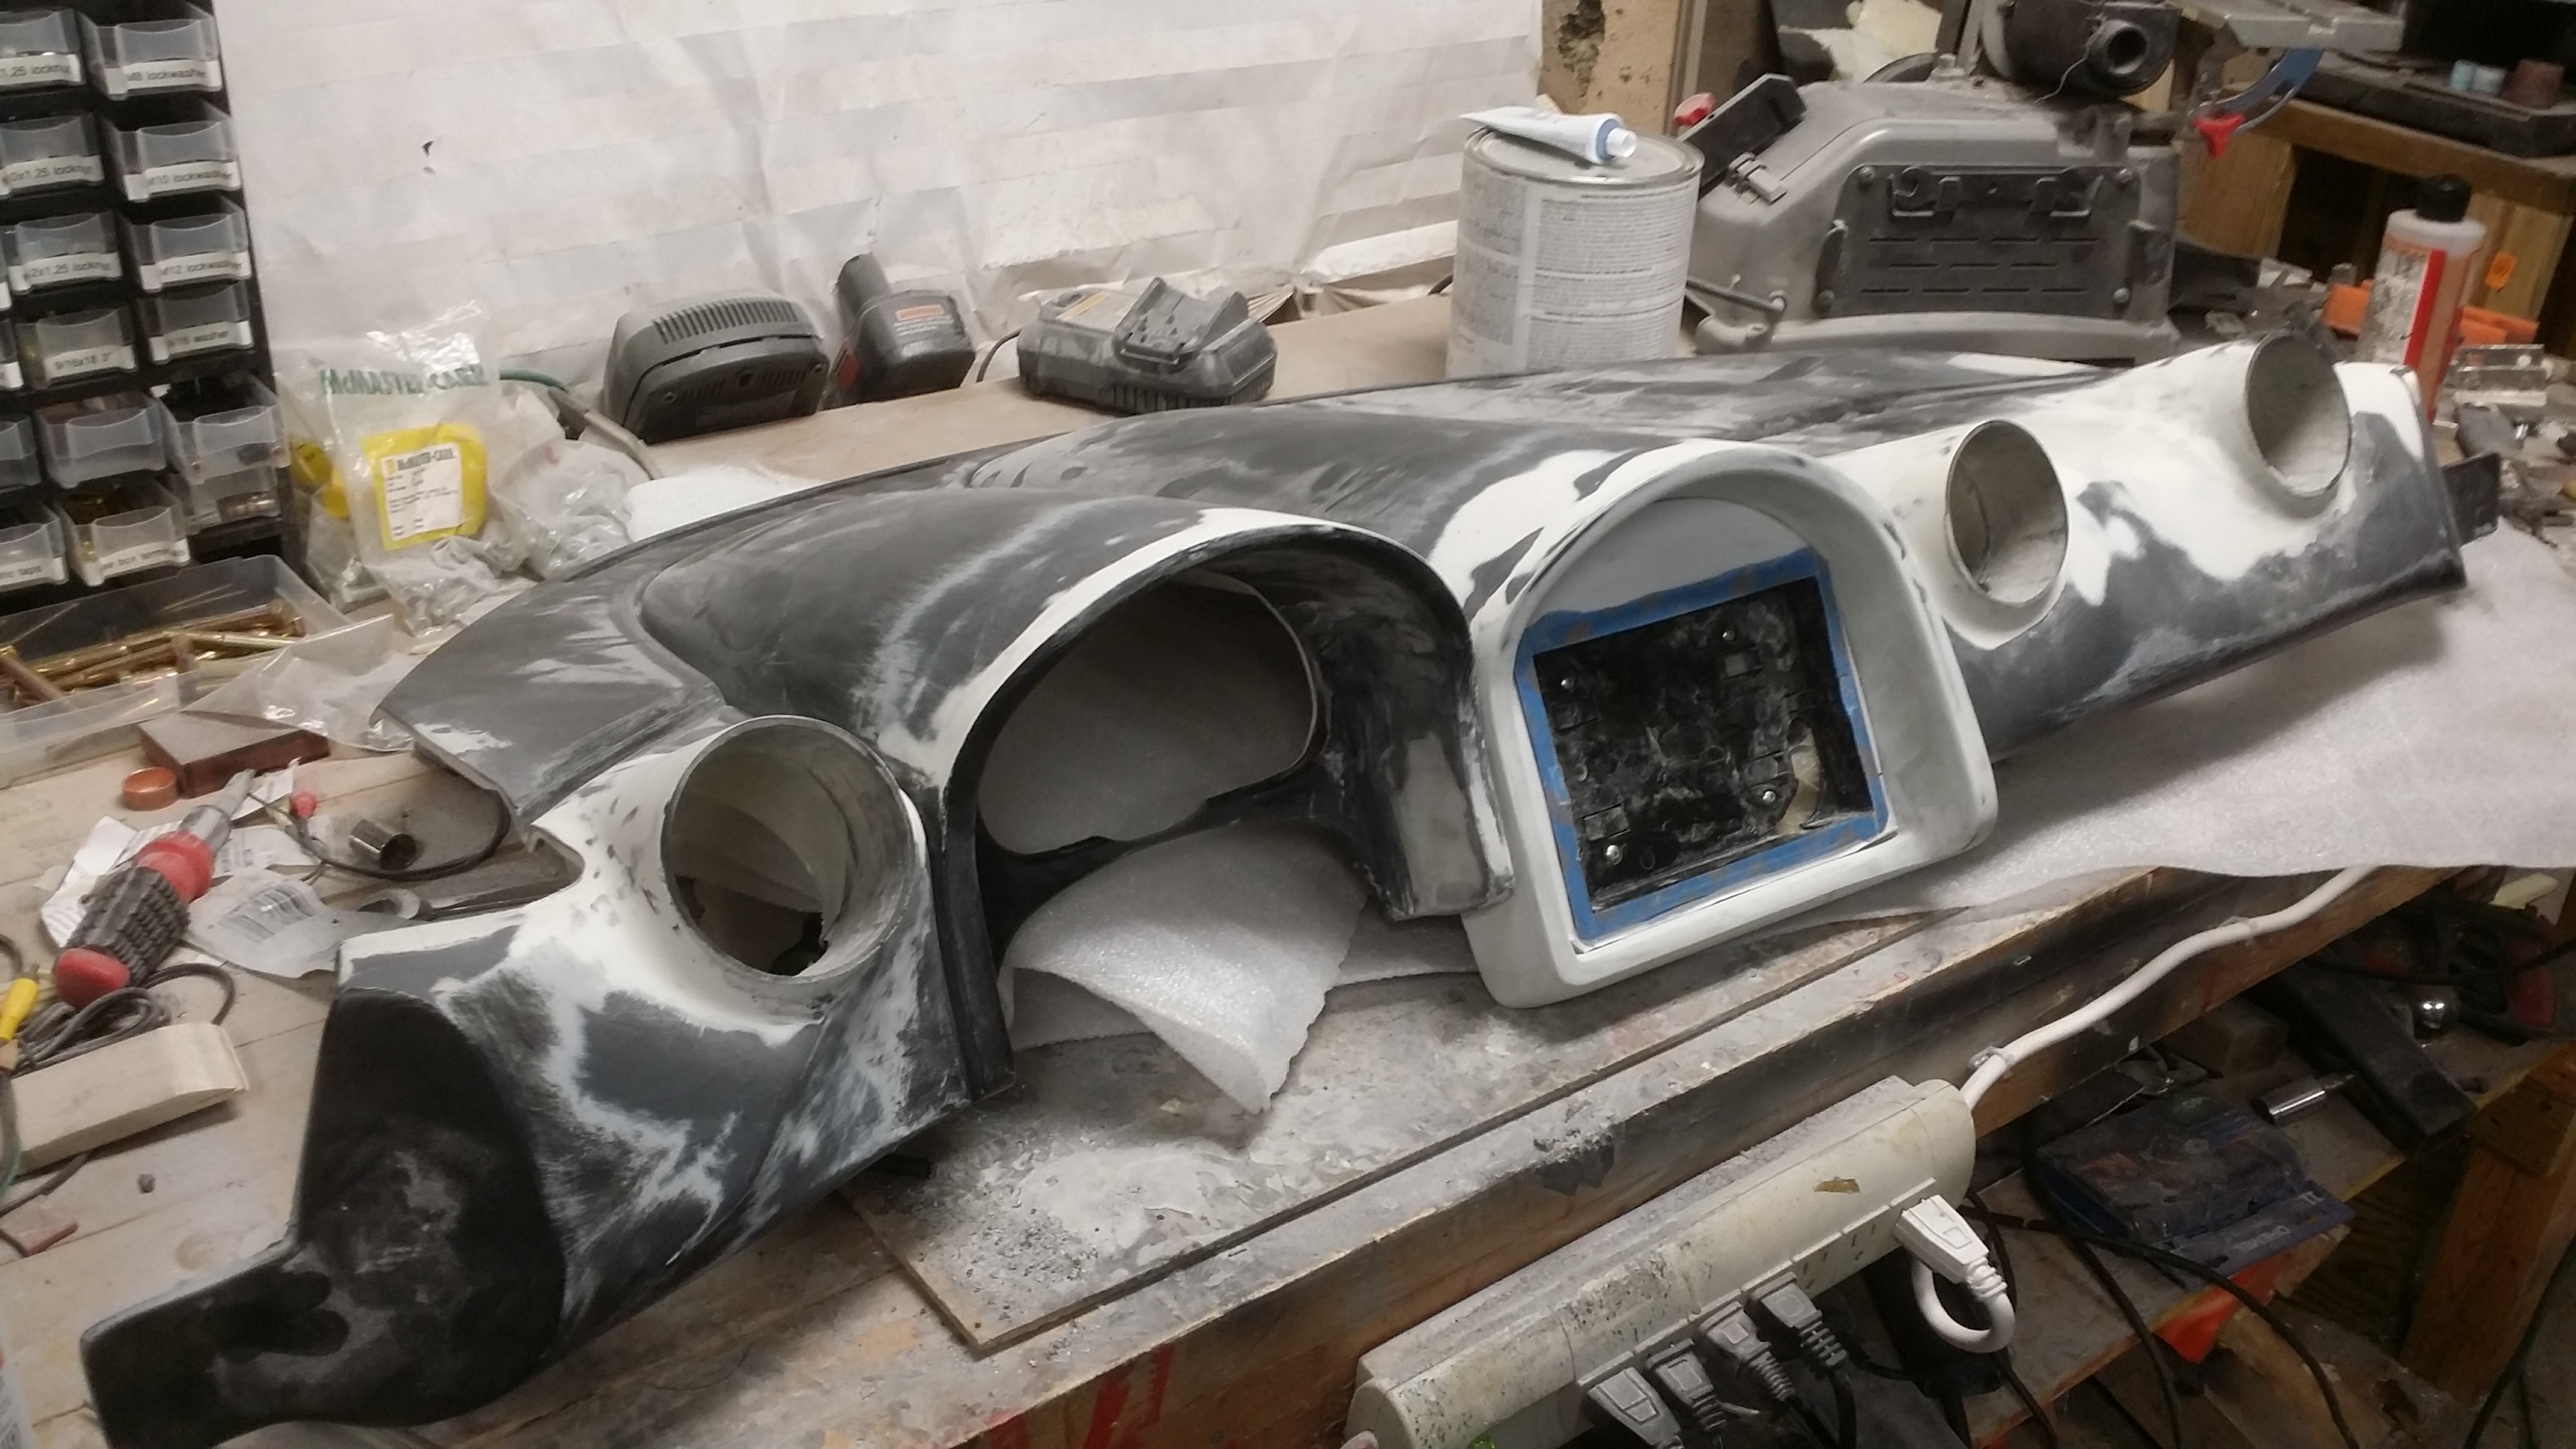
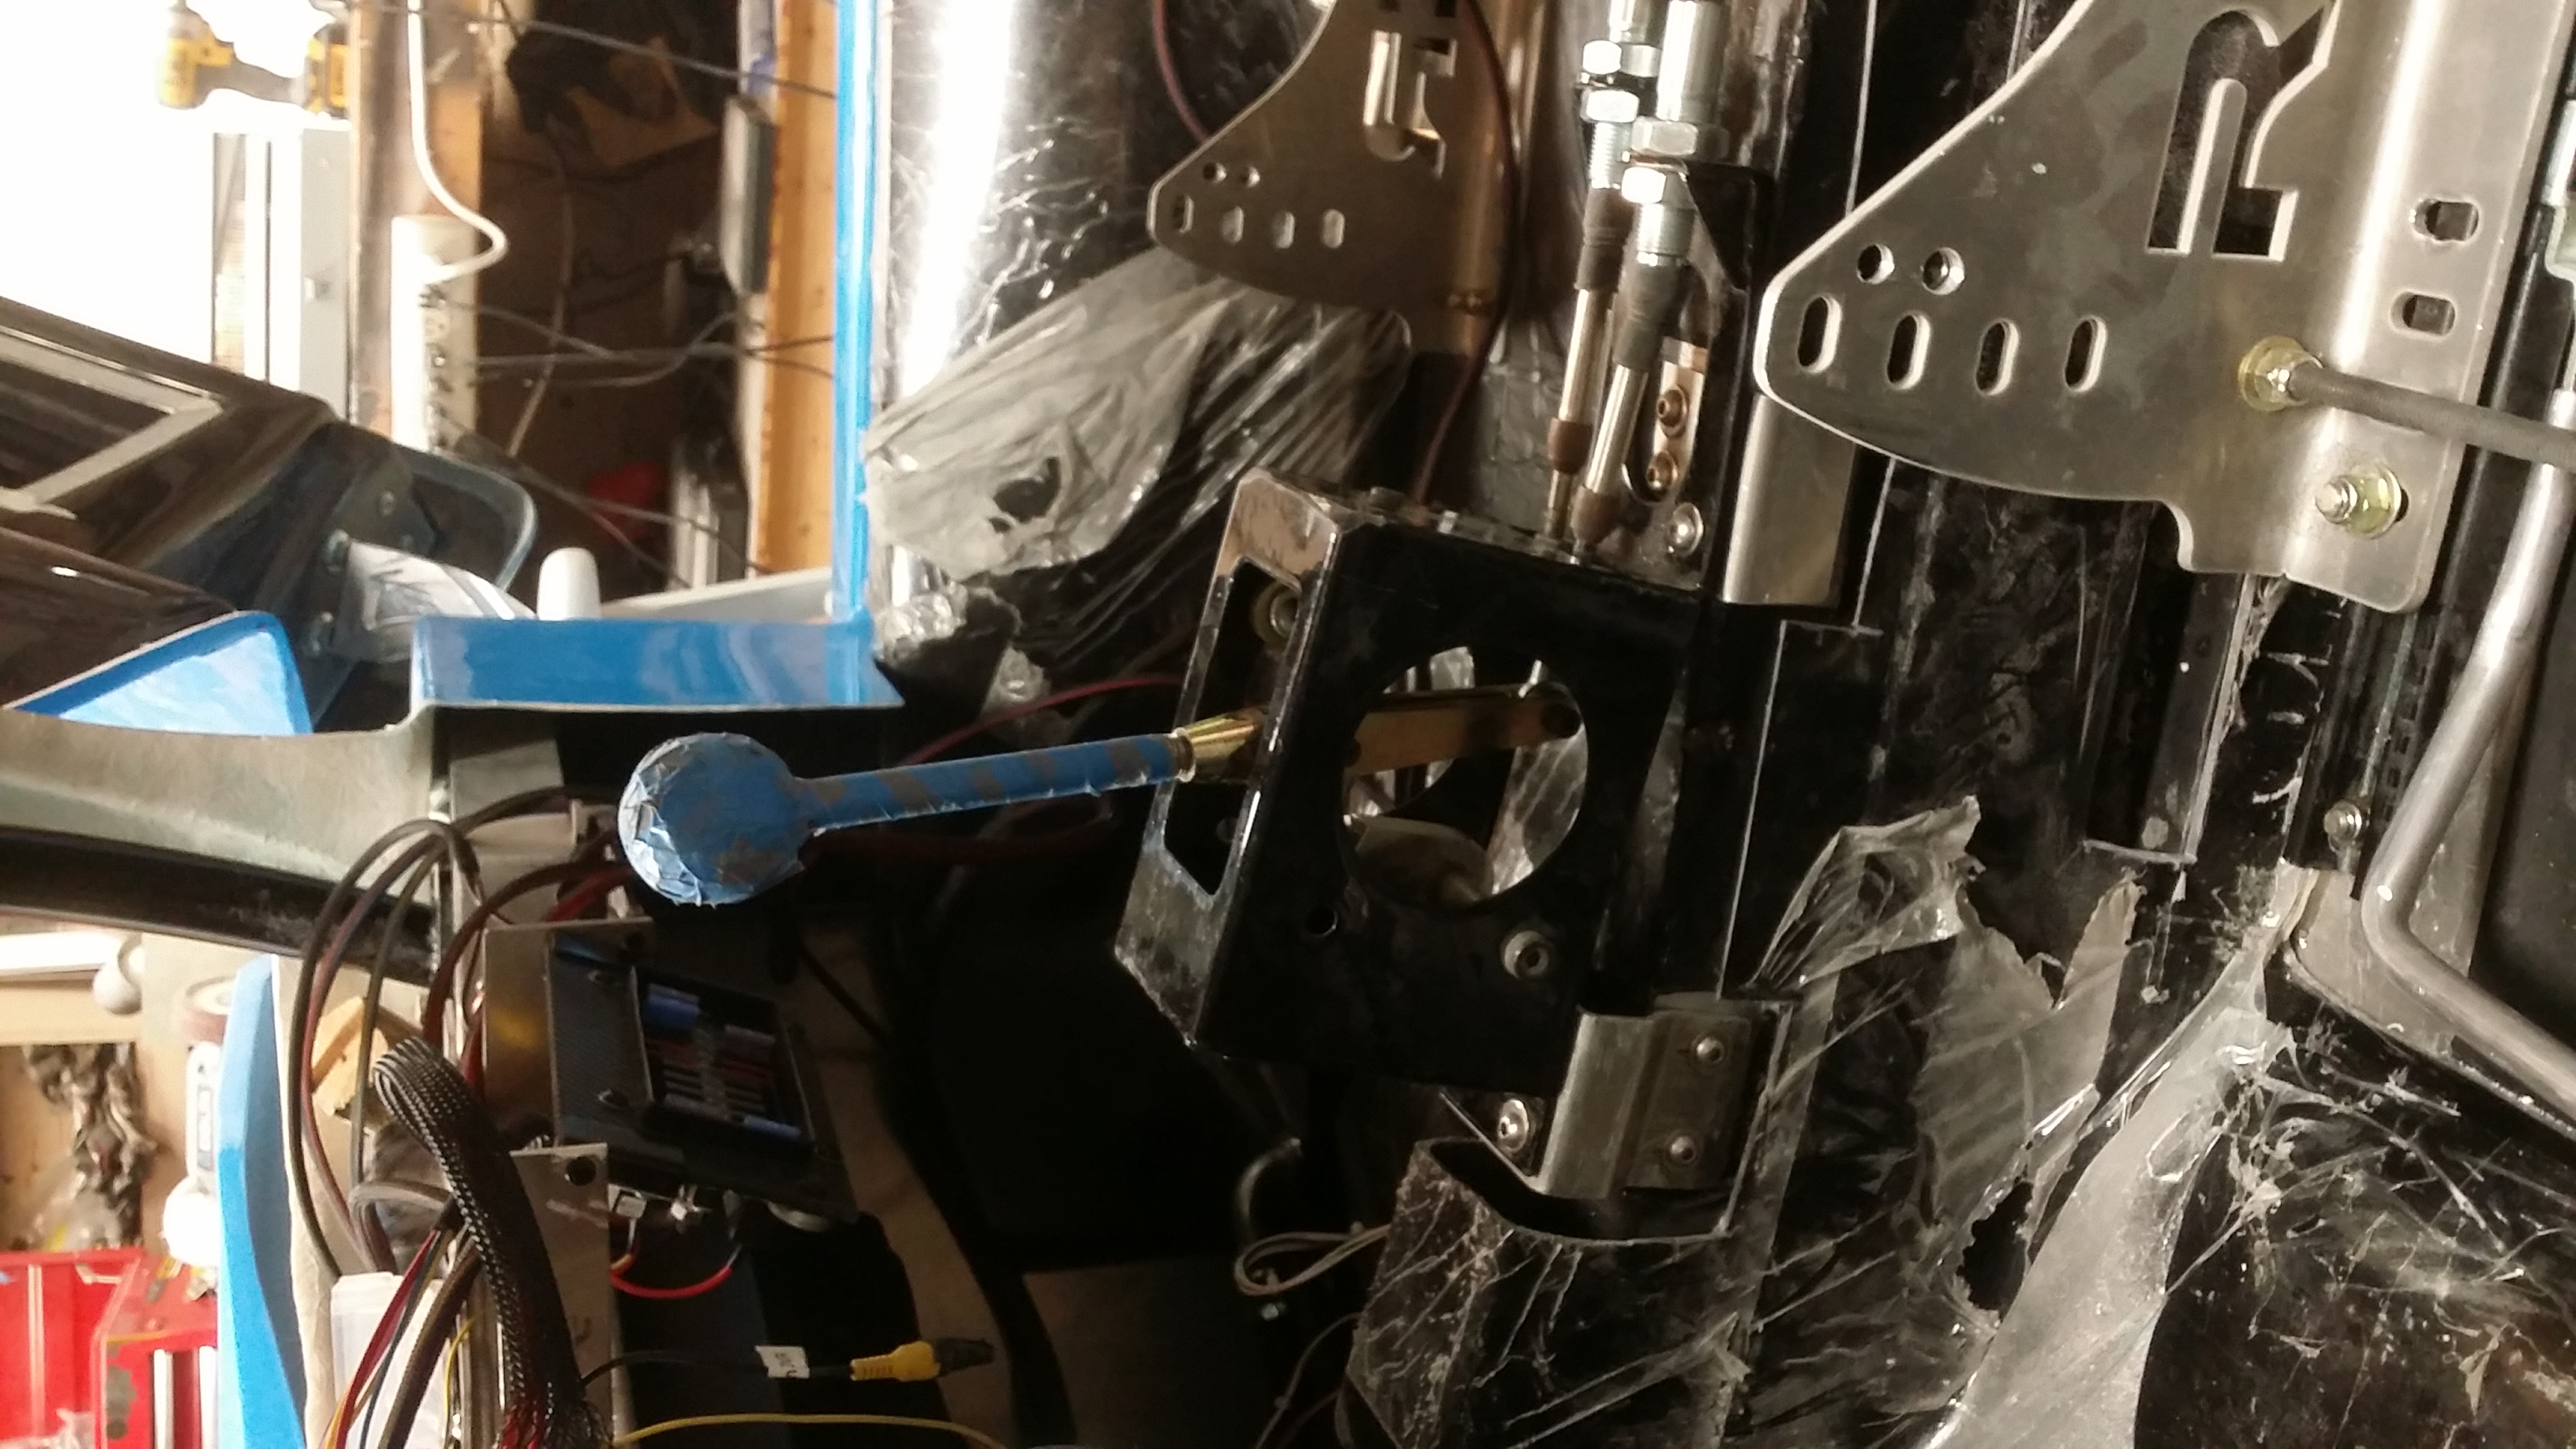
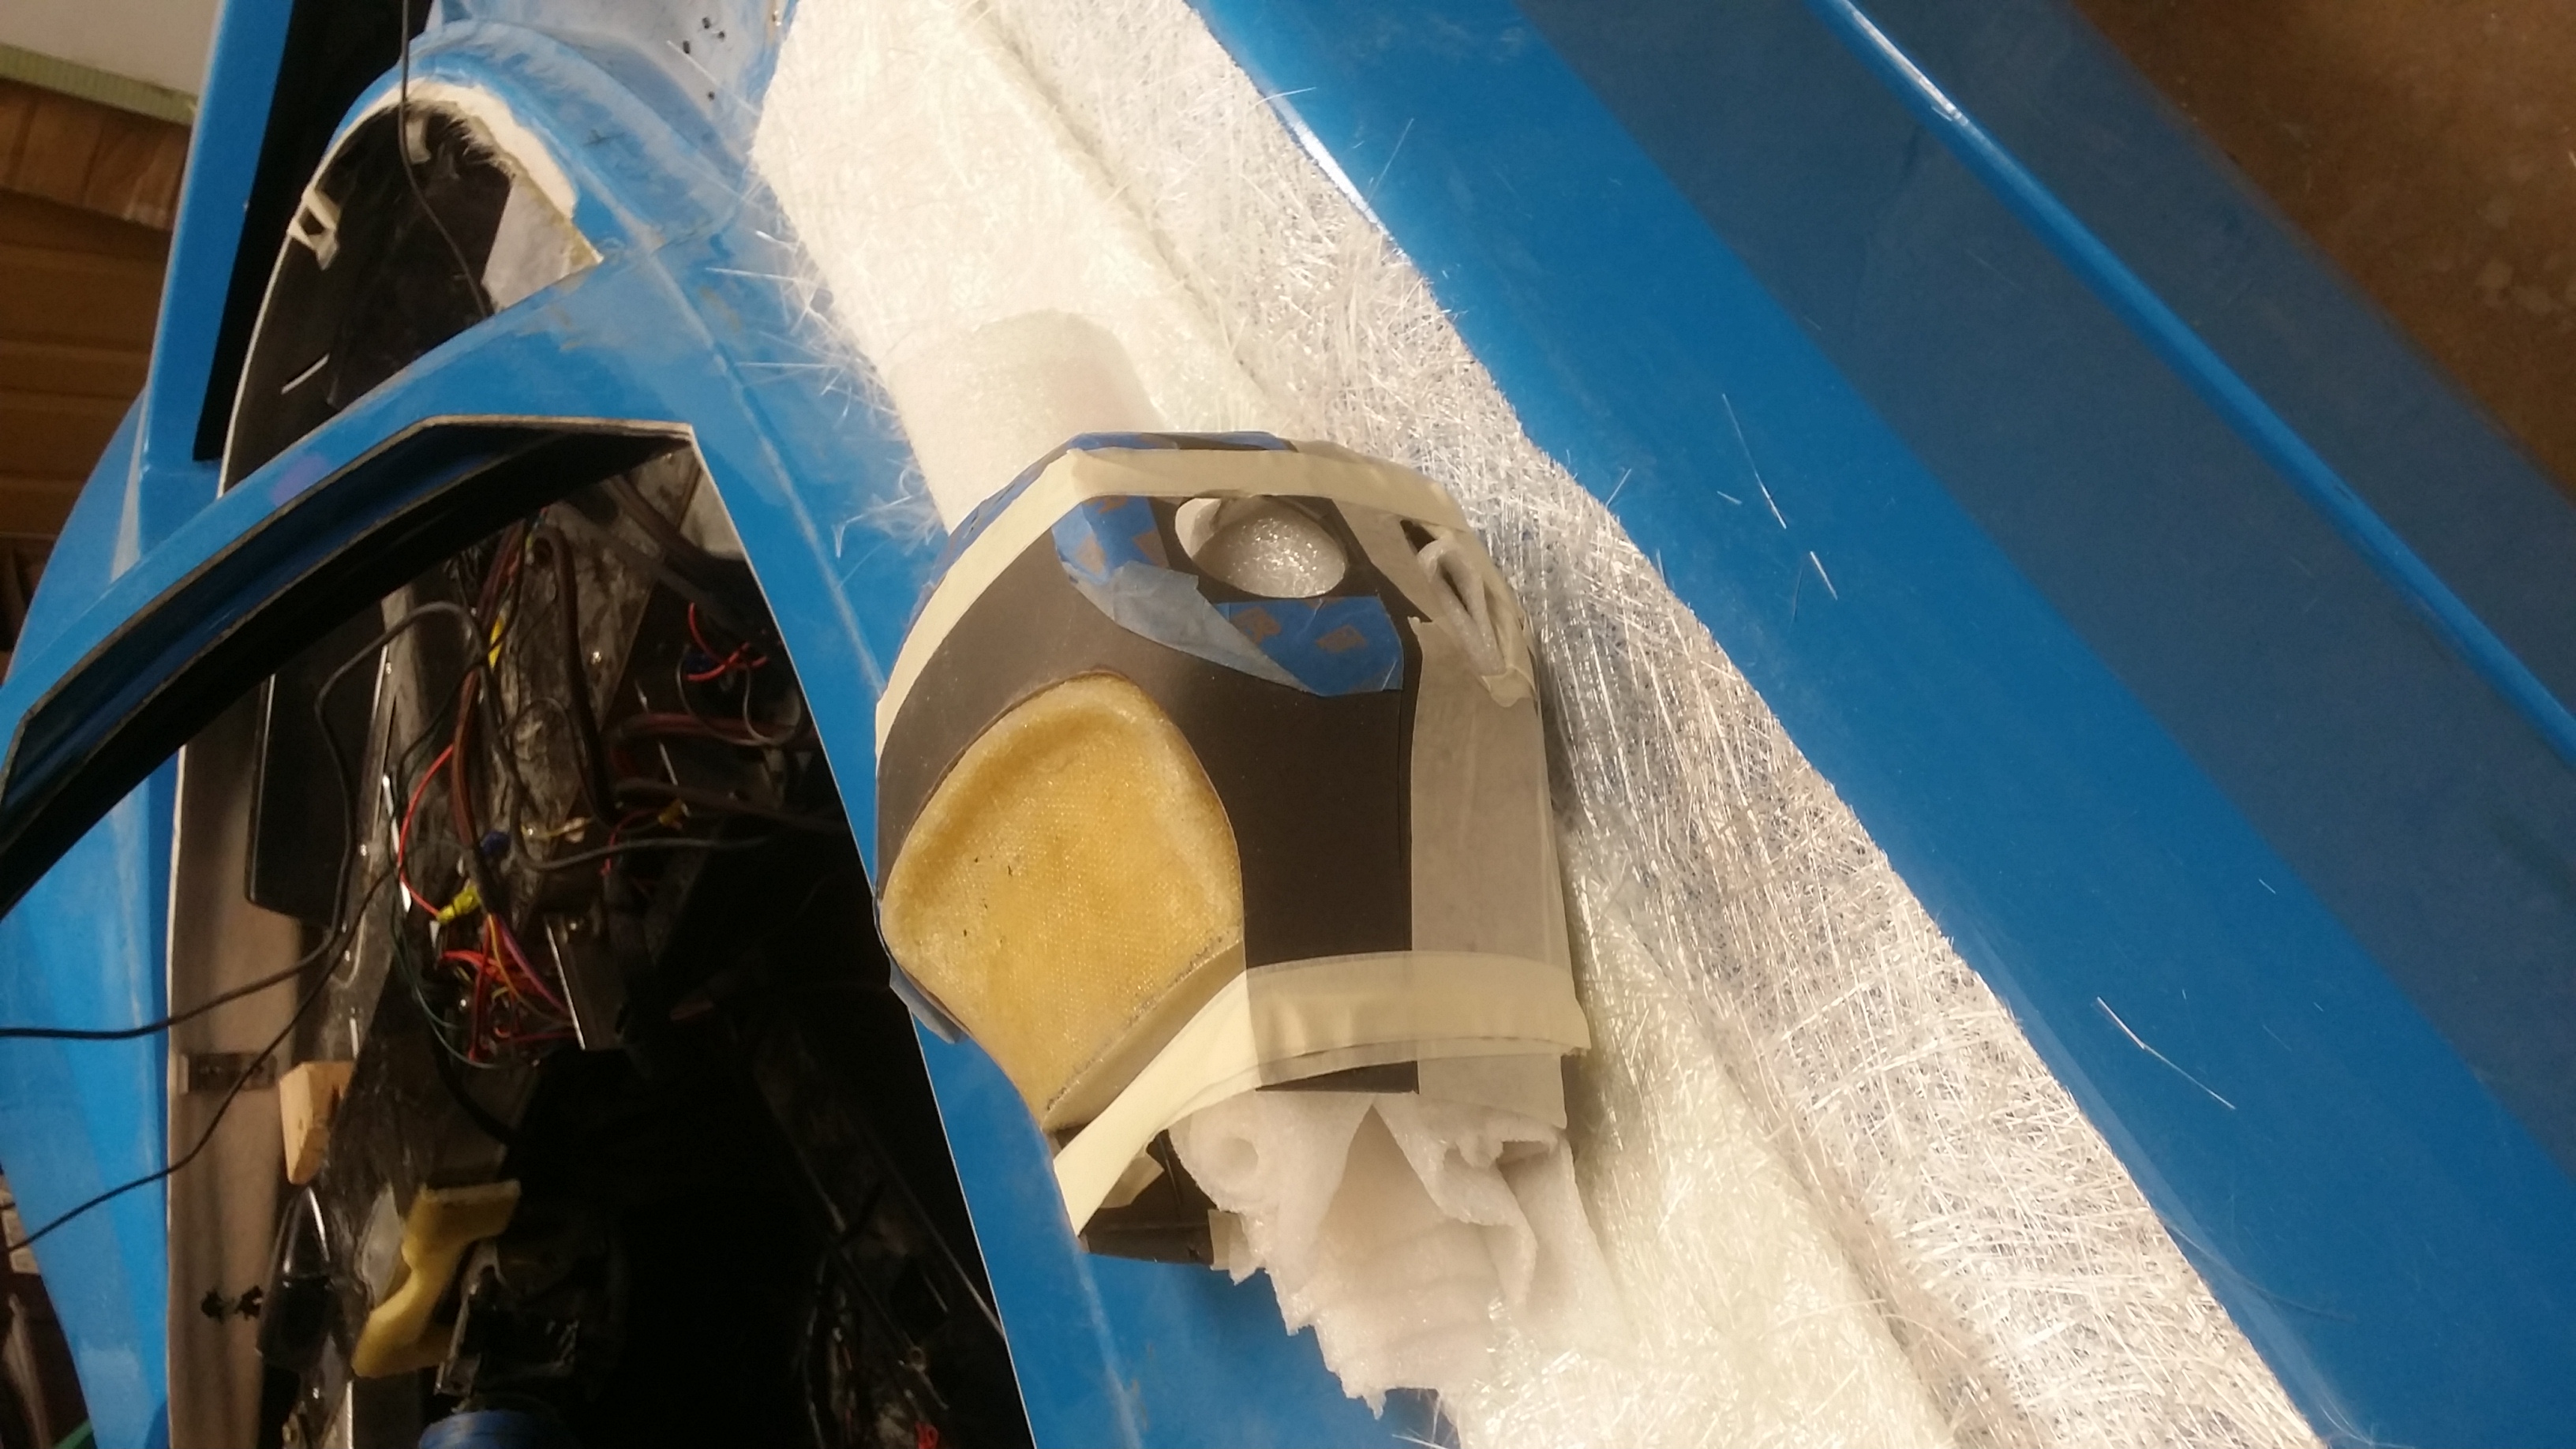
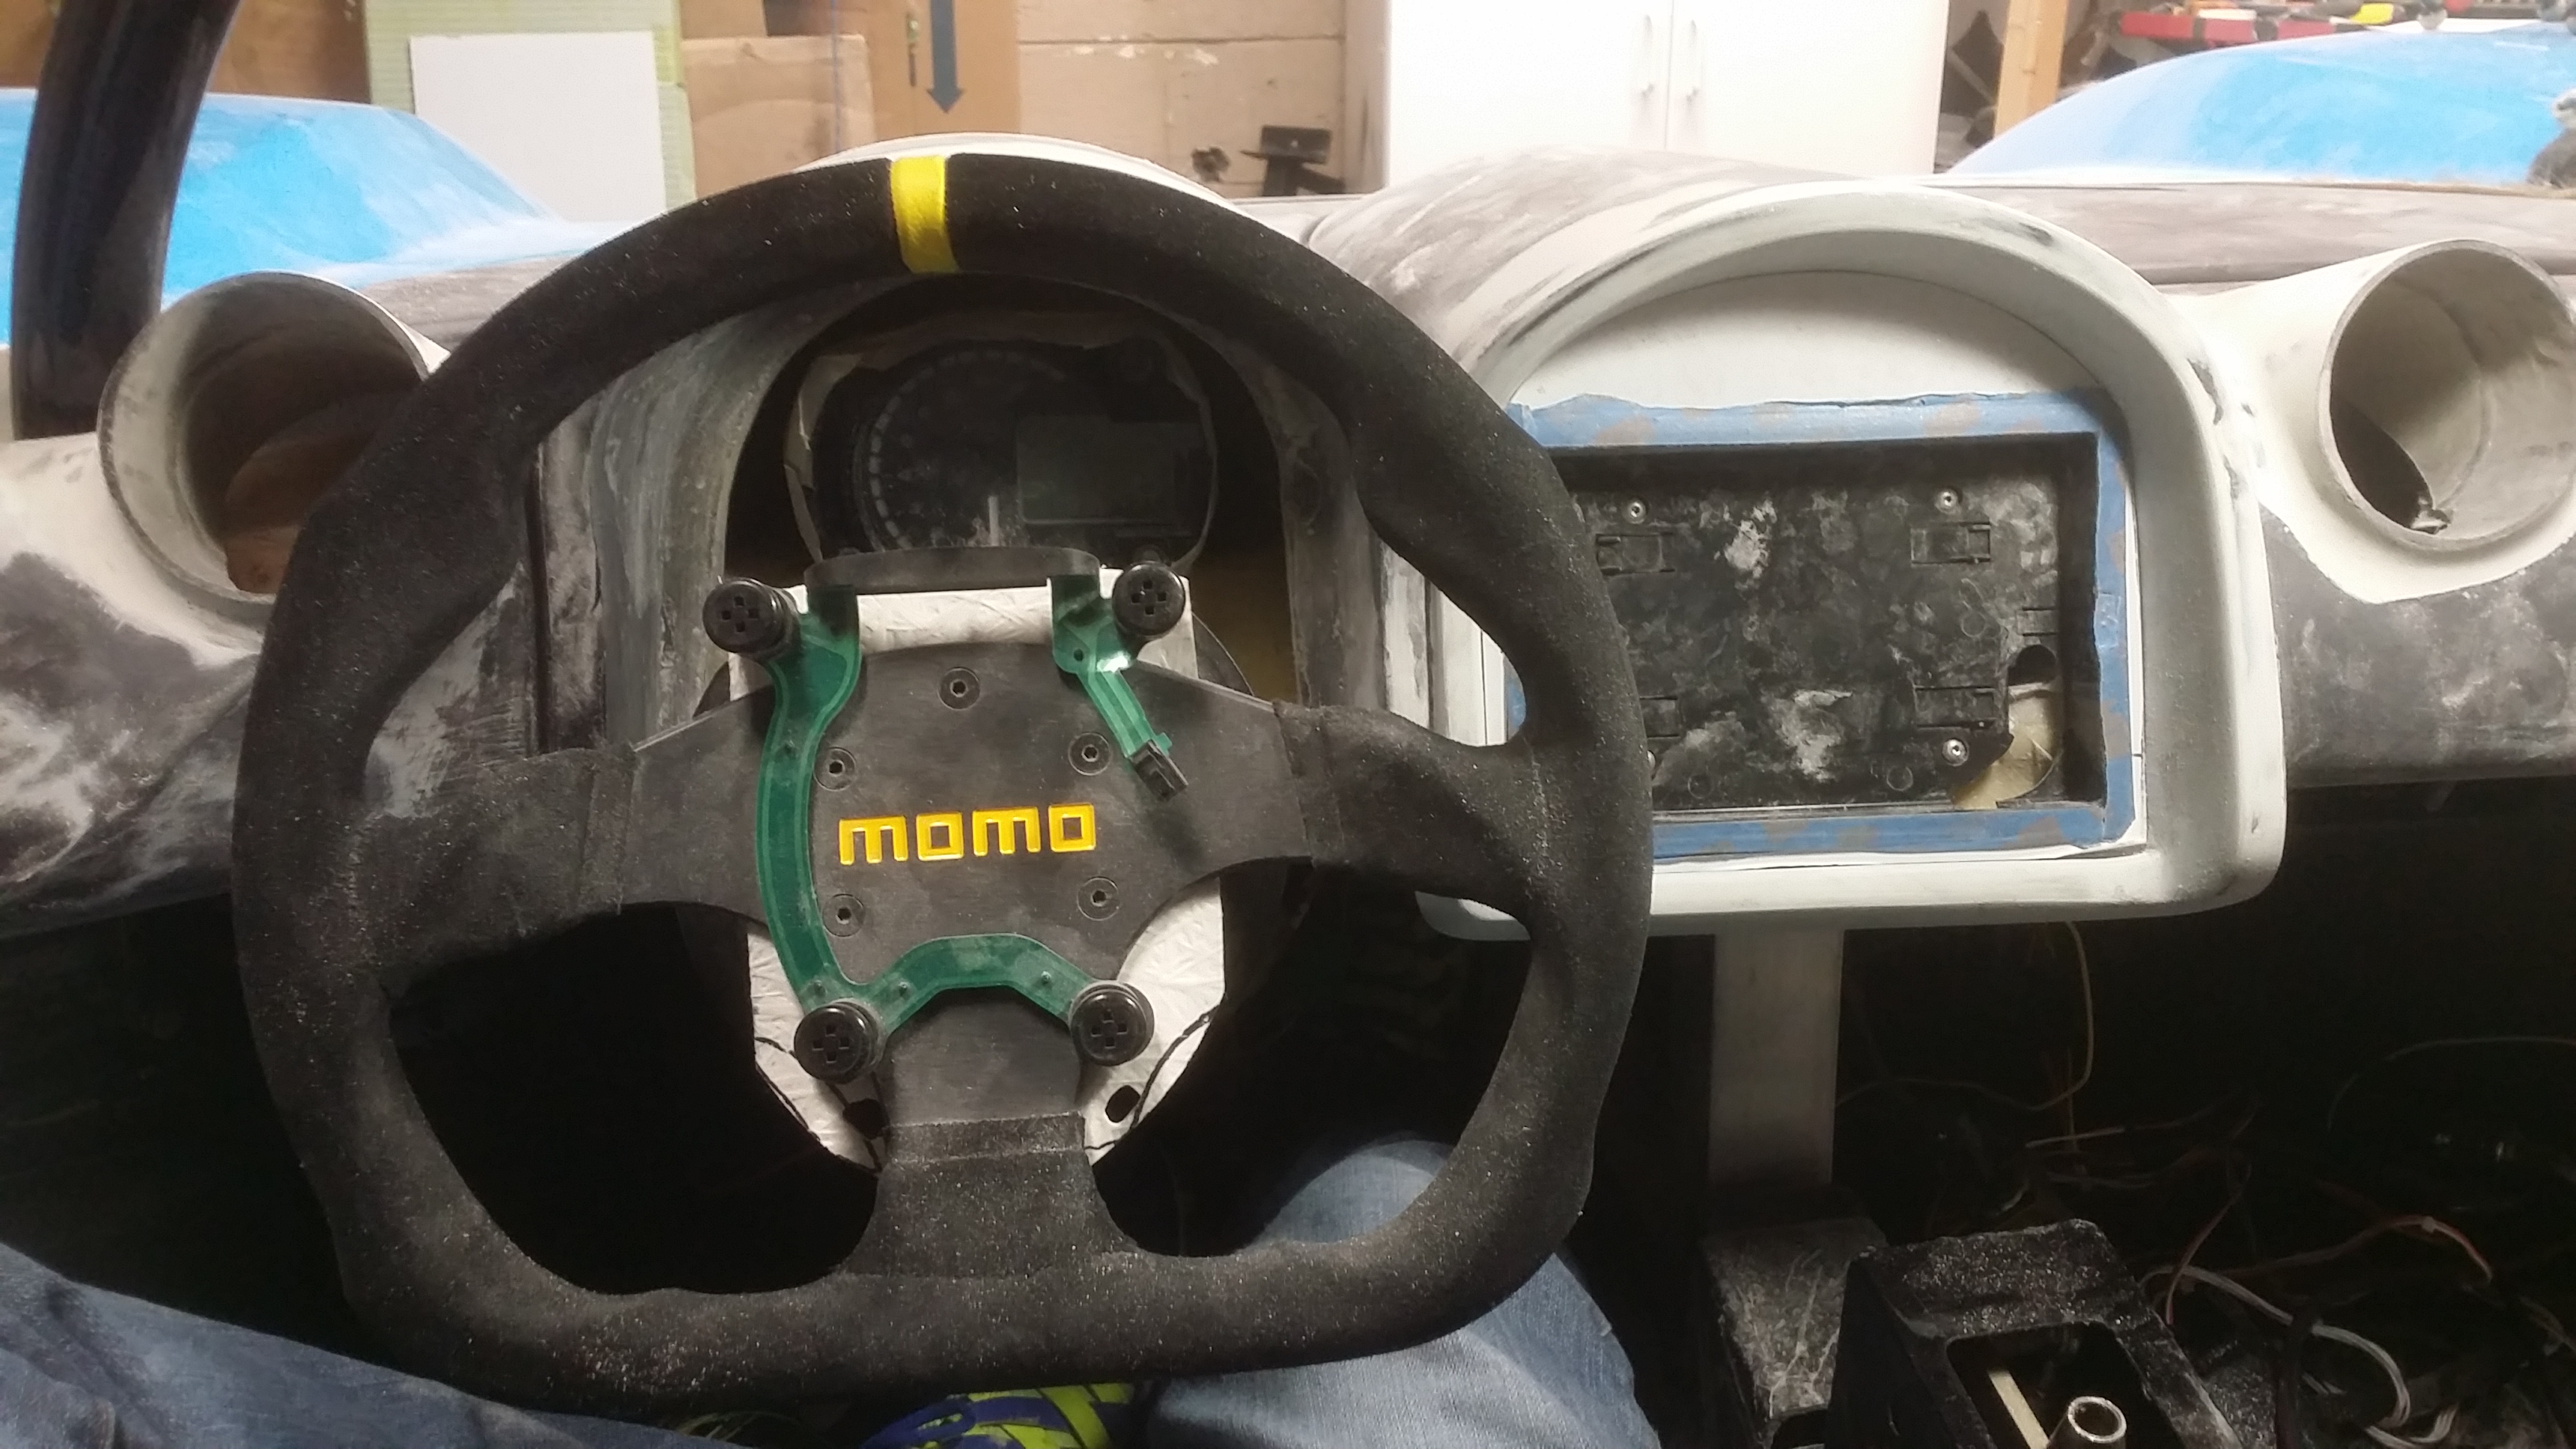
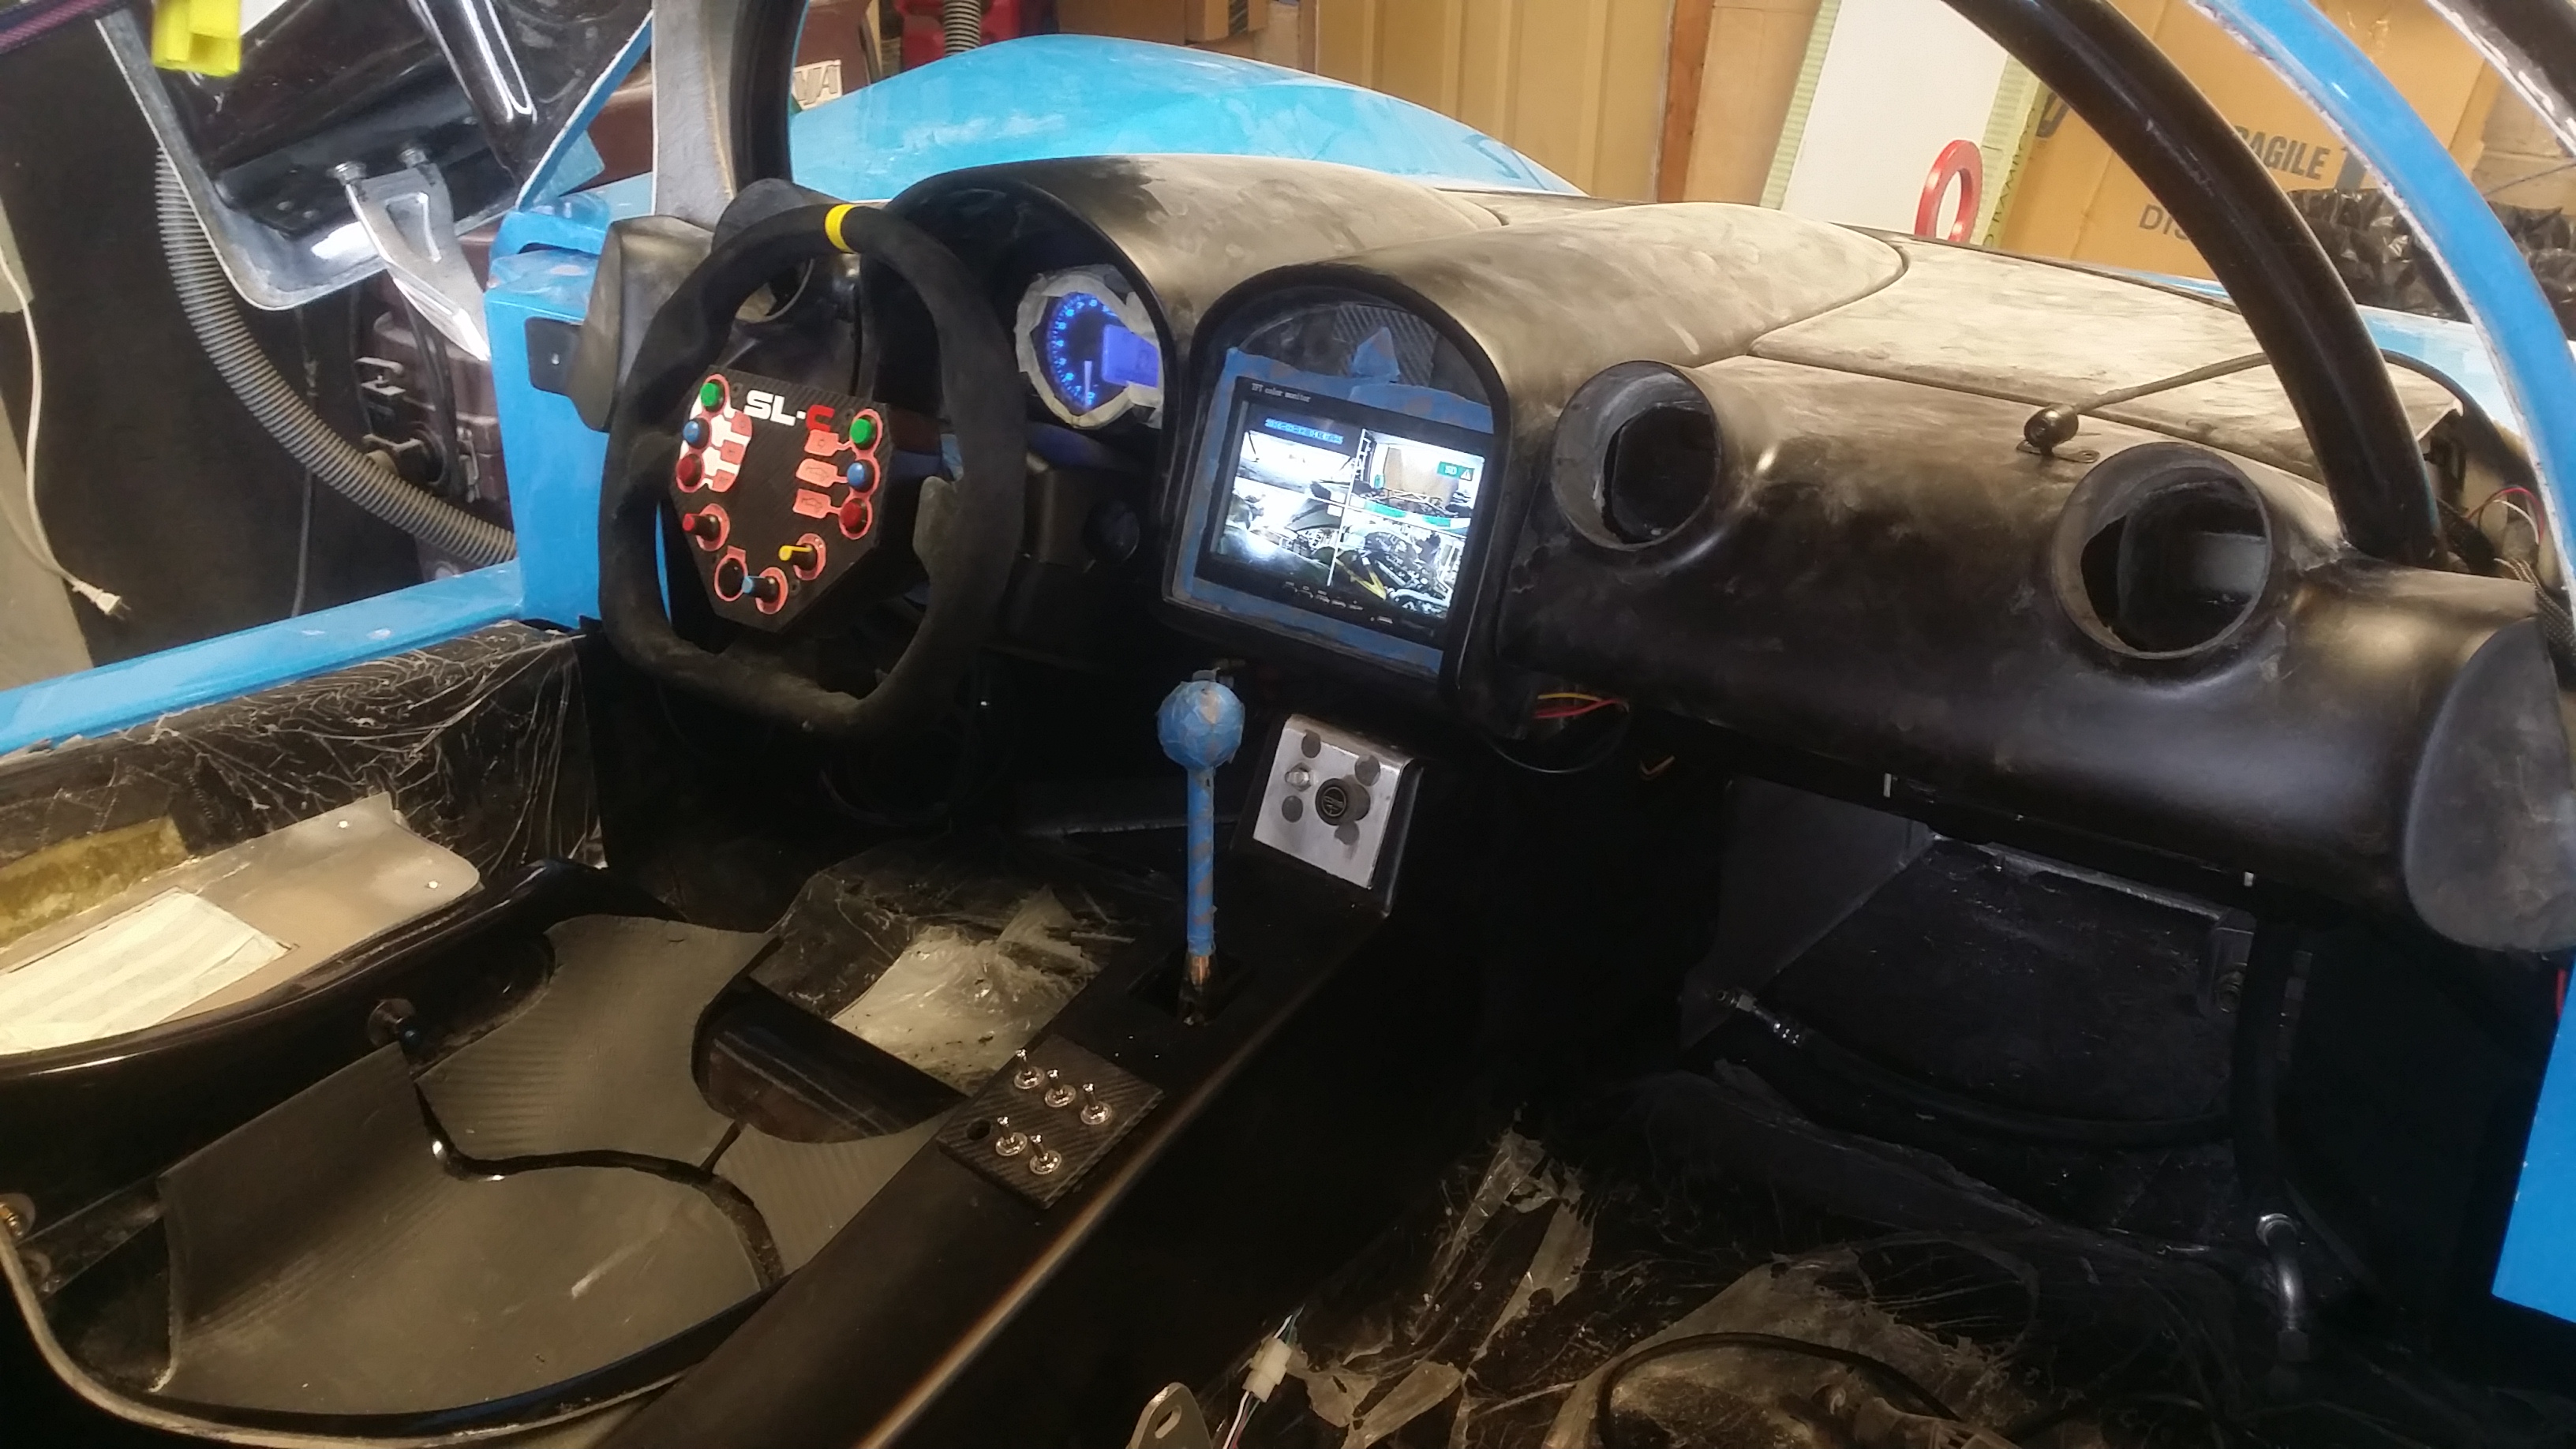
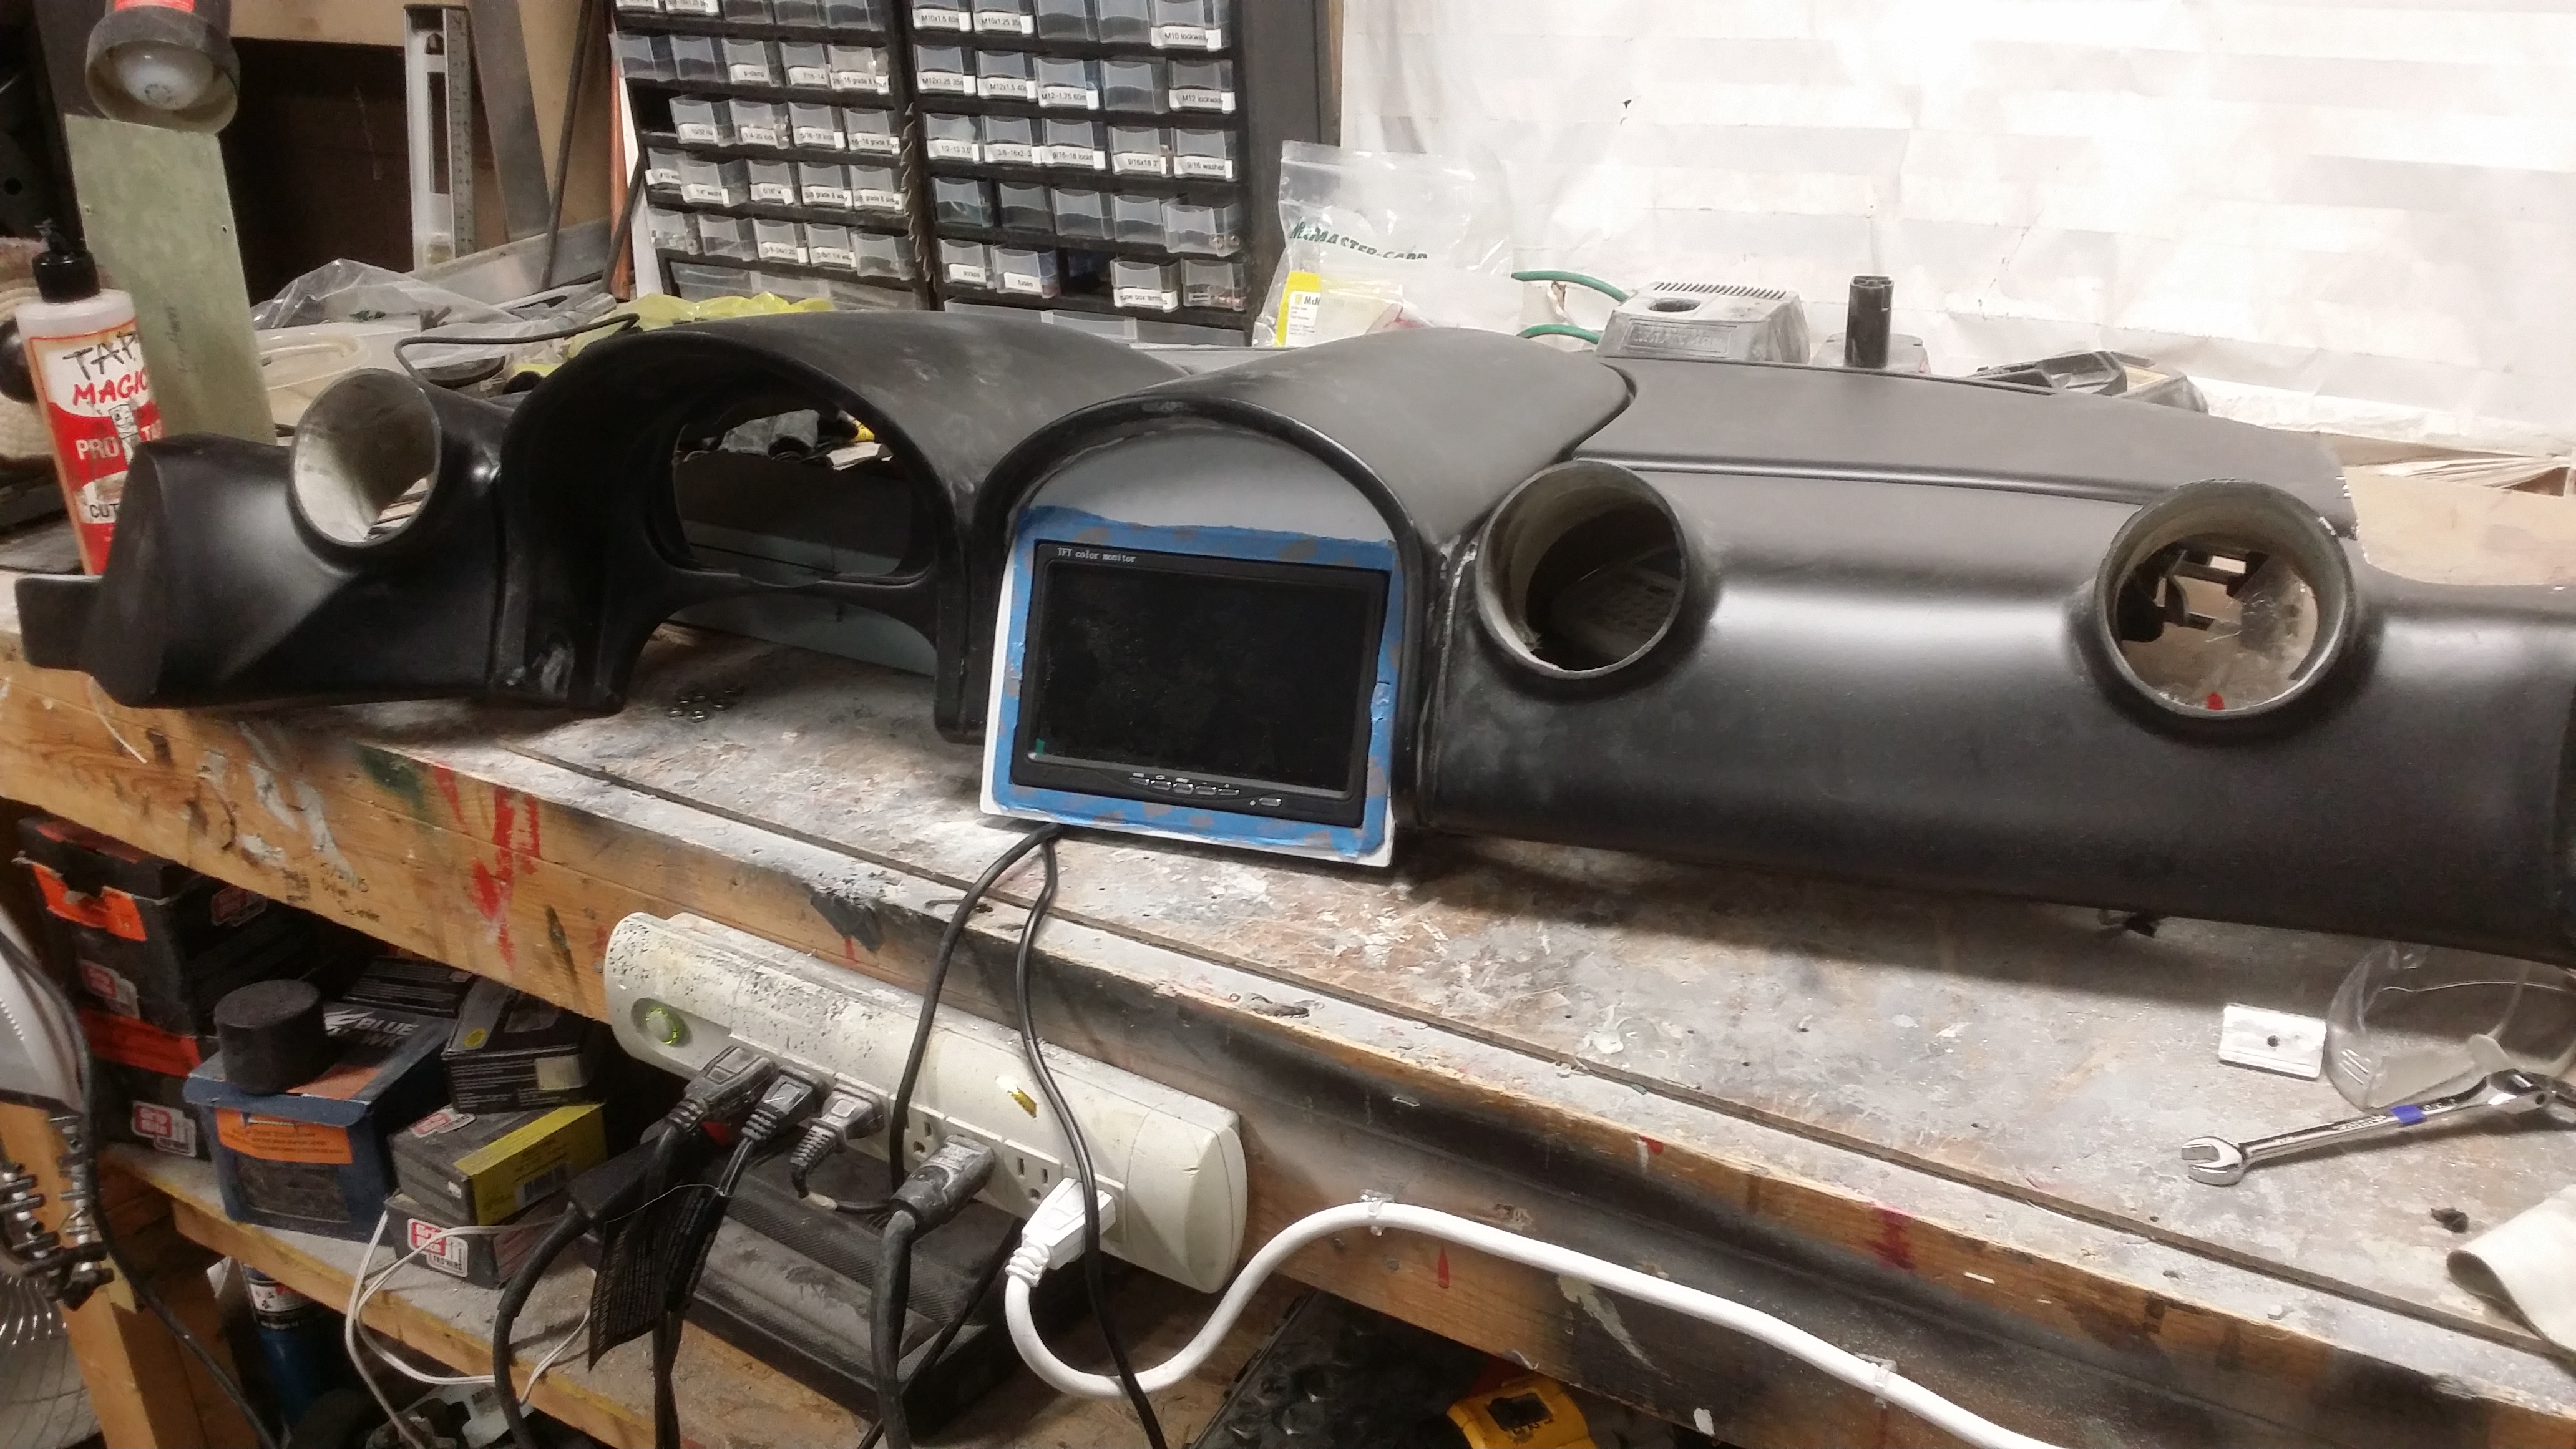
I also got the center console panel made and the monitor mounted in it:
2015-12-14 03.jpg
 
I started modifying the dash by shaping with foam
2015-12-28-01.jpg


Then a layer of fiberglass, sanding, lots of bondo and even more sanding...

2015-12-28-05.jpg


I didn't like the fasteners that came with the headlights. The clip that holds the ball end on the adjustment screws didn't seem to be designed to be held by the thick fiberglass. They wouldn't seat properly. So I made up some brackets and modified the adjustment screws slightly. This design also gives me more freedom to position the headlight. I can reach into areas to hold the adjustment screw where the fiberglass flange doesn't reach. This allows me to get the headlights pretty close to level for the correct beam pattern. I did not verify the location of the fiberglass inserts before bonding them to the hood. 3 were ok, but one restricted the position of the headlight. I cut the holes for the lights first, then bonded in the fiberglass inserts. I didn't check the fit before allowing the adhesive to set up. The headlight is now off position, so I need to cut off the fiberglass flange off and start over (not apparent from the picture).
2015-12-28-02.jpg


2015-12-28-03.jpg


I also got the shift box installed, and have begun fitting the center console. My goal is to have no (readily) visible fasteners.

2015-12-28-04.jpg
 
Last edited:
I have definitely made life more difficult by choosing and sticking with the steering wheel that I picked. It's a small diameter wheel (320mm), and I think it looks and feels just right. But it restricts view of the instruments. So I started experimenting with instrument location. That has led to dash mods, and now I have lots of parts that I made out of foam & fiberglass. The near future is filled with lots of sanding. Before tearing into the fabrication, luckily I realized I better get the seating position just right, which involves installing the padding. I'm using 1/2" thick yoga mat from Amazon, so that has the potential of affecting seating height and the instrument view.

2016-01-04-01.jpg


I'm very happy with the feel of the padding, though I have already determined it is fragile enough that leaving it uncovered will be unacceptable for the long term.

The Koso gauge needs the be much lower than the factory location, so I decided to mount it straight to the aluminum dash reinforcement. I mimicked the Koso mounting bracket, and reused the rubber dampers and fastening hardware
2016-01-04-02.jpg


2016-01-04-03.jpg


2016-01-04-04.jpg


I originally wanted the instruments located further forward inside the dash, but because they have to be as low as possible, I had to bring them back out (aft) to keep from interfering with the aluminum cross bar. Then I made a shroud to go behind the instruments so you don't see the mess under the dash.

2016-01-04-05.jpg


This gives the perfect view of the instruments, but now I have to deal with the repercussions of all the close out panels

2016-01-04-06.jpg


The steering column cover hits the bottom of the instruments, so I am in the process of reworking the top of the cover

2016-01-04-07.jpg


I wish I turned on the power so the instruments were illuminated. Would have made for a better pic

2016-01-04-08.jpg


I was intending to use a piece of thick polycarbonate for a switch plate on the center console. Quick tip : don't get impatient with the polycarbonate in the oven and go do something else.

2016-01-04-09.jpg


Subsequent tries with the polycarbonate were unsuccessful, so I made my switch panels out of aluminum.

I also made a pod that is on top of the center console just under the monitor on the dash. Currently it's a gooey blob of bondo over fiberglass, which is over the top of my favorite medium, the expanding foam. Not much to look at yet, but it will hold the a/c controls.

How do I change the orientation of the pics? They appear correct on my phone and on the site that is hosting the pics, but my last 2 posts some oF the pictires are sideways and upside down. If you click on the picture, the image that comes up is correct....

Also, my latest time lapse is posted:
YouTube

A.J.
 
Last edited:
I started over on my steering wheel design. The overall appearance will be competition rather than oem. I drew this picture on my phone for inspiration

2016-02-26-.jpg


The front plate was fabricated from aluminum, the rear housing from fiberglass. I sculpted the form for the rear housing from foam and put 2 layers of fiberglass on it.

2016-02-26.jpg


Once cured, I removed the foam and built up the wall thickness from the inside. Then lotsa bondo, smoothing, sanding, etc. This needs to contain the wireless transmitter. I will not be using a clock spring on the column.

2016-02-26~01.jpg


2016-02-26~02.jpg


2016-02-26~03.jpg


2016-02-26~04.jpg


This is the same 3M wrap that I have been using on all the other details on the interior.

2016-02-26~05.jpg


2016-02-26~06.jpg


2016-02-26~07.jpg


The last thing to do is have the labels made for the function of the buttons. I have completed the graphics (perfect thing to do while sitting at my son's soccer practice!) and all that's left is to have them printed (well....cut). Problem is, I want all the switches and knobs to match this style, and they should be cut at the same time for cost reasons. But those panels are already fabricated, and I'm pretty sure I didn't leave enough room for the larger stylet icons. So it may be a while before that is resolved. I also have an SL-C logo that I'm going to try to leave room for in the middle of the cover. I debated between that and the MOMO.

A.J.
 
Yay! I finally got my 4 way split screen working.

2016-03-11_1.jpg


The lower right image on the screen is my GoPro with a digital to analog converter. The verdict is out on that converter, it seems to be problematic. It hasn't always worked and I'm not sure why. It may be related to the the other issue that I'm having. When I activate my electric pedals or the park brake, both of which use linear actuators, the screen goes blue and flickers, then returns to the images. Is this a ground problem, or are the signal cables too close to power cables? I'm not sure where to start on this.

The other 3 cameras I'm using are the typical super wide angle cheap ones. I'll upgrade later as I refine the system and play around with what works. What I like is one button record, on a single memory card. That's why I'm trying to tie in my gopro. Problem with using gopros and other action cameras is their digital signal, and I'll still have to fool with the batteries. Also, I won't feel as secure leaving them on the car all the time. I want to be able to record any time, not just when I'm at the track. I may even auto record each time I'm in the car. This is actually a security system, so there are loads of options and triggers. I can activate cameras with an electrical input such as a turn signal.
 
A J,
Your blue screen is a loss of signal. That may come from a fluctuation in the current or a drop in volts. I have just added some cameras to my 40. They came from the RC industry. They seem to be the driving force in the new technology in the camera field. I picked up a Mobius and a RunCam and they work great.
P2100055_zpsfxixkpj3.jpg


The RunCam comes with the advantage of recording while monitoring. The Mobius won't do that, but I would bet they are working on it. My monitor is sorta like yours in that it is a 4 screen setup. Got it from one of the on line dealers. The small cameras that came with it were little ball type cameras, but they only had 400 lines of TV and their images are not that well defined. The small cameras on the other hand are 1080P and are very sharp. Some of the online reviewers rated them as good as or better than the Go Pros. and for under $50 that is saying something. I have a small "board" camera for the rear and it shoots 800 tv lines.
P2100057_zpscbzh9omm.jpg


I have kept my FOV(field of view) narrow to around 90-120 degrees. anything wider and you can't make out anything coming up on you til they are right on top of you. For the board camera and the small cameras I have 3.6 lens or no smaller than 2.8. FOV goes way up, and the objects go down in size. the RunCam and Mobius are run on suction cup mts. for now.
P2230081_zpsqpyefhvf.jpg


I also have a pan and tilt setup so I can turn the RunCam from the driver's seat, while watching so that I know when to stop. These are run with 9-12 gram servos.
P3110090_zpsptrkzs6k.jpg


Being from the RC industry these cameras and servos are very light. Their major draw back is they work off of 5 volts. This is easily obtained with step down voltage regulators that can be bought for less than $5. And oh yea, the wires are tiny and not much fun to work with. The above shot is of three wires.

Bill
 
Thanks for the info Bill! I'm going to wait to solve the flickering problem, maybe when I'm running off the alternator at closer to 14v it won't be an issue. I'm just concerned about possible interference and the alternator potentially making it worse. I'll hold off on doing the final wrap on my wires.

About 5 years ago I had a potential client who was in a hot new business. He did video systems for defense applications and was crossing over to the private sector. He was so busy I never was able to connect other than a few phone calls, but that was the first I ever heard of drones. He was way ahead of the curve. It caught my attention though because I have been involved with RC cars for many years, and he did systems for those as well. I tried getting a hold of him when I started planning my video system last year, but no luck. I'm very familiar with those servos and how small the wires are, I've had them go bad and tried rebuilding the gears. I've had the same thought about rotating cameras but am going to worry about that complexity later.

I'm recording using a separate DVR, so it records whatever it sees. No issue of recording versus monitoring. So far it seems to record 4 separate files, I'm hoping to have the option of recording one file of all 4 views. I really need to have a lower FOV camera for the rear view, can you give me the link for the company that you use? I spent a ton of time making the camera housing, hopefully I can find a camera that will fit in there. But you're right, what I have now will not be good for rear view.

A.J.
 
Yay! I finally got my 4 way split screen working.

2016-03-11_1.jpg


The lower right image on the screen is my GoPro with a digital to analog converter. The verdict is out on that converter, it seems to be problematic. It hasn't always worked and I'm not sure why. It may be related to the the other issue that I'm having. When I activate my electric pedals or the park brake, both of which use linear actuators, the screen goes blue and flickers, then returns to the images. Is this a ground problem, or are the signal cables too close to power cables? I'm not sure where to start on this.

The other 3 cameras I'm using are the typical super wide angle cheap ones. I'll upgrade later as I refine the system and play around with what works. What I like is one button record, on a single memory card. That's why I'm trying to tie in my gopro. Problem with using gopros and other action cameras is their digital signal, and I'll still have to fool with the batteries. Also, I won't feel as secure leaving them on the car all the time. I want to be able to record any time, not just when I'm at the track. I may even auto record each time I'm in the car. This is actually a security system, so there are loads of options and triggers. I can activate cameras with an electrical input such as a turn signal.

The interior is starting to look really good with the steering wheel and monitor. Looking great and inspiration for me to get working harder and faster.
 
For those interested here are some of the sites to get started. You will need to do a lot of research on Utube for the real scoop on these items

Sony 960H CCD Effio-V 800TVL Ultra WDR Camera 2.8mm Lens OSD
You will need a DVR for this one. they run from $15 to $50 depending if it is on sale.

https://www.mobius-actioncam.com/

RunCam

Online Shopping for Cool Gadgets, RC helicopter & Quadcopter, Mobile Phone, Fashion at Banggood.com

Radio Control Planes, Drones, Cars, FPV, Quadcopters and more - Hobbyking*
For the voltage step down converters
5 volt step down | eBay

Bill
 
Last edited:
Thanks Troy. I've been extremely anxious to get it all put back together but everything is so time consuming! So many balls up in the air at once, hard to finish enough of the projects to justify piecing things back together. In that picture there are still lots of parts missing, the dash is too high up....my vent plenums are too tall and need to be reshaped. I also had to refab the switch plate behind the shifter. I forgot to account for screw holes AND the size of the switches. The plate is also plexiglass. I made that back when I thought I could heat it up and conform to the subtle curvature of the console. That idea didn't pan out, so the new one is in aluminum. I'm loving the carbon fiber 3m wrap. All aluminum pieces will be covered in it.

The gopro input is back to not working. I think it must be due to power issues. Possibly it's sensitive to when the batter isn't FULLY charged (it's always on a trickle charger). But I even tested it using an external usb power supply from a wall outlet. I'm not diving into that until more pressing issues are resolved. I definitely will be looking into the step down converter Bill mentioned.

My reverse detent worked well. It's crude - when moving between 1st and 2nd I can feel metal sliding on metal. Next up is to use a piece of nylon to make it slide better. But 1st is a breeze to find, no hunting necessary.

Bill, thanks for sharing all of your research. That's a lot of work.

A.J.
 
It means when presses and speaks it will be in Italian...Like when Alonzo was driving red cars.

Very nice graphics, did you have them cut at a print/graphics shop? Where did you source the AC knobs?

Very cool race inspired wheel, I hope you don't need to get to those buttons while in a two grab turn!
 
Thanks for the compliments!

This is what the Pit button will do:
2016-03-23-01.jpg


Not that I need it for track days but it will be a fun little party trick.

Kinko's cut the vinyl for me. I've been using this service from them for 15 years. This particular set of graphics was not working, the detail was shredding the material. Thankfully I asked, because I didn't realize that they could print color over the vinyl. I've always used different color vinyl for my colors. It was hugely time consuming for the tech at Kinko's and he pretty much doubled the price. Fine with me, with shipping it was only $60 for 2 large printouts. And he gave me all the reject sheets. If he didn't raise the price I was going to tip him. I also have lots of other "stickers" and logos that i designed nested in the empty spaces. Coat for each comes out to next to nothing. Unfortunately, the local Kinko's quit offering this service so I had to use the Kinko's in Louisville where I used to live.

The AC knobs are from McMaster
KNOB

I think PeteB used the same ones. They are solid aluminum. The feel as great as they look.

A.J.
 
I finally have completed them. Well, everything but wiring the connectors.

2016-05-15_02.jpg


Here's a picture of the driving lights:
2016-05-15_03.jpg


Brake lights:
2016-05-15_04.jpg


I got the other side installed just before it got dark:
2016-05-15_05.jpg


This has been a long saga. I posted details recently on some of the issues I've struggled with over on the headlight and tail light thread. You can check that out here Scroll down to post #54
 
I have had the car torn down for so long that I finally put it back together, put the wheels on, got it off the jack stands and pushed it onto the driveway for a little inspiration.

2016-06-26.jpg


2016-06-26~01.jpg


2016-06-26~02.jpg


2016-06-26~03.jpg


2016-06-26~04.jpg


2016-06-26~05.jpg


2016-06-26~06.jpg


2016-06-26~07.jpg


2016-06-26~08.jpg


2016-06-26~09.jpg


2016-06-26~10.jpg


I wish I would have cut out the rest of the body holes first, but oh well.

A.J.
 
Back
Top