Eyebrows
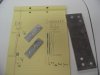
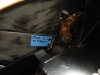
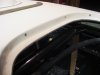
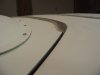
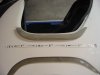
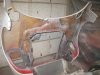
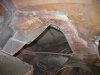
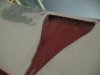
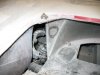
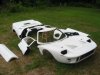
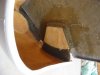
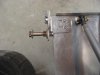
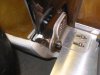
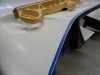
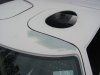
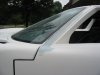
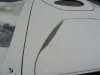
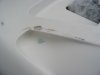
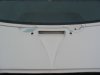
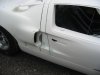
Installation of the eyebrows was straightforward. A pattern was made to evenly space four holes in the eyebrow, a quarter inch from the bottom to assure the screws would not interfere with the door. One-sixteenth inch holes were drilled, then the eyebrows were set in position and one-sixteenth holes drilled into the spider to assure a perfect alignment. Four Nutserts were used on each side to provide a solid connection for the screws. Stainless steel button head 8-32 screws worked well. The holes in the eyebrow were drilled slightly oversized to give a tiny bit of adjustment, although little adjustment proved necessary.
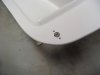
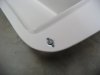
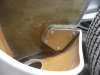
The eyebrows were sanded with a taper on the bottom side to assure the door would not hang up, particularly on the aft end of the eyebrows. The eyebrows were placed so that the door would not come in contact with the eyebrow until it was fully closed. The taper on the eyebrow makes this possible, thus avoiding visible scratches on the edge of the door once the car is painted.
Installation of the eyebrows was straightforward. A pattern was made to evenly space four holes in the eyebrow, a quarter inch from the bottom to assure the screws would not interfere with the door. One-sixteenth inch holes were drilled, then the eyebrows were set in position and one-sixteenth holes drilled into the spider to assure a perfect alignment. Four Nutserts were used on each side to provide a solid connection for the screws. Stainless steel button head 8-32 screws worked well. The holes in the eyebrow were drilled slightly oversized to give a tiny bit of adjustment, although little adjustment proved necessary.
The eyebrows were sanded with a taper on the bottom side to assure the door would not hang up, particularly on the aft end of the eyebrows. The eyebrows were placed so that the door would not come in contact with the eyebrow until it was fully closed. The taper on the eyebrow makes this possible, thus avoiding visible scratches on the edge of the door once the car is painted.


") )
)