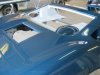
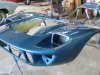
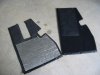
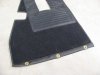
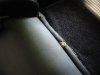
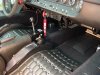
Insulation and Carpet
Three types of insulation were used, all from Cool It and readily available from Jegs, Summit and other suppliers.
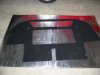
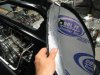
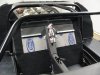
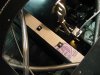
First, Heat and Acoustical mat, part number 14720, 60” x 36”, was used to cover the rear bulkhead and other areas of the interior. This product does NOT have the shiny aluminum surface, but does have an imbedded metallic layer for heat dissipation. It is about an eighth inch thick, rubbery, and self adhesive.
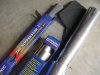
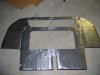
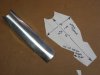
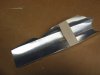
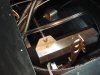
Second, Aluminum heat shielding, part number 13590, 24 x 48, was used to cover the engine side of the removable bulkhead / firewall insert.
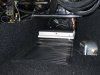
Third, Insulating Mat, part number 14110, 48 x 48, was used on the rear bulkhead, over the Heat and Accoustical mat. This product has an aluminized surface on one side. It is about a quarter inch thick. It was held in place with 3M #77 spray adhesive.
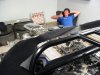
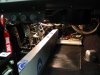
Installing the insulation proved to be much more time consuming than we had anticipated. It was installed in sections along with the carpeting. The different sections will be noted in separate posts.
Three types of insulation were used, all from Cool It and readily available from Jegs, Summit and other suppliers.
First, Heat and Acoustical mat, part number 14720, 60” x 36”, was used to cover the rear bulkhead and other areas of the interior. This product does NOT have the shiny aluminum surface, but does have an imbedded metallic layer for heat dissipation. It is about an eighth inch thick, rubbery, and self adhesive.
Second, Aluminum heat shielding, part number 13590, 24 x 48, was used to cover the engine side of the removable bulkhead / firewall insert.
Third, Insulating Mat, part number 14110, 48 x 48, was used on the rear bulkhead, over the Heat and Accoustical mat. This product has an aluminized surface on one side. It is about a quarter inch thick. It was held in place with 3M #77 spray adhesive.
Installing the insulation proved to be much more time consuming than we had anticipated. It was installed in sections along with the carpeting. The different sections will be noted in separate posts.

") .
.