Marcus
Supporter
Marcus, if you are really stuck for doors and sils. I have some.
FRPGUY,
it´s hard to get in touch with you, no PM or email possible...
Regards,
Marcus

Marcus, if you are really stuck for doors and sils. I have some.
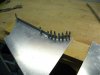
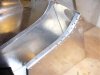
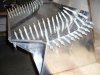
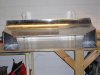
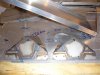
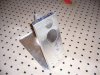
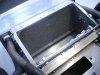
On a separate note, I am concerned with the curved angle you have made in what looks to me as your radiator inlet. A more appropriate way, would have been to use a "shrinker/stretcher" to put the curve in that piece of angle. All those holes so close together have removed quite a bit of strength and may cause cracking between holes/angle itself.