Success

I figured I'd update this with part 2.
So basically the clutch is 4 pieces - 2 discs, a cover, and the pressure plate/ring gear.
The 2 discs are direction-specific and location specific. One of the discs is CP2918-53, the other is CP2918-52. if you're lucky the flywheel side will be stamped FLYWHEEL SIDE. If you arn't lucky, then the flywheel side is the one where, if you hold the disc parallel to the ground, the center portion with the springs is basically flat with the disc. The 'nose' in the middle (where the pilot shaft will go) is elevated upwards.
Conversely, the side which points towards the transaxle, if you hold the disc parallel to the ground, the center portion with the springs will be humped upwards (i.e., not flat), and the 'nose' in the middle of it will be flat.
That description will make more sense to you if you have you disc infront of you.
Basically it goes
Flywheel -> CP-53 -> cover -> CP-52->pressure plate->transaxle
Very easy to install.
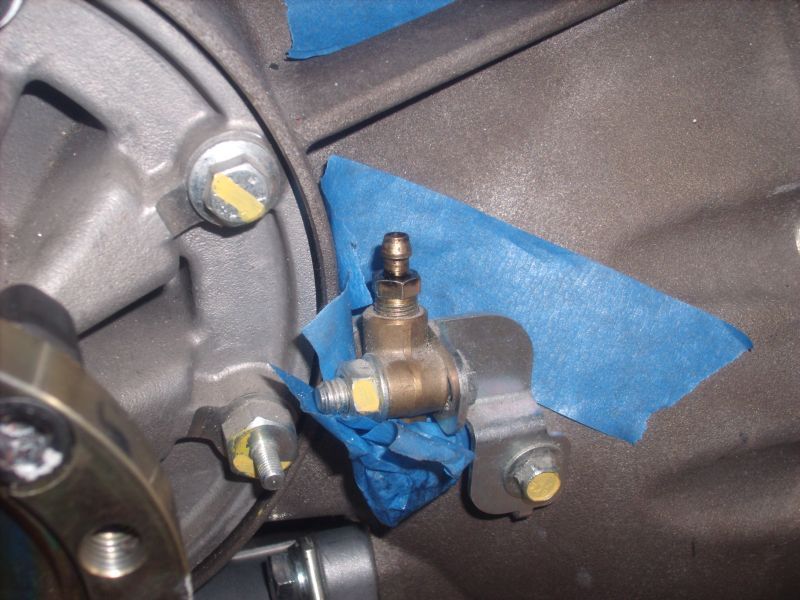
First buy 3 packages of N806178-S437 from Ford. These are the bolts - I would only 1 time use them. You'll also need to buy the alignment tool for a Ford GT (don't have part number off-hand).
What you'll do is (Assuming you've done part 1 - install flywheel) :
clean flywheel really throughly
take cover/cp52/pressure plate as a whole assembly and stand it on its side
take cp53 and, with flywheel side pointing to flywheel, hold it against the back of the cover
take your alignment tool and insert it through the clutch unit and into the cp53. Wiggle it around until the splines of the 2 discs line up and it slides through them
with the unit as a whole (including the alignment tool sticking through it alinging the discs) stick it onto the flywheel. The nub at the end of the alignment tool will slide into the pilot bearing. Spin the assembly and line up the bolt holes.
Put in 3 bolts and hand tighten them. (leave clutch alignment tool installed)
Now apply blue loctite to your bolts and install them all hand tight.
Once all 9 are installed, torque to 10ft-lbs (will take several passes to fully seat the clutch assembly).
Then torque to the final spec of 19ft-lbs. I found it took about 5 passes until it was all perfectly settled (and then another 2 passes to confirm no bolts needed re-torquing). Make certain to torque in a STAR pattern (i.e., not 1,2,3,4 but 1,3,2,4, etc...) so it fully seats
If you did it right the alingment tool will slide out like butter. You should be able to insert/remove the tool without any difficulties if you did it right.
All done!
")
now grab transaxle and stab it onto the engine/clutch assembly, torque 5 bolts to 40ft-lbs and you're done done done!


")