
You are using an out of date browser. It may not display this or other websites correctly.
You should upgrade or use an alternative browser.
You should upgrade or use an alternative browser.
Mark Reid RCR-40 Build
- Thread starter MReid
- Start date
excellent
Mark,
you have been a busy boy......
Dont forget to stand back and appreciate your handywork......
you have been a busy boy......
Dont forget to stand back and appreciate your handywork......
Ron McCall
Supporter
I put the rear window in and I have just over an inch of clearance.
Must be nice!!! I have about 1/4" !
")
Peter Delaney
GT40s Supporter
Mark, your car is progressing at an astonishing rate, & is looking so good !!
I love your exhaust setup, specially the megaphones - its a great pity that we can't get away with something like that over here in Oz.
PS : Don't be too hard on your son about a scratch or two - he might get upset & refuse to take it out for a run whilst your are on vacation (need to keep that oil up & around the engine on a regular basis) !!
Kind Regards,
Peter D.
Tonight we installed the starter and finished plumbing the fuel system. The starter is a Powermaster 9404 with a 3/8" offset. It is clockable and required full clockwise rotation and installation of the supplied 1/16" spacer to keep the appropriate clearance between the tip of the starter gear and the front face of the ring gear. Man, it is a tight fit! There is about a 1/8" between the starter motor and the chassis. Glad I'm using poly engine mounts:
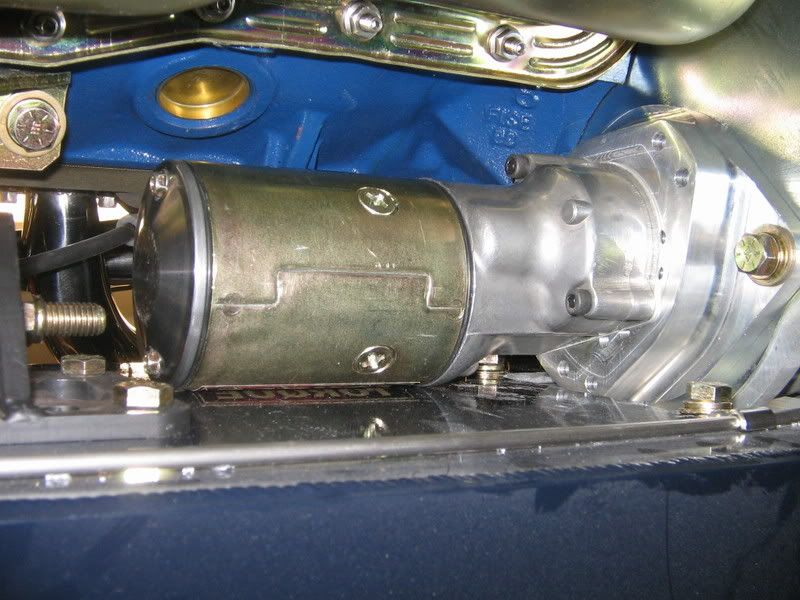
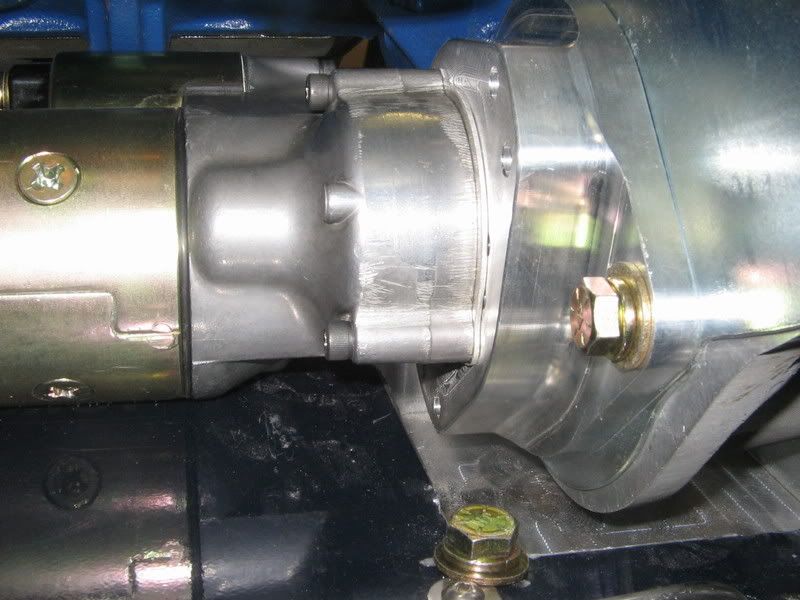
A big tip for those of you with the ZF. Make sure you leave all the extra space in the starter pocket for the starter flange:
The fuel system plumbing was pretty straight forward. Why I decided to use 1/2" and -8 line is still a mystery!
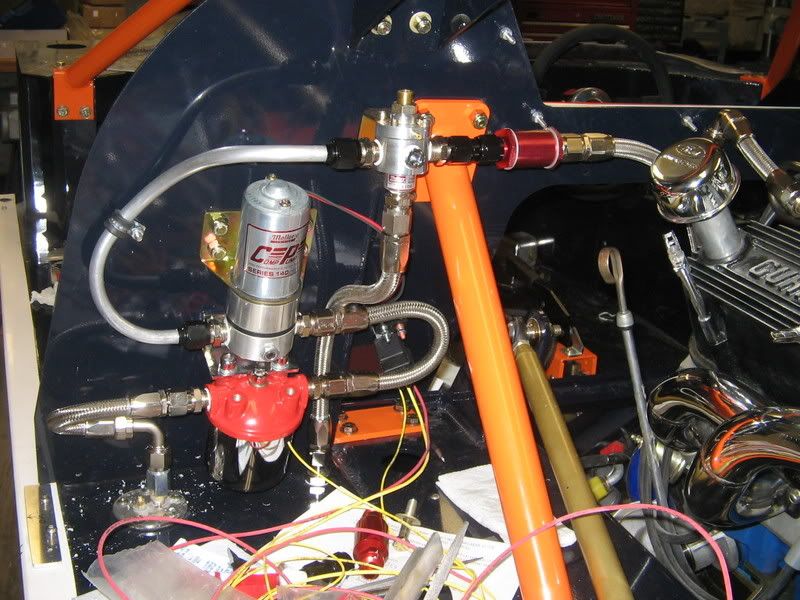
We even finished the plumbing to the carbs:

A big tip for those of you with the ZF. Make sure you leave all the extra space in the starter pocket for the starter flange:
The fuel system plumbing was pretty straight forward. Why I decided to use 1/2" and -8 line is still a mystery!
We even finished the plumbing to the carbs:
Must be nice!!! I have about 1/4" !
Ron, thanks for your tip on the bolt size for the half-shafts! Turns out, they are 7/16" at the transaxle and 8mm at the stub axle (Corvette u-joint straps). Cheers! :chug:
Ron McCall
Supporter
I have a whole box of the stub axle bolts ( they are discontinued from GM) if you need some ,let me know and I will send you a set.
Ron, thanks for your tip on the bolt size for the half-shafts! Turns out, they are 7/16" at the transaxle and 8mm at the stub axle (Corvette u-joint straps). Cheers! :chug:
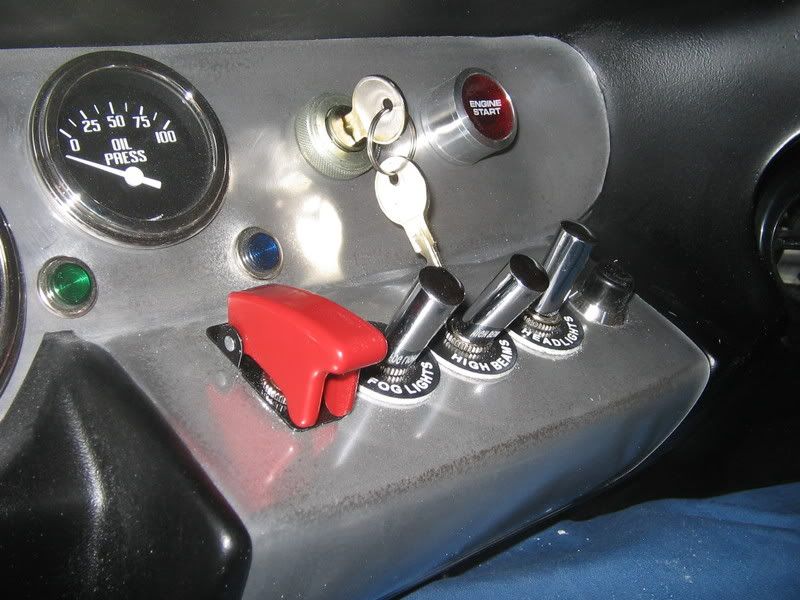

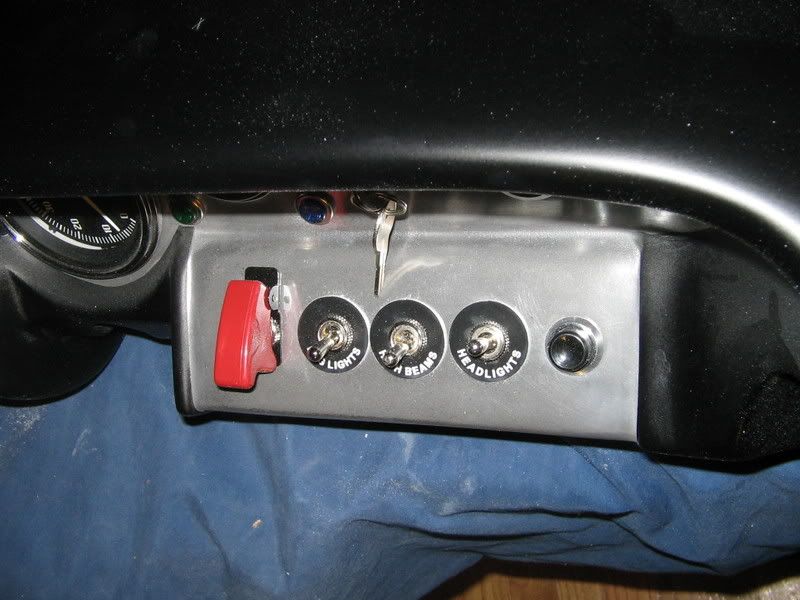
first ones
My vote is for the largeer switches
Lucas......
Lucas is truly the prince of darkness! I had my last Lucas experience with my TR6, no more. Plus, they don't make the variety of switches I need or prefer.
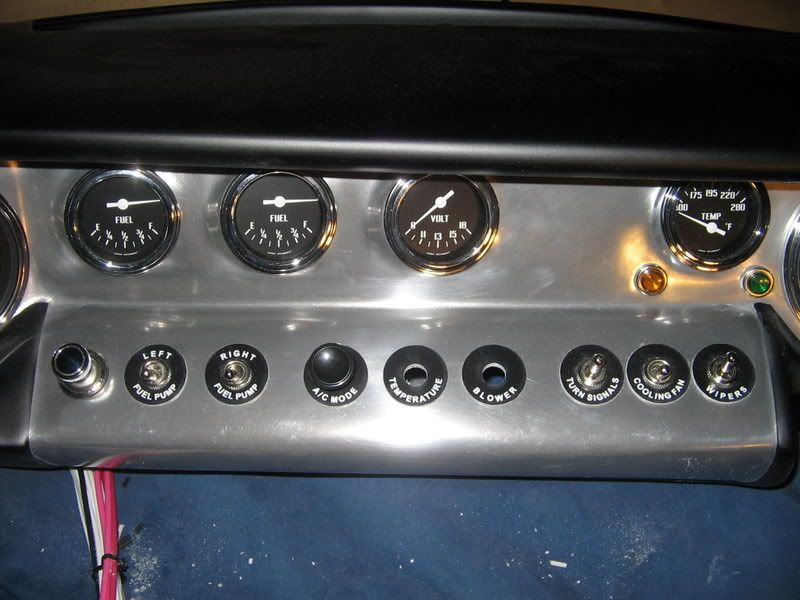
I wasn't as productive this weekend, but did get the a/c evaporator and dash installed. I also got my longer shifter cables from Brandwood and installed and adjusted the shifter. I'll have to post pictures later. You will be happy to know that I found my camera and don't have to rely on my son's POS.
The a/c plenum and dash went together nicely once I figured out the optimal order of assembly. I test fit the plenum and it fit perfect (on a right hand drive, it bonds to the bottom of the dash). I measured and cut the holes for the end vents first and installed the inner piece (basically screwed it into the holes I cut). I also marked the point where the plenum connected to the demister well in the dash and cut the two holes.
I then placed the template for the a/c condensor on top of the cowl and made sure that when I cut the three holes for the outlets that they would be centered in the plenum runner. Once I had that sorted I bonded the plenum to the bottom of the dash (Make sure the inner piece of the end vents is installed before you bond as you can not get it inside once the plenum is bonded on!). Also, make sure that it is completely sealed to the dash including in the demister well. Once cured, I marked the holes for the evaporator on the cowl using the template and cut them. I then reinstalled the dash with the plenum now bonded on, reached under the dash, and traced the pattern for the three evaporator holes on the bottom of the plenum. I also marked the locations for the holes to be cut in the cowl for the end vents to feed through and the relief you have to cut in the front lip for the plenum hoses to reach the end vents.
I removed the dash cut the three holes in the plenum for the evaporator and installed the evaporator (make sure all of the hoses are attached first). I did not trim the evaporator outlets flush like it said in the manual as they barely protruded and I wanted a seal to the plenum. I did place foam around them so when the dash was installed, it sealed the plenum. I used a couple of adjustable hood bumpers I had in the "bin for all parts left over from past projects" to hold the front edge of the dash up. I'll post some pictures tomorrow.
Similar threads
- Replies
- 25
- Views
- 7K
- Replies
- 3
- Views
- 978