Clayton,
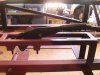
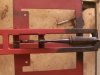
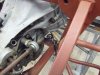
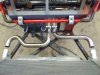
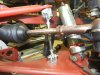
I was wondering about the Akerman as well just based on what I was seeing on my kit. I hadnt plugged anything into my susp program but I would have suspected the rack to be behind the wheel centerline, not in front... although I admittedly haven't spent much time researching ackerman and most of my experimentation has been with prepared autocross cars and some with a front drive short wheelbase road race car. Both cases we moved the rack back with good results.
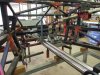
My kit was built well before the new RF owners, so not sure if the original RF guys put the rack there for a specific reason, or if it ended up there for packaging reasons. Do you have any info on the rack location for the early cars?
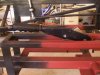
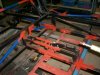
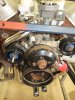
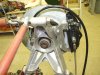
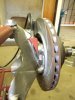
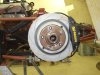
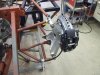
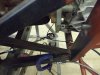
On another note, have you mapped out/measured the suspension pickup points to see what the original kits roll center was with the supplied forged spindles?(not the new ones)
Regardless, I find your notes on your build to be very useful and quite timely

David