We also have waterjetted alum. steering Rack shims on the shelf when you chose to do it at the other end of the car too....
They are in 1/8 increments for fine tuning
They are in 1/8 increments for fine tuning

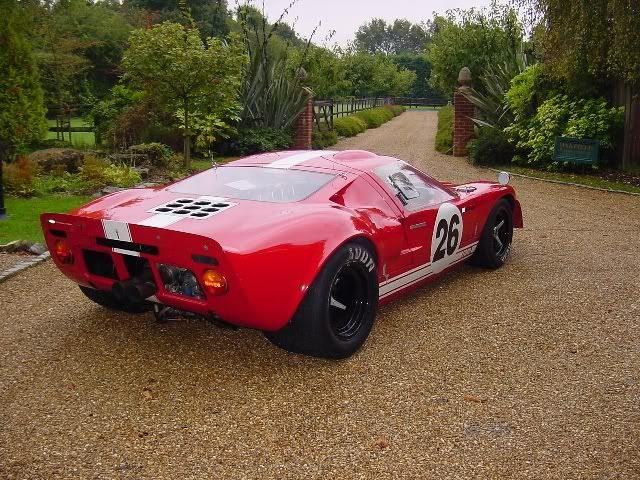
Very nice Tom!
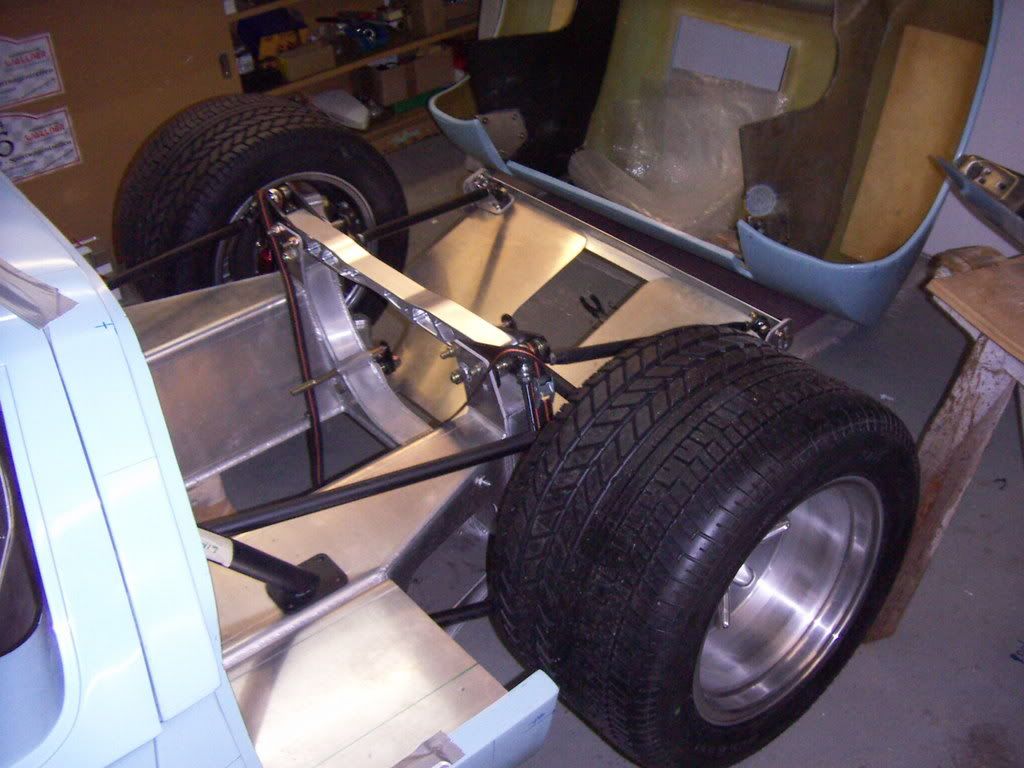
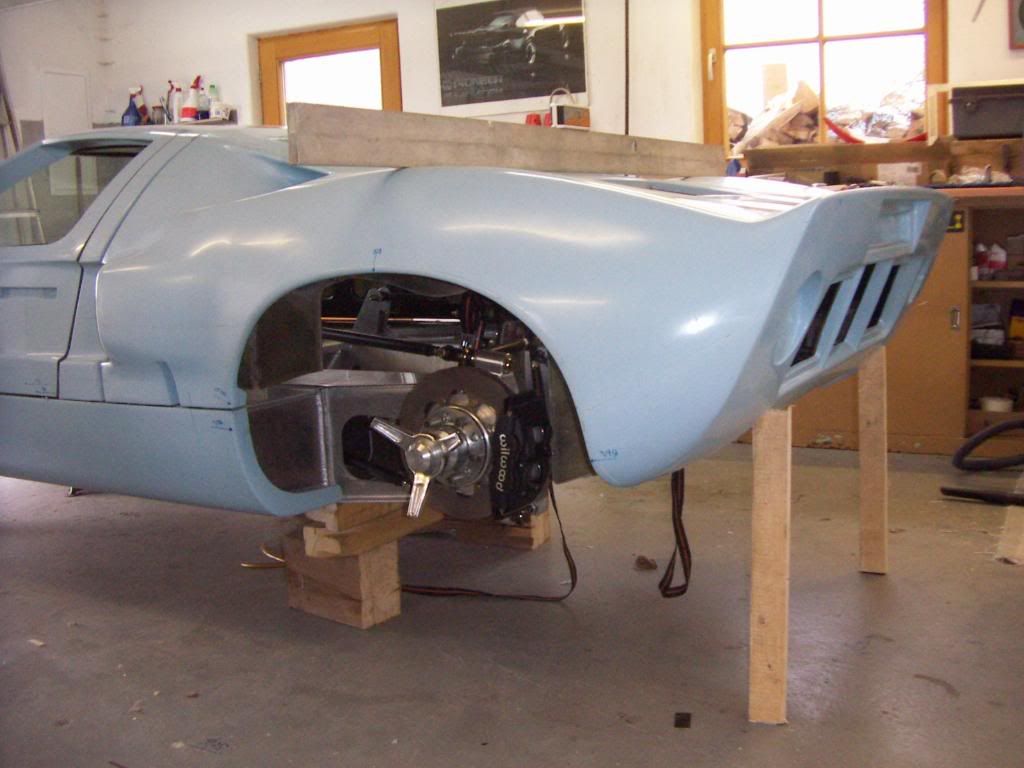
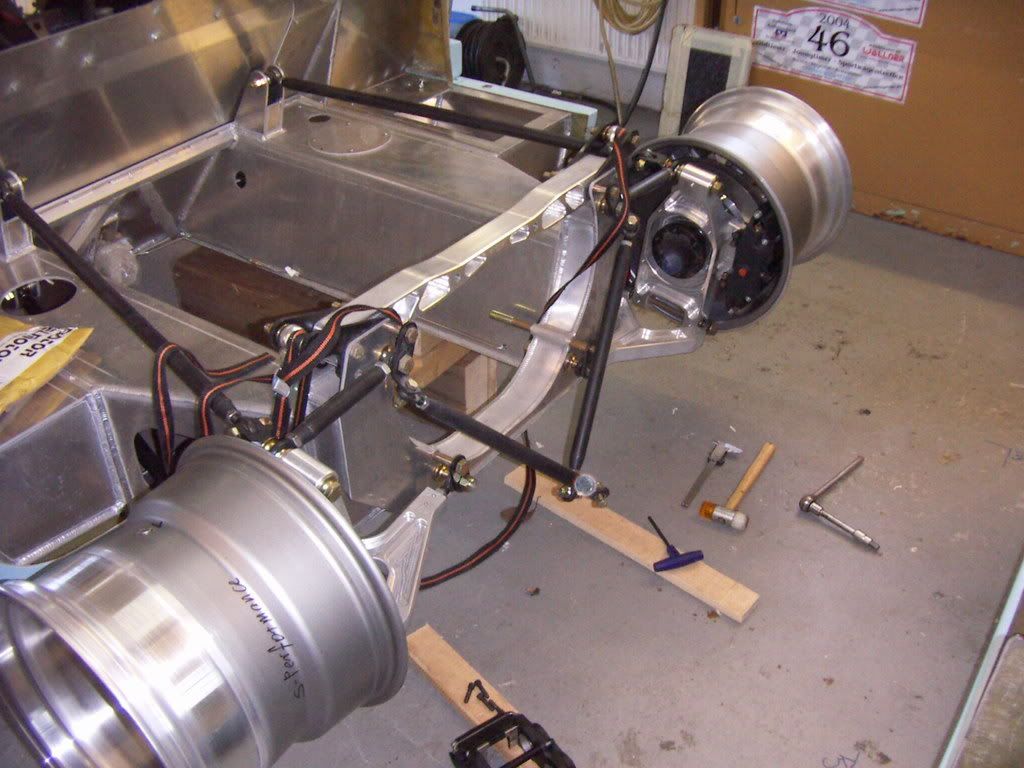
Would you be so kind as to post some more detail pictures and measurements of the rear suspension?
In particular - I'm interested in how you got all the toe-out dialed back in to acceptable levels.
On my car, with the lower control arms level to the ground, I have about 3/4" of Toe Out on the rears.
I have shortened both the trailing arms as short as they will go.
The Camber is set to Zero
Lower control arm outer heims are centered (depth wise)
Lower control arm inner heim is centered (depth)
I know that I will need to adjust some of the toe with the outer heims, but I also need to lengthen the trailing arms to get back to a 95" wheelbase.
What it looks like I will have to do is to shim the lower control arm "Inner heim" toward the rear of the car by 3/8" or more.
Thoughts?
And THANKS!")
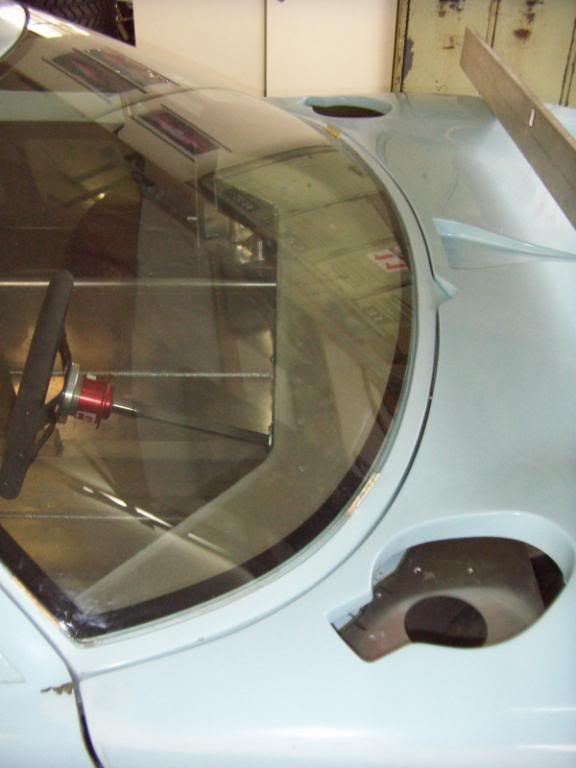

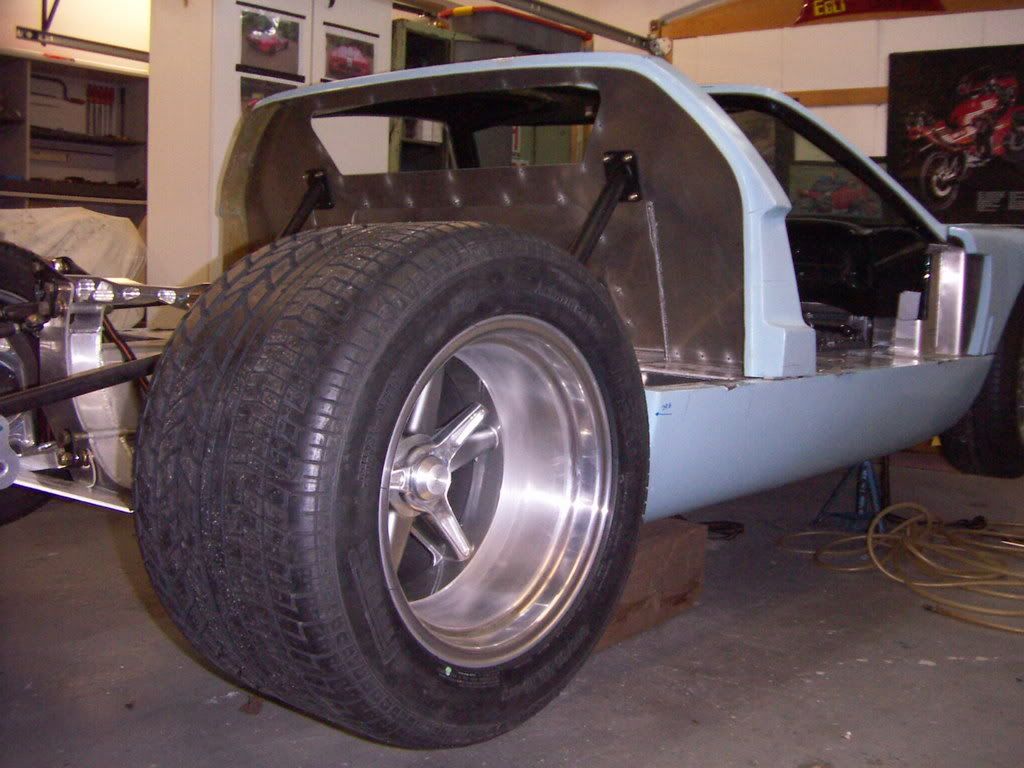
What color are u p'lanning to finish the beauty?
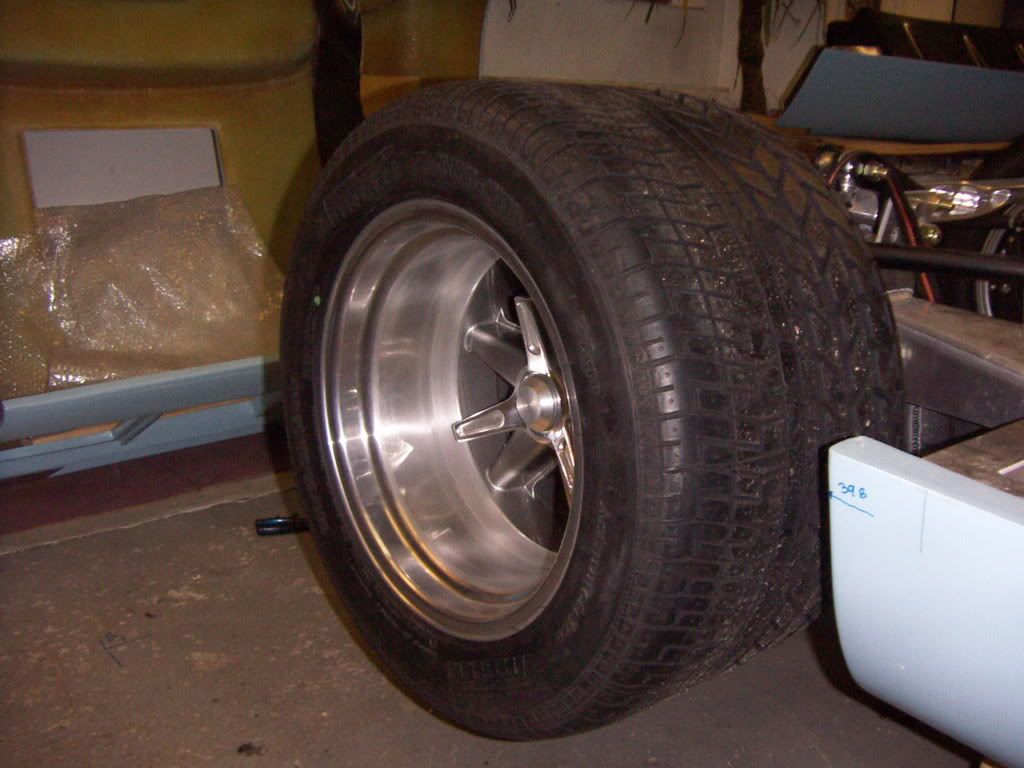
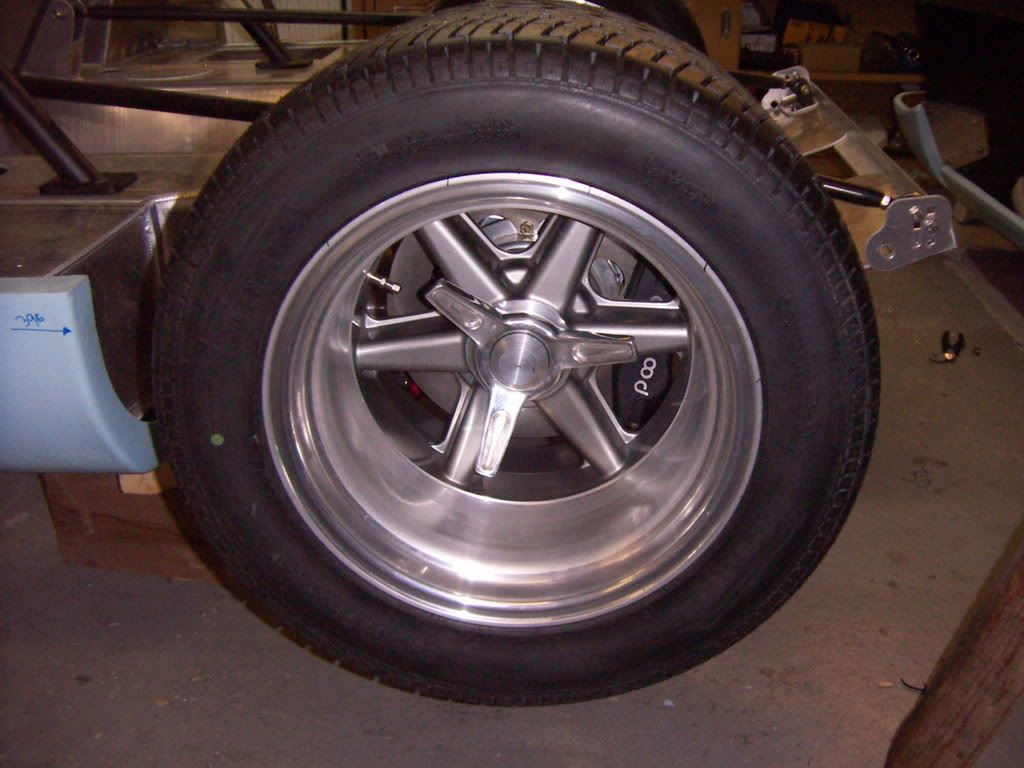
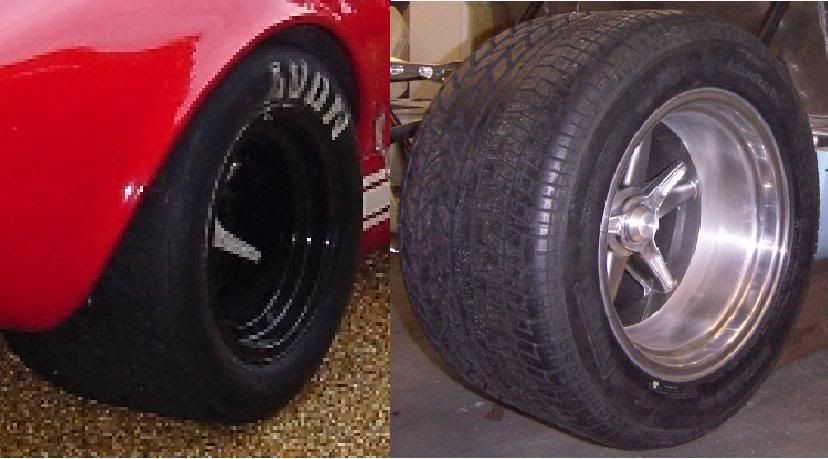
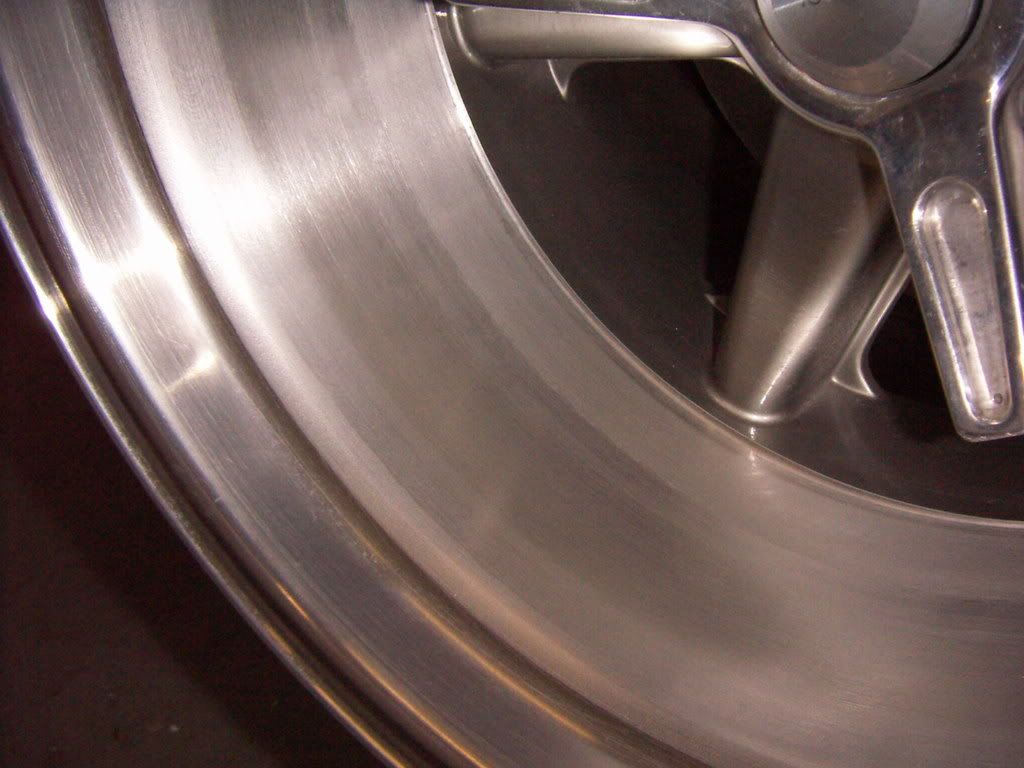
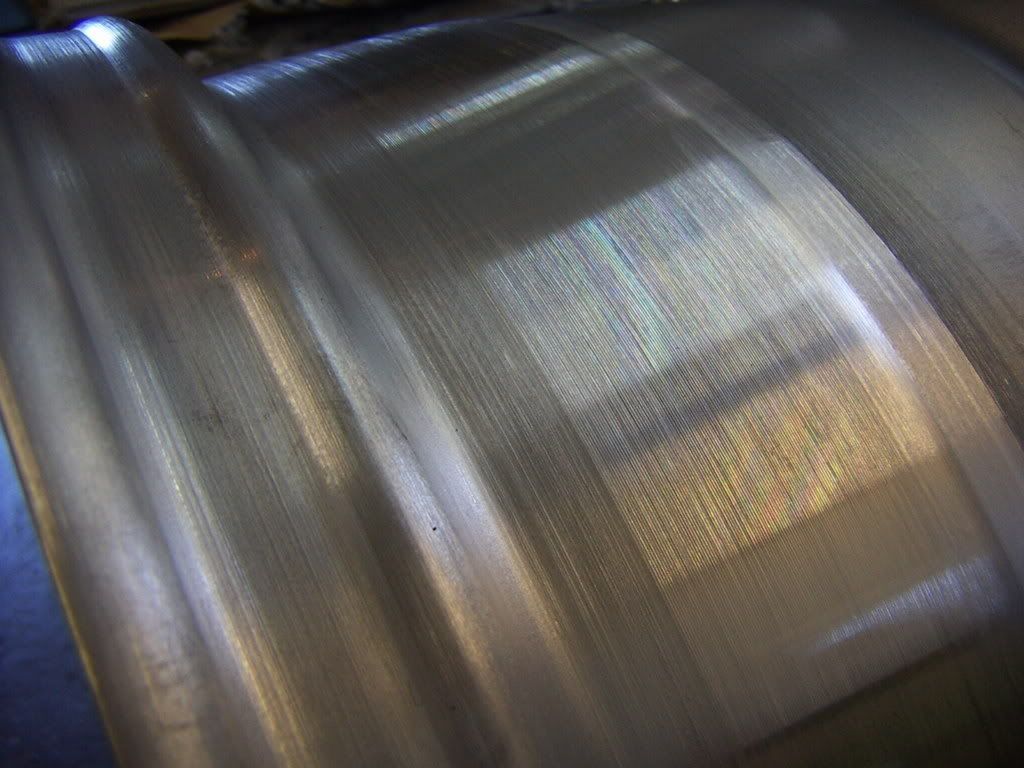
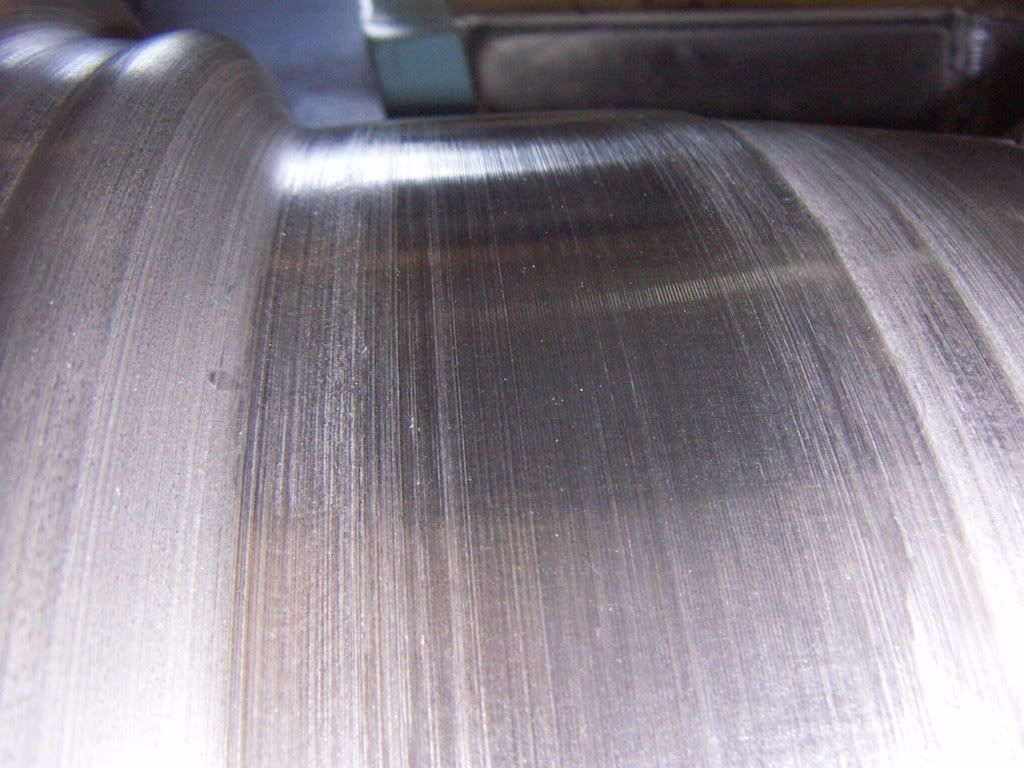
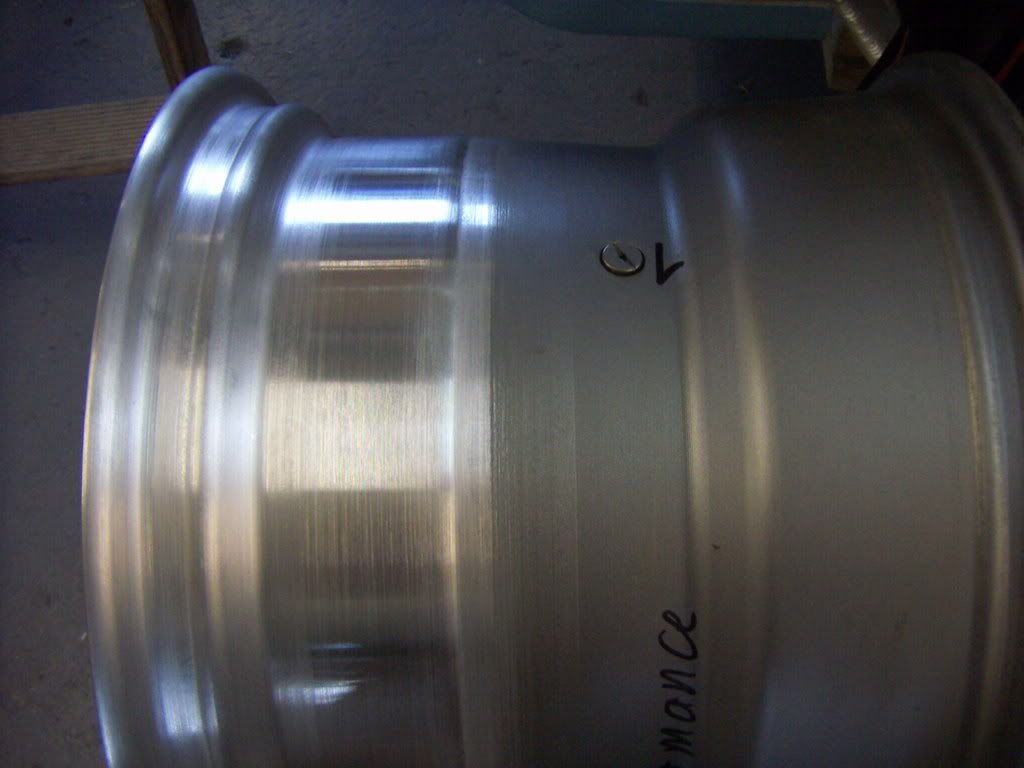
GOT my Wheels back ( after the promised lead time of 6 -8 weeks) from "Rindt Felgen".
They look great. They cut the wheel and insert a closed ring. The ring is than welded in place from both sides and than turned down i a lay. As mentioned they do a lot of this wheels and also have a TUEV certificate for a smple wheel.
TOM
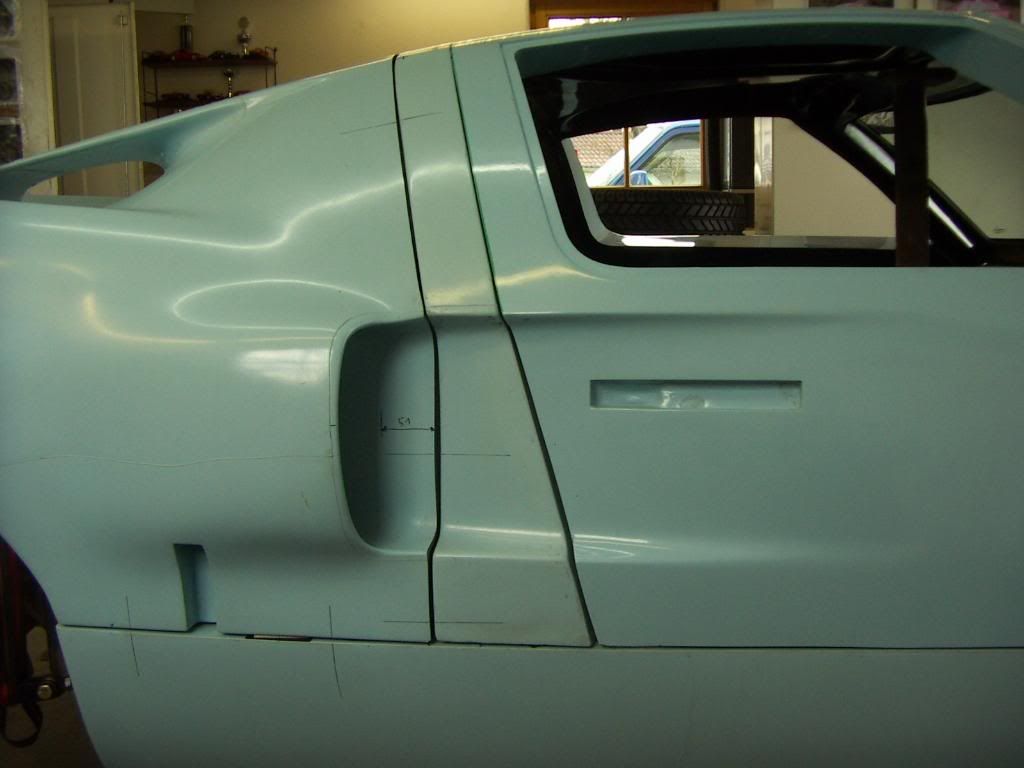
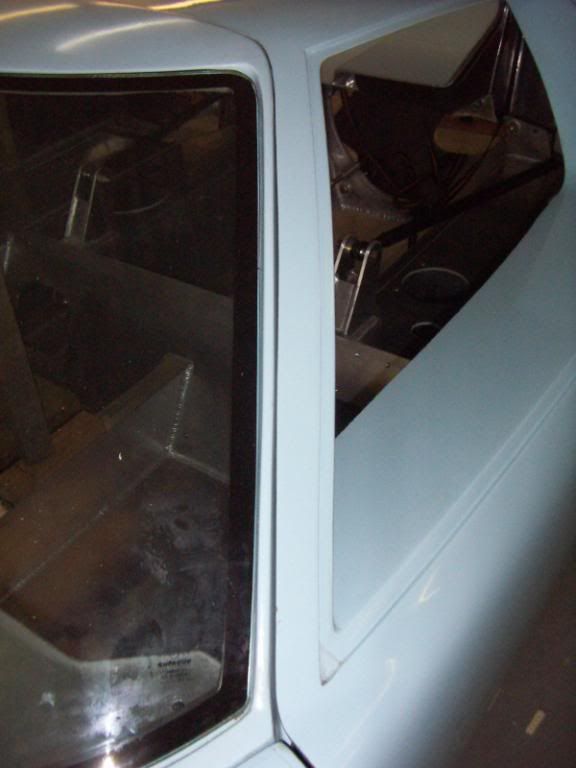
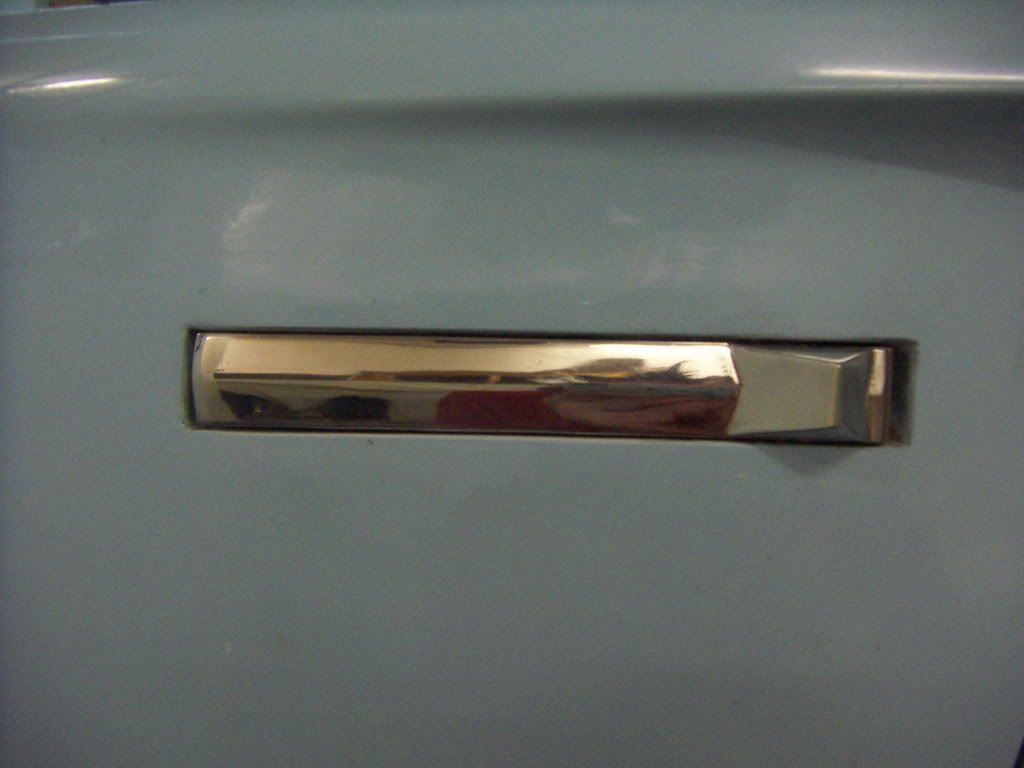
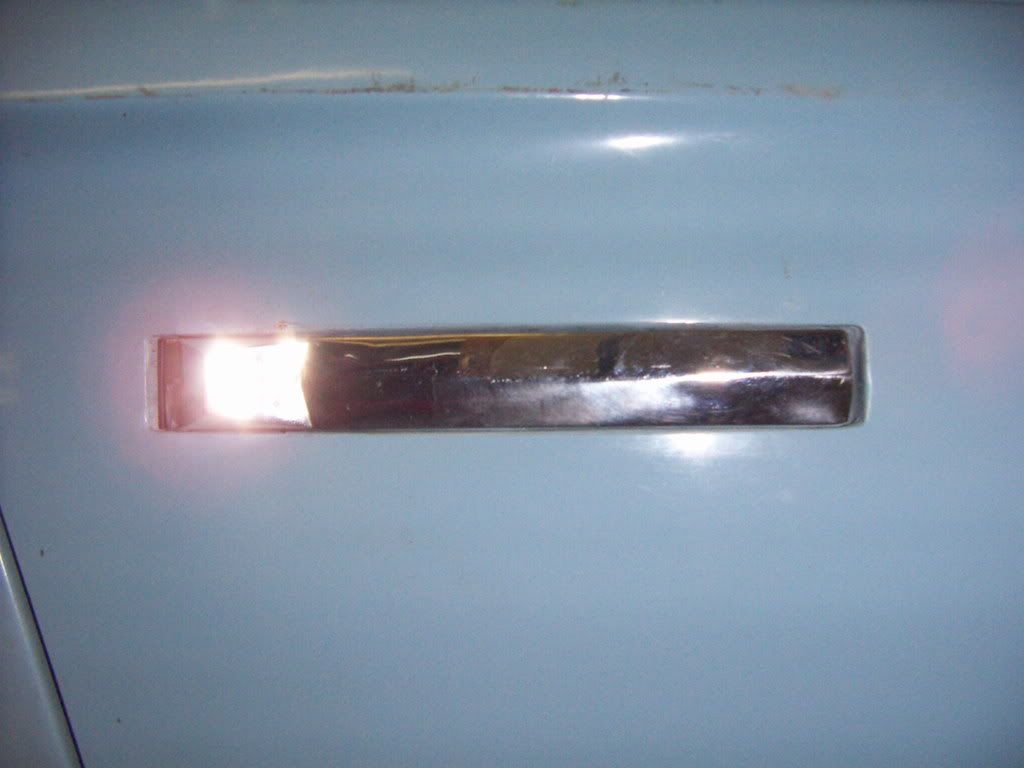
Nice work on the door latches Tom - I will be watching this for sure. Do you have the year / or part number of the latches?