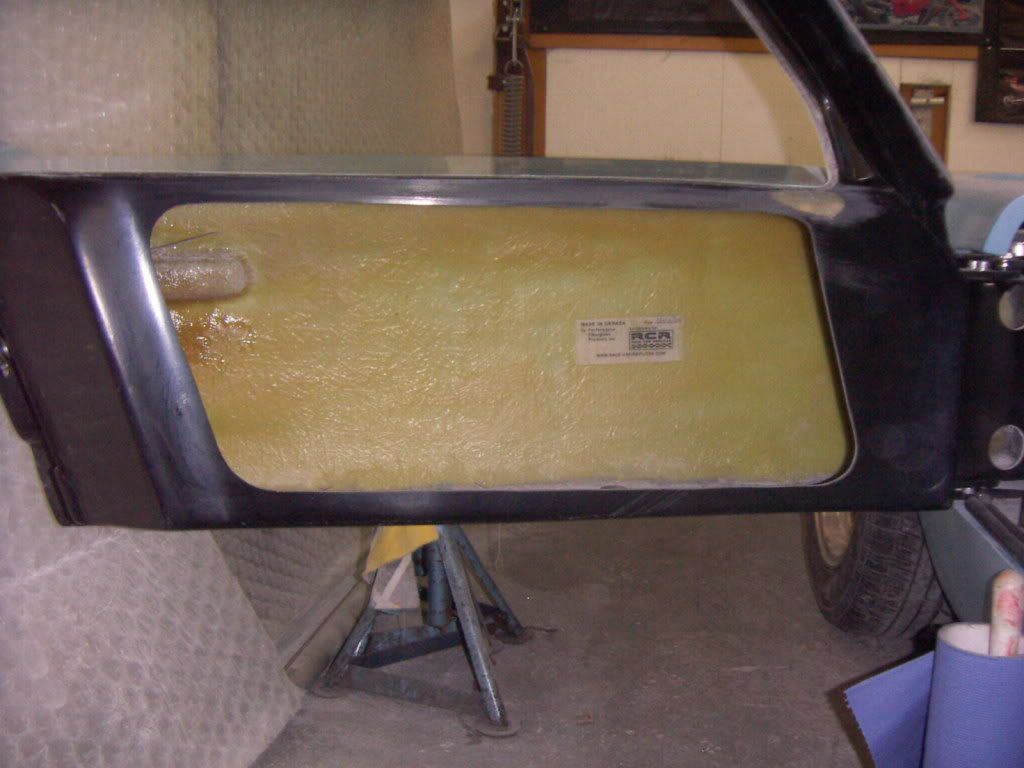
Parallel to doing all the bodywork, i do all the things which are attached or connected to the body.
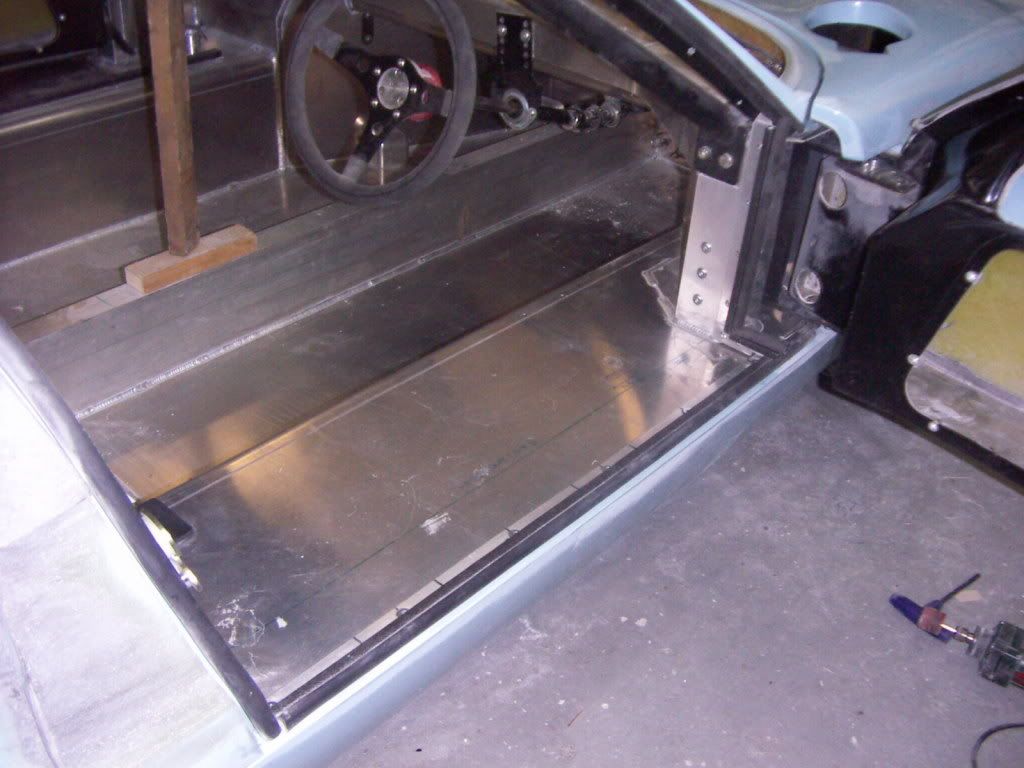
One of this things is the door weatherstripping. I´m not intending driving this car in the rain, but it happens to often, that one get caught by it. So i try to do seal the car to be watertight ( or at least somehow watertight).
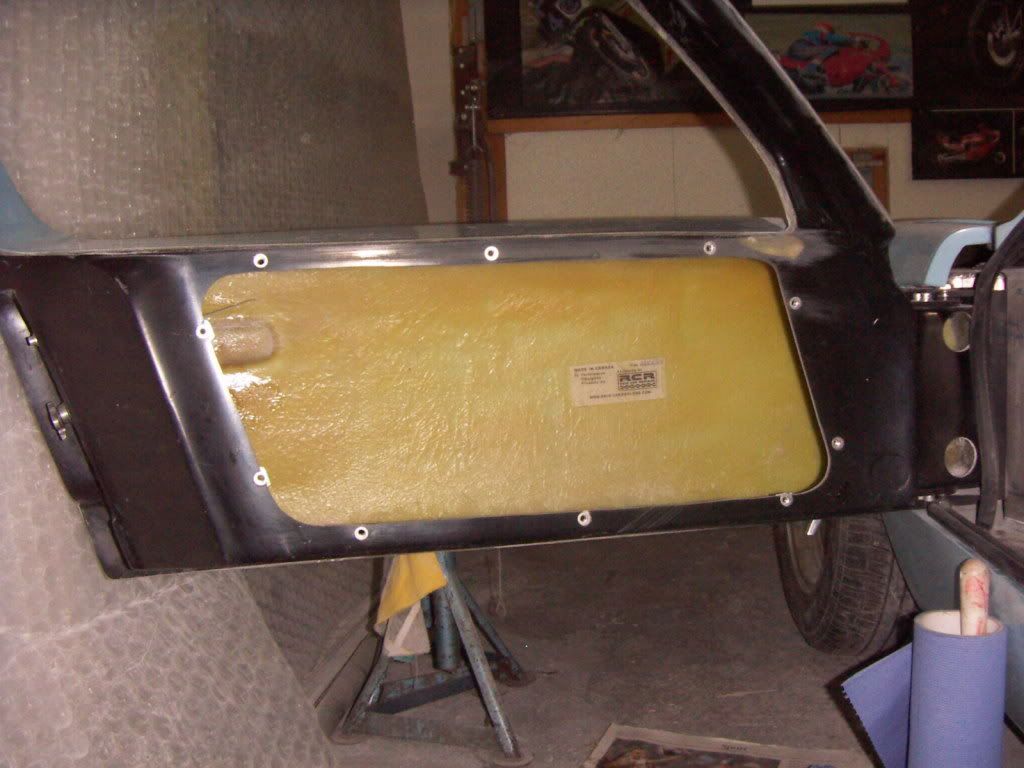
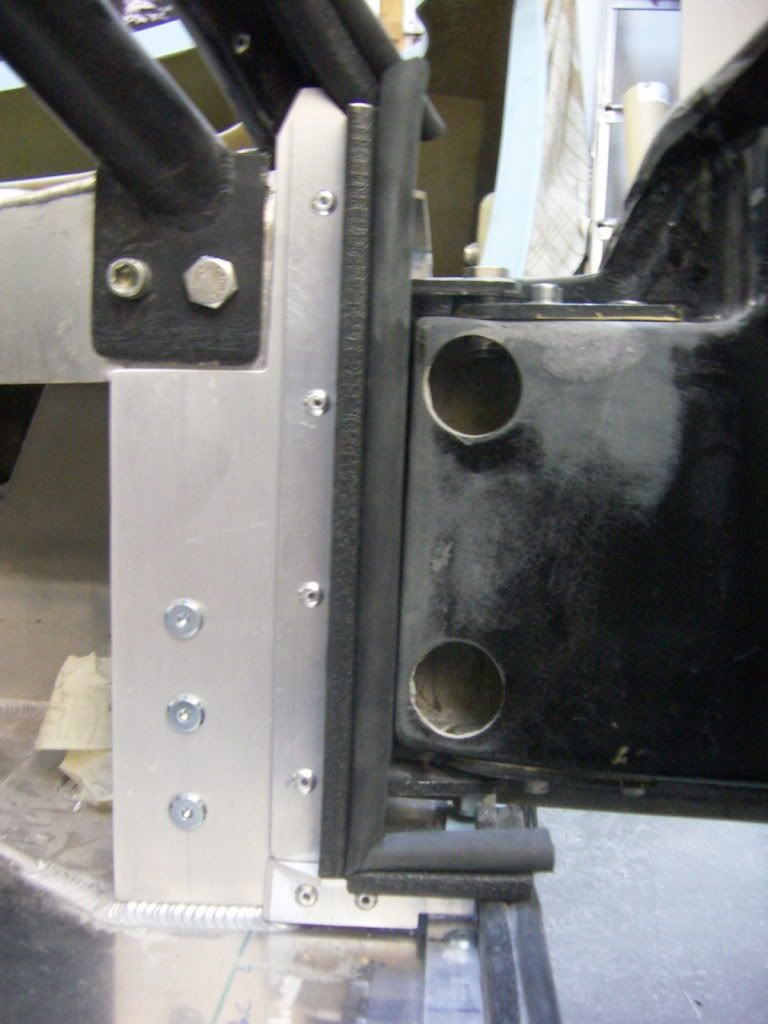
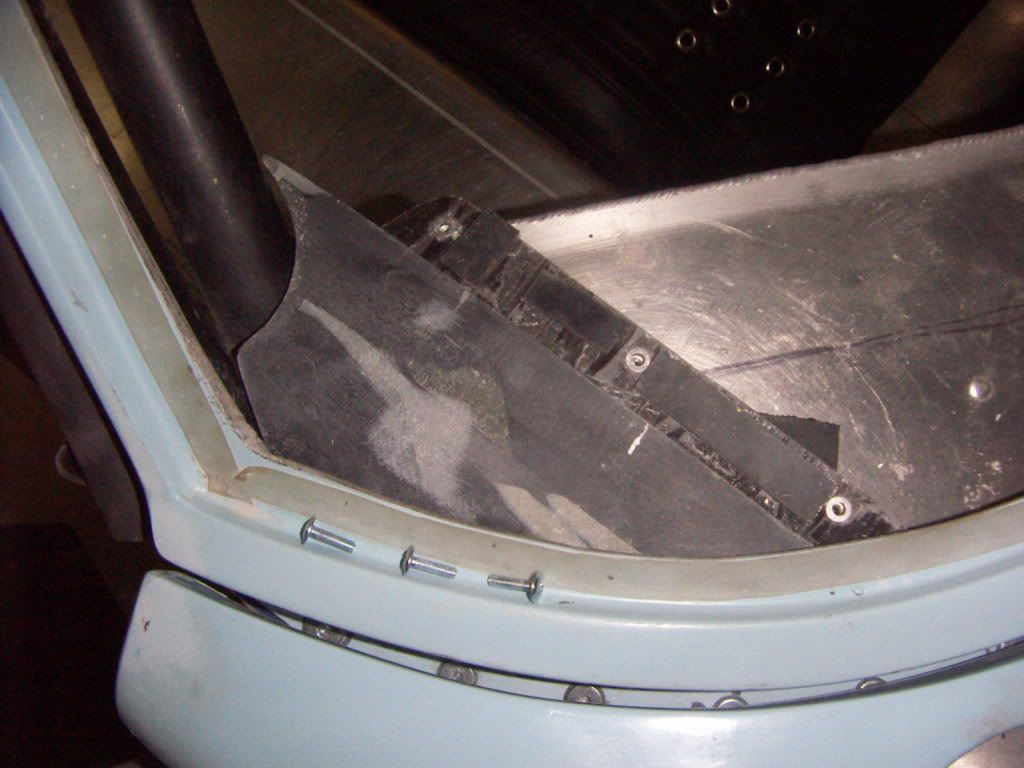
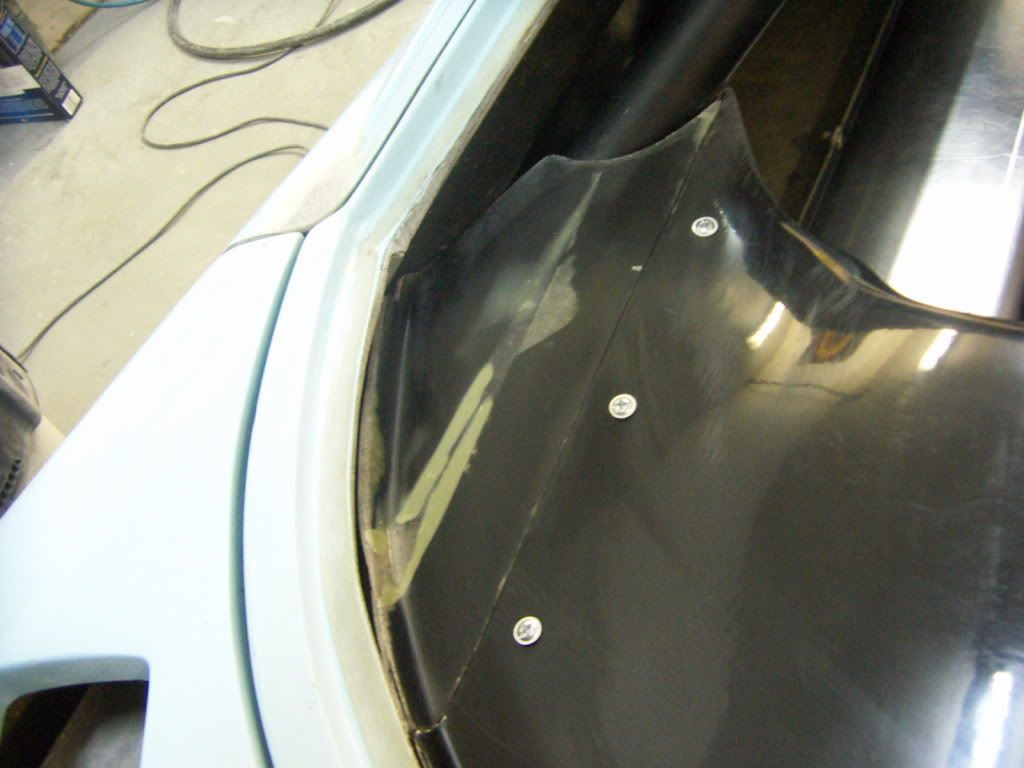
For this i added weatherstripping to the bottom and the front of the door.
The bottom sealing also clamps the sill ( described in a earlier post).
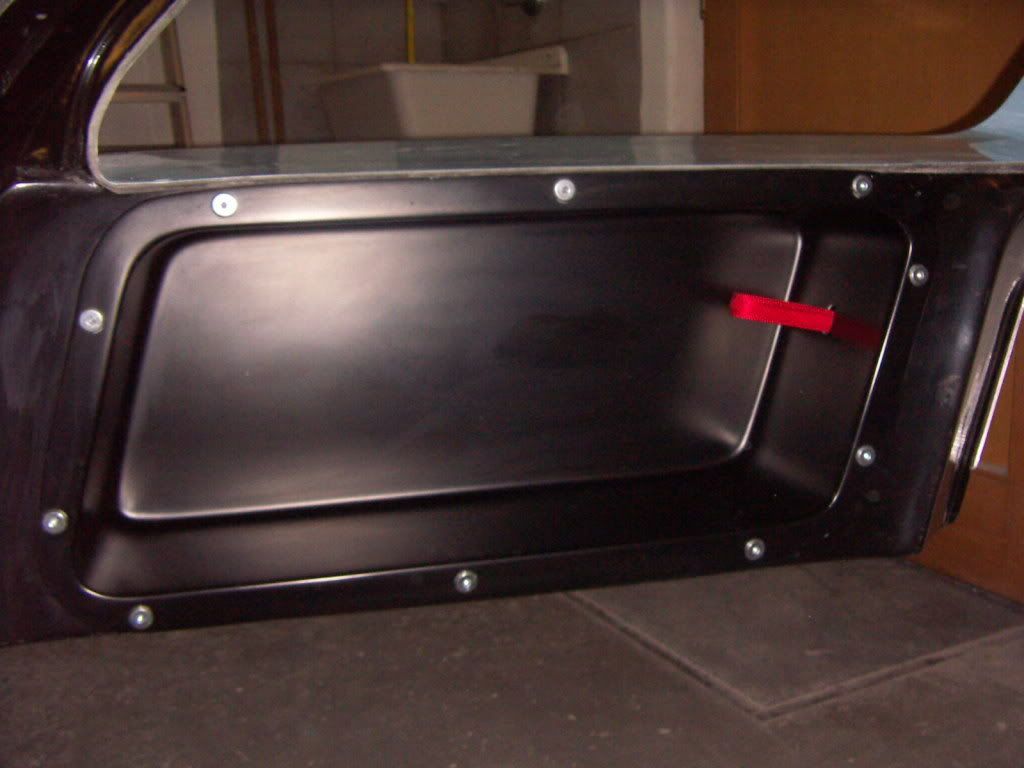
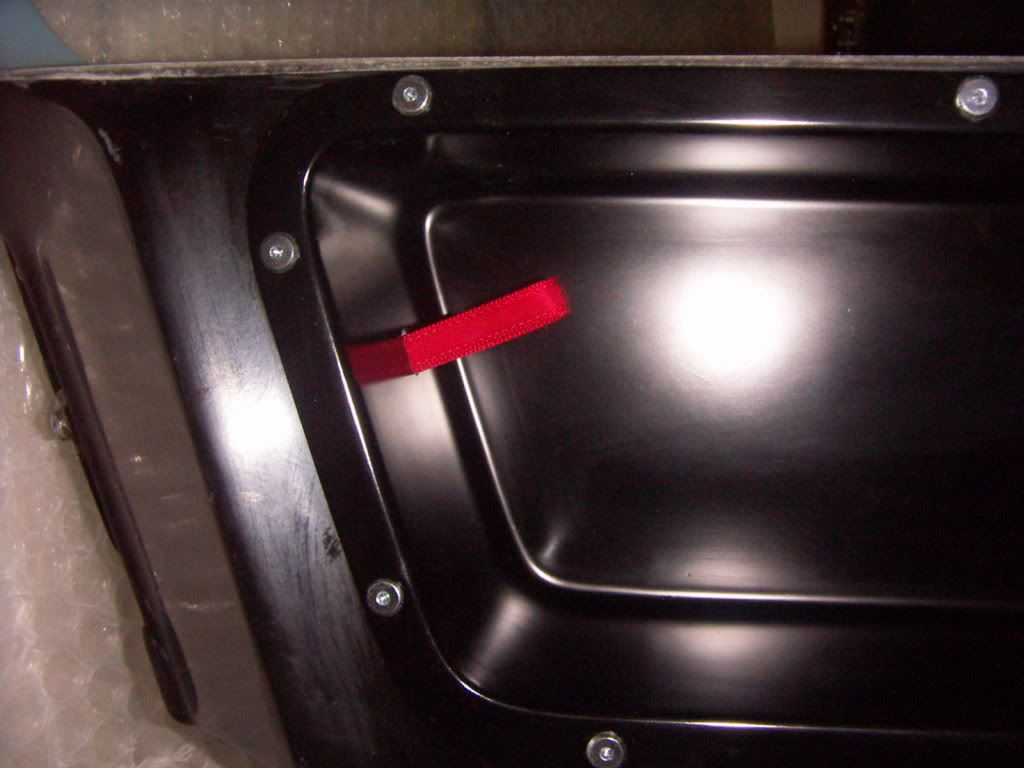
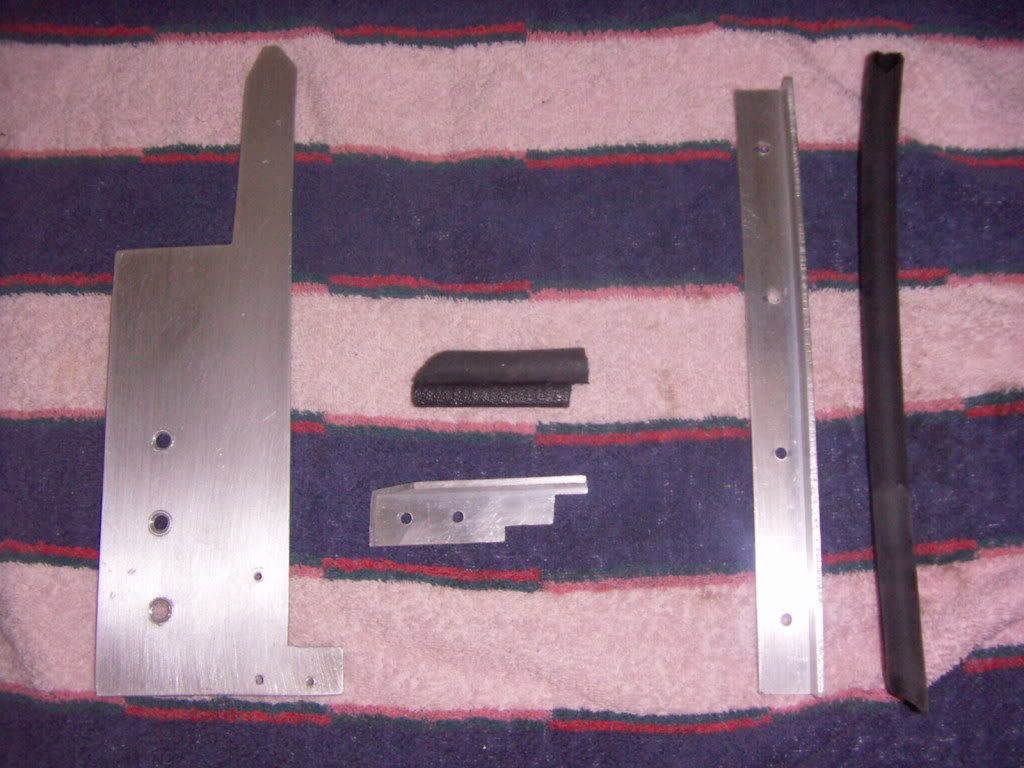
I built the front door seal plate out of 2mm Alloy and the 25x25mm Angle stock. The side of the angel stock on which the weatherstripping is mounted was cut down to a leg length of 18 mm. This way the weatherstripping fits right in front of the inside corner of the door. If there would be outside airpressure, it would be pushed to the back cornerside and still provide a seal.
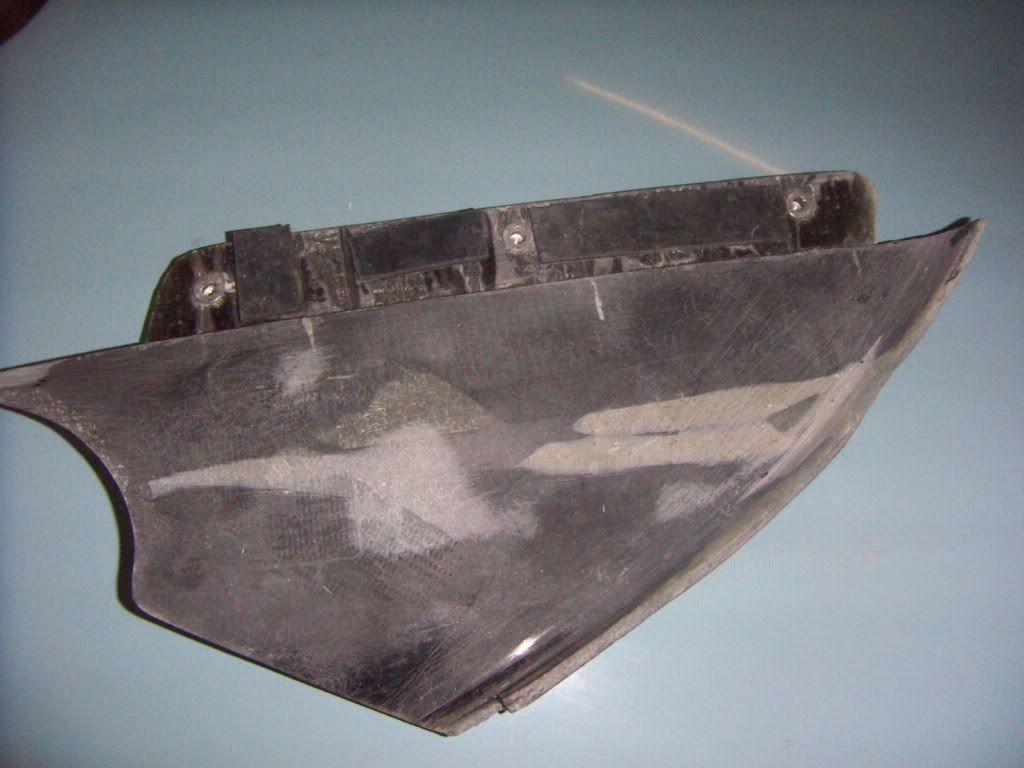
In the final installation ,the corners and the connection to the spider will be sealed with black PU seal. The joining corners of the weatherstripping will be glued together with superglue to provide a "seamless" sealing...
TOM