SouthernGT Number 18

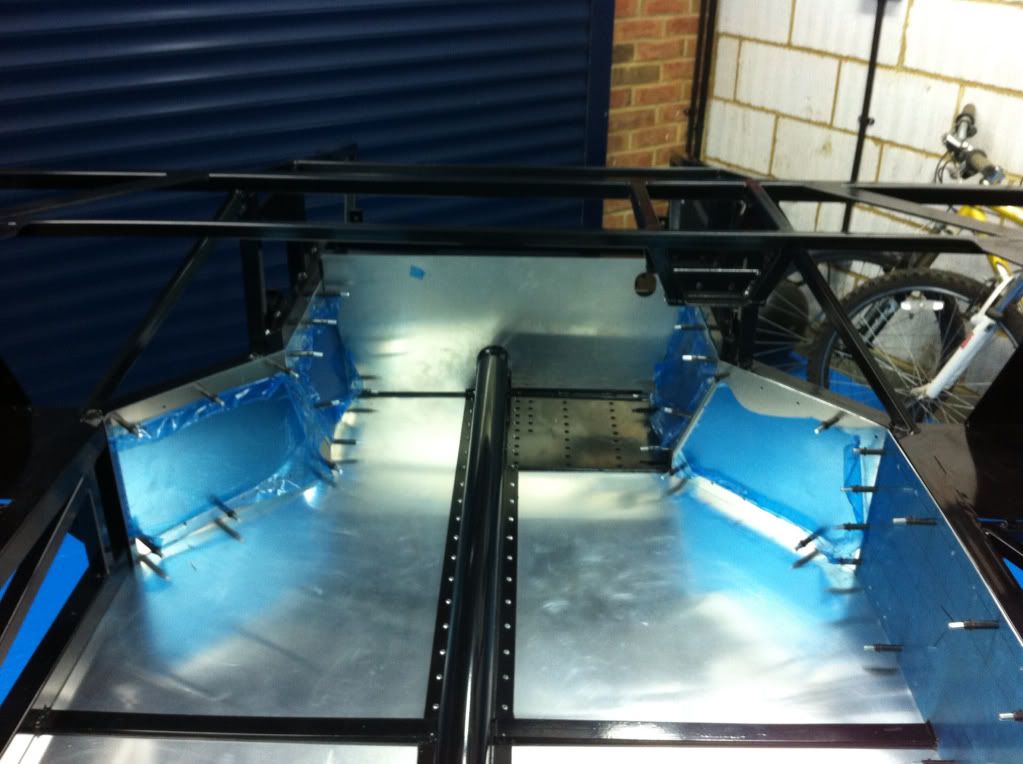
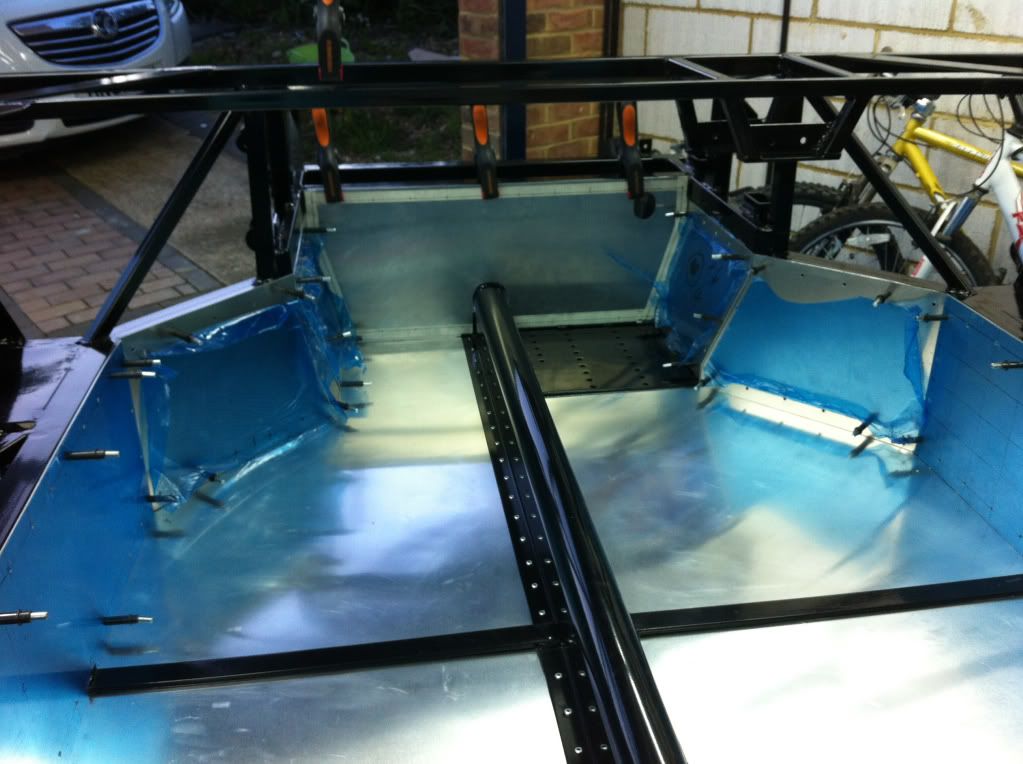
If you like to have something similar to "magnesium gold " look you could use a brush and Alodine and this will give you a gold yellow aspect , not like a paint but like and clear anodising.
And using some Wd 40 on this leave the gearbox as they where in the 60's coming out from the foundry

(Alodine is not an acid at all ; is just a water coloring stuff to treat aluminium parts before painting in industry and used too on aluminium inside parts in light plane wings)
 
Hi Paul,

In answer to your question on Belinda's build log (I'm not sure if it's polite to send you a post on her log) I used a combination of air driven tungsten burr, round hand file and reamer type drill for my electic drill. The burrs are not cheap but incredibly effective and can be bought from abtoolsonline.com. I also use them on aluminium panels for enlarging holes such as for steering arms, gearbox linkage at the rear and for the u joint at the bottom of the steering column.

Andy's suggestion of a dremel attachment sounds good but I don't have a dremel. It seems to be a very good and refined tool, but then, Andy is a very good and refined man!

Good luck, Regards,

Neil
 
Last edited:
Update time!

The most exciting news yet, chassis being delivered April 5th :pepper:

In the last few weeks I have got myself a nice aluminium radiator with fans and also managed to buy a dash board for a good price, the only thing was it was 100 miles away! Luckily the chap selling it kindly offered to deliver it (though he will never do that again), he turned up this morning but sadly failed to see my dads car and drove straight into the back of it:bash: luckily no one was hurt though his car looks pretty bad :thumbsdown: and dads will need a good T-cut....

Dads car
c42fe0023a4c59b87684fa8ab6619188_zps8bf31f4f.jpg


And the dash board
e9f353301923d637d13213f426ff6a6e_zpsd57f9e0d.jpg

79320911e272d6b9cbfd08d81d4996f8_zpscbe20e2a.jpg


Still busy trying to finish the garage, nearly finished plaster boarding today and plasterers booked for Thursday then just need to paint wall and ceiling, fit lights, paint floor, fit work bench, sink and finally build a car......
 
It's arrived....

IMG_7131Large_zps9135895c.jpg


Ignore the fact that it's on blocks they will be replaced by castors next week.

I've still got to paint the garage floor when the weather gets better and then build my work bench so not allot is going to happen straight away but at least I can start getting prepared now:thumbsup:

anyway a few more pics:

IMG_7132Large_zps9e44055c.jpg

IMG_7133Large_zpsa0af4a85.jpg

IMG_7134Large_zps68fcbcfd.jpg

IMG_7135Large_zps93fc171d.jpg

IMG_7137Large_zpsaffed9af.jpg

IMG_7142Large_zps8104928a.jpg
 
Great news Paul. I picked up Southern GT 21 yesterday so will be creating a build log to run along side. Well done.

Hi Nick,

Mick did say you had collected yours, he also said you collected my stand with the castors on;)

Sunday should be fine, I'm hoping to get to Goodwood myself so just give me a bell when your'e leaving to make sure I'm back.

Paul
 
Well I am officially building a GT40 as applaud to looking at a chassis now:thumbsup:

Made a start tonight and got the first panel fitted and the next two trimmed down to size and ready to go in tomorrow evening. Like Nick I have deviated from the recommended sequence and copied him by also fitting the rear bulkhead too, this is so that I know the rivets will line up on the bottom row and will only require fixing once, I won't do any other fitting of the bulkhead until later on in the build though.

So far so good :laugh:


604b808e09f58098da804213a8d2d9bd_zps79db9f5d.jpg


10179becb72cf28bff559adea7d2d7ab_zpsc3531191.jpg
 
A bit more progress but I have had the kids all weekend due to Mrs Paulbav buggering off on a hen do so slowly slowly but TBH this will prob set the pace for the whole build as time is a commodity that is very limited with two small kids.

First off got a temporary work bench installed, I will be fitting a full length bench with sink but have a few more pressing (so I am told) ;) DIY jobs to do first! The bench was my late Grandads so it's a pleasure to have and use it anyway, I also picked up lots of his old tools including spanners and some very old and very good files :)
3f675a36b56960e4f7c1a88474053852_zps98a507fb.jpg


Got the front inner footwell panels fitted too, just got get a shorter drill bit as mine was 20mm to long in the drill to do the lower front rivets as the centre tunnel is offset to make the drivers side larger.
67d401862cb156fb21d95d51db2ad1f5_zps6149b89e.jpg


d4adb0007eff5485289549fee8e97be1_zpscf7e60c2.jpg


5737c4560169b99702792e70297c708e_zpsdc784c4f.jpg
 
Keep up the good work Paul, Although looking at the pictures of you standing in the chassis you look a little young to have a licence and you will definitely need an extended pedal assembly !
 
Hi Paul

May be worth putting some rivets on the floor cross braces unless you have bonded the floor to them otherwise the floor may vibrate and make a noise. Everything tries to vibrate!

Regards Martin
 
Looking good Paul you will soon catch me up with your build. Have had a close bereavement sadly so have not been top priority to work on the car. Engine is being built though so great news.
 
Hi Paul

May be worth putting some rivets on the floor cross braces unless you have bonded the floor to them otherwise the floor may vibrate and make a noise. Everything tries to vibrate!

Regards Martin

Cheers Martin,

The panels are bonded to the braces so should be fine (I hope)
 
A little more done tonight:

One side panel fitted and ready for riveting.

5831bc7299d9046e2c1d749c7cdda127_zps5b9abcd7.jpg


13cd5c6e4b74aa388544bec3c79be8f2_zps1e3b546f.jpg


And started fitting the front panel, not quite in there yet though.

19234d97748bc1639b6c1fd2f09ce8a2_zps65d9d14f.jpg
 
Back
Top