Long time between posts and visits, as many will see in the news, life is a little challenging in the Blue Oval right now...
To sum up the time, well, I don't really get much time in the garage of what I have managed
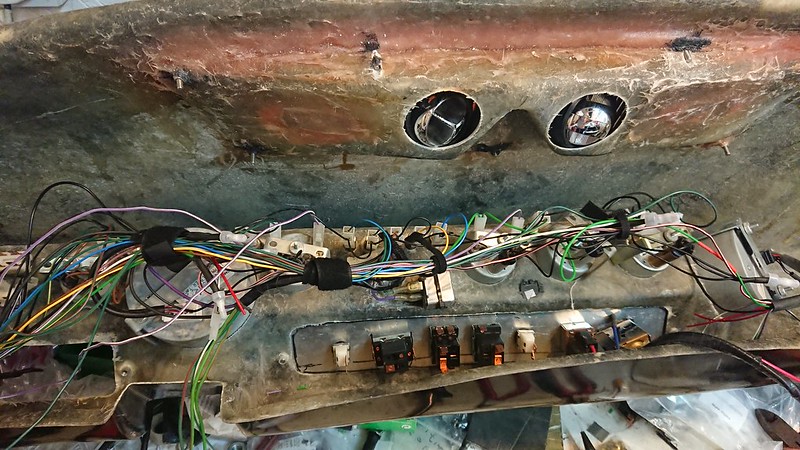
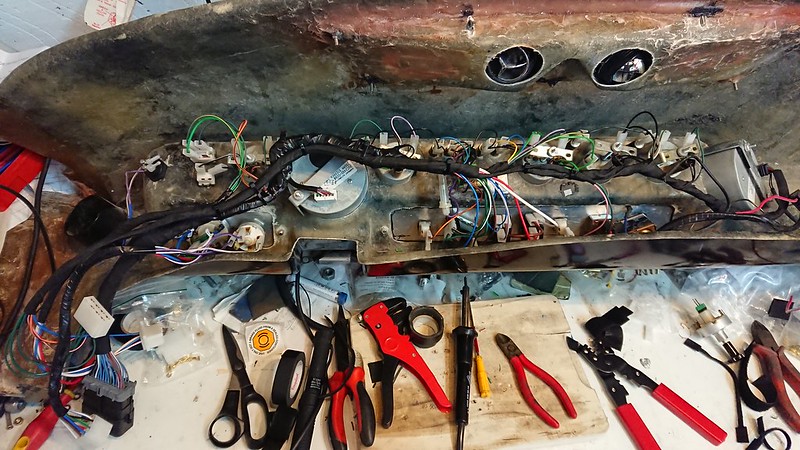
A few bits over the summer that had me trying to turn the car over resulting in a few attempts and then a period of focus end of September/start October. The last part resulted in a few coughs and splutters and some Gas Monkey moments firing back up the carb: Spark - Check, Fuel - Check, Turning over - Check, but nothing so it was down to timing most likely and... battery cable.
November a new larger battery cable was installed 485A vs the previous 170A. It also meant a bit of new routing resulting in a shorter direct run that helped as well.
Forward to this month. Yes that's the time I haven't been in the garage. It looks like my old Odyssey unit has started to leak and just wasn't producing the power, so am ordering a new one PC1200 vs PC925, a 33% increase in initial crank. So in the meantime I have been hooking up the Ranger to provide some boost.
This weekend confirmed again the above and the fact that leaving something sitting doesn't magically fix anything. So after a quick chat on the phone to the Wheelwrights, I decided to go back to basics. Rocker covers were taken off, plugs out and I went about reverifying where TDC was and re-seating the distributor just in case. The result...
<iframe width="560" height="315" src="
" frameborder="0" allow="accelerometer; autoplay; encrypted-media; gyroscope; picture-in-picture" allowfullscreen></iframe>

 ></o
></o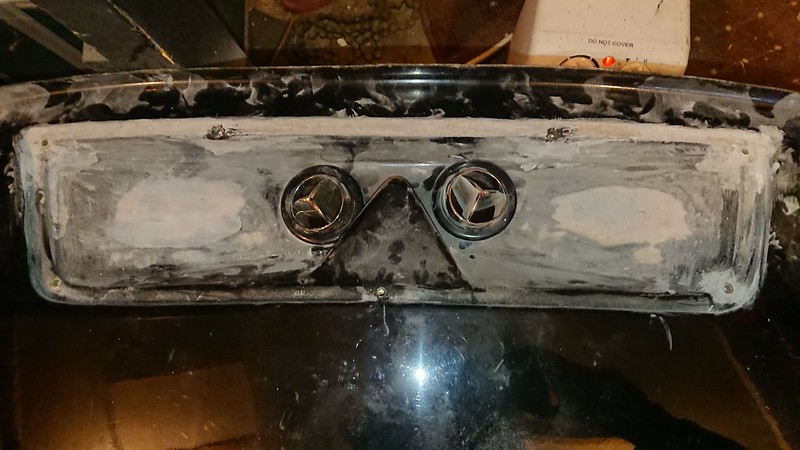

")


")