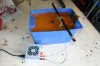
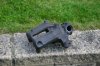
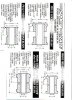
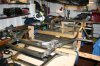
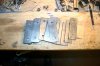
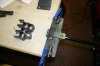
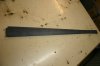
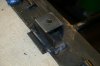
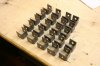
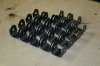
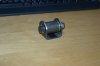
Finished off all the U-brackets. Boy - it's hot in the garage today :sweatdrop:
Attachments
-
 IMG_9514.JPG163.5 KB · Views: 524
 -
 IMG_9516.JPG192.7 KB · Views: 490
 -
 IMG_9517.JPG197.7 KB · Views: 527
 -
 IMG_9519.JPG169.2 KB · Views: 541
 -
 IMG_9511.JPG142 KB · Views: 472
 -
 IMG_9521.JPG170.9 KB · Views: 527
 -
 IMG_9522.JPG168.4 KB · Views: 585
 -
 IMG_9599.JPG181.1 KB · Views: 599
 -
 IMG_9484.JPG115.1 KB · Views: 593
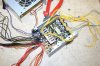
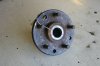
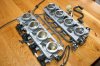
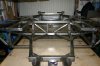
") . Really easy to do, and gives pretty good results I think!
. Really easy to do, and gives pretty good results I think!