Renato
Lifetime Supporter
Chassis
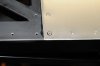
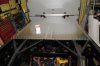
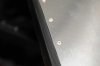
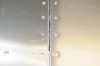
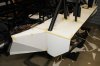
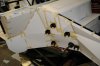
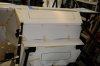
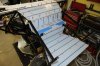
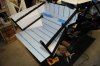
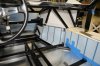
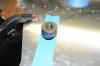
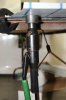
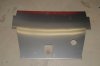
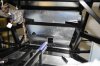
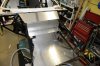
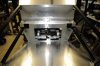
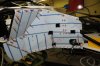
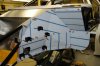
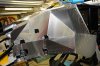
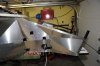
Scuffed up mating surfaces with scotch pad and put a bead of epoxy on the chassis. Put the pan back and the race begun. The rivet gun got stuck few times, too much pressure and it would pull the ball out of rivet. Lowered the pressure and from there on it went well. 362 rivets later I have a finished belly.
I'm using McMaster - Sealing Blind Rivet Domed, 18-8 SS, 1/8" Diameter, .125"-.188" for the pan (97524A040).
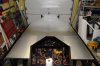
Time to turn it right side up!
Renato
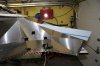
Scuffed up mating surfaces with scotch pad and put a bead of epoxy on the chassis. Put the pan back and the race begun. The rivet gun got stuck few times, too much pressure and it would pull the ball out of rivet. Lowered the pressure and from there on it went well. 362 rivets later I have a finished belly.
I'm using McMaster - Sealing Blind Rivet Domed, 18-8 SS, 1/8" Diameter, .125"-.188" for the pan (97524A040).
Time to turn it right side up!
Renato