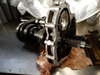
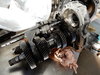
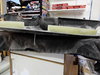
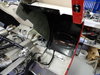
Graziano txfr gear change. This is a Graziano KVJ (R8-V10), supposedly 2012 year model according to seller. We took it apart and checked all bearings and sync rings as well as the discs in the differential, all quite good, but very dirty.
I doubt they ever made an oil change.
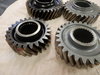
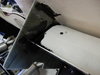
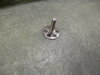
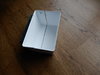
Now, according to the info available on the forum and also from HCFparts, there is a change around 2014-2015 in the production from a non-recessed gear to a recessed one. This was not the case with mine, it was recessed even thou it`s an older transmission. Fortunately, I have both versions of the transfer gear.
But for you guys thinking of buying a gear set, go with the recessed ones since they can be used in both versions.
John B, please chime in if I´m wrong.
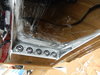
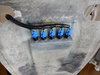
You can see the difference in the pics.


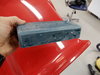
") . Pushing those buttons up above opens up the real estate on the dash, nice move.
. Pushing those buttons up above opens up the real estate on the dash, nice move.