OK, try this:
Russell 641291 Russell Brake Hose Adapters
They have both male and female versions of adapters.
Russell 641291 Russell Brake Hose Adapters
They have both male and female versions of adapters.

OK, try this:
Russell 641291 Russell Brake Hose Adapters
They have both male and female versions of adapters.
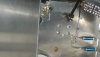
That's odd - I didn't have to cut my t-axle cable bracket. It fit under the t-axle cage; barely, but it fit....I'll have to take a look to see if it was cut or not, but I don't think it was.
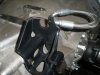
Btw, are you sure you had to grind the front brake mount? Not something I'd want to do unless Fran said to :lipsrsealed:
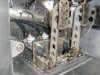
Seems like everyone is putting adjustabel plate on the bottom of the pedal box, so i caved in to peer pressure.
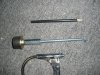
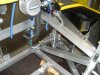
I got all the flex lines from fran and my residual pressure valves for the brakes. I copied what has been doen with the valves on the other SLC's but the MC arrow pointing toward the calipers, not the master cylinders. The fitting wouldn't work the opposite way, so i followed suit with other builds. To me it seemed backwards. You put them in becuase the masters are lower than the calipers so i'd think they are directional. Does it look like these are wrong to anyone?
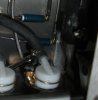
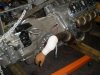
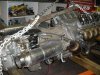
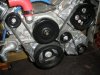
Also, I pulled the engine, hopefully for the last time until it's running. Got the belt on. Fitted CV's for a heat shield.