Toms RCR 40 Trackracer

Status
Not open for further replies.
Tom:

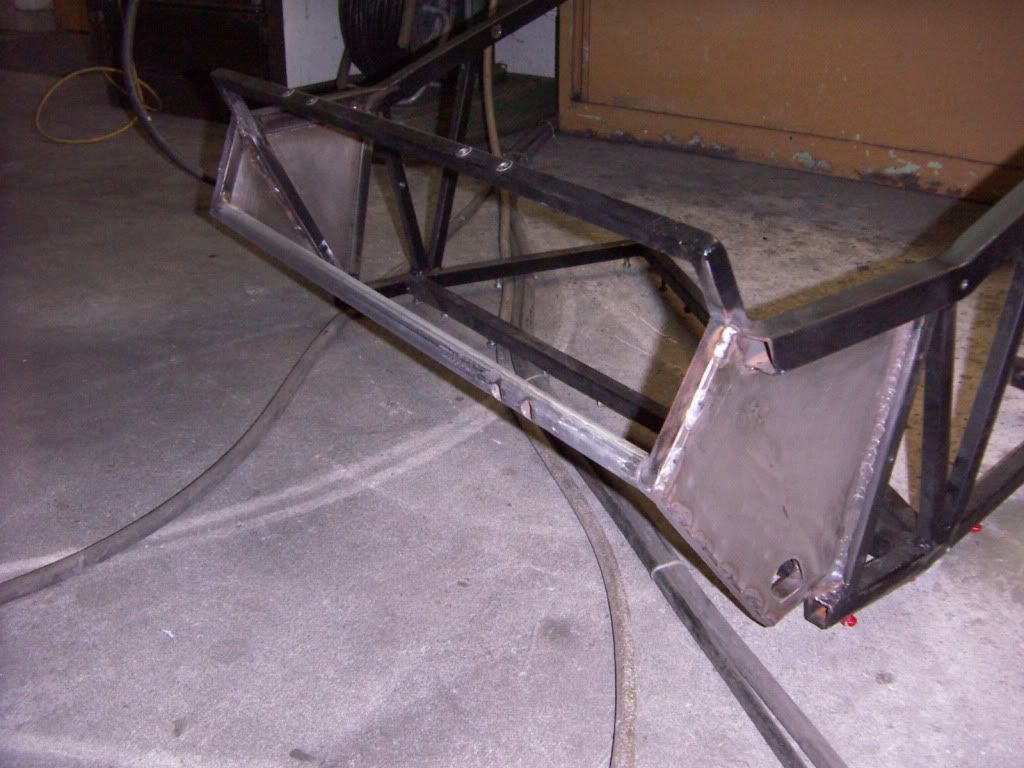
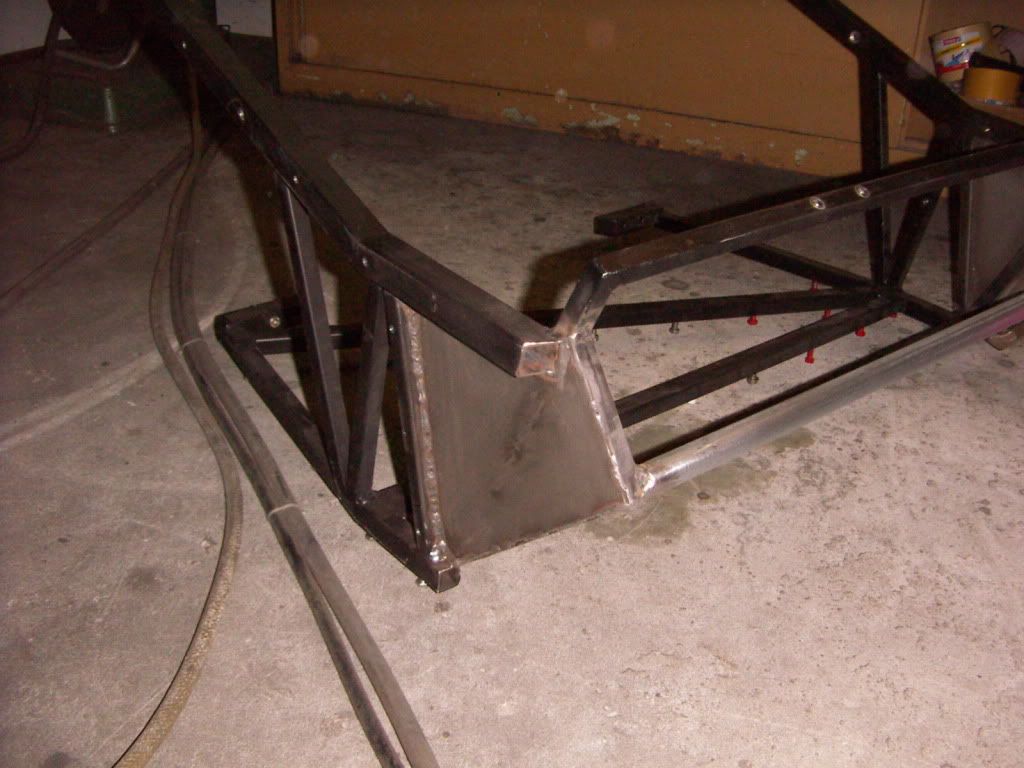
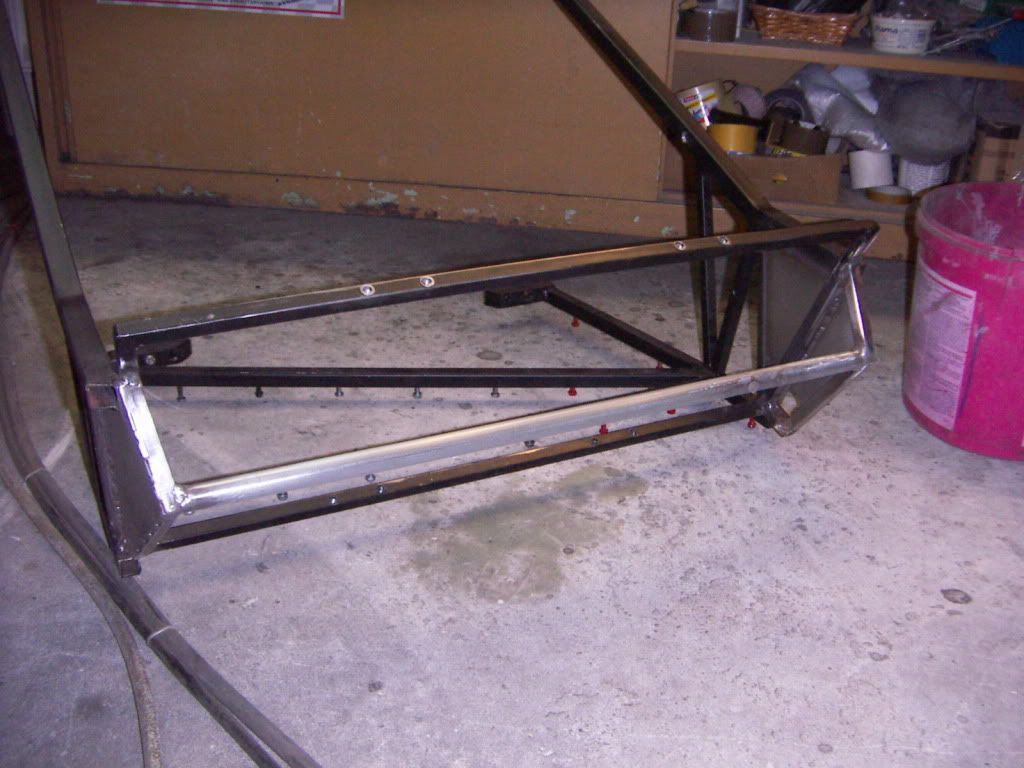
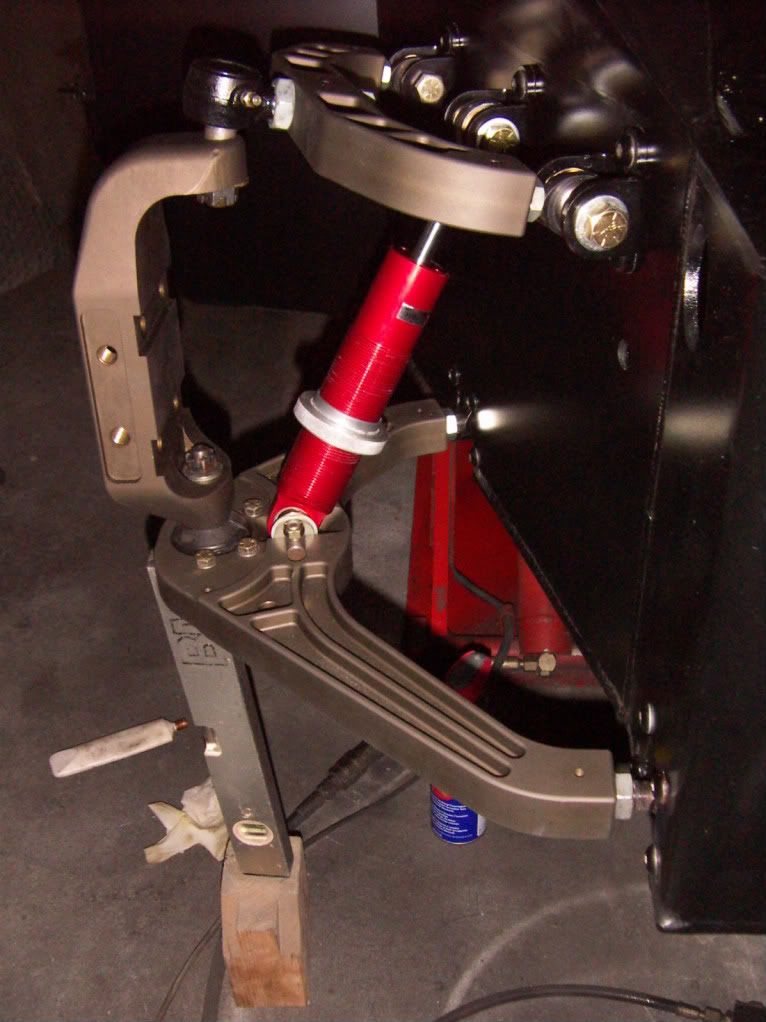
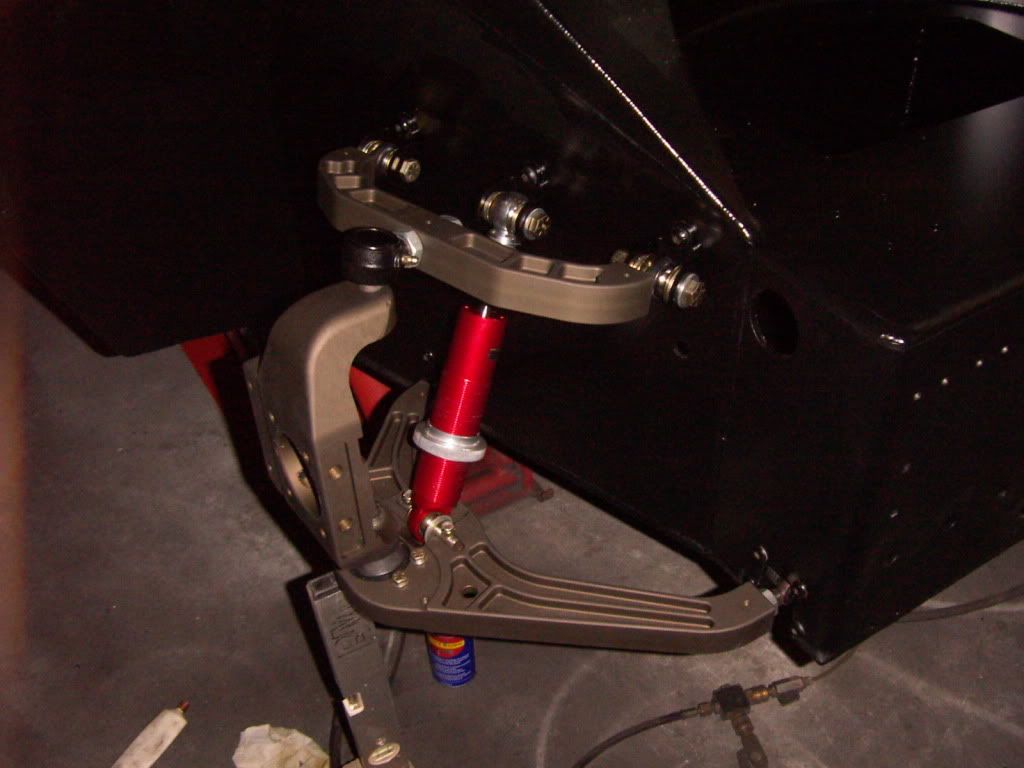
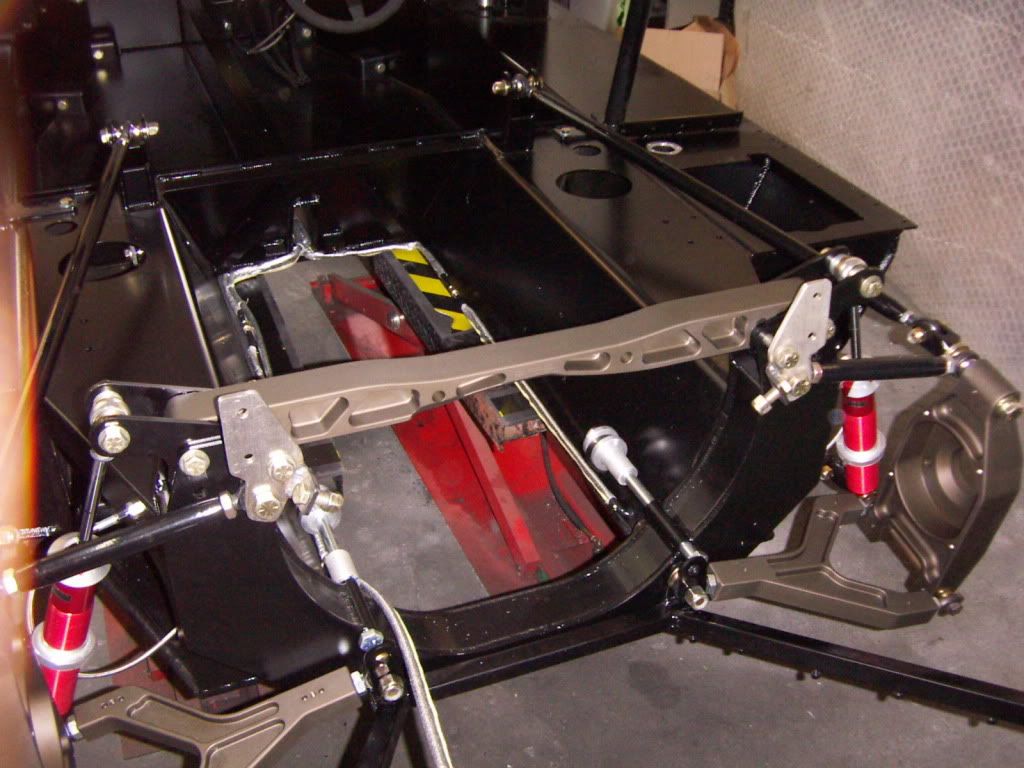
Excellent approach. Building, drilling, cutting, etc. and then dismanteling and painting is certainly the best way to go. No exposed surfaces. You keep raising the bar higher and higher . . . .

Chuck

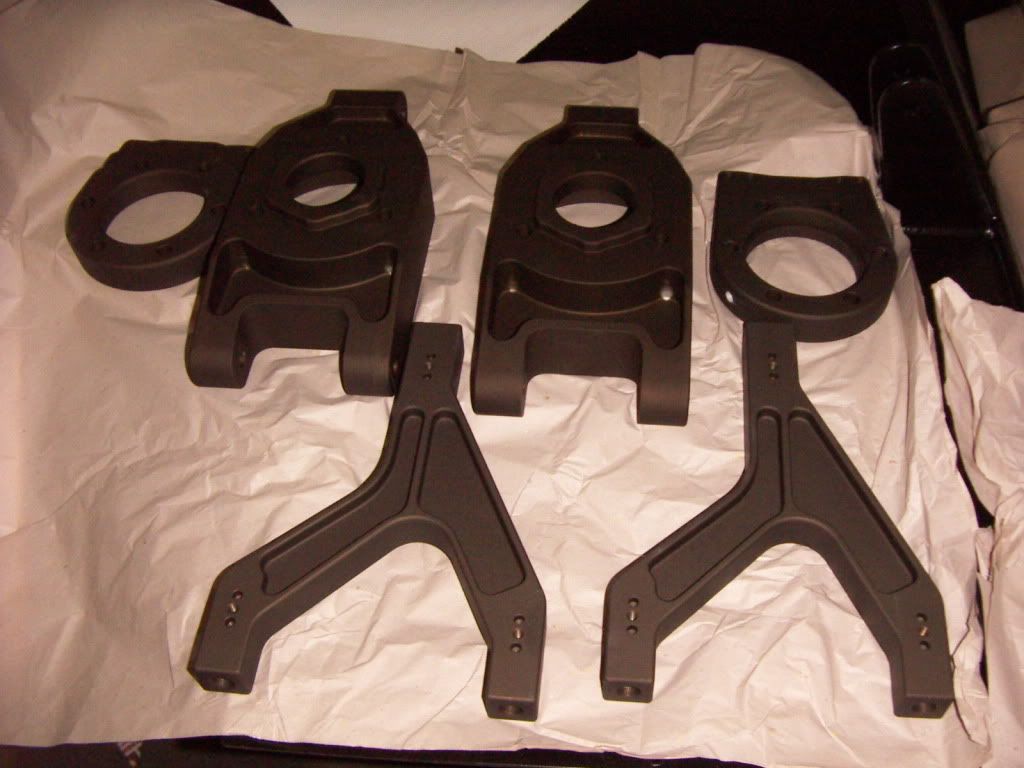
Totally agree, a lot of work but the results look great. When are you hoping to have the car finished?

Trev
 
Finished my frontframe today, i added the sheet metal to the front triangulation and welded in the round crosstube between them
Tried to do the welding as on the original cars ( short weld beds with non welded distance in between)

PICT4051.jpg

the left hand side one is more trapezoid to allow the ac line to run correctly
PICT4052.jpg


PICT4053.jpg


now off to the sandblaster and powdercoater

TOM

awh: 659 h
 
Last edited:
"magnesia suspension parts"

Hi all

check out my "magnesia" suspension parts.
To protect all the CNC milled aluminum parts and to make them look a little like old magnesia parts, i had them glasbead-blasted and anodized in a color called "dark bronce" (CB14).
Depending on the alloy you are never shure how the color applies, but the parts came out exactly the way i wanted them to be. Target was to achieve a color like old porsche race transmissions or old vintage race bike magnesia engine blocks.
The glasbead blasting avoids the anodized surfaced beeing to shiny and takes all the CNC marks of the parts.
PICT4057.jpg


PICT4054.jpg


PICT4063.jpg


I also had the rotorhats anodized black
PICT4064.jpg


The parts will be impregnated with "ballistol" oil to give them additional protection and make them easier to clean.
Product Overview - Universal Oil | Ballistol Öl - F.W. Klever GmbH

Can´t wait to see the parts installed

TOM
 
Tom

Love your "magnesium" suspension parts. Made a note on that one for when I finally get a build going. Your build is truly an inspiration to me; I follow it closely.

Eric
 
Right hand front side installed (The flash is lightning the colour up to a more goldish shade than it looks in reality)
PICT4067.jpg


PICT4065.jpg


PICT4066.jpg


TOM

AWH: 665h
 

Randy V

Moderator-Admin
Staff member
Admin
Lifetime Supporter
Looks very nice Tom! :thumbsup:


I remember that Bill D had his suspension parts bead-blasted but I don't recall if he had them anodized or sealed. They had a more correct vintage look to them as though they were cast.. I'm still up in the air on what to do with mine so I'll probably leave them the way they are and save that project for a future date..
 
BRAKE LINES

installed all the brake lines and the clutch line. To protect them from the heat in the center tunnel and engine compartment i covered them with aluminised kevlar hoses. This will also keep them for making any rattling noises.

PICT4073.jpg


Did also the brake rotor installation on the front.

PICT4075.jpg


Installed the rear suspension. Radius rods and upper control arms are high gloss black powder coated. The Roll cage was powder coated as well.

PICT4076.jpg


PICT4074.jpg


PICT4072.jpg


PICT4071.jpg


PICT4070.jpg


Still need to paint the base plates for my rear sway bar mounts
PICT4078.jpg


TOM

AWH: 680 h
 
Tom

I can't get over how awesome your "magnesium" suspension parts look. Seriously cool. Great idea and great build. Setzen Sie fort, mich zu begeistern (hope I said that correctly).

Eric
 
I installed my cooler and AC lines. All the lines where insulated with a fabric my company is producing for steel worker clothes. It is a aluminised high temp protecting fabric which is able to even handle drop splashes of liquid steel. The advantage was, to pack it as tight as possible around the tubes ( alu facing the tube) and wrapping it to exactly the diameter to provide max insulation and nice dense fit in the middle tunnel. I wrapped the insulated pipes with selfadhesive aluminium tape.
At the end it was a very tight fit and i hope that i never have to remove it again.
PICT4080.jpg


PICT4079.jpg


PICT4081.jpg


AWH: 685h

TOM
 
Much better than a steel chassis and an aluminium steering column. Although with the correct profile and strength i would love to have one´
(of course the alu steering column, not the steel chassis):thumbsup:

TOM
 
HEATER CORE and RADIATOR INSTALLATION:

First i fabricated two copper pipes. Used prefabed elbows and connected them by soldering them with silverlead. I used 15mm tubes and the connectors on the ends are 18mm diameter, thus they should provide a secure hose fit.
PICT4089.jpg

to mount them i fabed some PU spacers ( 25 mm long) and attached the copper pipes to them with alu hose clamps. The holes in the chassis are 25 mm and 1" grommets are used to seal and secure the tubes.
PICT4090.jpg


PICT4092.jpg


PICT4091.jpg


PICT4093.jpg


The cooling line where made of stainless steel and glasbead blasted. All ends are widened to provide a secure hose fit. Had some orange silicon hoses fabricated to match the cars color.
PICT4094.jpg


The provided heater core control valve is installed on the hot (pressure) side of the system. On the cool side ( suctionside of waterpump). I also welded in a bung for the fan control thermostat.
PICT4097.jpg


Finally i runned the inside heater core and AC hoses ( still same hose clamps left to fit)

PICT4098.jpg


TOM

AWH: 695 h
 
Status
Not open for further replies.
Back
Top