CANAMSA - SA stratch build

Hello Fred
As usual very neat progress
concerning Gelcoat ; I do not think you will have any issue watching all parts you did by before and anyway yes it's very easyy to correct small place if someday you got a bad spot ( gelcoat is very easy to sand and polisch but you need to do correction with same batch number to get the same white color
And if you intend to paint your bodywork you do not have to worry at all ?
Keep on your progress we are following you day after day Mate !
 
Thanks Mic. I do intend to paint eventually but I'm thinking I might as well get the gell coat as good as I can so it looks decent while I am shaking the car down.

Made some more progress, and apologies if I'm going into lengthy detail on this, but I've now got the nostril inserts bonded in.

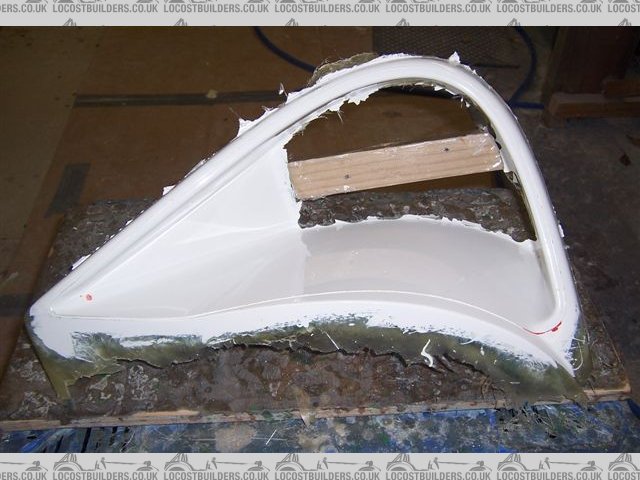
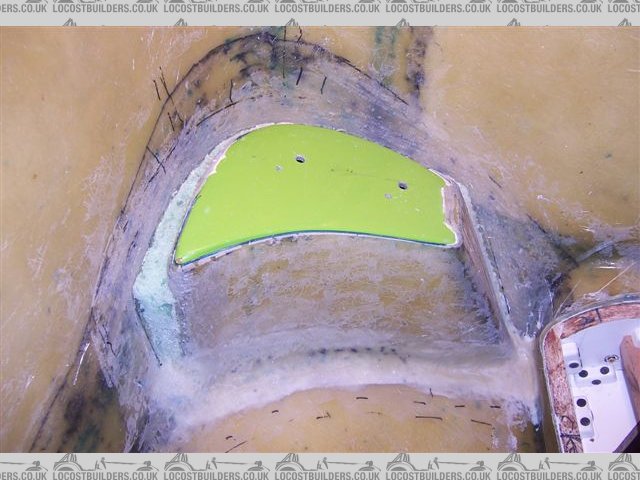
Parts looked like this once I pulled them off the moulds. The ridge across the upper face of the bottom part in this view is where the join will be on that surface. On the rest of the perimiter the join will be on the centre of the edge radius.

insert%201.jpg


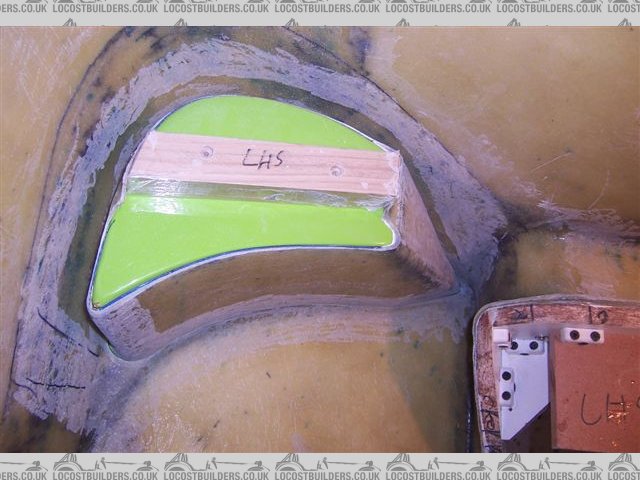
Fettled them so that they fitted into the holes in the tail. The mould was bolted back together to support the inserts in the correct position.

insert%202.jpg


I tried to get a nice even 1 mm or so gap all round, so that I could hopefully get gel right through the joint to the front face.

insert%203.jpg


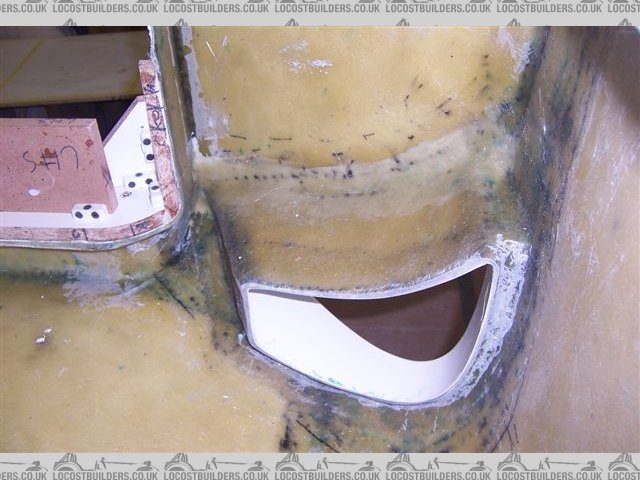
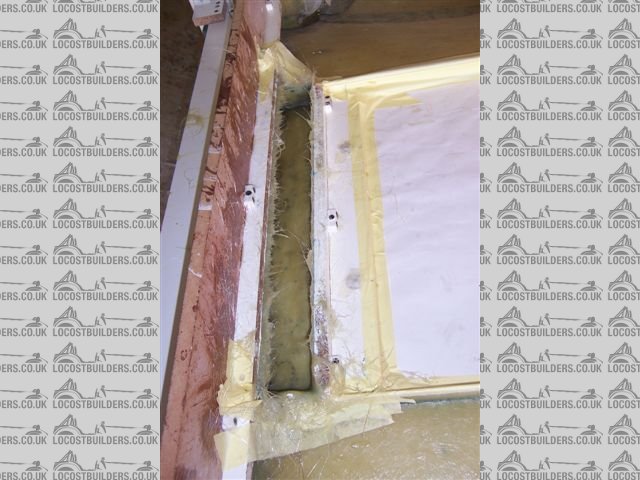
I made up a gel mix with some resin added and applied this with a long thin brush to the back of the join. Then applied matt and resin over the join where I could, some of the area right at the bottom of the "valley" was difficult to get to so there I just flooded it with resin and dropped a quantity of loose fibres in down the gap and worked them in with the thin brush.

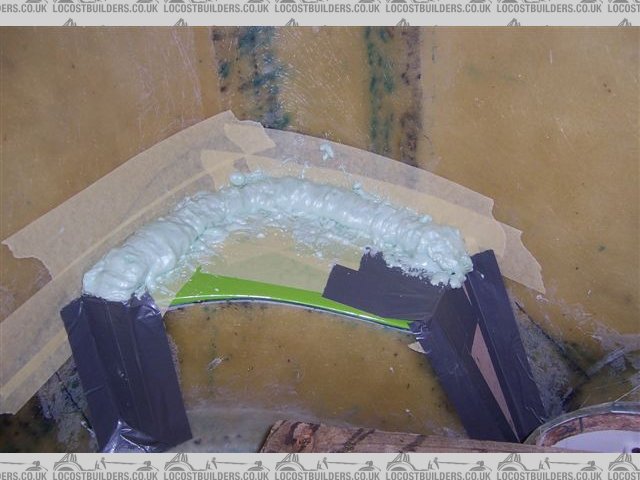
Once that had gone off I dressed it and then applied expanding foam in the gap.

insert%204.jpg


insert%206.jpg


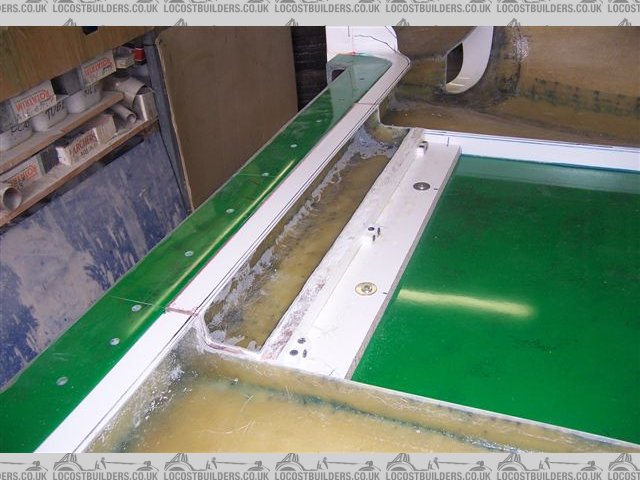
That was also dressed and then glassed over to finally secure the insert.

insert%207.jpg


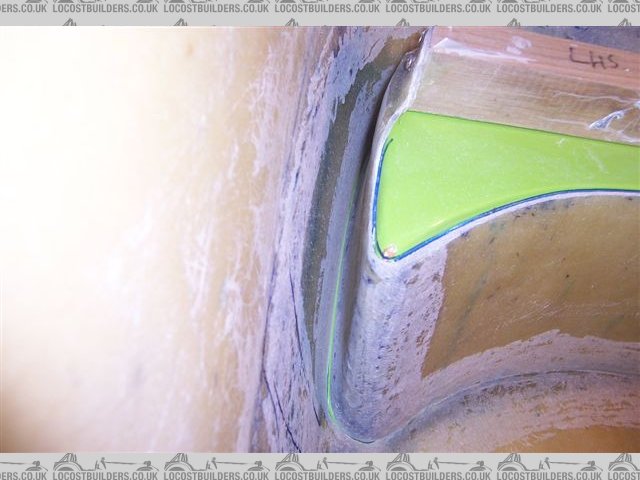
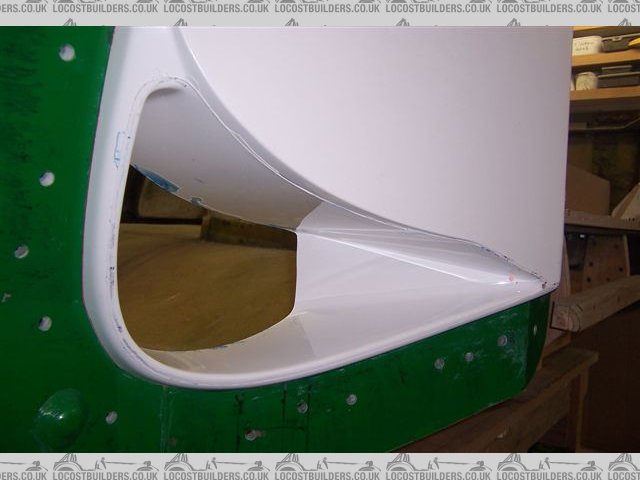
Must admit to being very happy with the result, it looks like just enough gel seeped though the join around most of the perimeter to make it easy to flat it back to a good surface. The blue marks in this picture are from the marker pen ink that was on the edge of the part, they are not chips in the gell coat.

insert%208.jpg


Now just want to trim some edges and I can then get the tail out the mould

Cheers

Fred W B
 
Last edited:
Thanks Michel

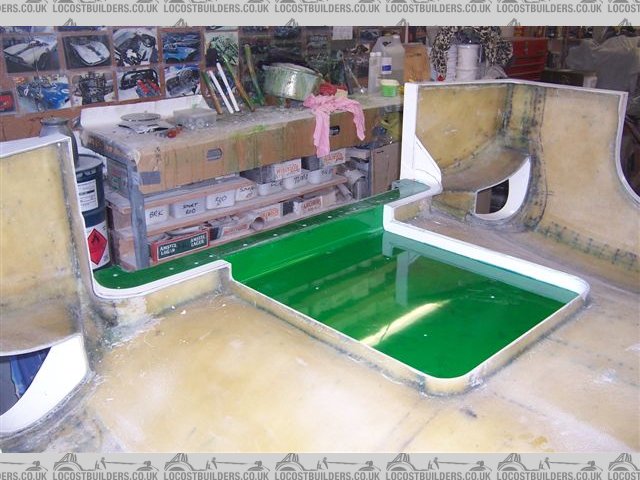
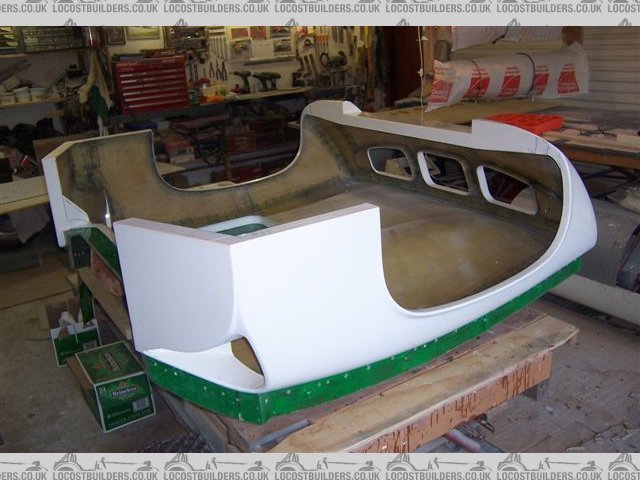
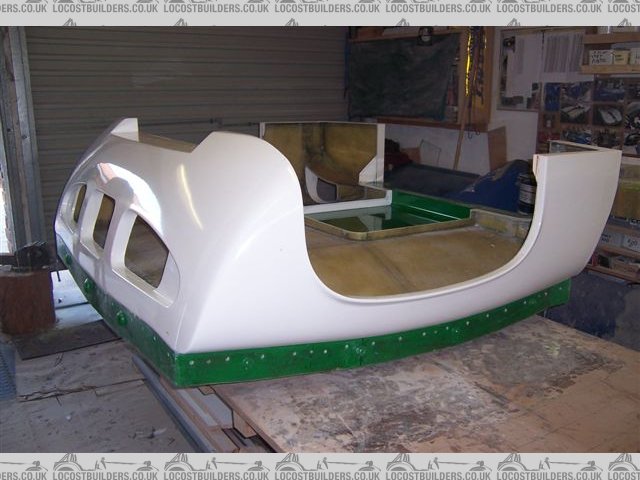
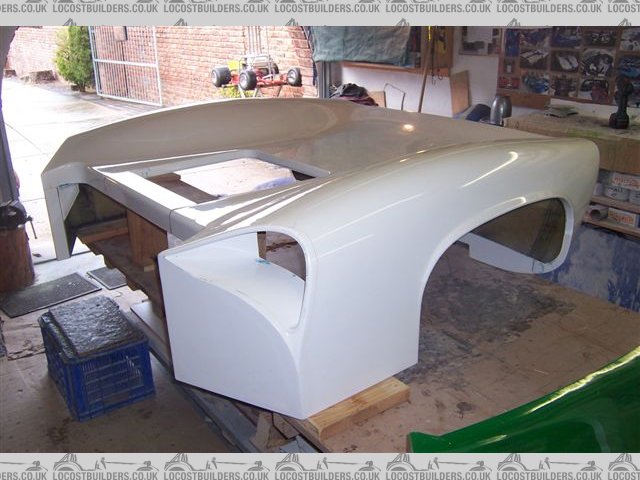
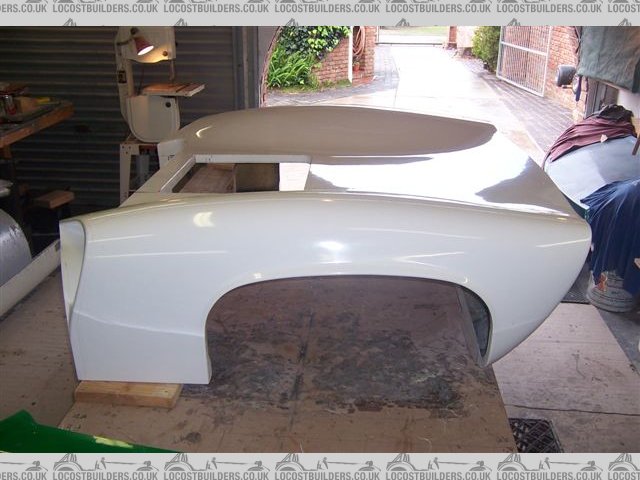
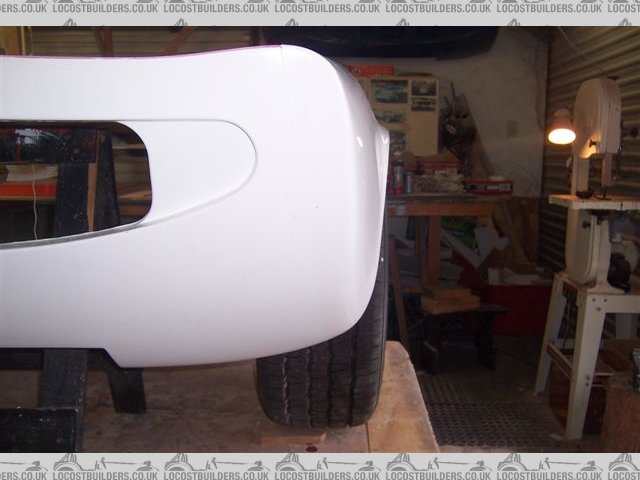
I've now got the tail almost completely demoulded, I just need to make the panel that fits in this gap in front of the carb trumpets before I can turn it over

Cheers

Fred W B

tail%20003.jpg


tail%20007.jpg


tail%20005.jpg
 
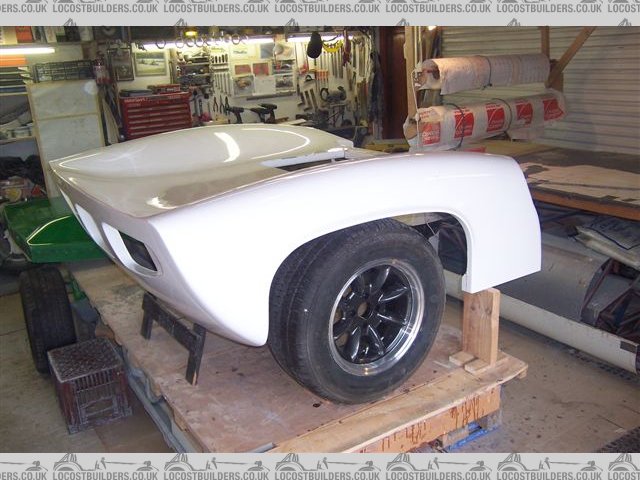
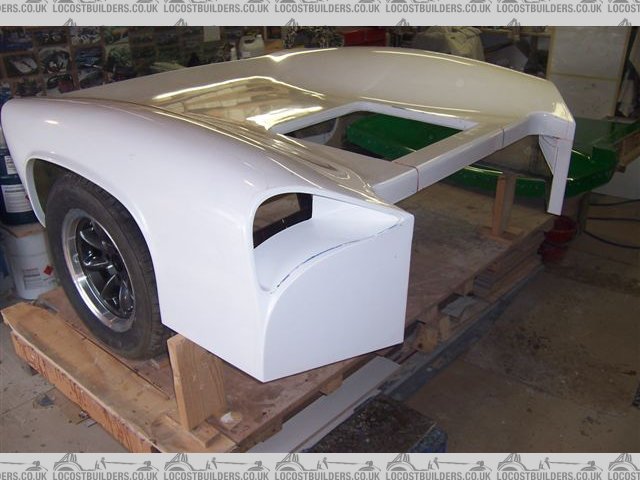
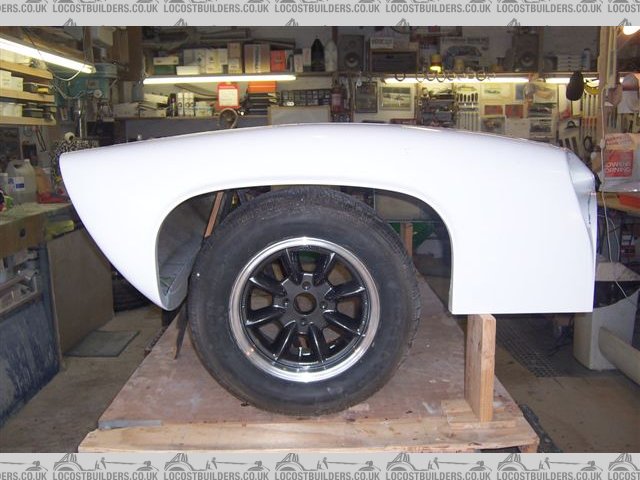
Gave myself quite a challenge in making this part as it is a 4 sided section that had to have the 3 layers of mat fed in and laid up through a slot in one side of the part. It was touch and go far a while as the loose edges of the layup were always in the way but I finally managed to get them to lay down and it turned out okay.

This had to be a seperate piece to allow the tail to open with fixed backstays fitted to the rollbar.

tail%20017.jpg


tail%20018.jpg
 
Deserves something wider than the 245 section tyre shown here
bigsmile.gif


The edge of the opening in the tail is not yet finally trimmed.

Cheers

Fred W B
tail%20022.jpg
 
Last edited:
Only one word EXCELENTISSIME !!!!!!!!!!!!!!!!!!!!!!!!!!!!!!!!!

Congratulations ...... the result is at same level than your efforts all these last months !!!!

Bravo bravo and bravo !
 
Only one word EXCELENTISSIME !!!!!!!!!!!!!!!!!!!!!!!!!!!!!!!!!

Congratulations ...... the result is at same level than your efforts all these last months !!!!

Bravo bravo and bravo !

+1!!

Well done Fred, looks great, nice feeling when it poops out the mould isn`t it!
 
Hi Mic and Bill, thanks for your interest and comments

any idea of weight?
I've weighed it very roughly by having two friends stand on bathroom scales and pick it up. That exercise says 30 kg, but may not be that accurate. Maybe sounds a lot but it is about half the total surface area of the car and that mass seems to line up with the 5kg per square metre my lay-up is coming out at.

Cheers

Fred W B
 
Epic thread and one of the best resources for this type of project. Amazing work and attention to detail, yet explained and shown in a very straight forward way. Thanks for all the posts and time you spent making this available to all of us with similar dreams.

Would be neat to see a few small pieces vacuum bagged and your thoughts.
 
Thanks for the kind credits Velo, I'm glad if people find the information interesting and usefull.

As for vacuum bagging, I have no plans to experiment with that, I have my hands full trying to get this damn body finished at the moment, and after that their is a car to build :sweatdrop:

Cheers

Fred W B
 
Yes you are absolutly right Fred ; trying to do experiments with vacuum bags is a lot of stuff to improve for someone who never have done this before and you will never see the end or the tunnel !!!!

Anyway you are laminating using polyester resin ( and doing a very very good work with !!!!) so use of vacuum will not be possible or give any better result

In an other hand if you want have me as guess for some days and a lot of beers:drunk::drunk::drunk: I would love to come to your nice country and teach you how to laminate a complete bodywork in epoxy resin and carbon fiber clothes !!!!!Your magnificent mold are totally ready for obtaining a superb finish outside and let it whitout any coat of paint !!

Keep on your good work ; can wait to watch your complete bodywork :laugh:
 
Thanks for the kind credits Velo, I'm glad if people find the information interesting and usefull.

As for vacuum bagging, I have no plans to experiment with that, I have my hands full trying to get this damn body finished at the moment, and after that their is a car to build :sweatdrop:

Cheers

Fred W B

Understood, but from what I understand the vacuum just sucks out the excess resin (reducing weight) and helps saturate the mat which provides more strength.
 
Hello Velo
this is Lola Canam WIP Fred 's if you need some more info about these laminating process just start a new thread asking for your questions ( I will reply then whithout poluing Fred's thread ) ??

Just my 2 c....
Have a good day
 
Back
Top