
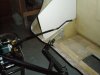
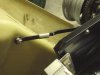
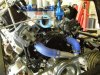
Whilst the front & rear clams were refitted, the retaining straps were fabricated, mainly as I was getting fed up in balancing the open clams on a beer crate! I really wanted to do it with a simple pair of wire cables, but I don’t think it would be approved for the IVA process. The rear was straightforward, but the front took some thinking about as the catch has to go over-centre with out locking up (as mine did on the first attempt!) Both catches have also been designed so that they can be locked in the open position, as I don’t want them being blown closed on the back of my neck!
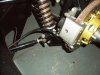
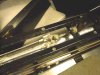
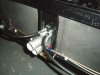
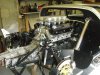
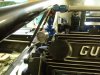
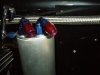
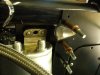
The handbrake cables are now installed. These came from Speedy Cables and did an excellent job, making them in less than a week, once we’d confirmed the design. It’s getting a bit tight where all the pipes & cables come down the tunnel, hopefully I can still get the electrical harness though
Regards
Andy
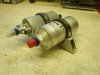
Attachments
Last edited:

")