Hi
Here we go last project finished and ready to start a new build.
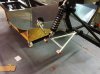
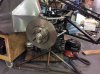
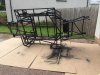
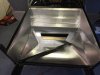
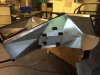
started with a wooden crate of parts and a level and square base to assemble the chassis on. Then sitting on trolley to provide a good working height and fitting the various parts lots of checking of dimensions but have to admit it fits together well and has remained square from tacking through to welding completion.
Here we go last project finished and ready to start a new build.
started with a wooden crate of parts and a level and square base to assemble the chassis on. Then sitting on trolley to provide a good working height and fitting the various parts lots of checking of dimensions but have to admit it fits together well and has remained square from tacking through to welding completion.
Attachments
-
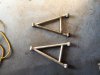
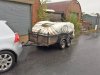
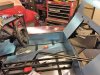
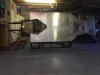
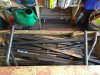 The chassis in its delivery crate.jpg187.4 KB · Views: 1,102
 -
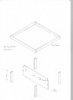
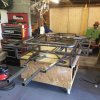
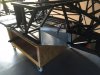
 chassis assembly platform.jpg108.1 KB · Views: 1,100
 -
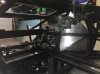
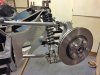
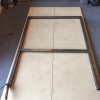
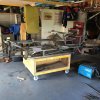
 chassis now off the floor.jpg140.2 KB · Views: 1,119
 -
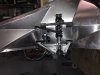
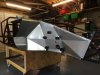
 Dash frame now in place.jpg140.2 KB · Views: 1,125
 -
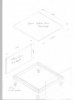
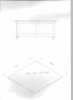
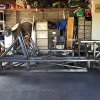 sitting level and checking dimessions .JPG30.4 KB · Views: 1,229
 -
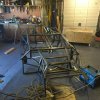 welding all the joints.jpg148.9 KB · Views: 1,246
")