You are a silly billy .........
JC
JC

You are a silly billy .........
JC
")
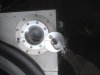
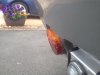
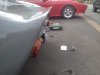
Loose lock nut at bottom of last photo as well if that helps
Iva test looks tough. Presume you have all the holes blanked for noise test?
`Trying to comply with IVA rules
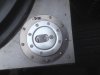
1 Fuel caps tethered
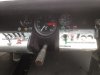
2 Switches and warning lights labeled.
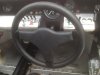
3 Steering wheel holes covered and padded thanks to Andy Green.
4 CAT 2 immobiliser fitted.
New chief mechanic tried to find the reason for my misfire no luck yet
https://www.youtube.com/watch?v=KVfzEMNipcc
`
Your new assistant has a budding career as a car relicer. I have rarely seen such intuitive artificial patina skills... :thumbsup:
 ></o>></o>
Hi Nick,
Must be nice to build something that comes with a clear set of instructions, instead of working it out as you go along :laugh:
Rgds,<?xml:namespace prefix = o ns = "urn:schemas-microsoft-com<img src=" /><o
Andy<o
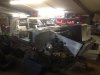
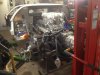
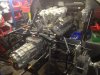
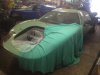
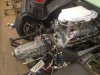
Quick visit to SGT to pick up my heated windscreen,borrow some bits for IVA and have a snoop around.
Pictures show car in for gearbox change, MK2 race car being made road legal and ready for IVA, customer complete full build in progress, and starting a new chassis.
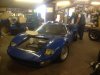
Is that the '2nd generation' ZFQ Nick?
This one by Heffner is such a beast!

Hi Nick,
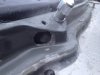
In the grand scene of the build, this will seem a minor irritation!
Tidy the hole up and fit a rubber blanking plug and if anyone asks it was a period race modification :laugh:
Rgds,
Andy
That is the nice thing about fiberglass - it is easy to fill up mistakes and sand it back to look like nothing ever went wrong!!