Jason's Coyote Powered RCR40 Downunder

Put the Engine Back In for the Final Time?
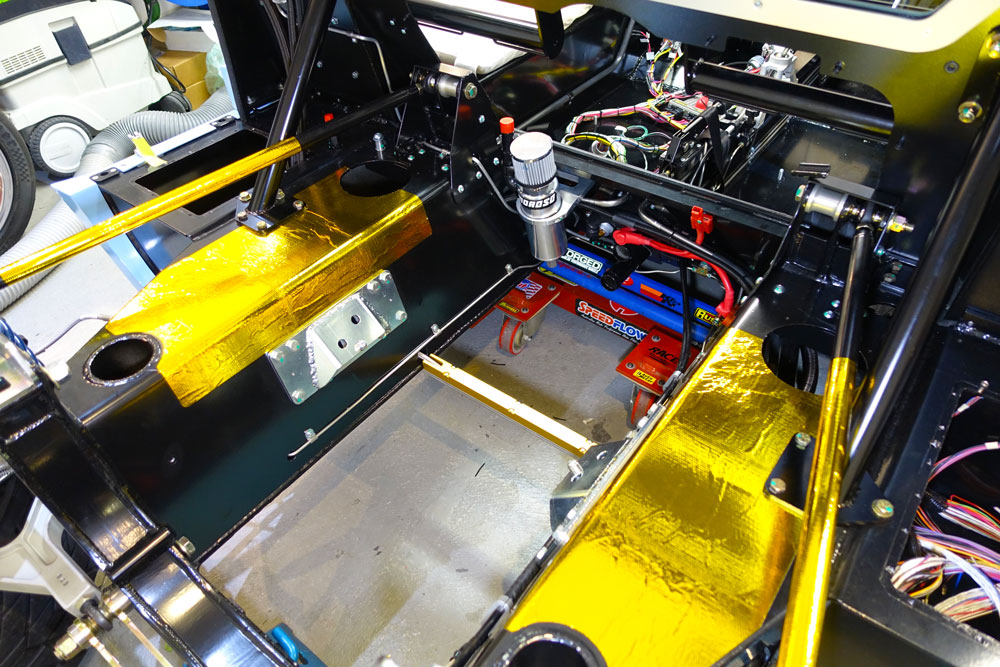
Well a lot of work going on. With the wiring done around the engine it can be installed for hopefully the last time. All parts get their final finishes. Before installation I wanted to try to minimise as much heat into the chassis as possible so I went crazy with DEI gold heat reflective film!

GT40-Engine-Bay-1.jpg


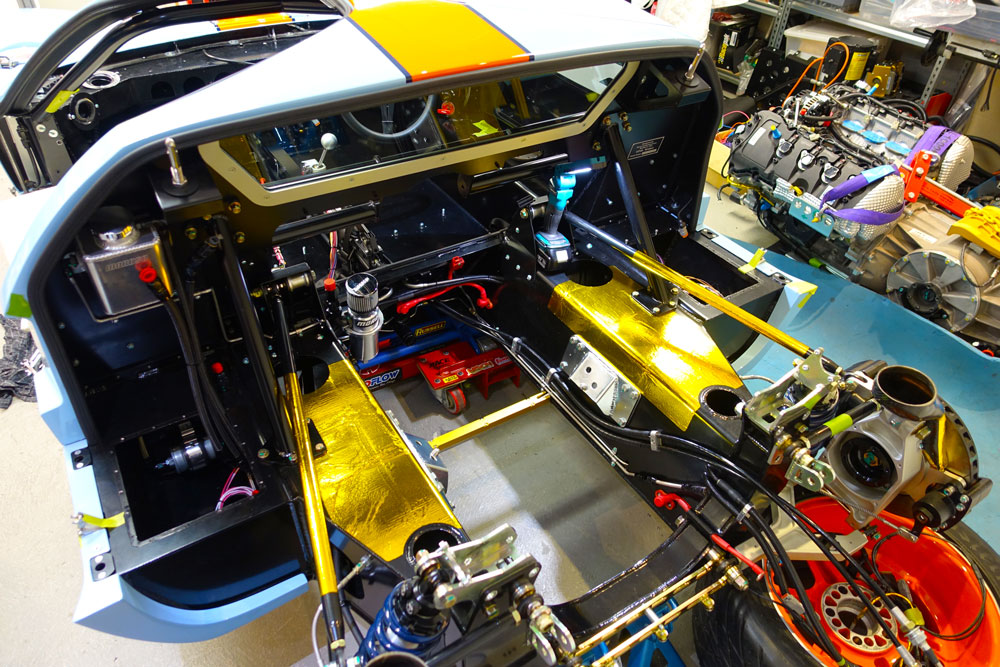
I also did a little work on the radius rod supports.

GT40-Engine-Bay-2.jpg


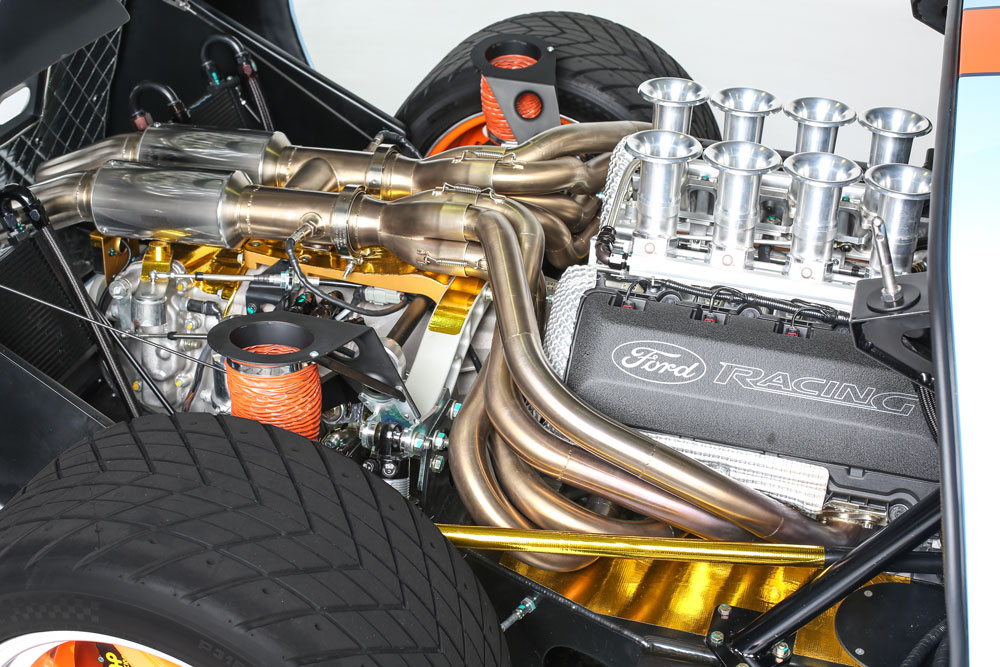
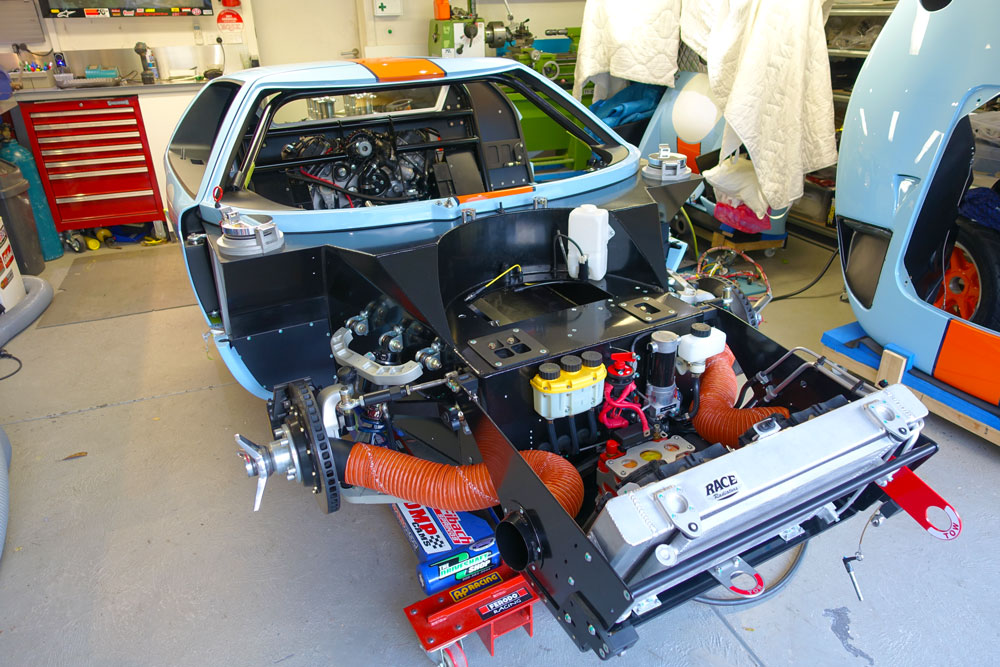
Then it was time to install the engine and exhaust.

GT40-Engine-2.jpg


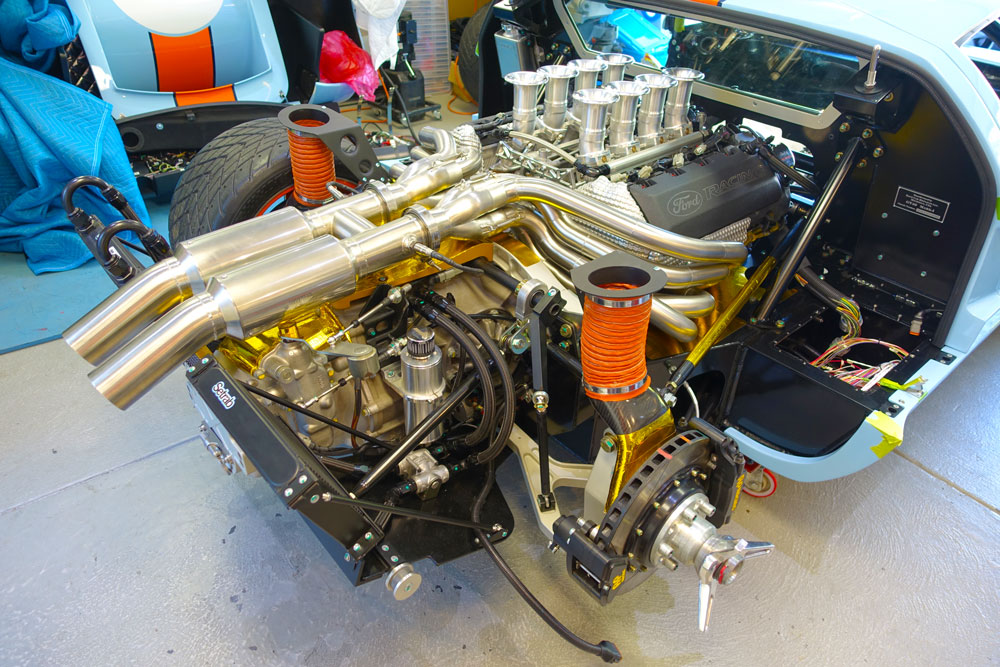
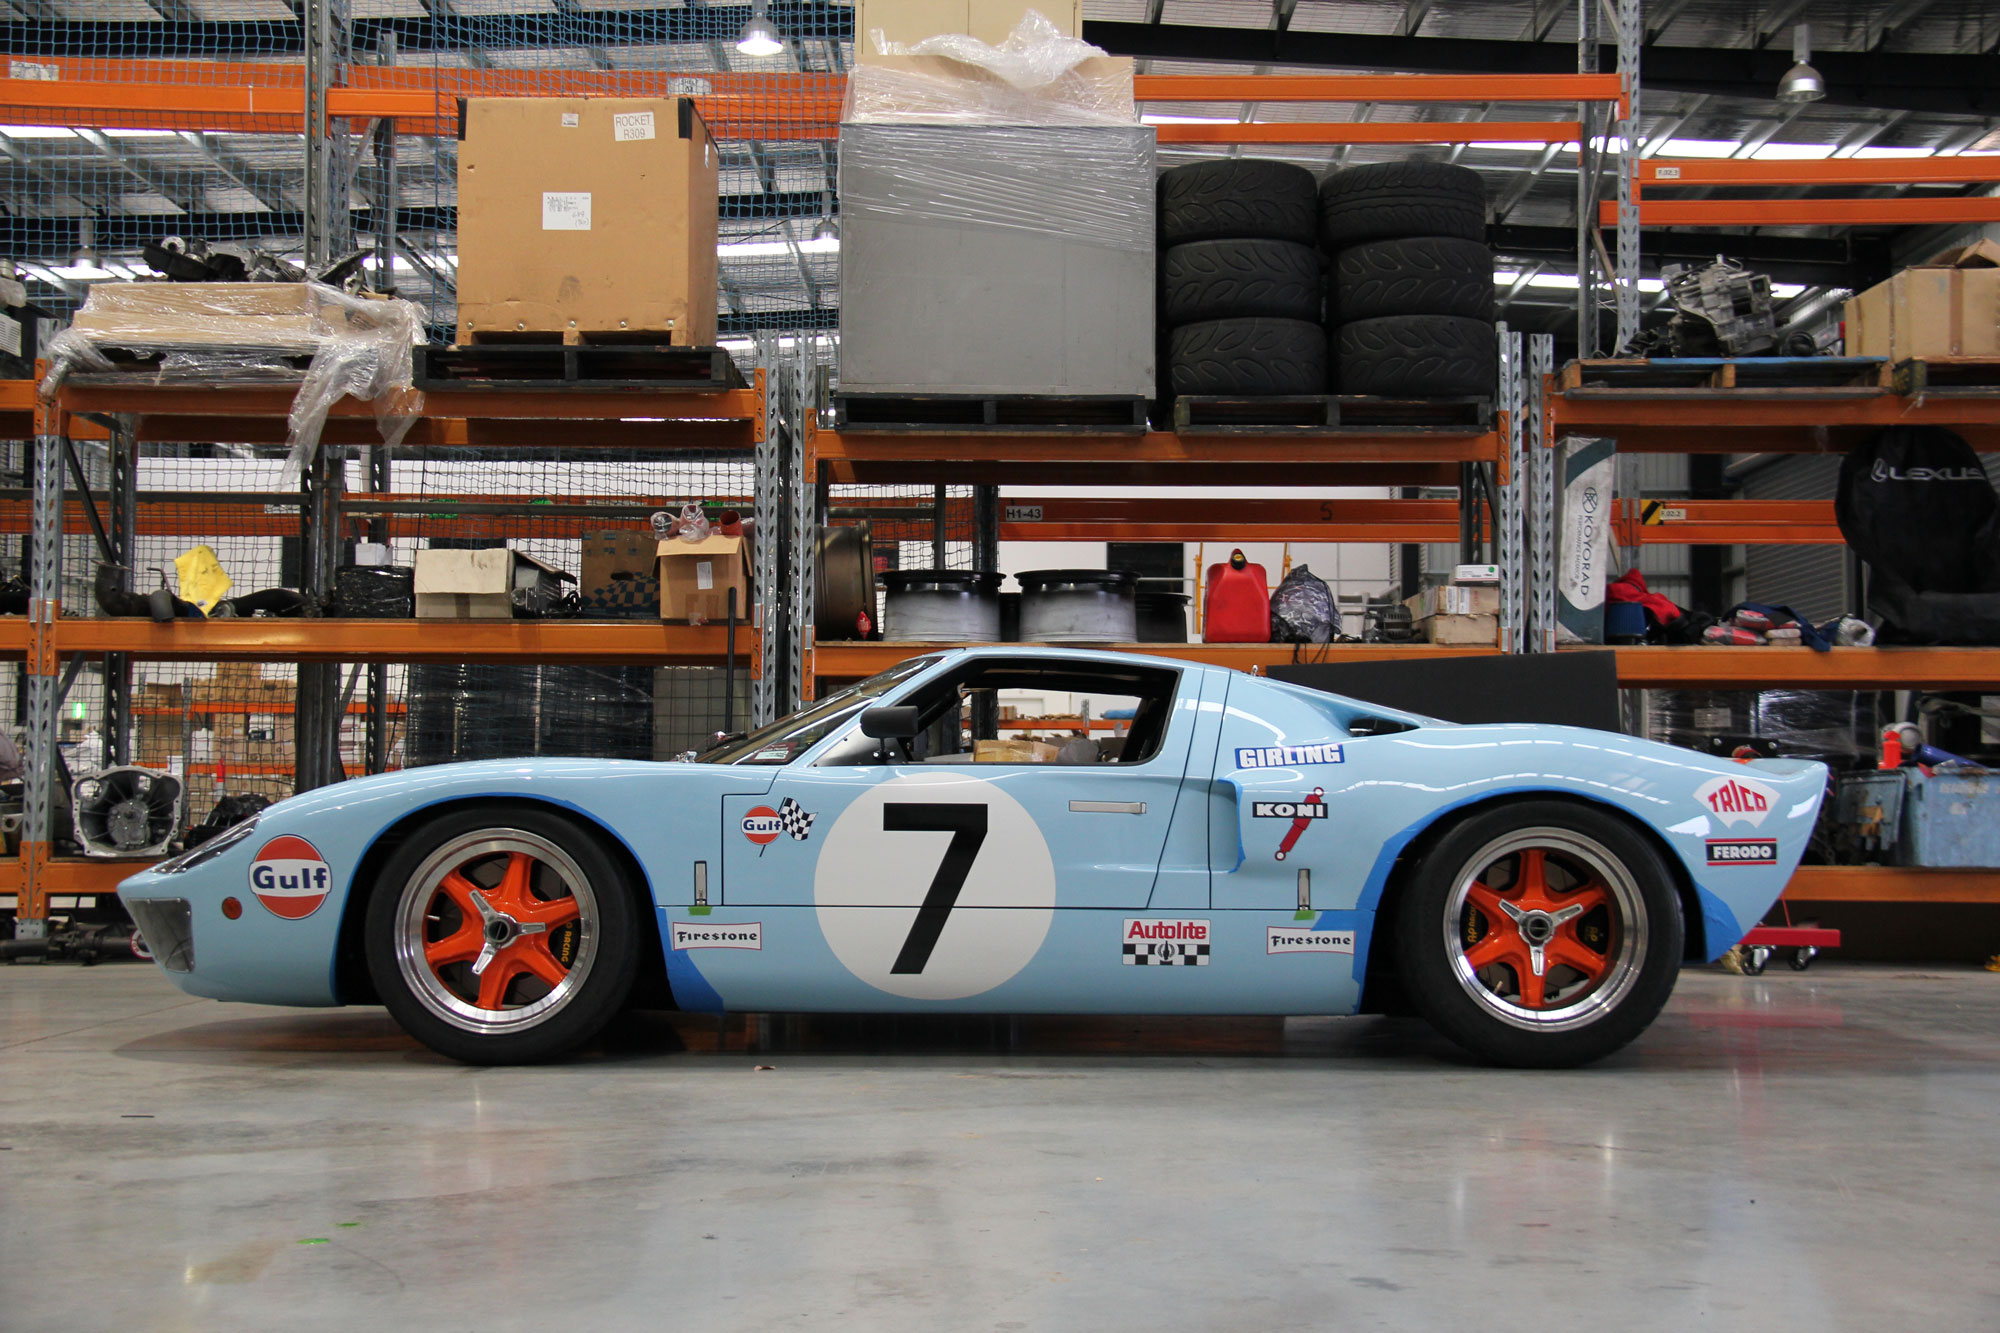
It all went very well. Its a very tight installation but that is the result of a Coyote and Ricardo in an RCR chassis. To get the engine out the headers have to be removed so I hope all is well.

GT40-Engine-1.jpg


I still have the wiring near in the ECU box to go but all other electrical is done.

GT40-Engine-3.jpg


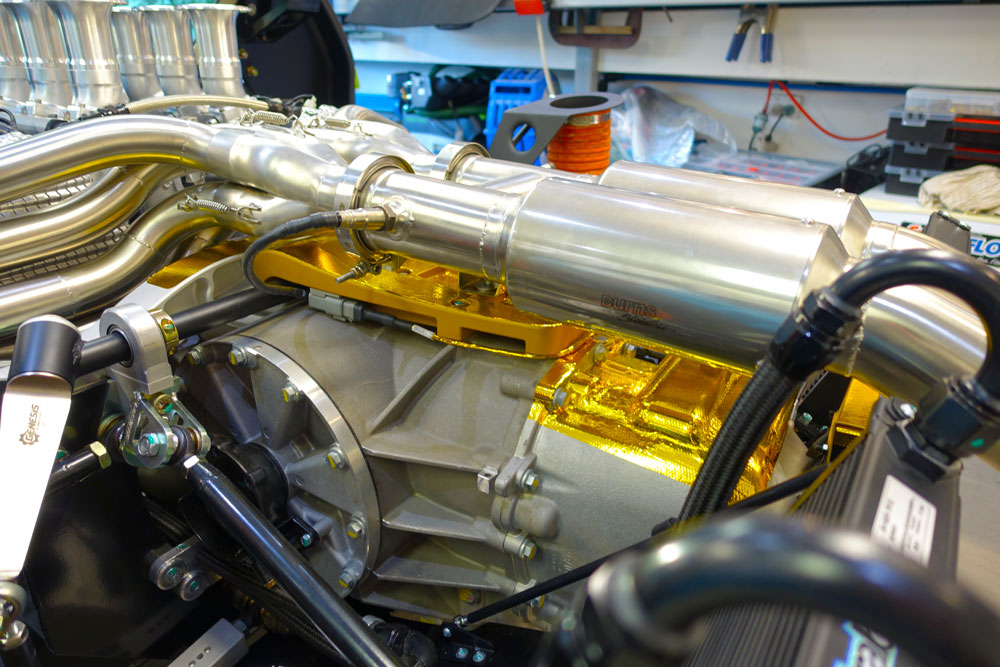
Even though the exhaust is ceramic coated on the inside I really wanted to control the radiant heat on the transaxle. O2 sensors are a bit ugly but really needed to tune.
I moved to the front and with the confidence I have with my skills installed a tow hook. It will be needed I'm sure!

GT40-Front-Tow-Hook-1.jpg


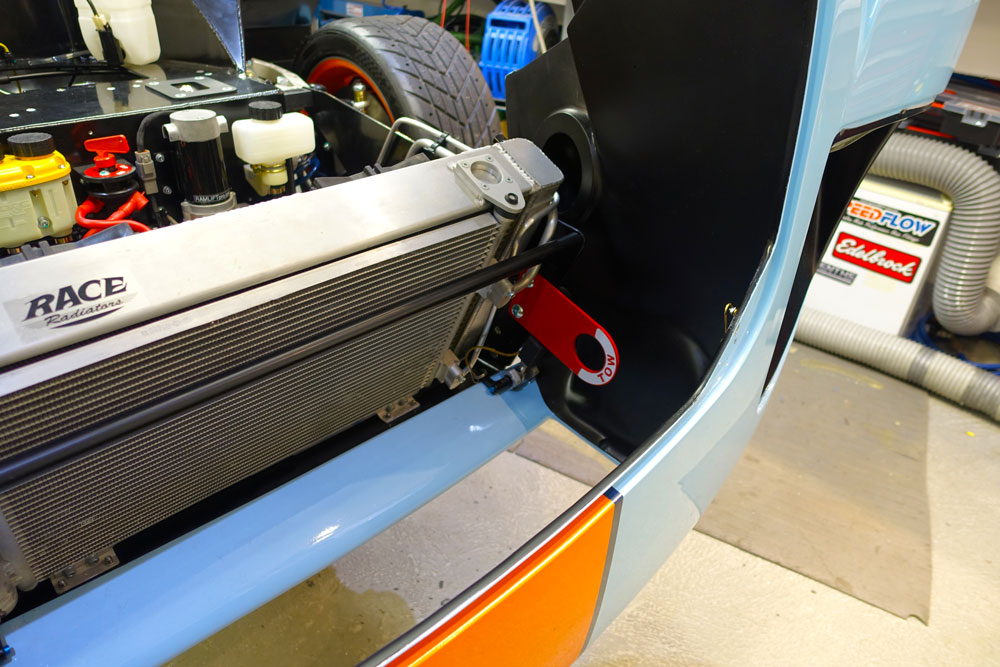
Then I thought that with my luck I will wear it out and installed another in the middle!

GT40-Front-Tow-Hook-2.jpg


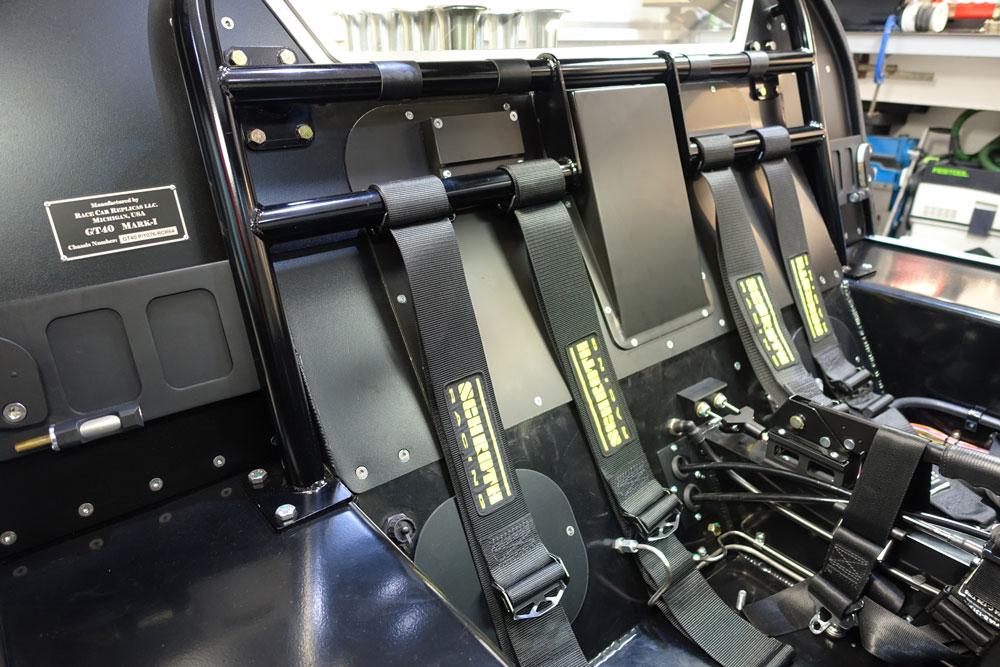
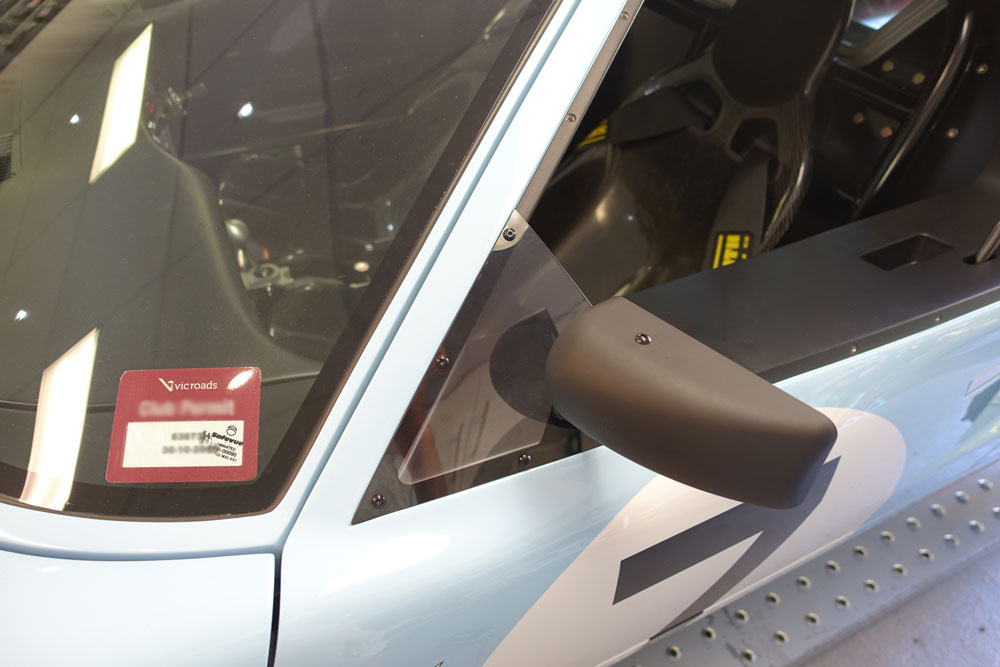
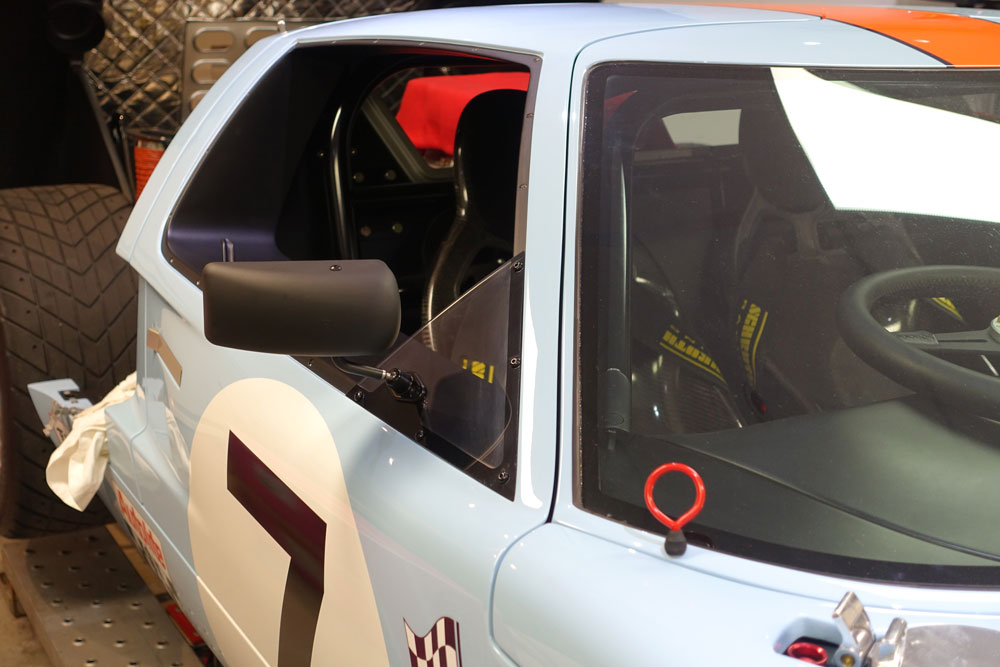
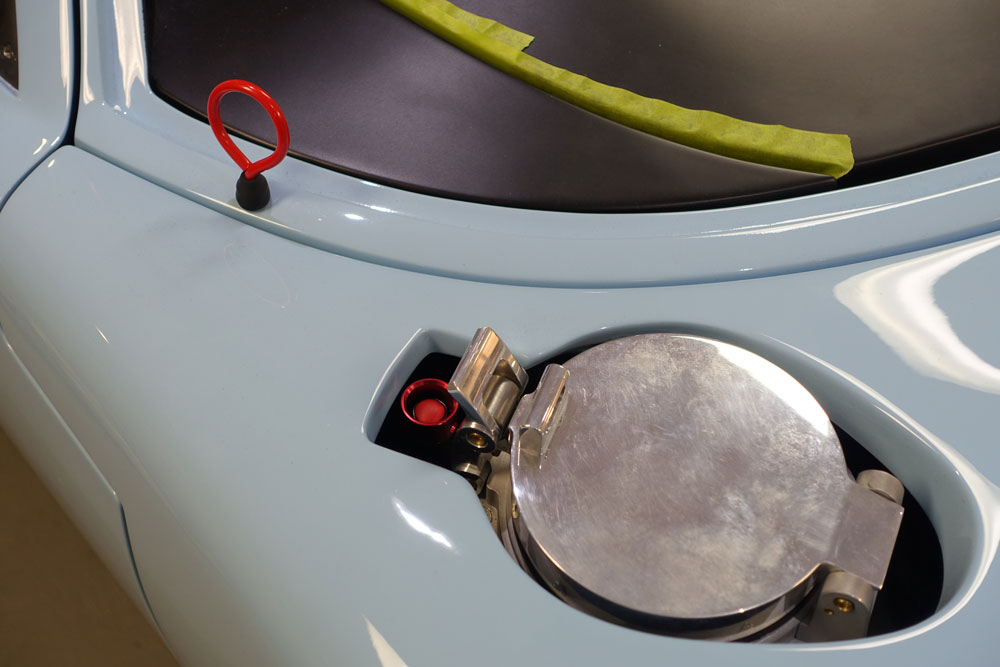
But seriously the one on the left looks cool but the one in the middle is more functional as its in a better position and will not stress the chassis as much as the side one. Also all A/C plumbing is done using as little hose as possible. I then installed the fire extinguisher button (near the filler) and the battery disconnect (near the window).

GT40-Fire-button.jpg


Brakes and clutch are bled. So now the fun is over, back to wiring up the ECU.
 

Randy V

Moderator-Admin
Staff member
Admin
Lifetime Supporter
Looking really good Jason!
I have plans of using the same gold reflective film for the same reasons.. Looks like it is a real bugger to get laid down.. I wonder if you can apply it like a decal by wetting the surface with water and then squeegee the water out with a credit card or bondo spreader?

I like the tow loops and the loop for power. You should consider one of these decals for the power loop so the corner workers will find it if needed..
https://www.pegasusautoracing.com/productdetails.asp?RecID=1011
 
Jason, I remember noticing you had shifted the upper radius arm bracket outboard for engine clearance and wondered at the time if that alone might be enough extra strength to avoid the issue of the welds failing in the Lola car, have you reinforced the lower radius arm area at all?
 
Thanks for the comments guys.

The reflective film had creases in it when it arrived (two different suppliers of the DEI stuff) and they just did not push out. With the engine in they are not noticeable so much. Putting it on wet would not help as the creases as shipped seemed to affect the adhesive where it moved away from the backing.

When I had all the Gulf racing decals made for the car I also had the fire, tow and battery disconnect ones made as well so they will go on soon. I like the way the red loops look as well. I remember making a racing Porsche 935 model as a small kid and wondering what the red loop was, so I had to add it for fun mostly.

jac mac, regarding the radius arm brackets, I modified mine top and bottom for the Coyote engine fitment. This did duplicate them upper and lower and possible strengthen them. I really was not worried about their strength but made the steel bracket and added some extra brackets underneath as well for the hell of it. I really only added them to help a little to try and stop the radius rods from moving into the cabin with a shunt from the rear. But really if I want to be totally safe I will drive my wife's Volvo wagon :thumbsup:
 
Jason hi mate , that's looking exceptional mate a real credit to you,

question though, where do we get the gold reflective film from I've looked every where but cant find it.

cheers Kaspa
 
HI Jason
By far my favourite build. most impressed with your eye to detail and so neat and tidy. Keep up the brilliant work
Woody:shy:
 
Well a lot of us get video of the first time we try to start our cars. After turning the car over without fuel and spark to check oil pressure it was time to add fuel. I bled the fuel rail and hit the start button.

https://www.youtube.com/watch?v=MghEKqwWIbo&list=PLWg2AdJ3461K8IYItnMrDU3WbvCHDd1SC

Big thanks to Jason B, Paul B and Haltech ECU's. Many others also gave invaluable advice that led to an immediate start of the Coyote, thanks.

Still lots of work to do on the Dyno etc. but its getting closer to driving.

https://www.youtube.com/watch?v=5N3x5h_Irjk&index=2&list=PLWg2AdJ3461K8IYItnMrDU3WbvCHDd1SC
 

Keith

Moderator
Amazing sound! Very different from trad small block and am very much looking forward to hearing this at full chat.. :thumbsup:
 
Well Its Running!!!!

Well the car is running but the list of items to do is still long. The interior is nearly all done, the Schroth belts are fitted EXACTLY as per specifications which took some work. Also the ceramic firewall is very good at keeping the car cool.

GT40-Interior-2.jpg


The dash is done, just a small calibration issue with the fuel gauges. Wiring is still not fully covered just to ensure I have easy access for any issues.

GT40-Interior-3.jpg


The dash is controlled largely through the Haltech system and having the Haltech PDM (Power Distribution Module) has been awesome. One connector to remove the whole dash!

GT40-Interior-4.jpg


Blue backlighting for night driving was a bit of fun. Now the car also went off for its first Dyno day and all went well. The Haltech system is running the car very well with no issues. I do need to run another day as soon as the engine etc. settles in and will go for power runs then. I really do like the Haltech system, really easy to use and program. Having quad variable cams and running some gauges, fan systems and the rest of the car was a big undertaking but the support from Haltech on a few questions was first class. The car is shown below with tape to protect the paint as the roads were covered with stones in the area.

GT40-Dyno-Day-1.jpg


The car then went off for a four wheel alignment. I had it pretty close but it was great to get it spot on to a starting point.

GT40-Wheel-Alignment-Day-1.jpg


I still have to finish mirror mounts properly and do many small things and will post more photos when the car looks better. I must also say it really screams, I hope to get some video up but I cannot stop trying to fix or complete little things.
 

Brian Kissel

Staff member
Admin
Lifetime Supporter
Jason, that is one beautiful ride. The craftsmanship is top notch. Congrats at seeing the light at the end of the tunnel.
Merry Christmas and Happy New Year !!
Brian
 
Well Its Running!!!!


The car then went off for a four wheel alignment. I had it pretty close but it was great to get it spot on to a starting point.

GT40-Wheel-Alignment-Day-1.jpg

Looks great Jason, will have to keep an eye out for it seeing as your not far away.

i had a good look at the historical ash tray collection that you can see on the wall behind the glass last time i was there.
 
Side Mirrors

The mounts for the side mirrors when the windows are fitted were made out of Lexan. Even with A/C driving the car without side windows is great.
After masking I painted the supports with polycarbonate paint used for polycarbonate R/C car bodies.

Side-Mirrors-1.jpg


After fixing to the car they offer great visability for such small mirrors.

Side-Mirrors-2.jpg


Side-Mirrors-3.jpg
 
Back
Top