Jason's Coyote Powered RCR40 Downunder

Thanks, but its all happening too slowly. Hopefully a vintage Gulf sign in the garage will get me moving!!! Bought a large box of various parts from the USA for my car and used the opportunity to put it in the shipment.


DSCF4172.JPG


You can also see the large dust extraction fan/hose I installed that runs to a large 2.5m high filter system outside the garage. It is proving an invaluable addition when I grind and cut fiberglass, steel etc. Keeps the area fairly clean which I like as I only have a small workshop.

DSCF4175.JPG
 
Last edited:

Chris Kouba

Supporter
Jason,

Patience and persistence are what carries you through this portion of the build. I was a total rookie and argueably in over my head on this but take your time with it and with patience and persistence things will come together.

This is one part of the build I am very happy to be through with, and once it's assembled and painted I can assure you the nauseating feeling of bodywork dread will subside and all you'll see is the finished product. It does a WONDERFUL job of erasing these tribulations:

IMG_4708.JPG


See what I mean?


Hang in there...
 
Jason:
I thought all you Aussies were tough...breathe in all that smoke and dust, kick back and have a beer....but seriously, thats a great idea having the dust collector. I can't tell you how much crap mine sucks up that I probably would end up ingesting otherwise.
I have been watching your build and it looks really good. The shop also in fine shape, the Gulf sign really sets it off.
I am in the process now of setting the gaps on my body and going through some of the same issues you had, although I am on a spaceframe. It seems sometimes I am chasing gaps that are hard to resolve but it is slowly coming along. I followed some of the posts you made and took hints on from them so thanks a bunch for the detailed posts.
You seem to have it under control now, and it looks like the finished product will be something to see. I can tell you I have seen a few original cars and the door and front/rear clip gaps were absolutely no where near the fit you have. Sometimes near 3/4" gap on the door bottoms, and windscreens set with gobs of sealant. Can't wait to see the finished fit.
Cheers
Phil
 
Went to start installing the wiper system today. Just noticed a large difference between my motor and the RCR build hints page. Also all other RCR40's seem to have another motor. Mine has a large metal box with the gears in it. Anyone know what type of motor/gearbox I have?

My motor/gearbox:

dddDSCF4627.jpg


dddDSCF4625.jpg


dddDSCF4626.jpg


The RCR one shown by others and the build hints page:

16_wiper_inst.jpg


01_system.jpg
 
Its been a while! Don't have a first child, start a new job and not be retired when you want to build a GT40!

Why have things been so slow! Not sure really!

DSCF4980.jpg


The Endless Fibre Glass Work Begins.

I really don't like working on the body and I have been putting it off so I finally started. First an easy job as I have not worked with fibre glass for about 10 years.

1) Rear Light Mounting

The rear lights would fit better if a small indentation was added in the rear clip to stop the back of the lights from being sprayed by water. I made a all mould from wood (top left part below).

DSCF4415.jpg


I then made a few oval type parts and glassed them into the rear of the lights. A cable assembly with a grommet was obtained and this will make a sealed cable connection to the lights. Nutserts have been glassed in to fasten the lights.

BEFORE

DSCF3784-2.jpg


AFTER

DSCF4852.jpg


DSCF4854.jpg


2) Door Latches and Striker

I decided to mount Porsche door locks as I have used them before and they are ADR compliant. I manufactured aluminium plates and mounted them to the doors.

DSCF4201.jpg


DSCF4203.jpg


DSCF4204.jpg


DSCF4206.jpg


The door striker was positioned on a temporary MDF bracket. This will later be made out of aluminium and tie in with the roll cage to transmit any side collision loadings.

DSCF5139.jpg


Next job was to make some intrusion beams for the doors. I modelled them in CAD and compared the bending strength to another GT40 kit in Australia that uses steel bars. The aluminium bar was designed to deflect less and be lighter than the steel equivalent. I then milled the bars from 6061T6 aluminium, why this effort I'm not sure, it would have been easier to use steel!

Intrusion-Beam-System-Alloy-Alloy-Beam-Study-Displacement-Displacement1.jpg


Intrusion-Beam-System-Steel-Steel-Beam-Study-Displacement-Displacement1.jpg


DSCF4667.jpg


DSCF4849.jpg


The intrusion beam was then installed and braced to the latch (below) and door hinge (above).

DSCF4846.jpg
 
Last edited:

Trevor Booth

Lifetime Supporter
Supporter
Jason,
the anti side intrusion bars are an energy absorbing structure. Comparison between different materials must be made on the amount of energy absorbed.
 
Got bored working on the car today and needed some music in the garage! With a networked house I needed to get music and recorded car racing from the main server, and also visit the RCR online build manual!

Yes I put a sheet of plastic in front of the plasma to protect it from flying steel!

DSCF4825.jpg
 
Last edited:
Thanks Trevor. I actually had a mate do a full non linear analysis on the structure (I have only shown a linear static test). This has all the data I need. Thanks for the note though.

I see that you are well versed in these sorts of things though from you CAD modeling of the chassis.
 
Last edited:
Nice work on the doors Jason.

Do Australian rules car building require the side intrusion guards?

You certainly have a lot of work just in the doors, nice detail. :thumbsup:

Howard B.

_______________________________________________
RCR40 #40
 

Randy V

Moderator-Admin
Staff member
Admin
Lifetime Supporter
Nice work Jason!

I like your anti-intrusion beam system. Somewhat similar to mine but I did mine in steel.. You might post a little more on how you fit your door release handle when you get a chance..

Thanks!
 
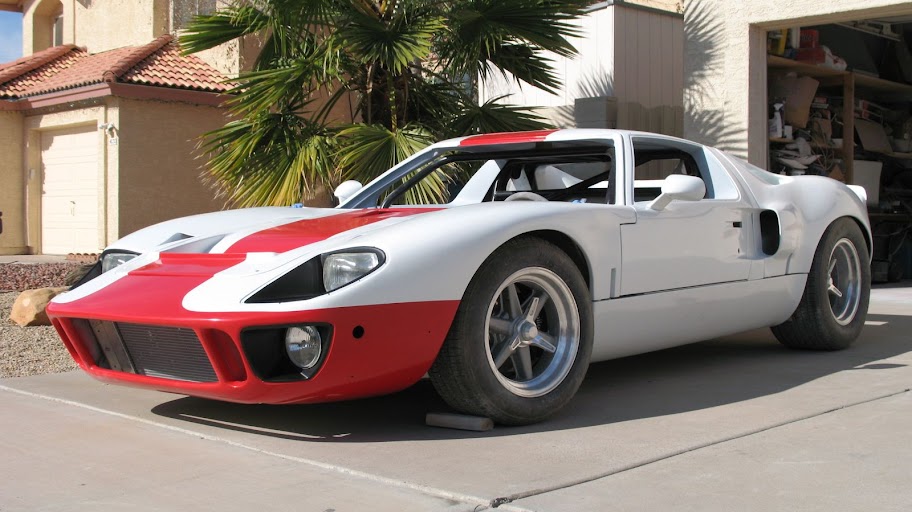
Thanks for the comments guys, yes intrusion beams are mandatory, as are ADR compliant door catches.

More Door Work

I manufactured some exterior door handle fixing assemblies and fitted those to the doors. These handles can be easily removed from the door by undoing the shoulder bolt fitted. I also incorporated an internal return stop on the mechanism so that the handle stop can be adjusted to be perfectly flush to the exterior of the door.


DSCF4410.jpg


DSCF4413.jpg


A small interior handle and recess in the top of the door to pull it closed were also added. This was first a separate molded part that was then glassed in. In this way the bottom radii of the recess could be made perfectly.

DSCF5138.jpg


The interior door release handle is connected by a cable to the Porsche door lock assembly. Pulling this handle operates the lock mechanism separately to the outside handle.


DSCF5127.jpg


DSCF5145.jpg


I then looked at door boxes. I really did not like any of the door boxes available so I made my own molds quickly out of MDF as per below.


DSCF4223.jpg


DSCF4222.jpg


Fibre glass was applied to each of of the molds and removed leaving a perfectly surfaced thin and light box. So that I could get a perfect match to the doors they were glassed in as shown below.


IMG_0284.jpg


IMG_0283.jpg


IMG_0286.jpg


Then the boxes were then carefully cut out of the door to make a flange that matched the contour of the doors perfectly. The result is shown below. Fasteners are on the inside and the box has a perfectly spaced small gap all around. I like creating these gap lines in preparation for the body work!
When they are painted black the gap will not be as visible.

A quick four point fastening system was also used so that the boxes did not have visible bolts around the perimeter. Black caps will be fitted over the holes.


DSCF4839.jpg


DSCF4842.jpg


DSCF4844.jpg


DSCF4845.jpg


I also did some work on the door area shown in yellow primer.

DSCF5143.jpg


DSCF5141.jpg


Now onto the dashboard!
 
Last edited:
Jason

extremly nice work on the doorboxes. Look similar to the ones available at RCR but the flush mounting gives it a nice clean less racy look.

TOM
 
Thanks for the door box comments Eglitom. KB the door latches and strikers are from Porsche.

Work on the Dashboard

I'm using a Roaring Forties dash in my car and I wanted to make some changes. I also needed to have the ability to remove the dash without taking out the roll cage. So I made fixed side parts as I have seen others do. I had thought of it before I saw it from others, I promise EGLITOM!


DSCF5099.jpg


I also did extensive work on the dash area to perfectly match the base of the window. I really do not want to see the fiberglass lip of the spider supporting the lower edge of the glass when I sit in the drivers seat in 2025.
Work was also done to perfectly fit the defrost grille. I cut this area out and remade it to fit the defrost grille. I will be painting this dash black and have a later addition that will comply with ADR's (need a padded dash in Australia).

DSCF5100.jpg


DSCF5116.jpg


When fitted the top of the dash is a much better fit at the base of the windscreen. It also was modified to better line up with the doors.

DSCF5121.jpg


DSCF5123.jpg


DSCF5125.jpg


DSCF5137.jpg


DSCF5131.jpg


DSCF5135.jpg


Now I might think about seat, steering and pedal positions. I need to get some seats, I want them to look like GT40 seats but they also need to be ADR compliant. I will have to contact Roaring Forties again here in Melbourne and RCR in QLD as I may be able to obtain them with compliance.
 
Last edited:

Trevor Booth

Lifetime Supporter
Supporter
Jason,
dependant on the state you are in,
in the event that the seat is fully supported by the chassis/bodywork and not on adjustable tracks you do not need ADR compliant seats. The head rest component of the seat must be "clear" of the body work to allow some energy absorbtion.

Also, full harness belt are now allowed under ADR 4/04 and 5/05 provided the belts comply to 4/04.
 
Back
Top