So....what are the dimensions of the John Wisher uprights? Somewhere between 200mm and 220mm between top and bottom balljoints, with 8 to 10 degrees of SAI?
7"

So....what are the dimensions of the John Wisher uprights? Somewhere between 200mm and 220mm between top and bottom balljoints, with 8 to 10 degrees of SAI?


Very nice, one thing I did underestimate what quite how much I ended up routing in that cill section, I should with hindsight have routed some down the passenger side but there is quite a bit to get down there, damn good job you are doing !!
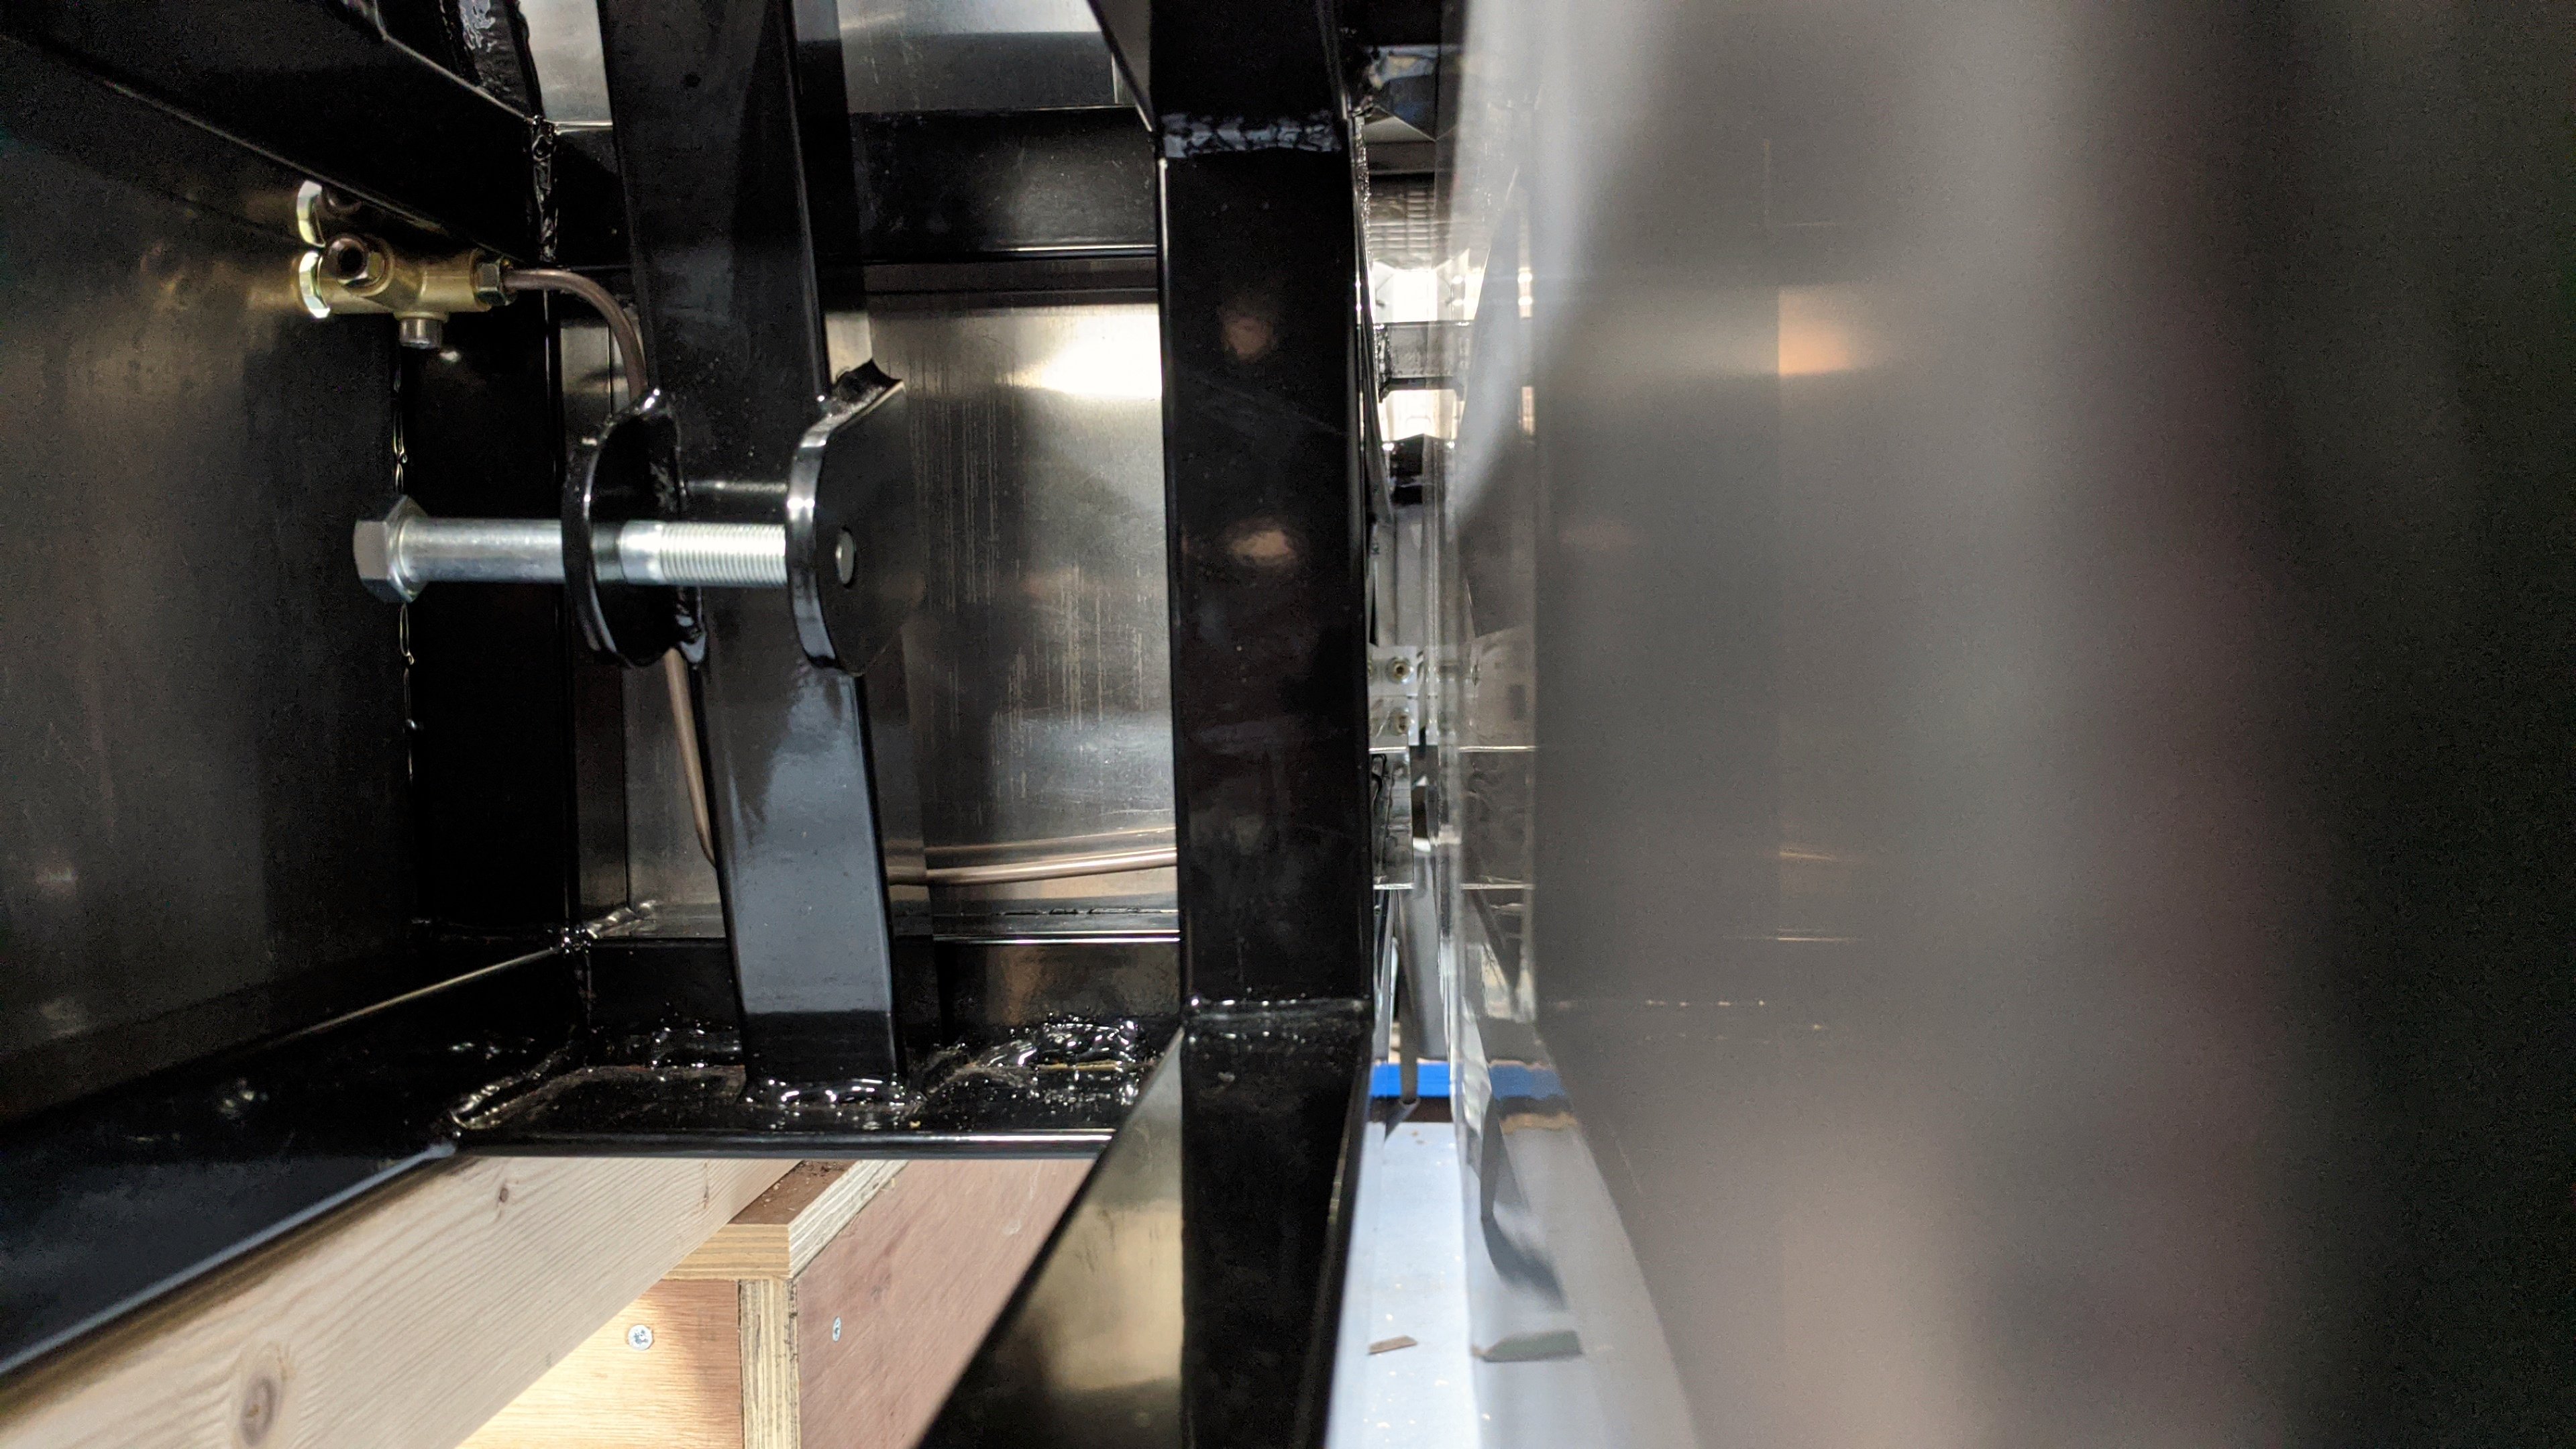
Eddy, if you haven‘t done already: change the direction of the 90 degree water fittings, collision with the hand brake mechanism otherwise.Before I seal everything up, I thought I'd add some sound deadening to front wheelarches and rear firewall.
This is probably futile, isn't it? I was just hoping to cut down some of the racket as the pebbles ricochet against the wheel arch when I skid through the gravel trap on the outside of Cascades, Oulton Park. Again.
Eddy, if you haven‘t done already: change the direction of the 90 degree water fittings, collision with the hand brake mechanism otherwise.

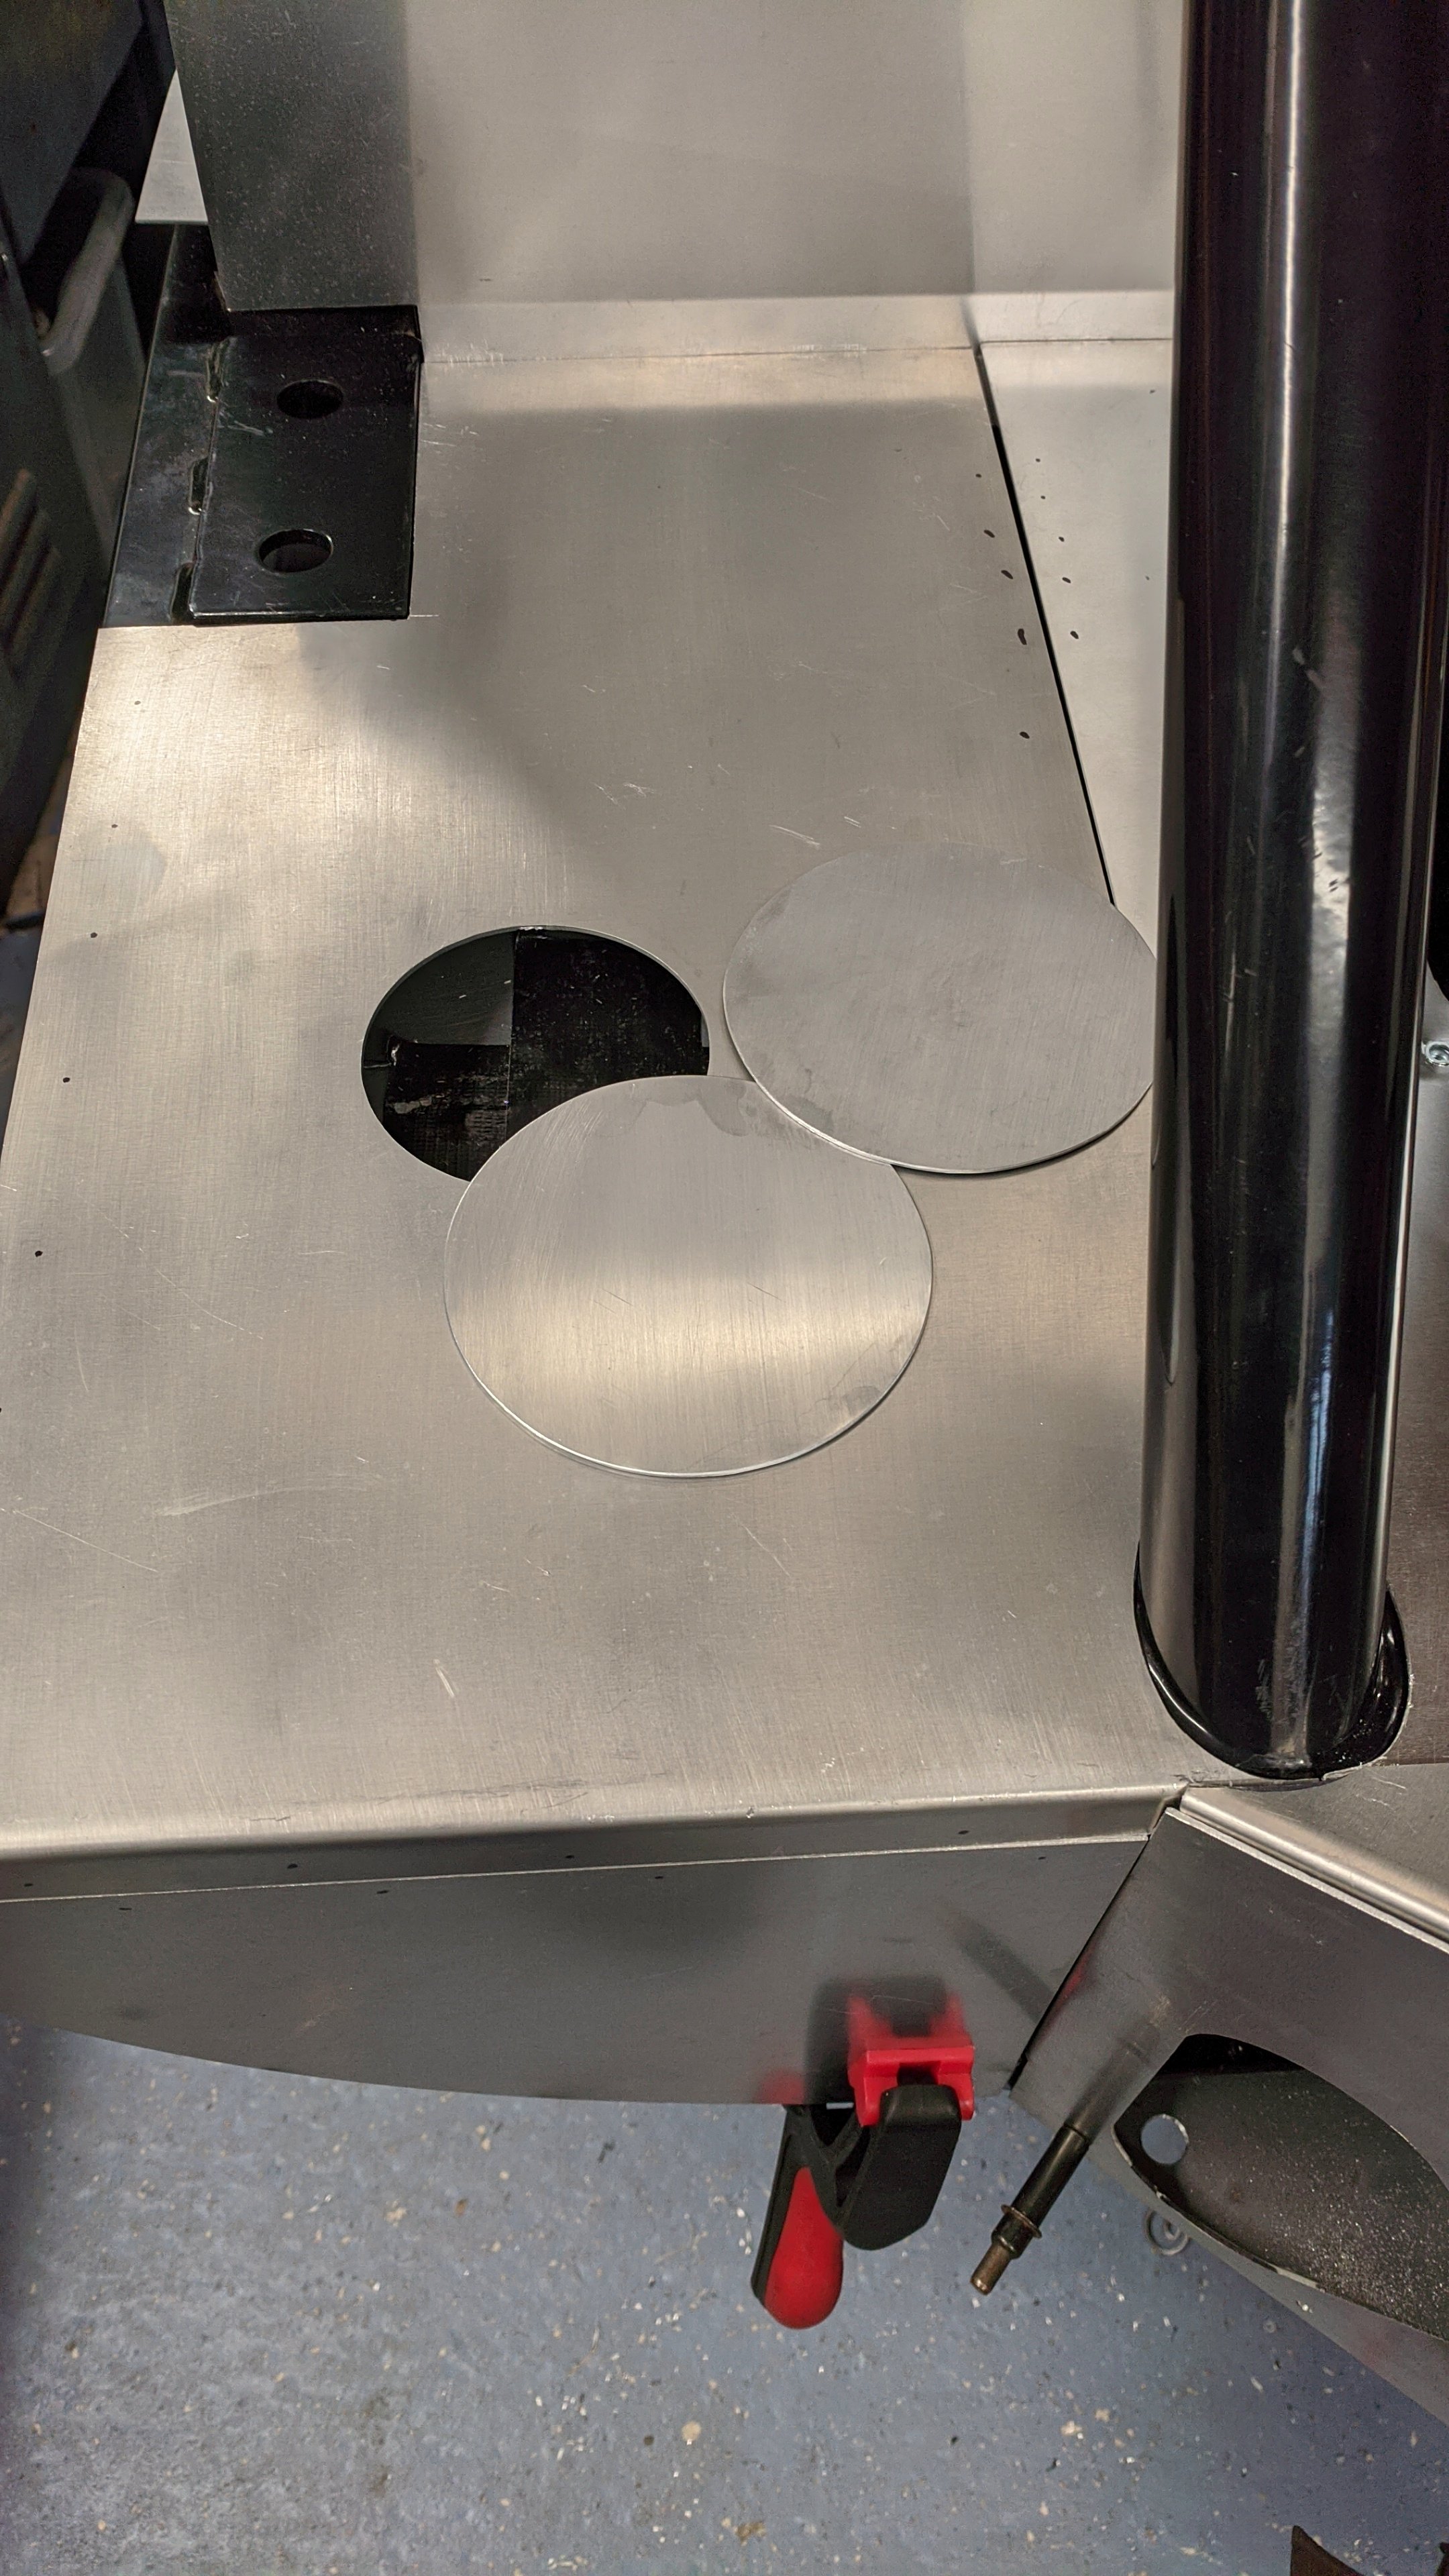
Just had a thought, have you got your fuel tanks yet as that angle aluminium my not allow them to fit, from member the gap between the chassis and the tank is very tight, in my lower hose in the image above, it was only just missing the tank


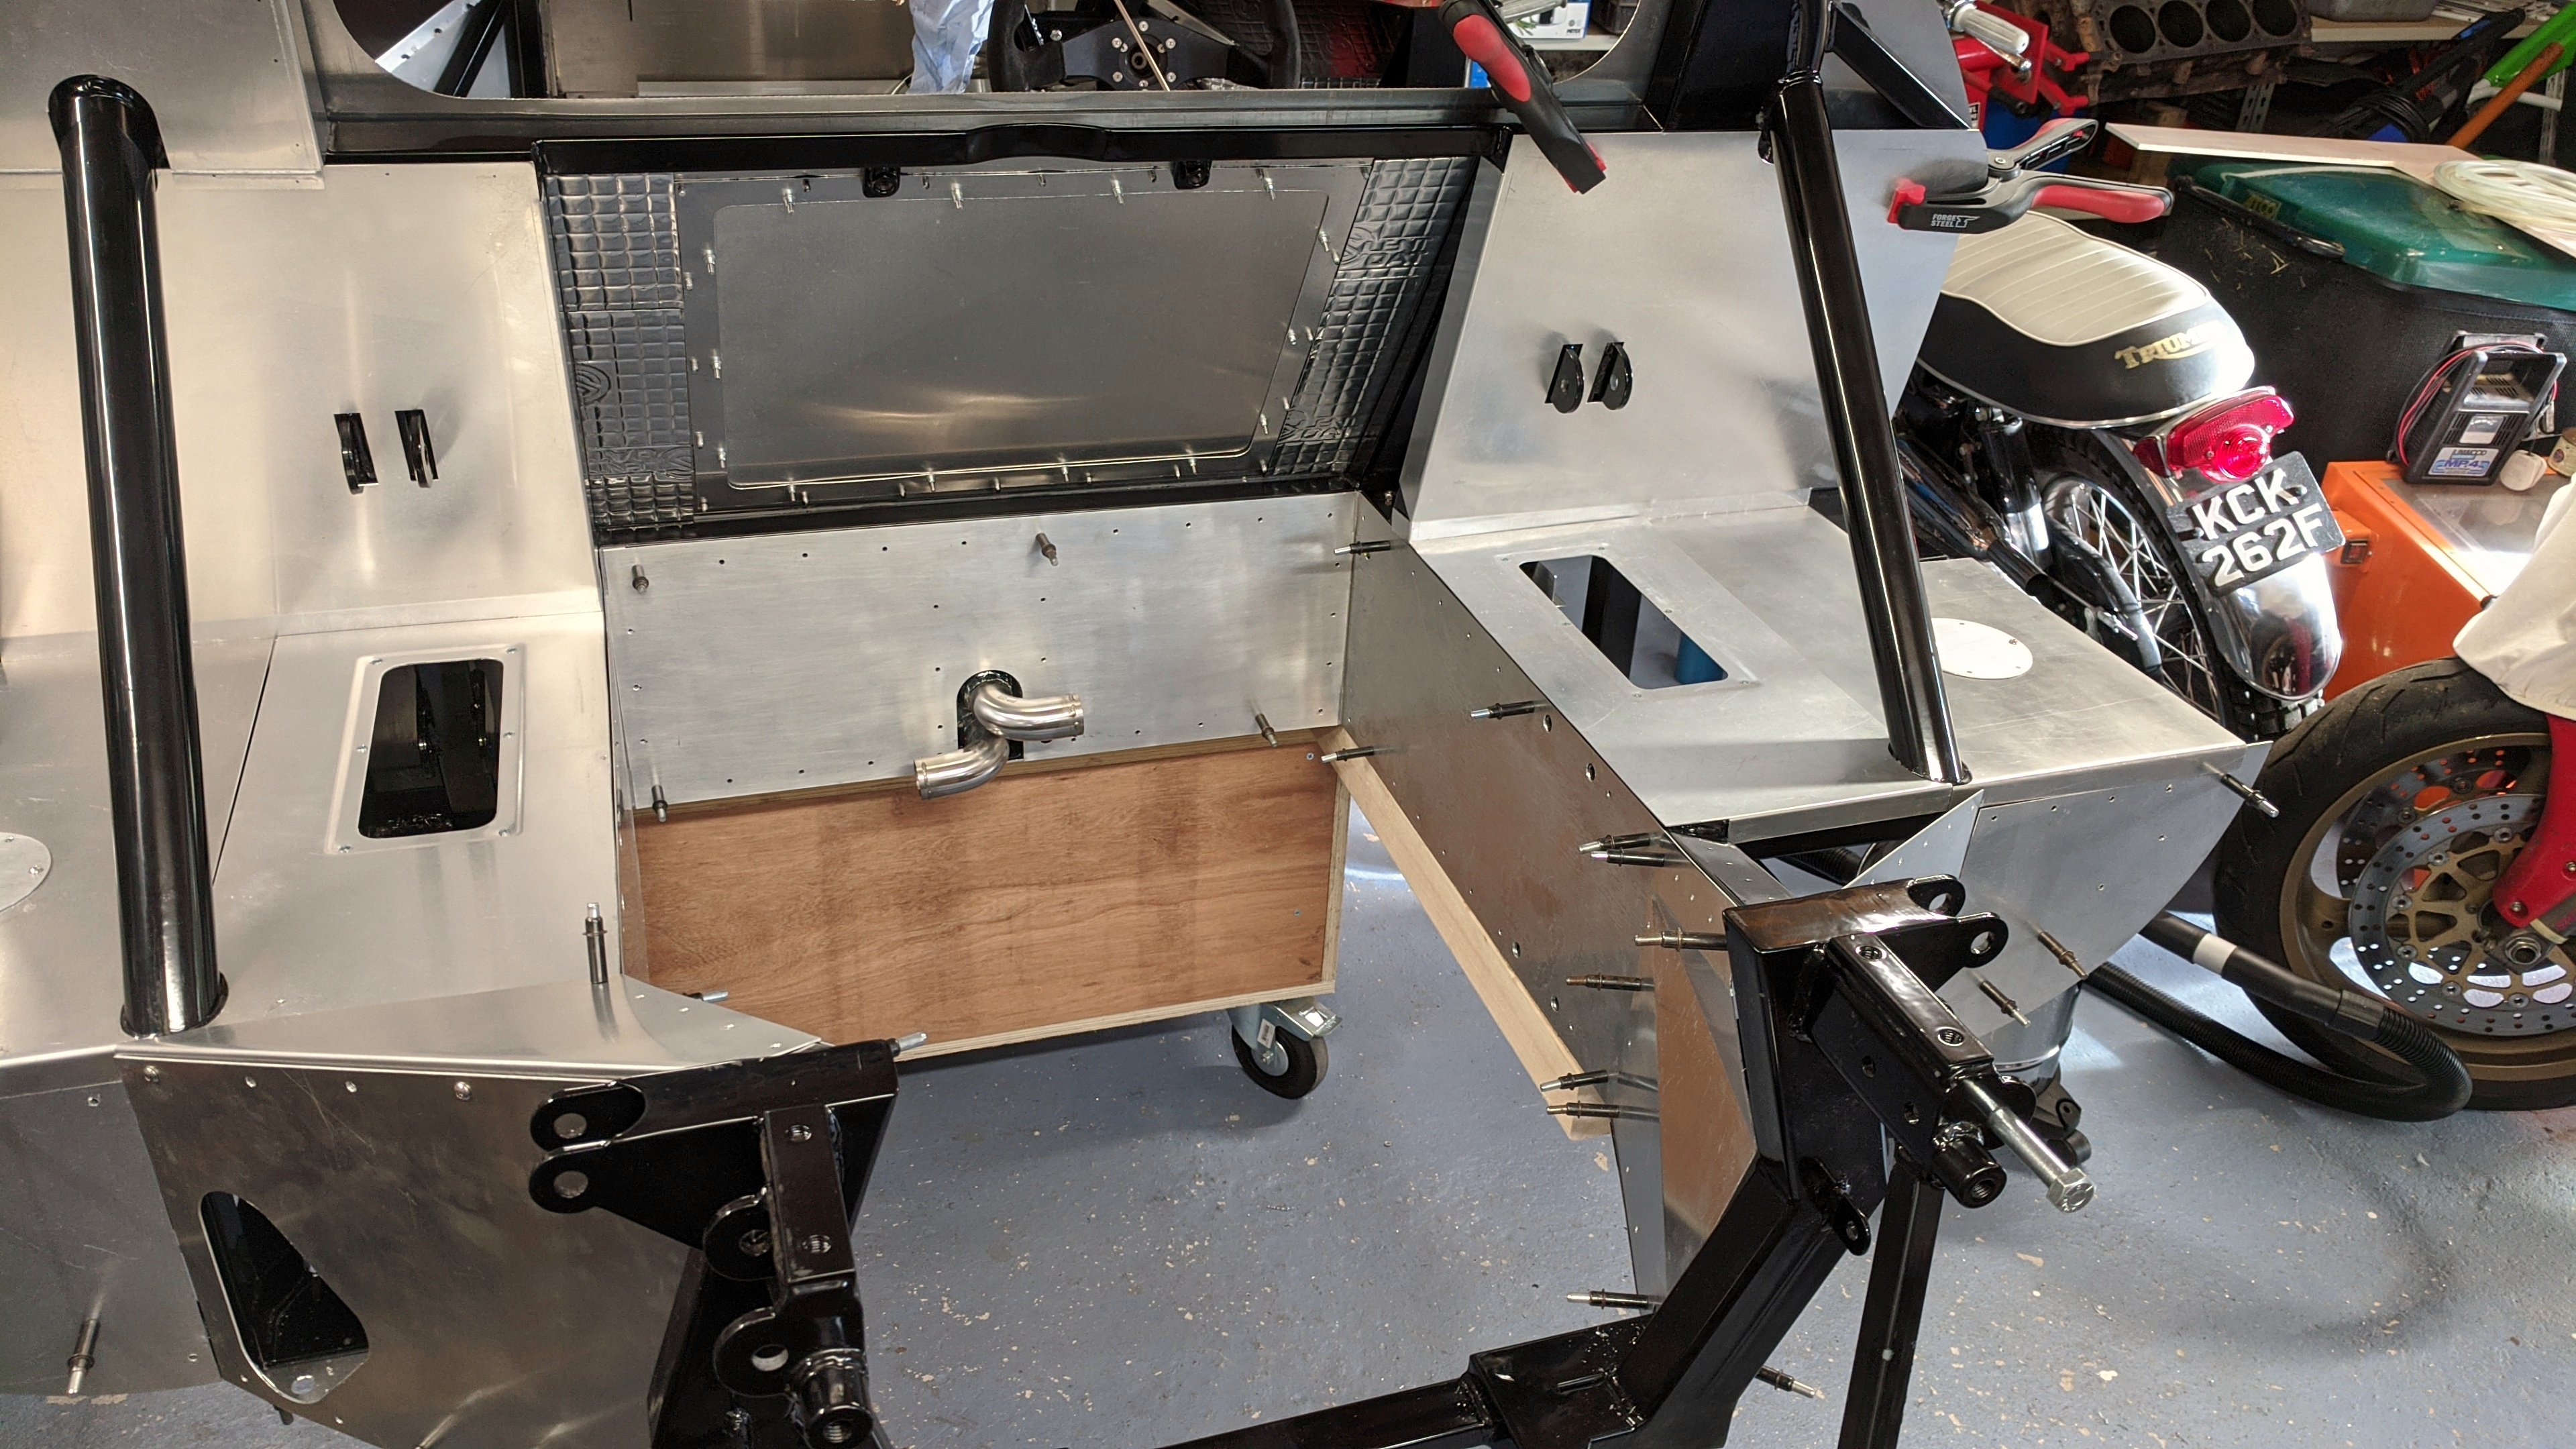
Another small suggestion is to get the brake and clutch pipes in and filled before too much goes in round them, I have a leak on the T piece which was about where you have yours and it was a real pain getting back in there to nip it up
I did not and wish that I had, still the next one I build will be a doddle")