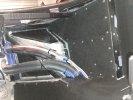
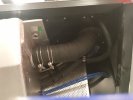
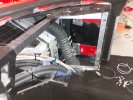
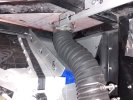
left side fuel filler connections:
Attachments
-
 left side fuel filler boxed in (2).jpg559.8 KB · Views: 240
 -
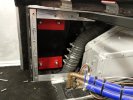
 left side fuel filler boxed in 2.jpg462 KB · Views: 206
 -
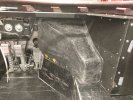
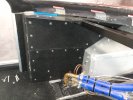 left side fuel filler boxed in.jpg494.3 KB · Views: 192
 -
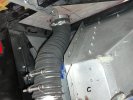
 left side fuel filler connection to fuel tank.jpg241.8 KB · Views: 157
 -
 left side fuel filler connection.jpg375.3 KB · Views: 175
 -
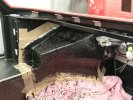
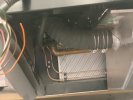
 left side showing fuel filler before boxing in.jpg363.9 KB · Views: 182