Never received your request Bune.
FYI ours are $495
FYI ours are $495

")
Never received your request Bune.
FYI ours are $495
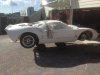
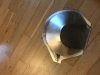
I am looking for a radiator for my mono. Hoped that RCR had, but they did not reply my request.
Who else is in the marked for radiators fit GT40 prefered from states because I have a free freight back to Norway
Rune
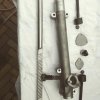
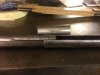
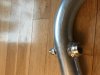
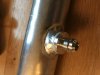
I cannot use this, it has to look like the original car so it must be the lower part of the shaft that is not visible. So two tubes sliding into each other somehow must be the most visible solution .
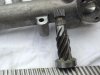
Toyota Corolla`s and Starlets also have this arrangement but with a round shaft. The sleeve internal is flattened to an oval shape, I can take a picture if needed.
Cheers
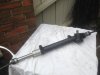
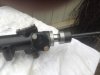
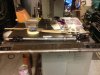
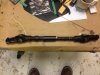
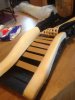
The steering is almost complete now. Everything home made in a "garage". Just painting and some minor adjustment before installing on car