Ken Roberts
Supporter
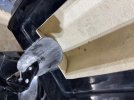
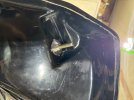
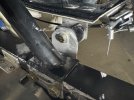
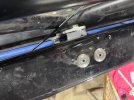
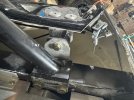
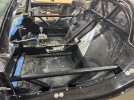
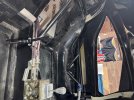
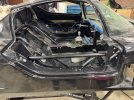
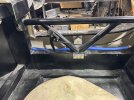
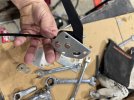
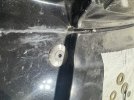
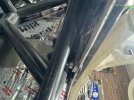
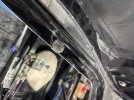
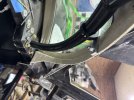
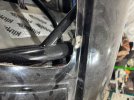
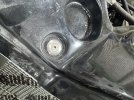
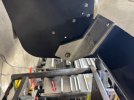
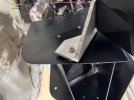
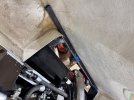
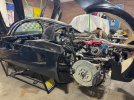
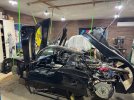
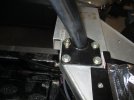
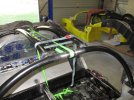
I highly recommend widening the front roll hoop. This will be one of your last chances to get it done. We all hate how thick the A pillar covers are and the fact they don't even fit without adding additional material. Joel developed a great solution (Joels build video 102). I copied it on my car.
Newer cars from the factory have had the hoop redesigned to help alleviate this problem. I don't know when the redesign took place unfortunately. Probably in the last 3 years. Just a guess.
Newer cars from the factory have had the hoop redesigned to help alleviate this problem. I don't know when the redesign took place unfortunately. Probably in the last 3 years. Just a guess.
Last edited:
")