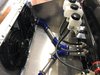
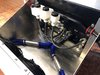
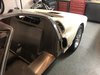
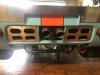
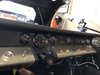
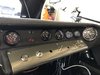
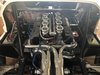
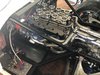
So far its been fun and currently working on the wiring and fuel cell plumbing. Planning to start the engine by the end of the month and hopefully with no leaks.
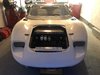
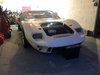
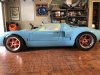
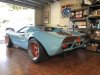
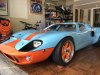
Looks fantastic. Can you give me the specs one the wheels. I would like to order mine this week from vintage.
mark
") ?
?