Discussed previously on this thread.
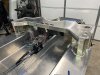
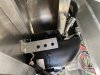
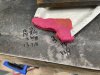
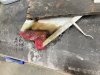
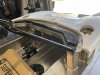
Chassis Failure
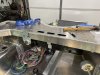
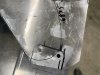
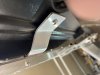
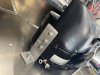
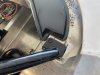
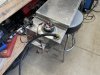
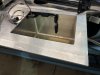
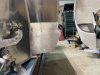
I was running my RCR Lola at a track day at the Circuit of the Americas on July the 5th. Under braking up the front straight entering turn one, the right rear control arm mount tore out of the chassis causing a severe toe-out on that wheel sending the car into a slide. I brought it to a safe...www.gt40s.com
Ian
That was not the scenario I was describing.
")