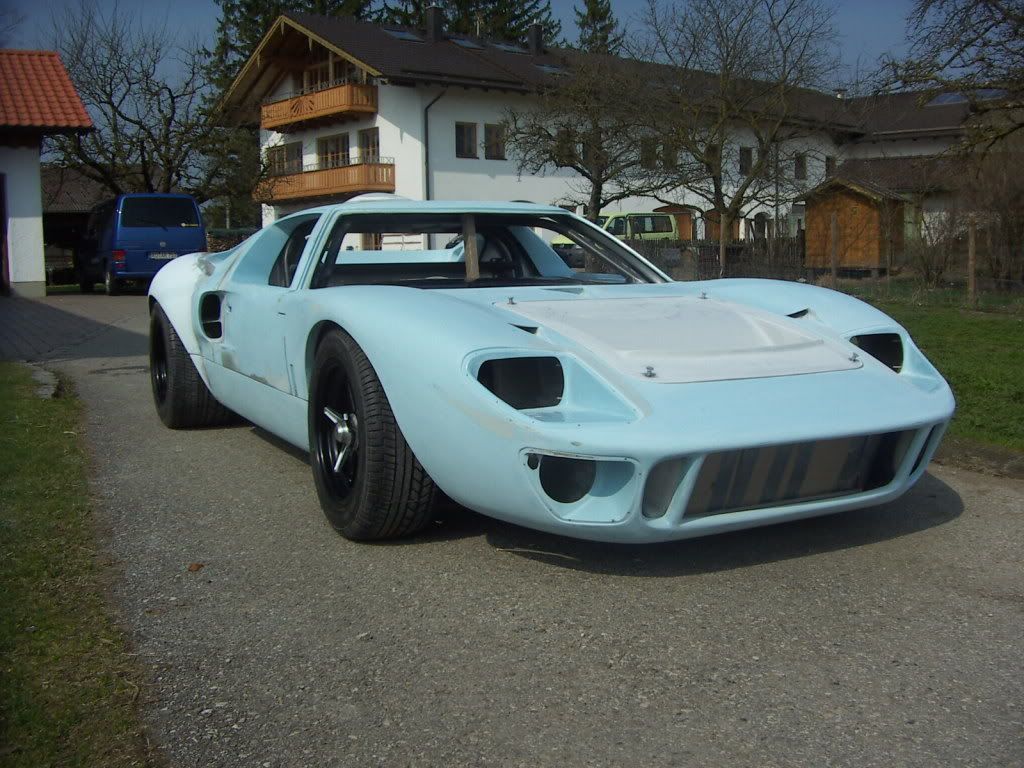
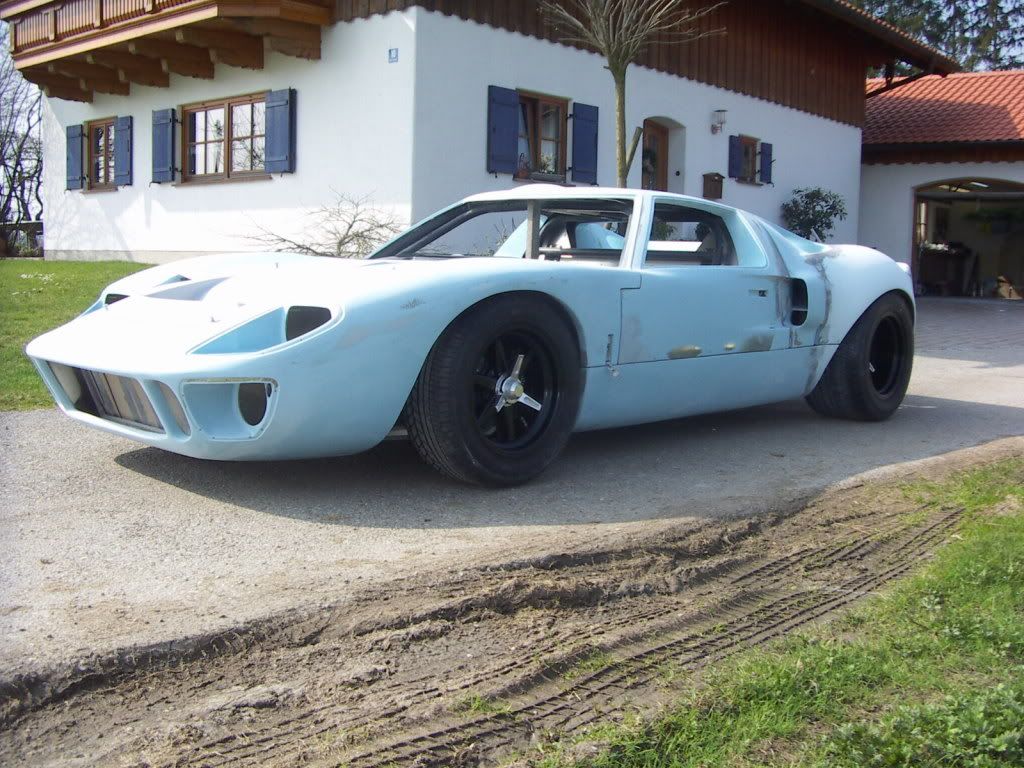
Installing Front lights
Mounted my front lights.
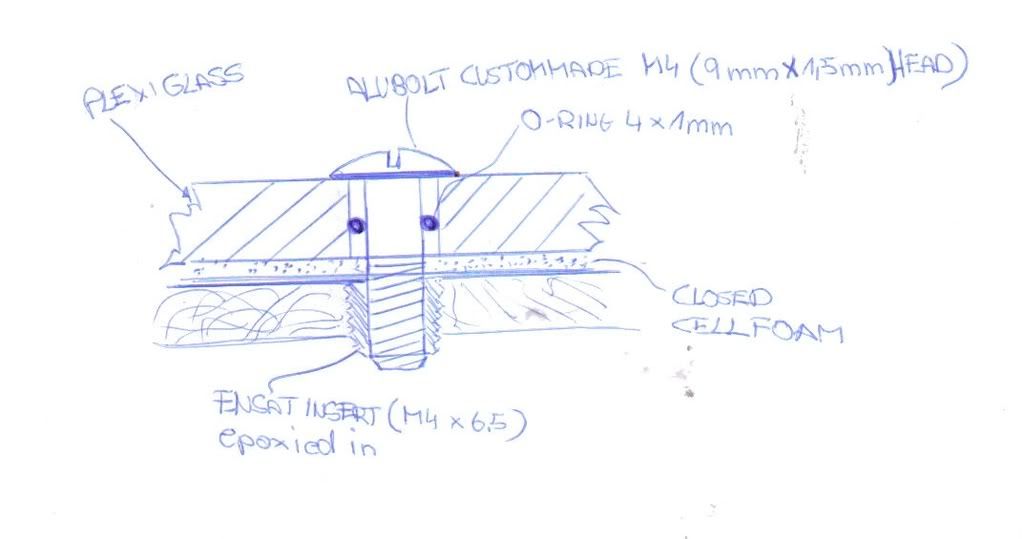
I choosed to go with the round driving lights. Target was a nice clean installation with no visible screws from the outside.
DRIVELIGHTS:
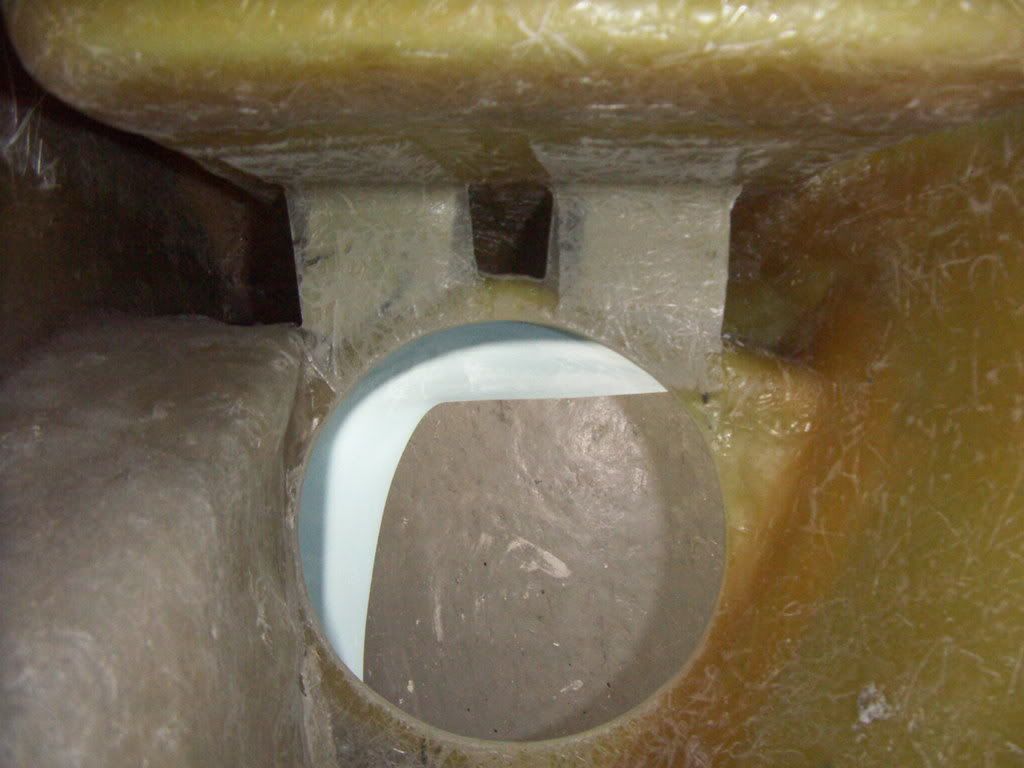
Did the cutout with a template and laminated two additional bases to the inner surface.
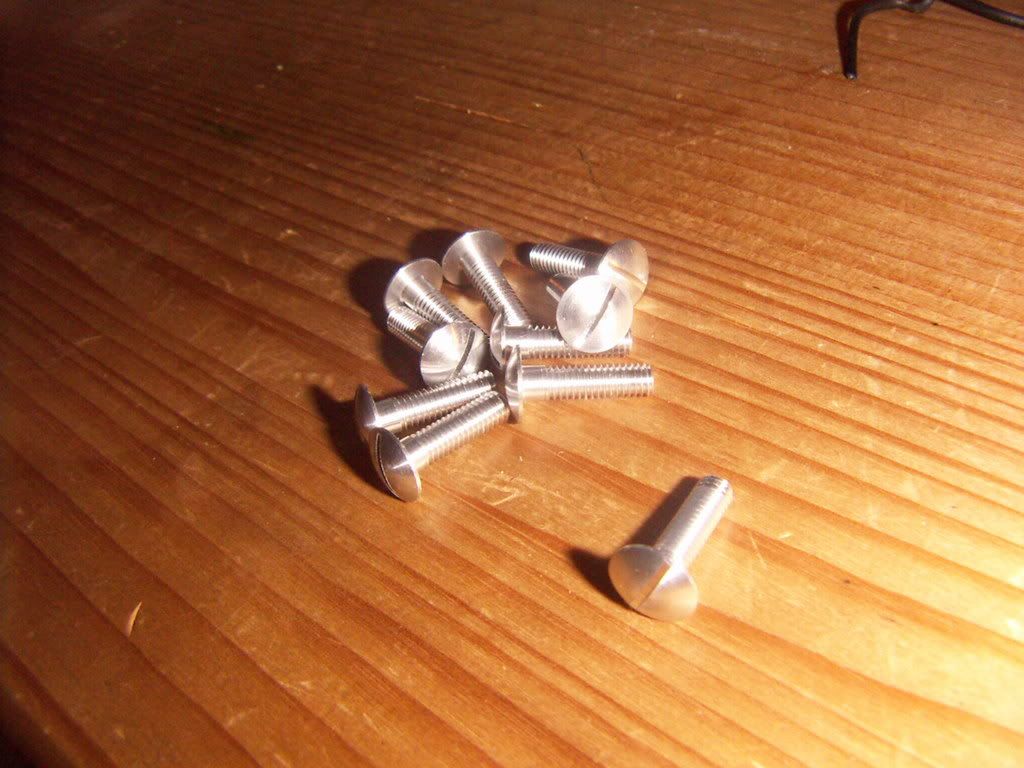
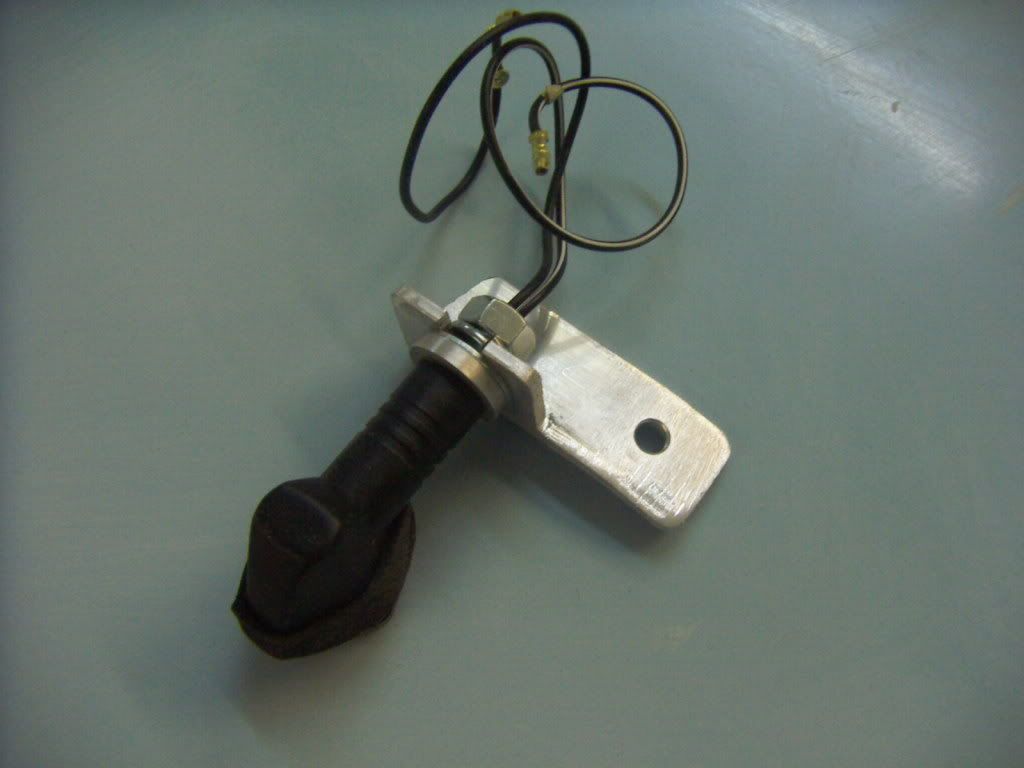
The lights i got are 5,5" CARBELLO´s H1. THey had no provision for mounting them, so i glued on a chrom bezel ring on the backside with PU glue. To this i riveted 3 aluminium angles. I fabricated mounting bolts out of big washers and M6 allen bolts ( stainless).
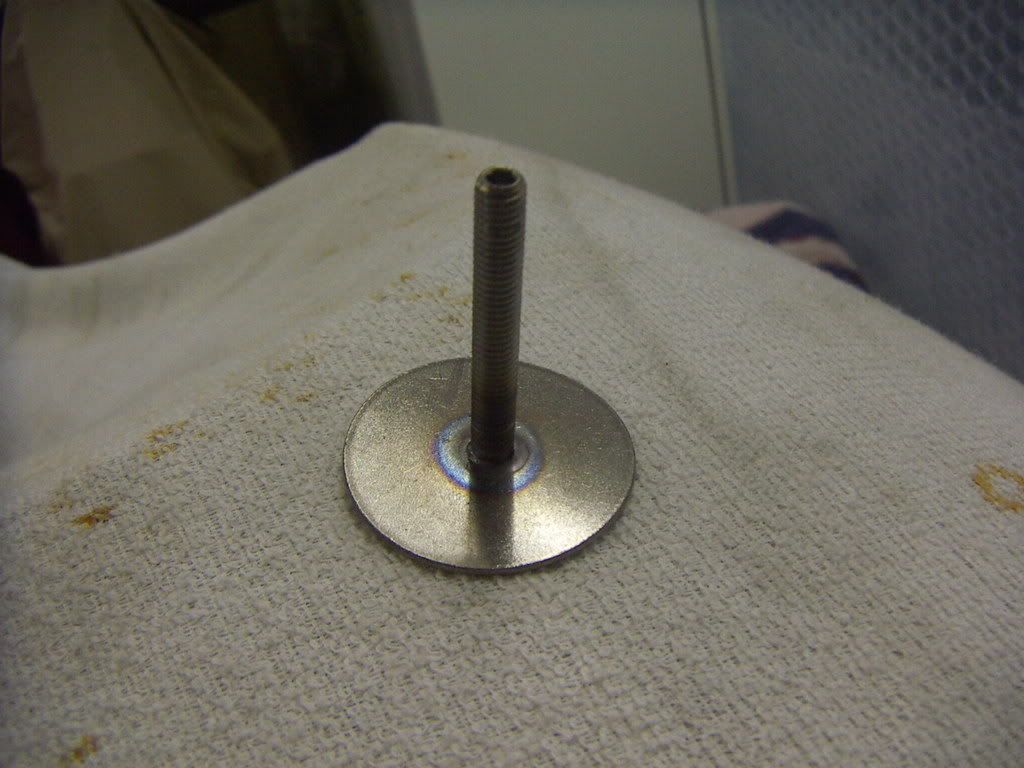
bolts installed on light
After mounting them on the light with springs i glued them in place with epoxy using the light as guiding template. After curing i laid another layer of glass on top of the bolts.
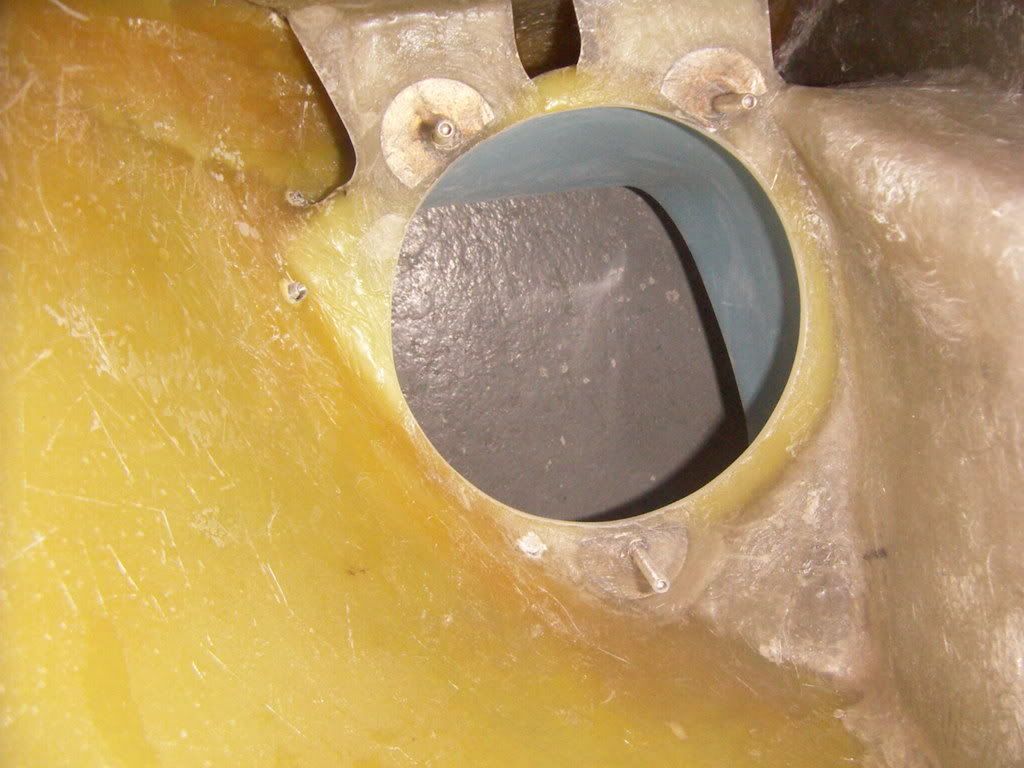
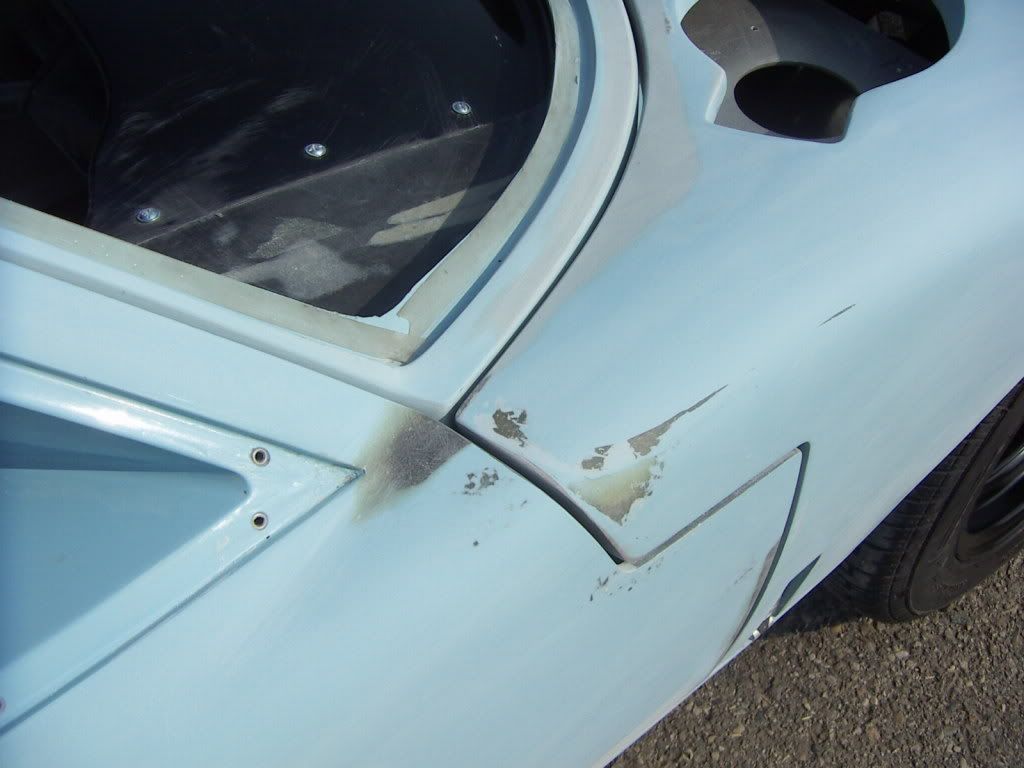
I made the openings about 3 mm bigger in diameter than the light and mounted the light with a stripe of closs cell foam around it. Should help to prevent any rattling and vibration and gives enough space for the adjustment. SHould not be visible after blacking out the openings.
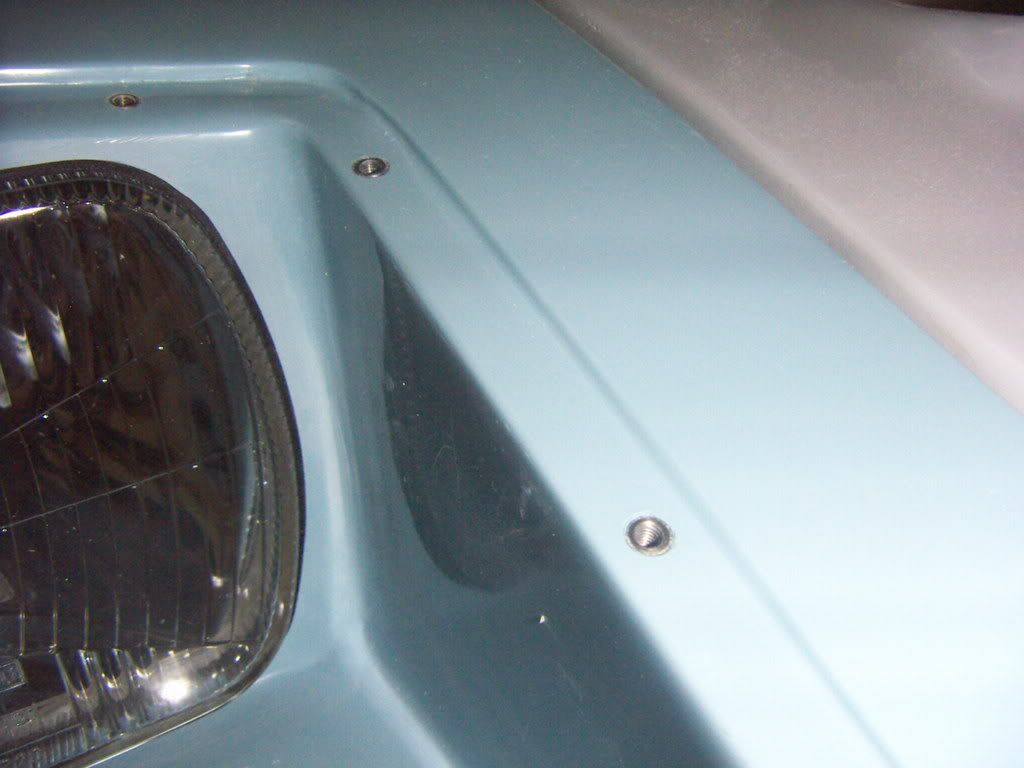
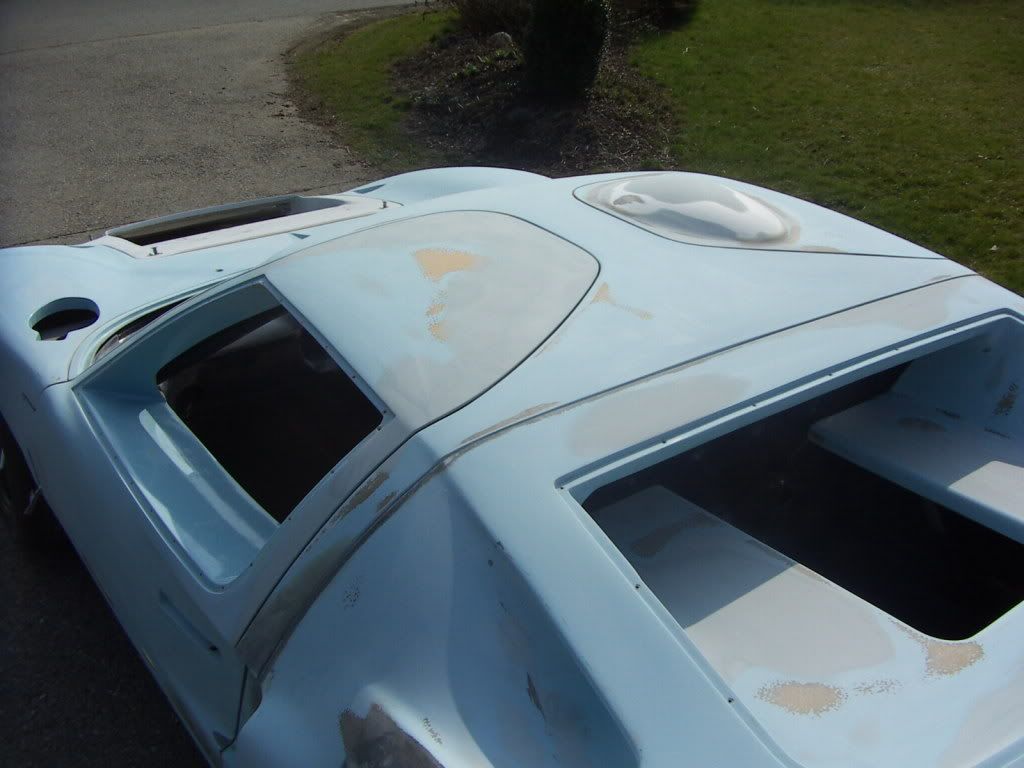
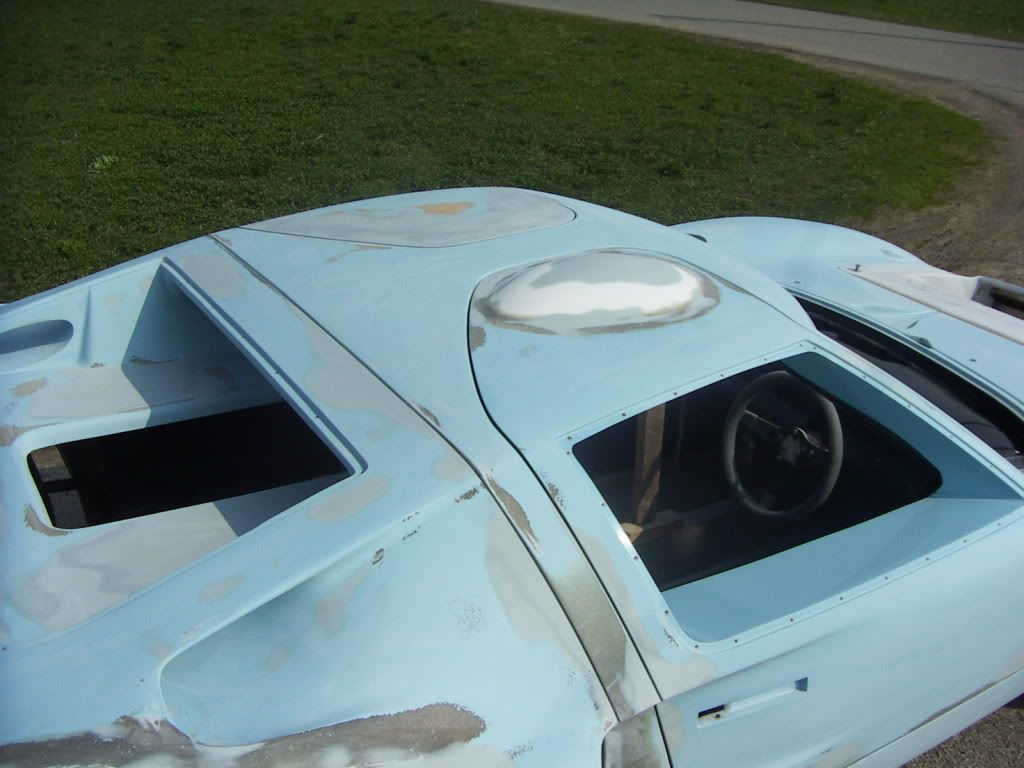
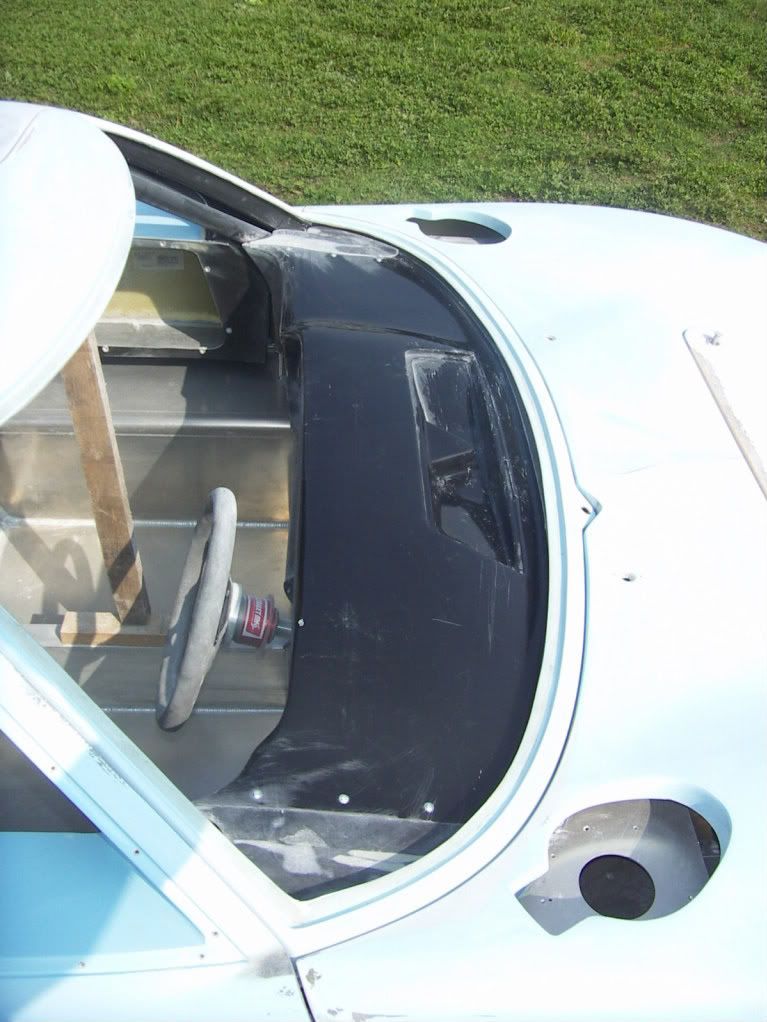
Installed light from the front
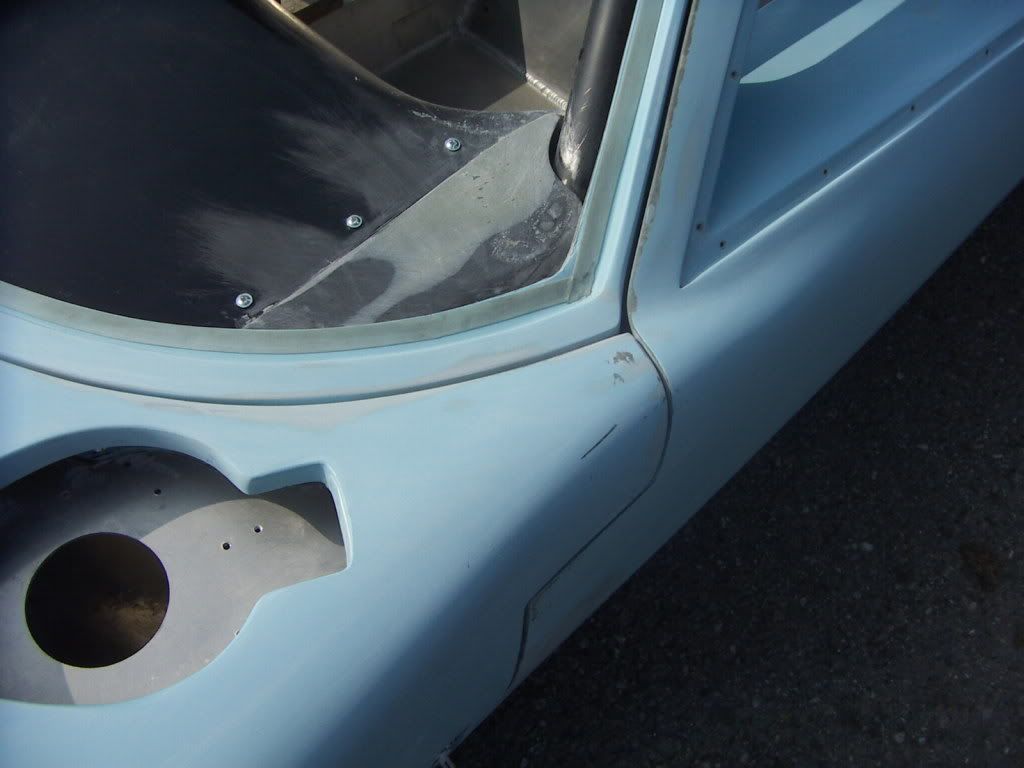
from the backside
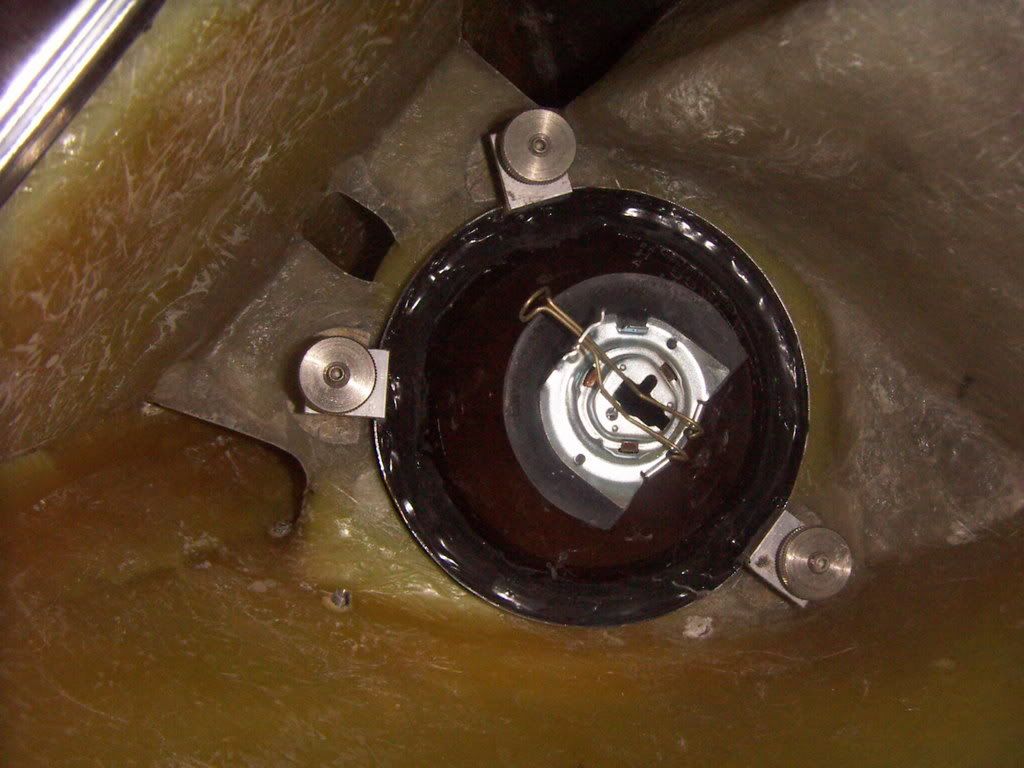
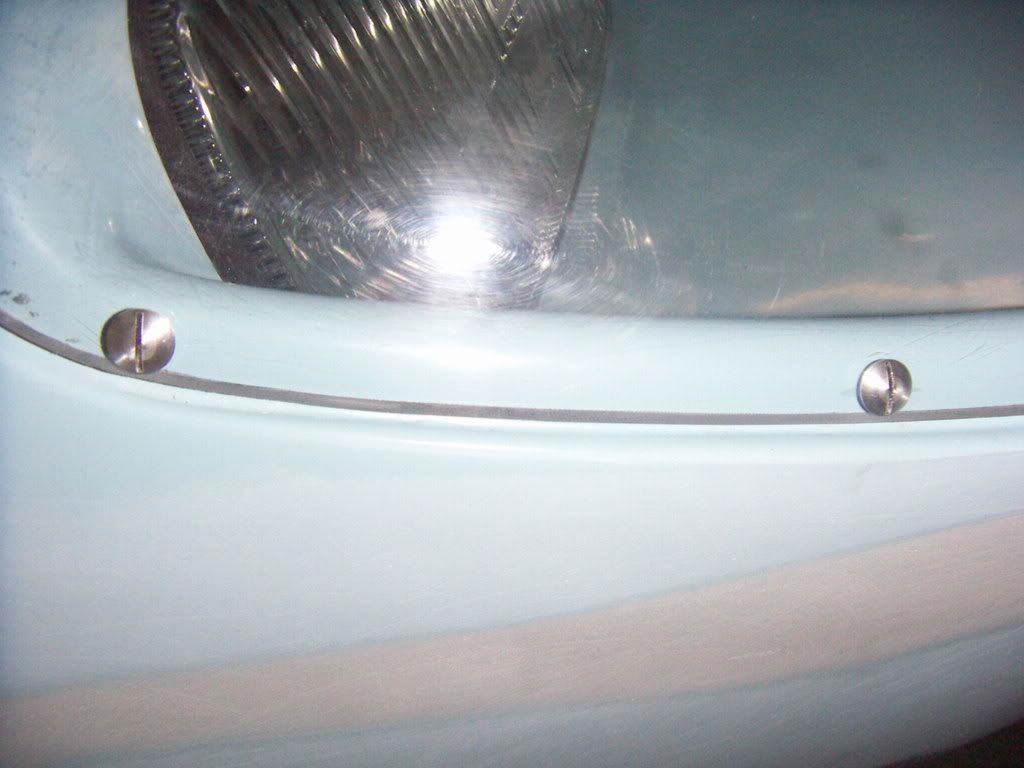
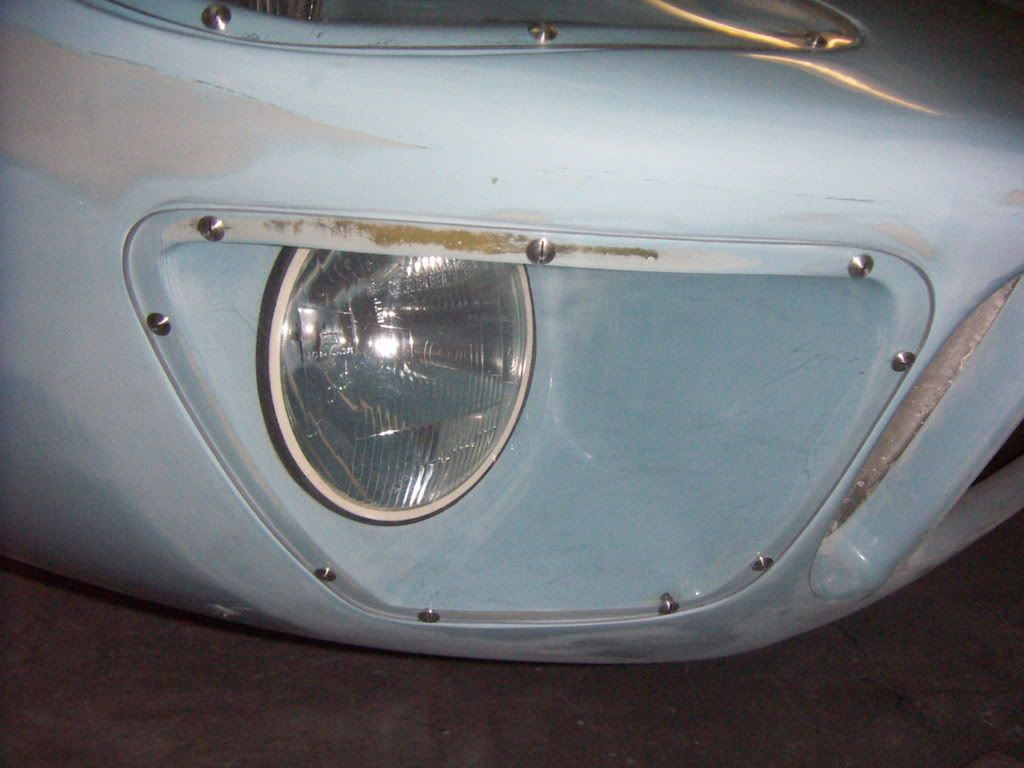
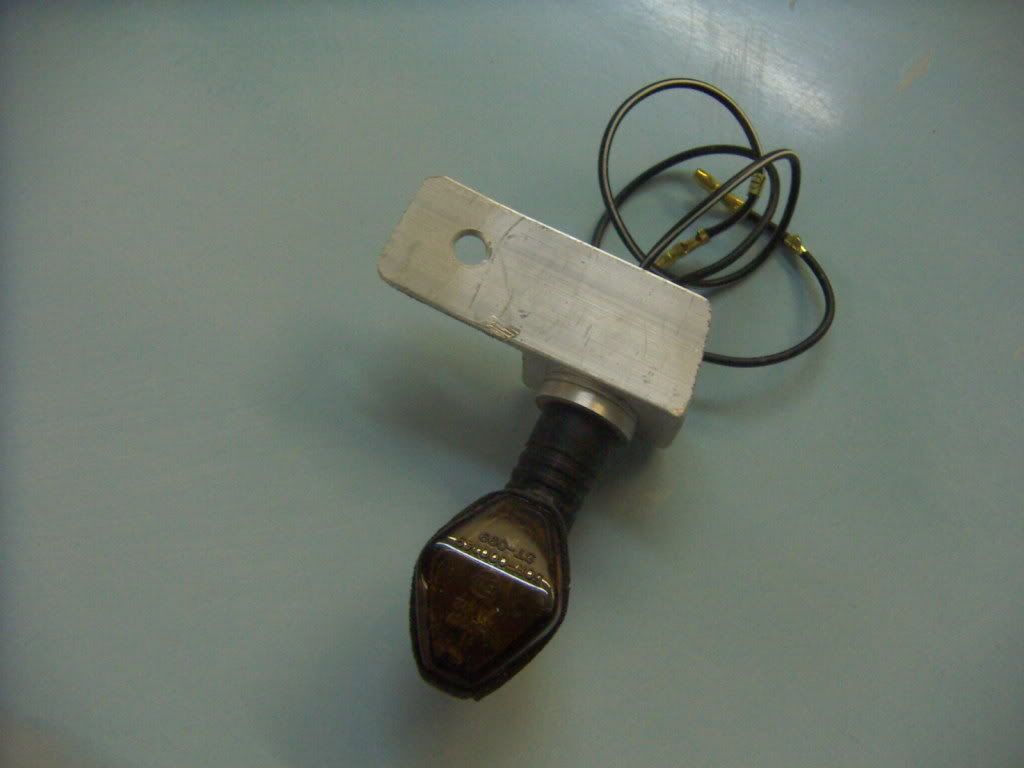
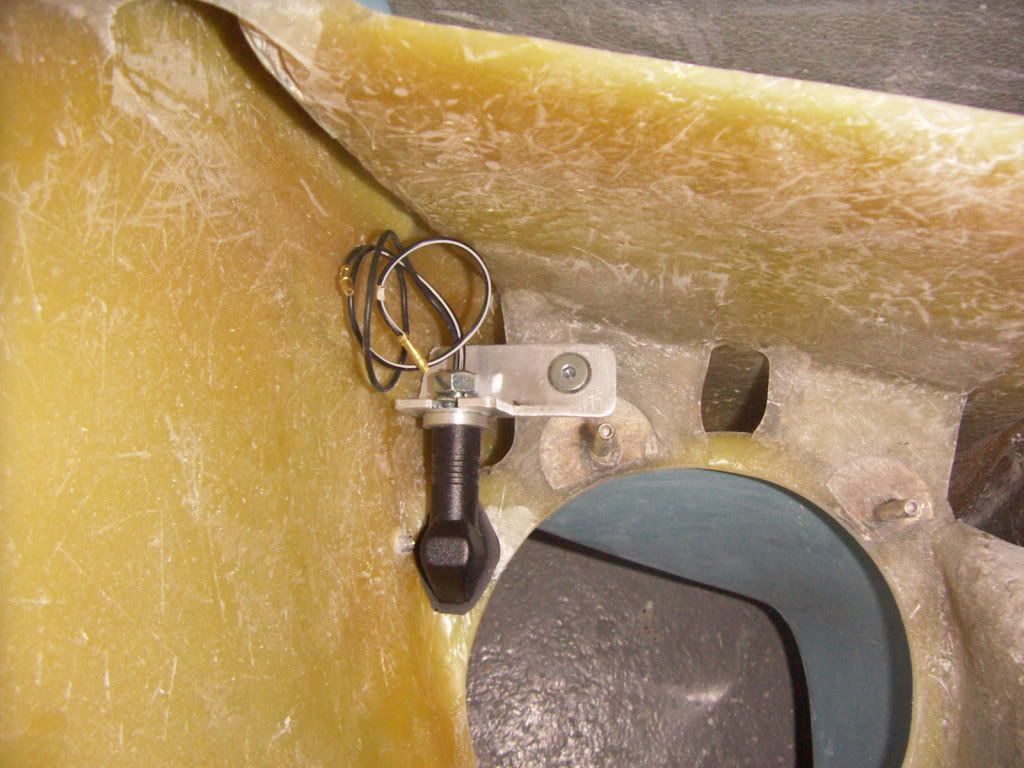
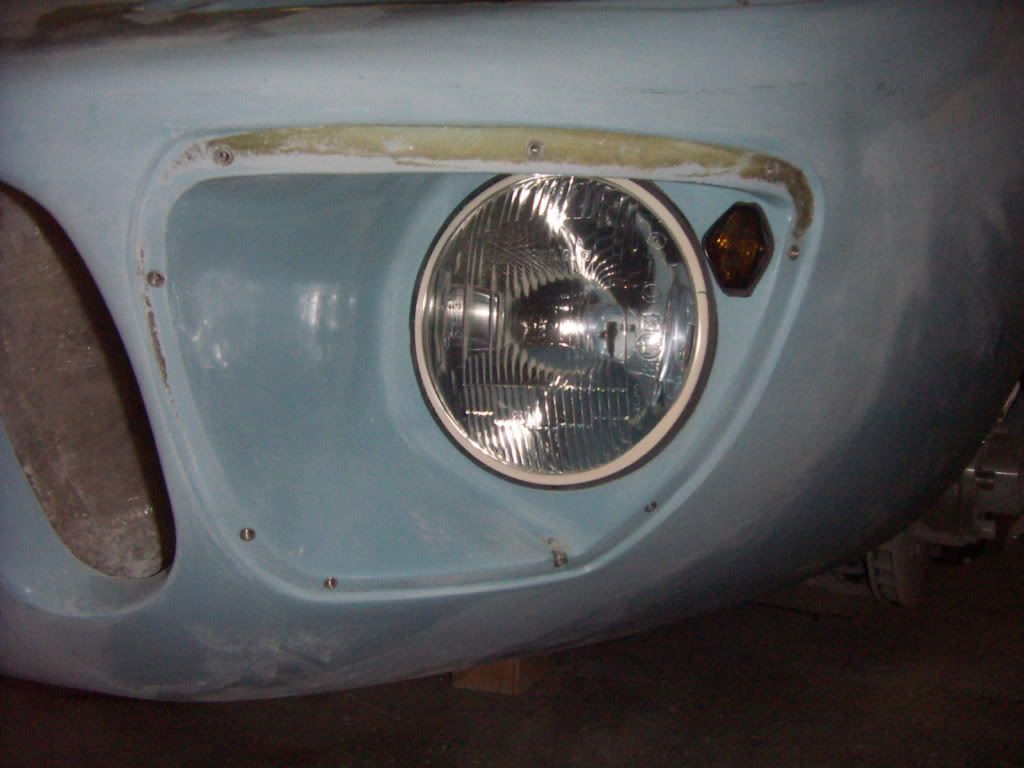
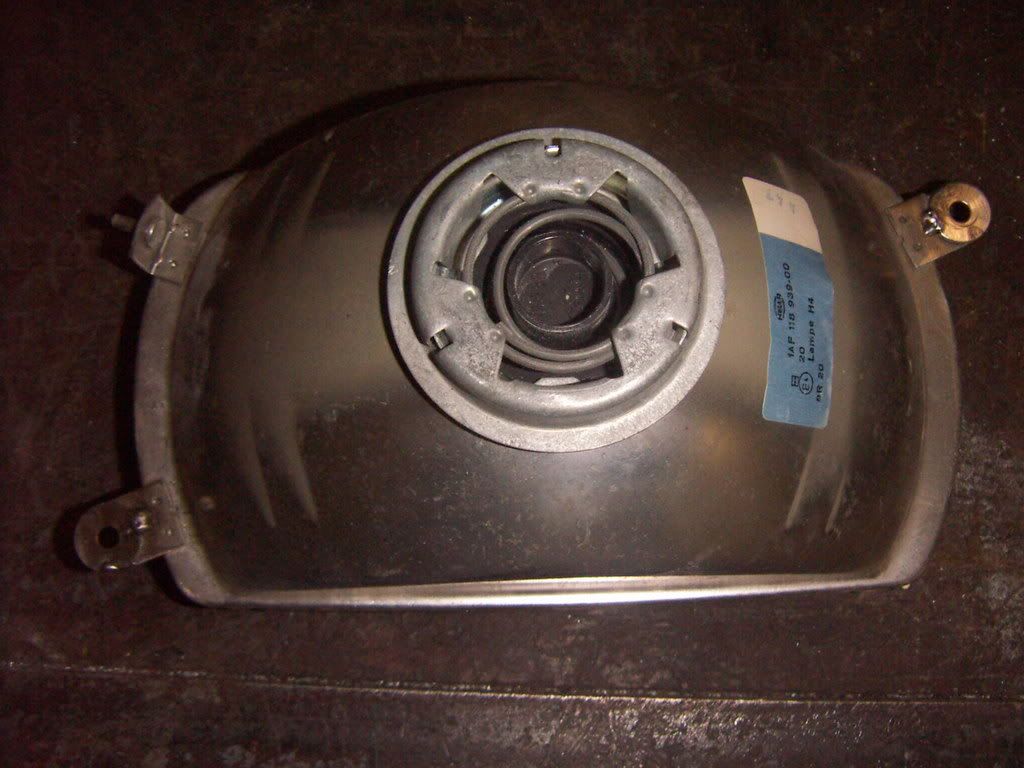
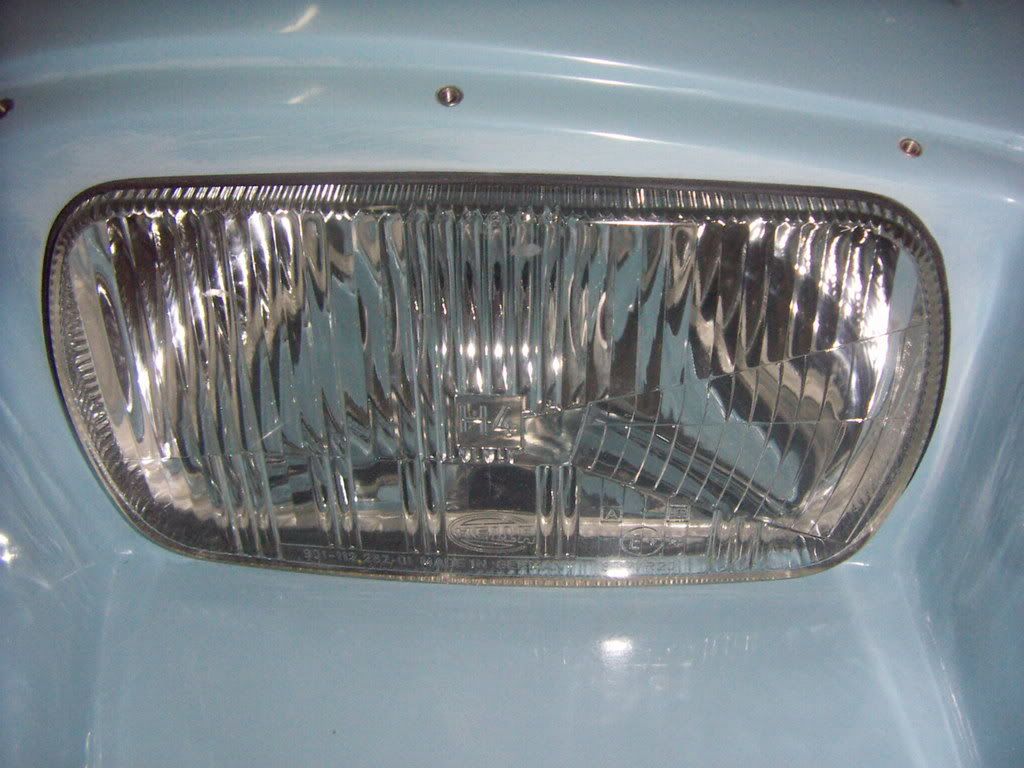
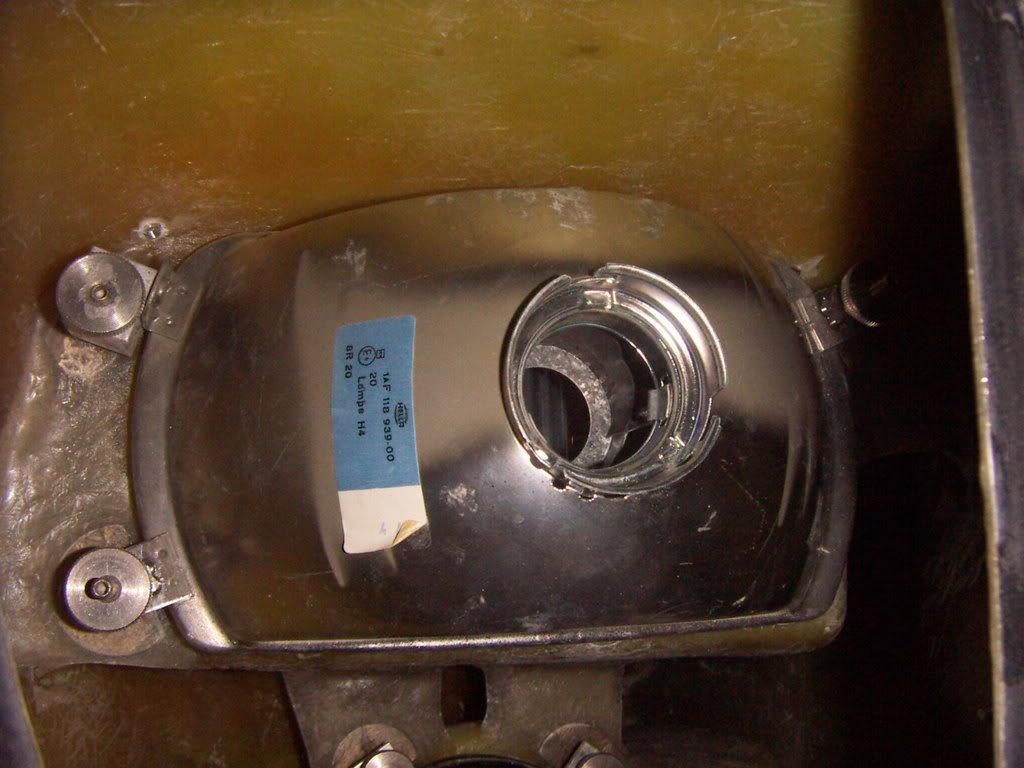
HEADLIGHTS
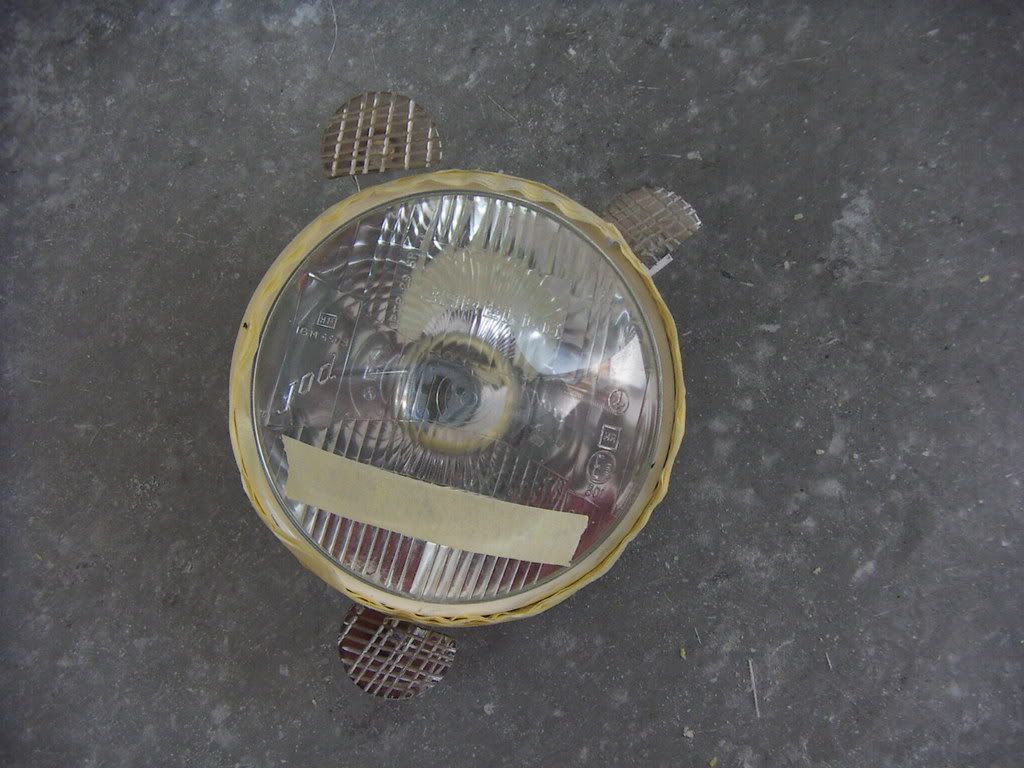
Basically did the same with the headlights. Used Hella brand eurospec H4 lights. THey have the same dimension as the original lights. Bought them also on a swap meet ( they are not produced anymore).
bolts on laminated base

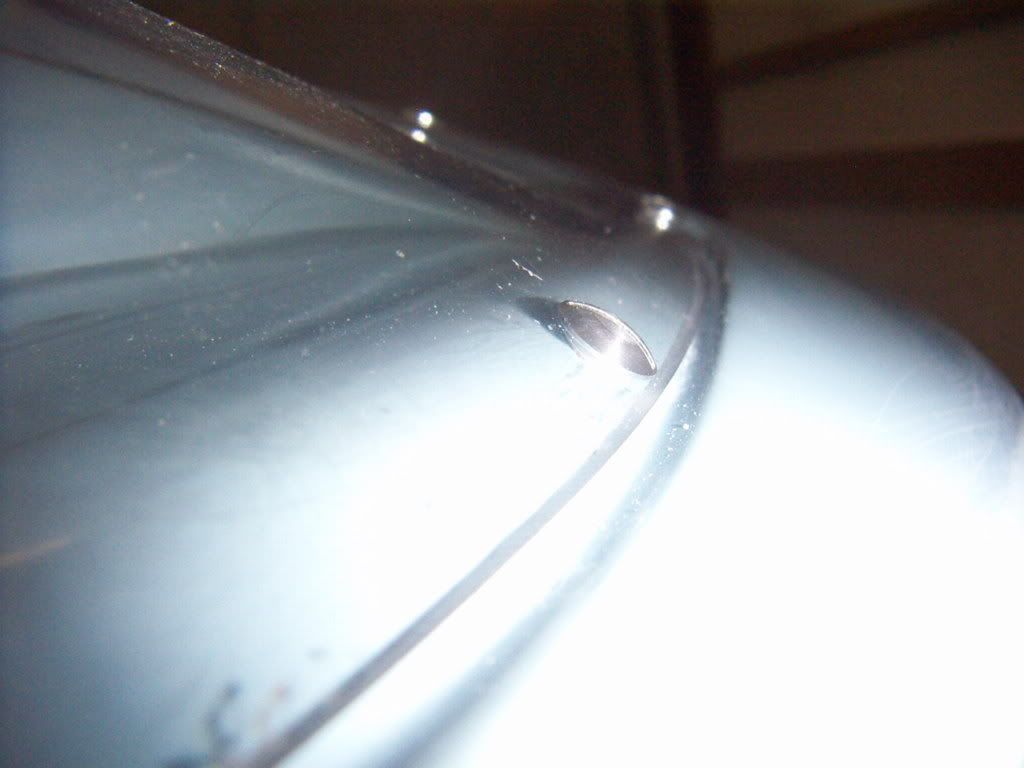
Fabricated an alumnium block to utilize the original mounting bolt.
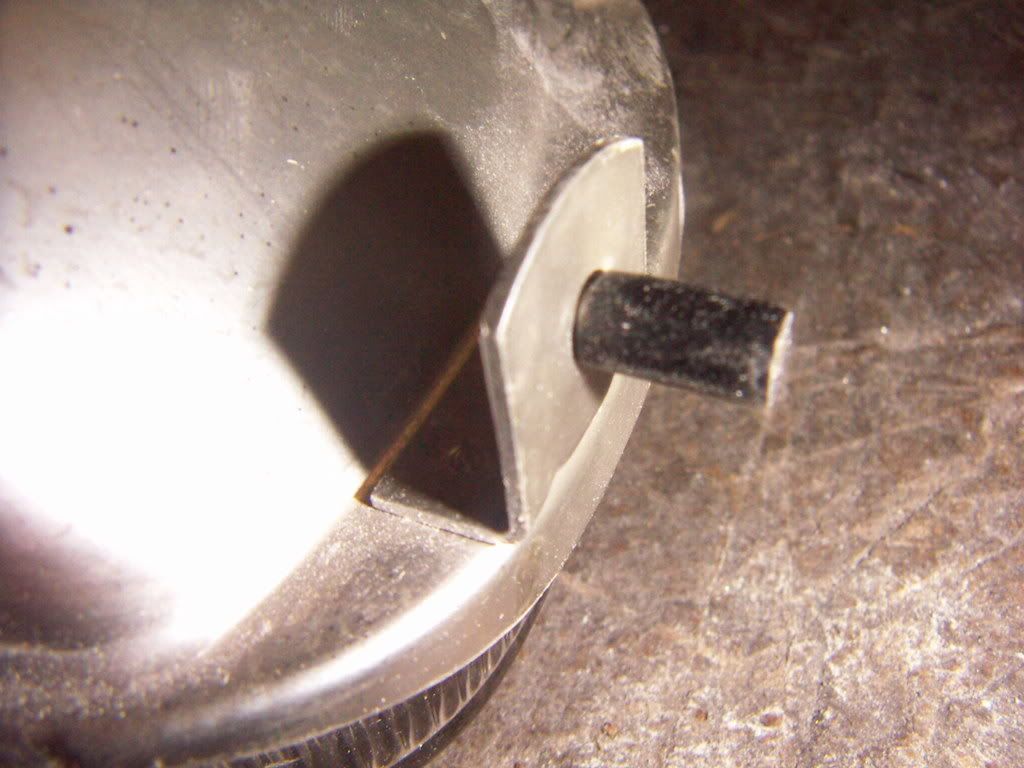

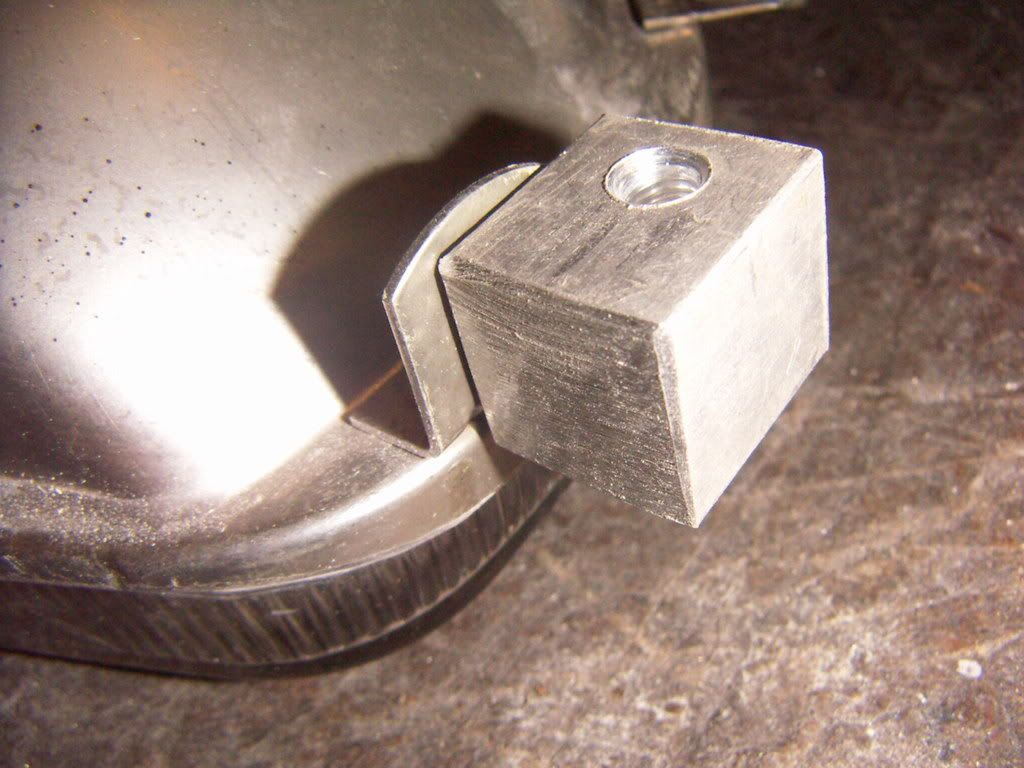
and welded on washers to the other two brackets
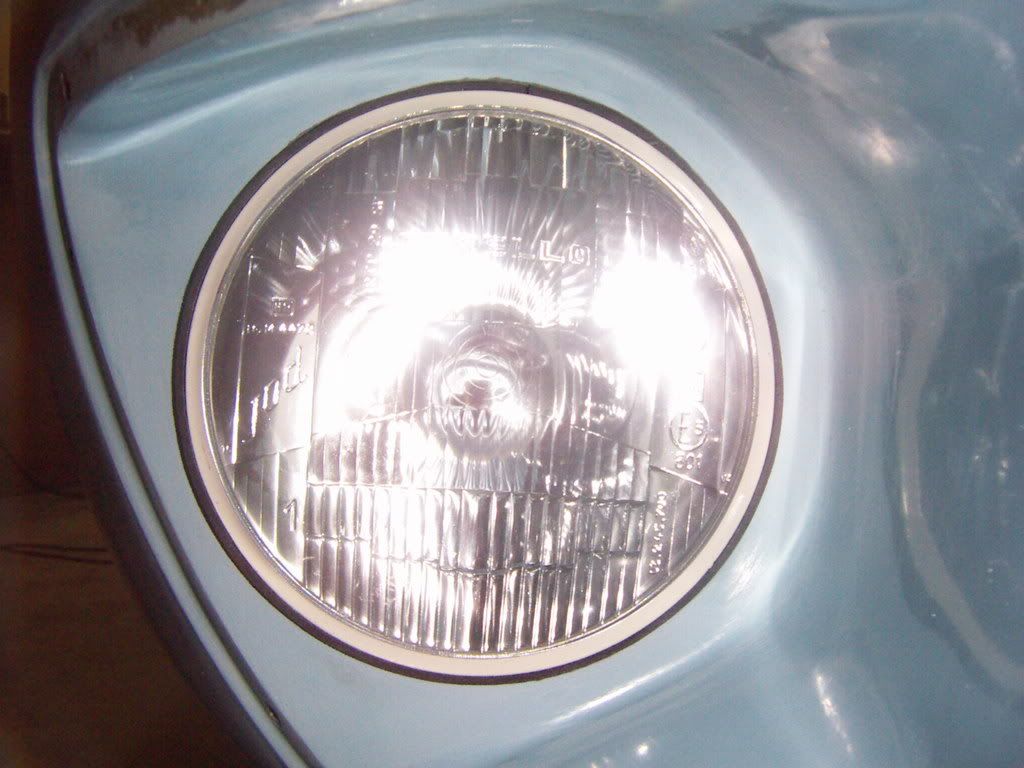
installed light from the front
from the backside
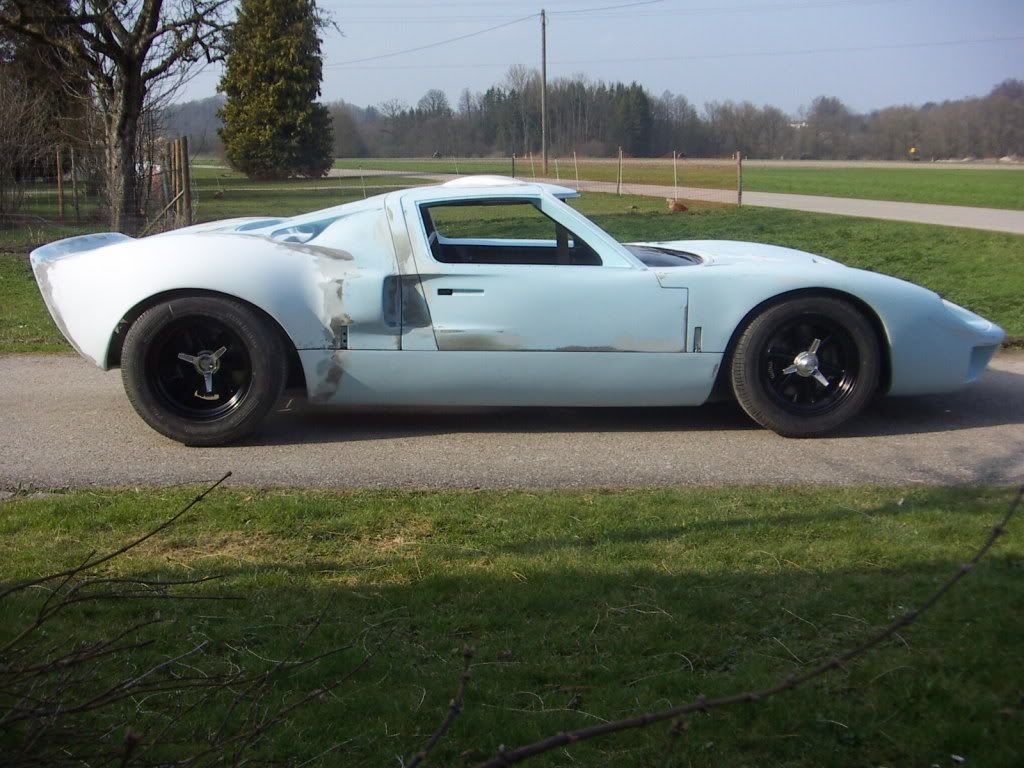
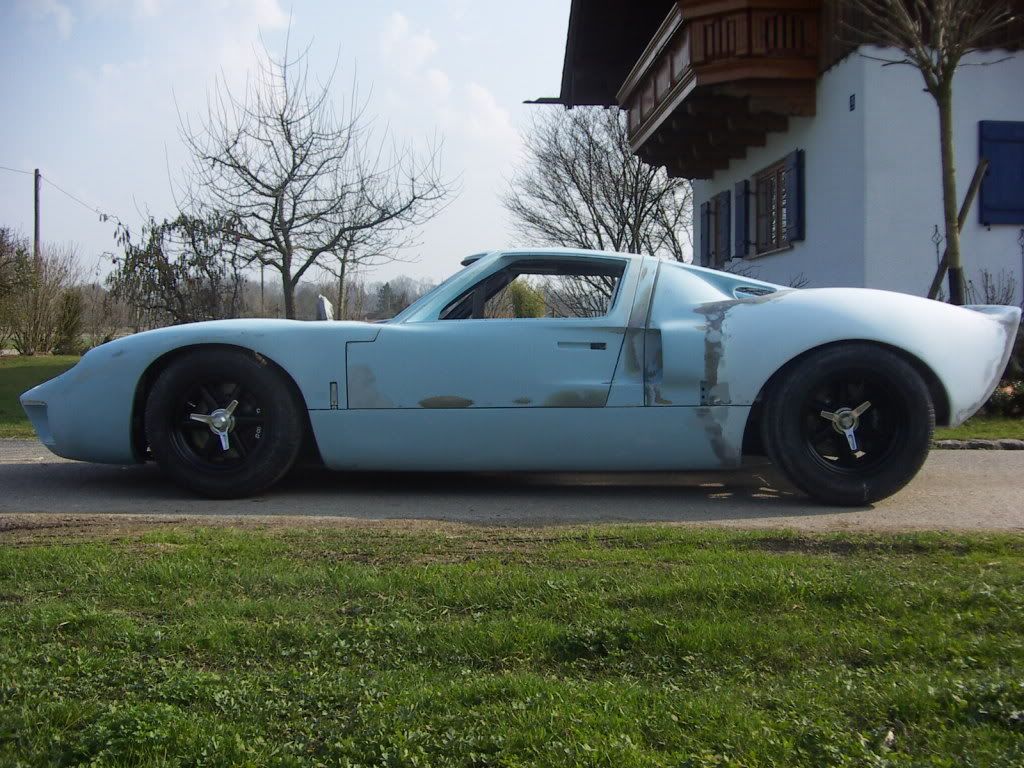
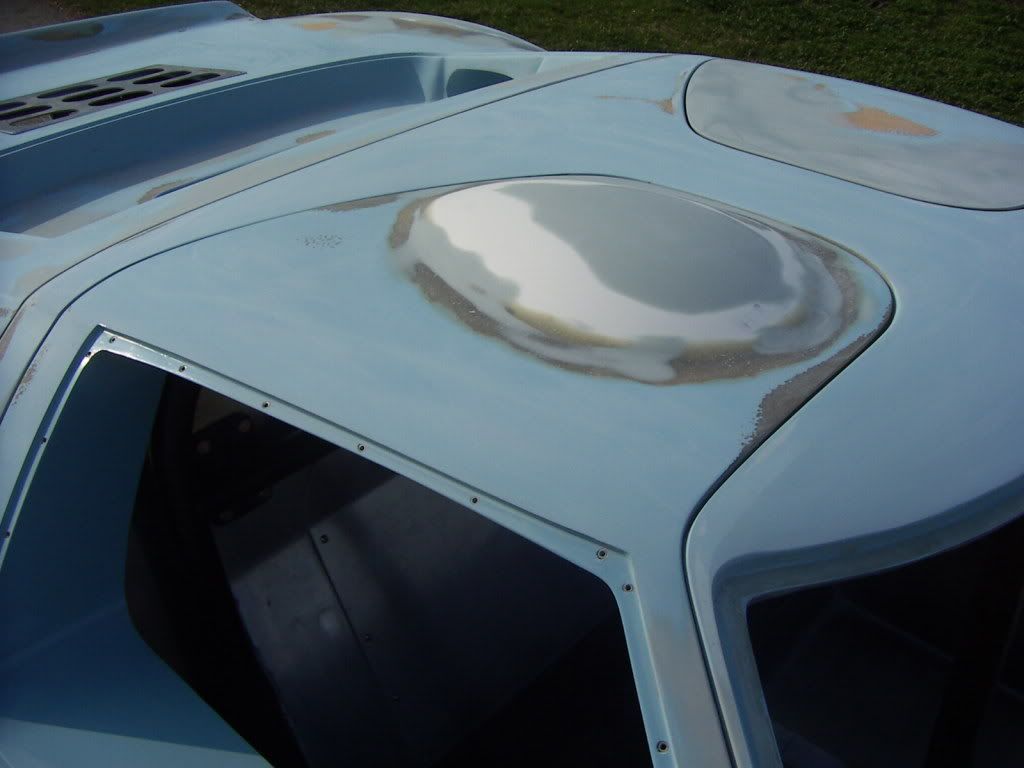
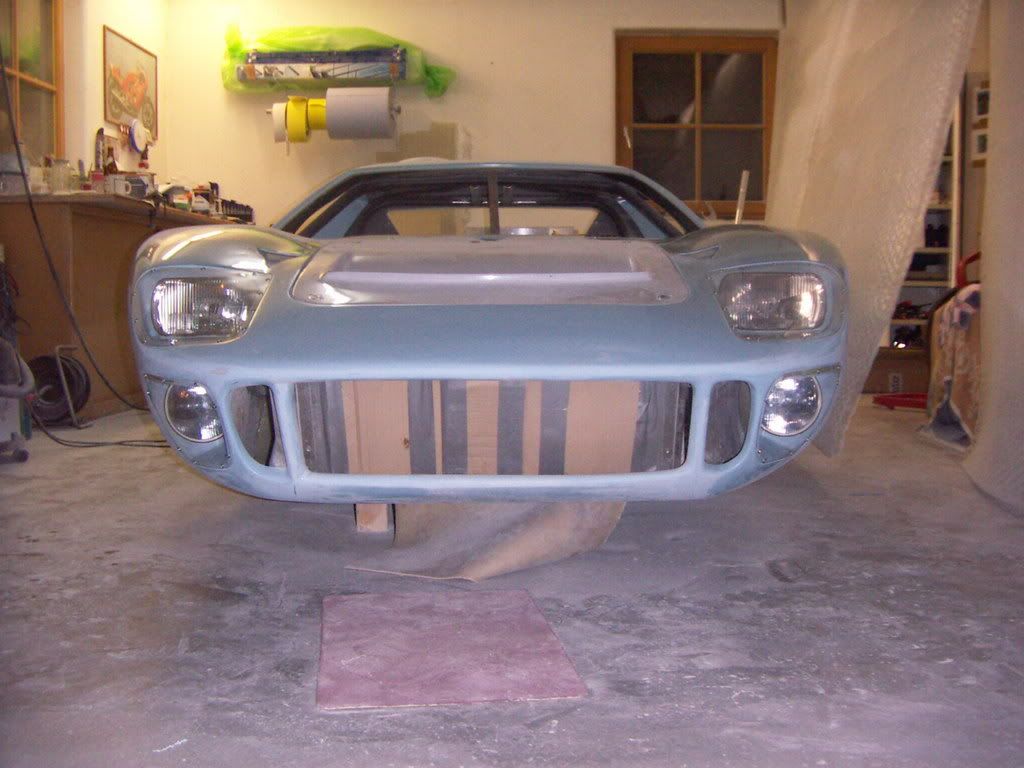
overall view
AWH:387 h
TOM
Mounted my front lights.
I choosed to go with the round driving lights. Target was a nice clean installation with no visible screws from the outside.
DRIVELIGHTS:
Did the cutout with a template and laminated two additional bases to the inner surface.
The lights i got are 5,5" CARBELLO´s H1. THey had no provision for mounting them, so i glued on a chrom bezel ring on the backside with PU glue. To this i riveted 3 aluminium angles. I fabricated mounting bolts out of big washers and M6 allen bolts ( stainless).
bolts installed on light
After mounting them on the light with springs i glued them in place with epoxy using the light as guiding template. After curing i laid another layer of glass on top of the bolts.
I made the openings about 3 mm bigger in diameter than the light and mounted the light with a stripe of closs cell foam around it. Should help to prevent any rattling and vibration and gives enough space for the adjustment. SHould not be visible after blacking out the openings.
Installed light from the front
from the backside
HEADLIGHTS
Basically did the same with the headlights. Used Hella brand eurospec H4 lights. THey have the same dimension as the original lights. Bought them also on a swap meet ( they are not produced anymore).
bolts on laminated base
Fabricated an alumnium block to utilize the original mounting bolt.
and welded on washers to the other two brackets
installed light from the front
from the backside
overall view
AWH:387 h
TOM
Last edited: