HI all, time for a little update,
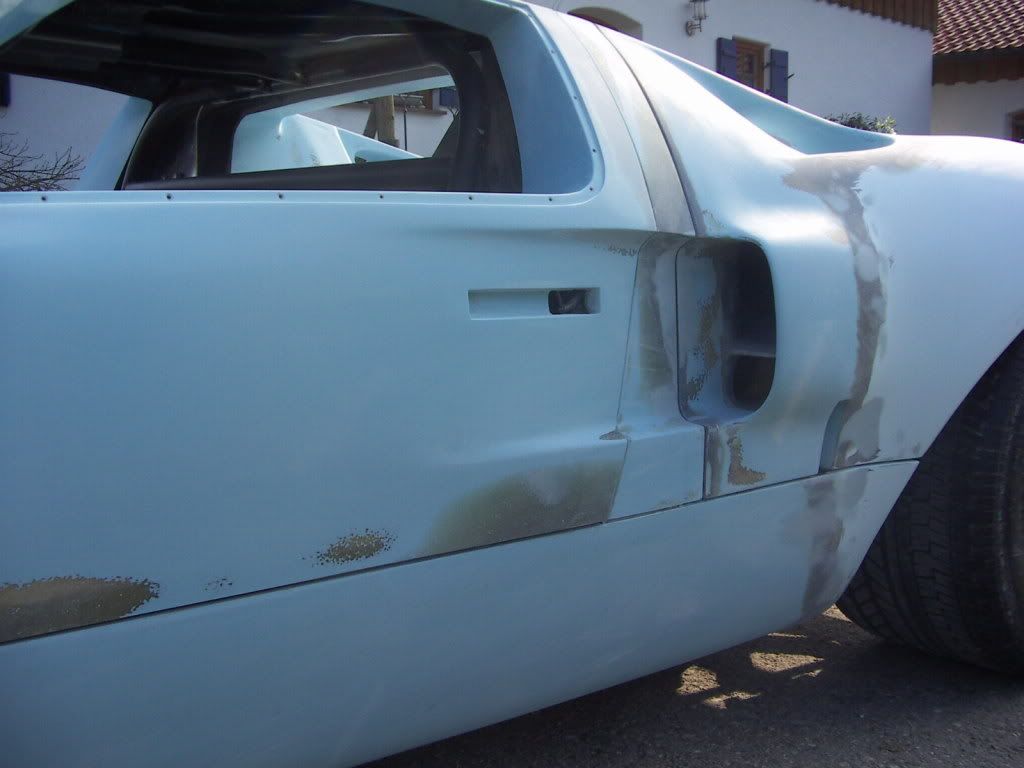
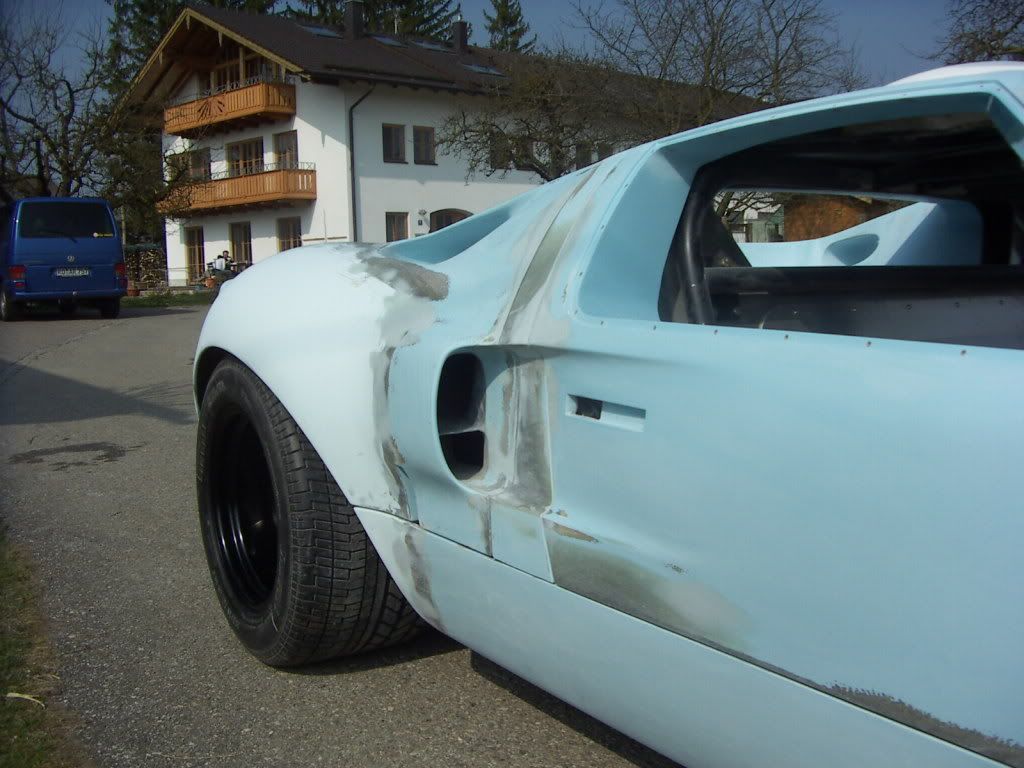
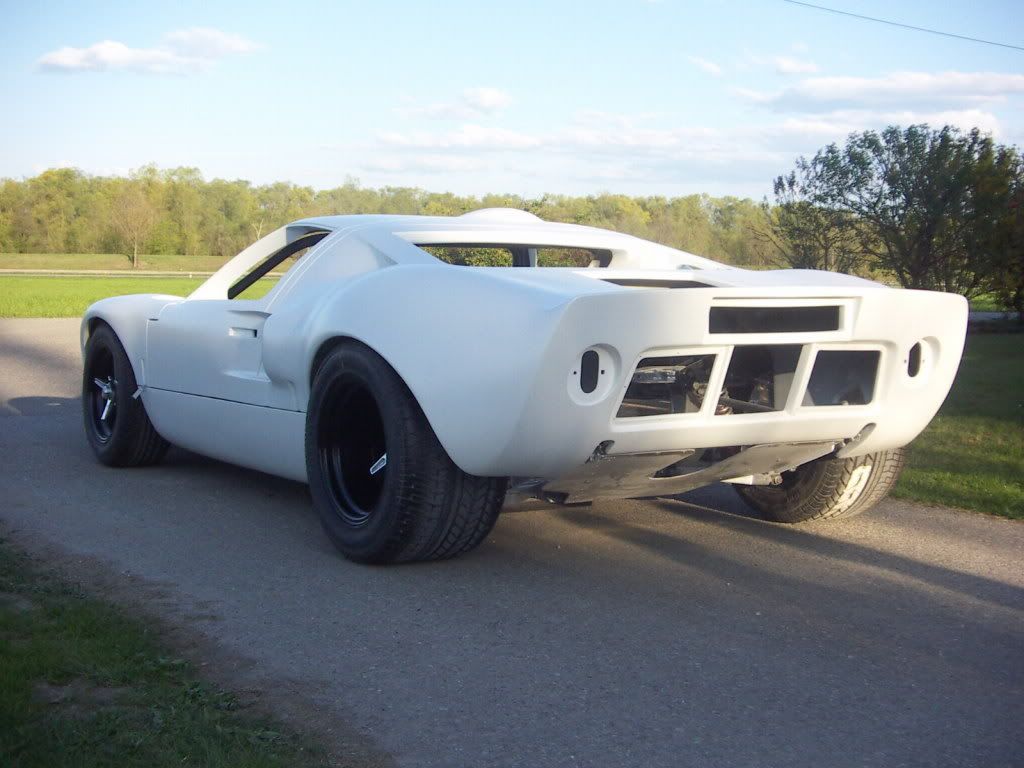
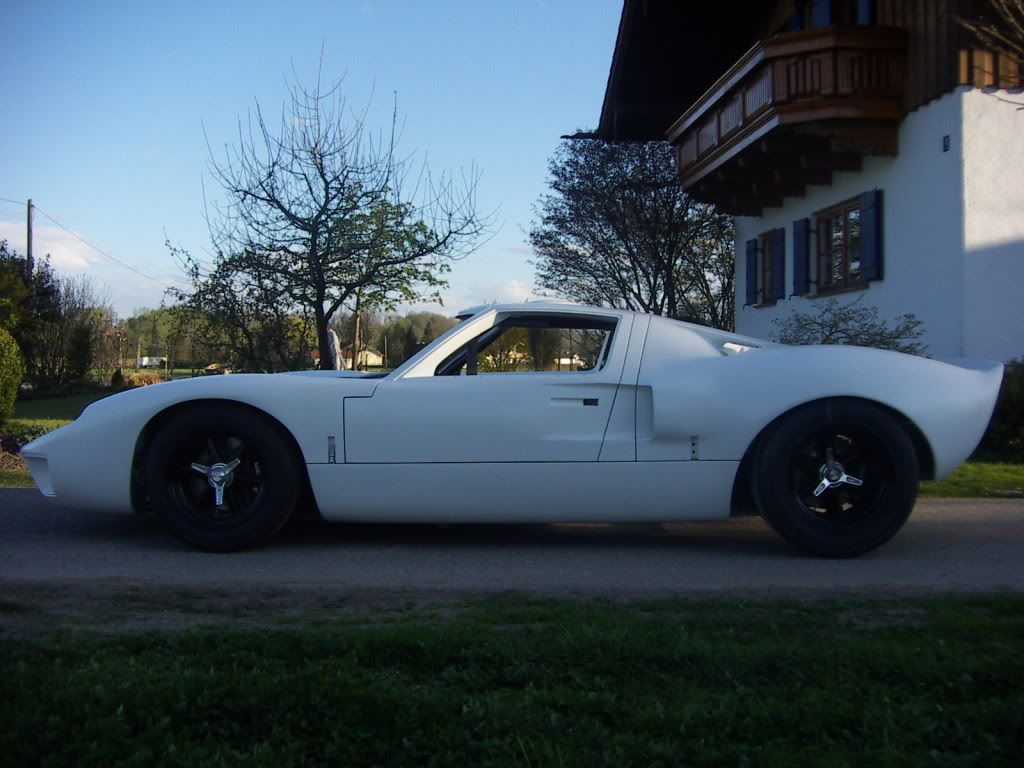
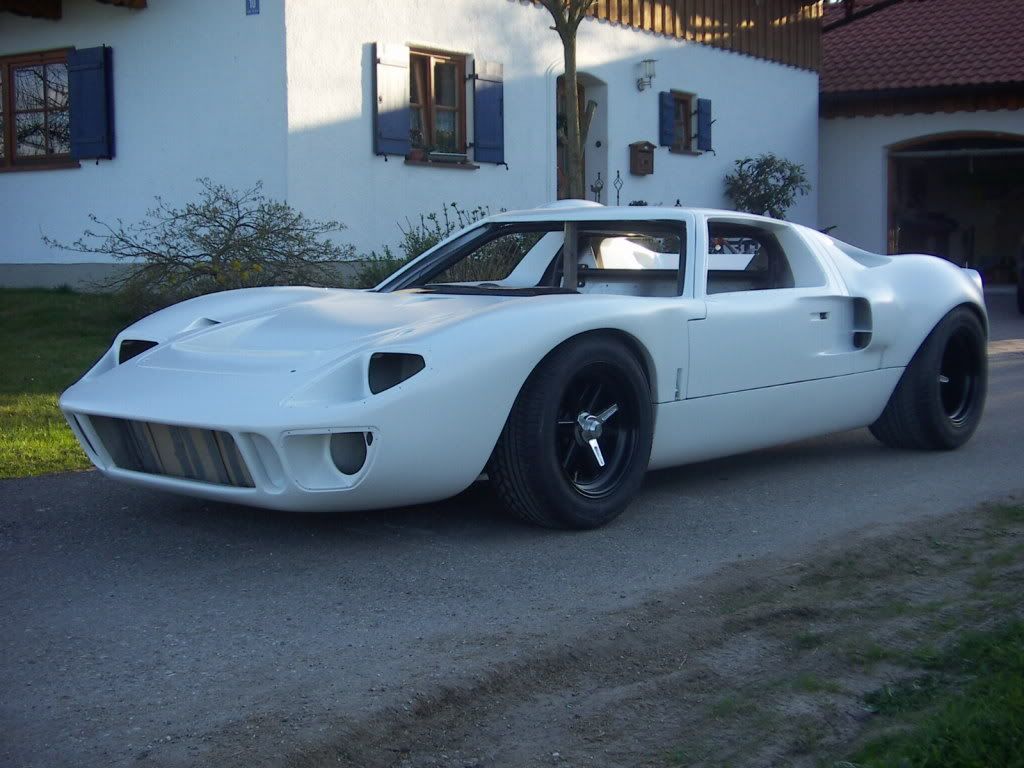
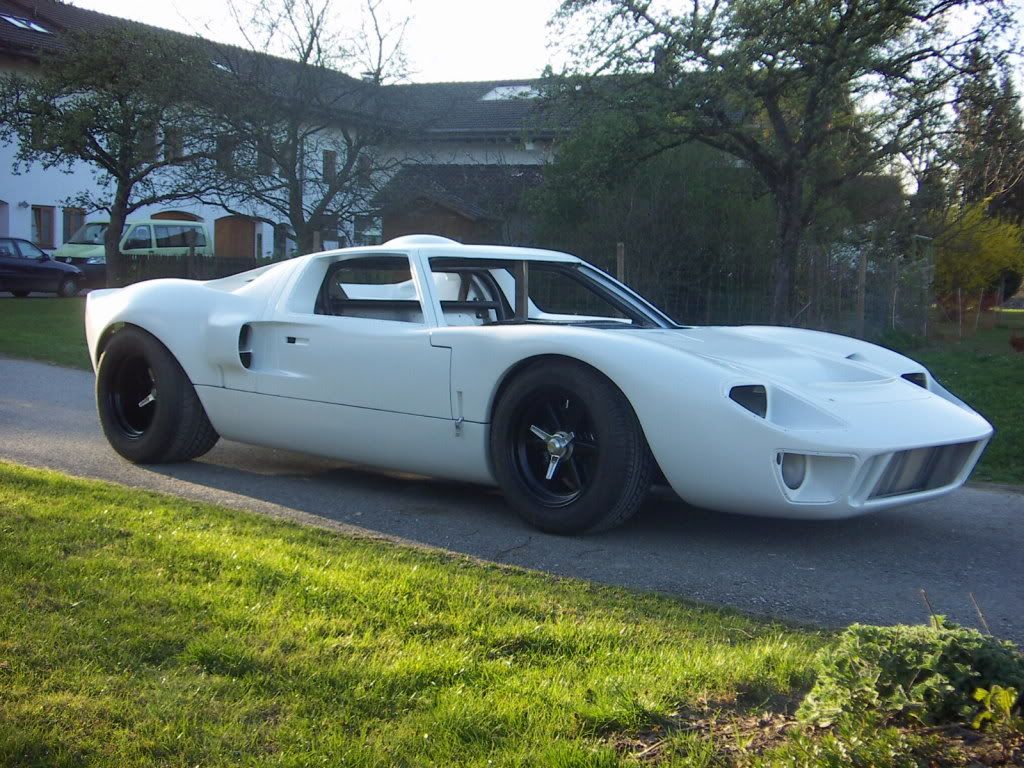
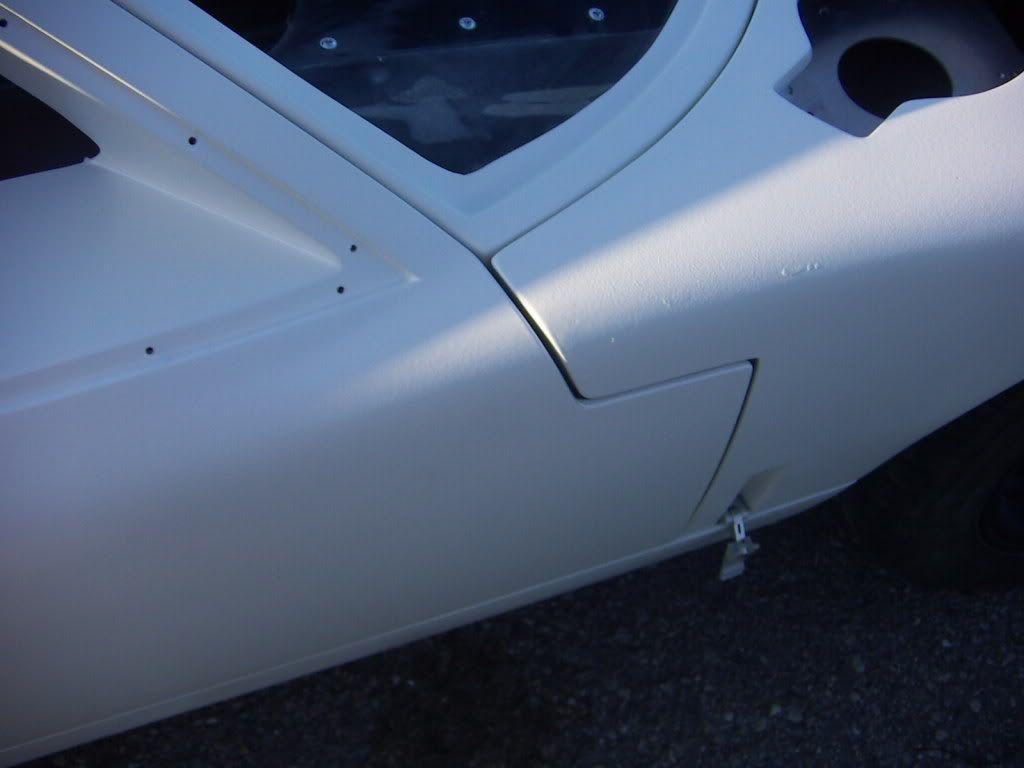
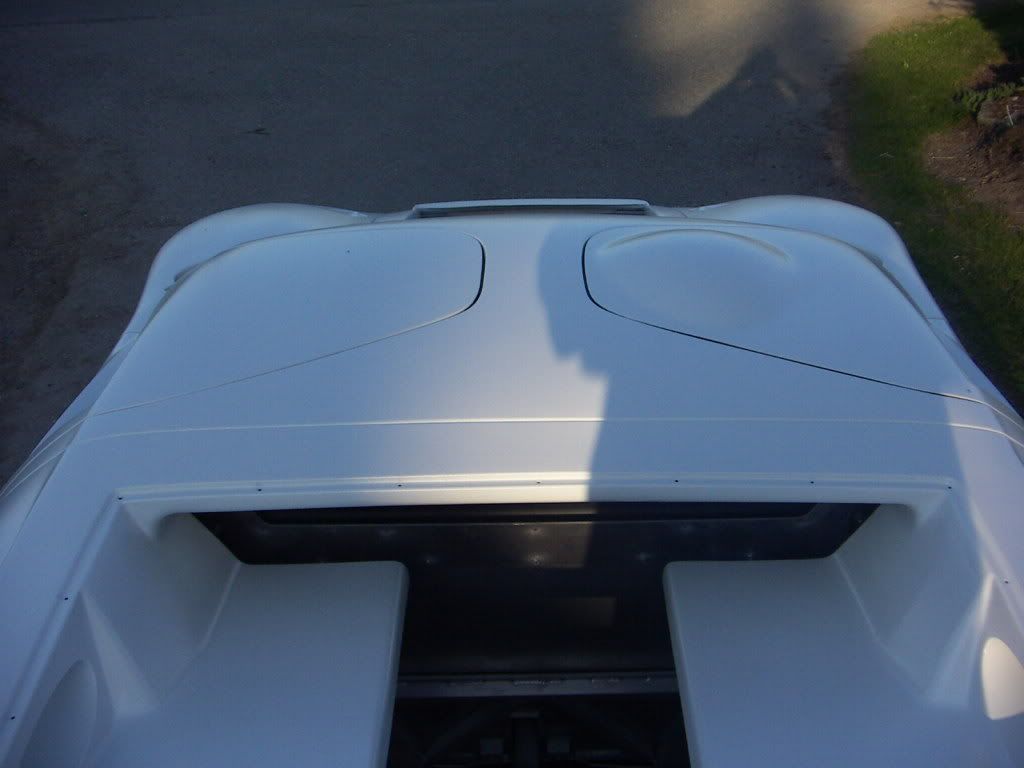
After sanding the car completely with 360 Grid paper i decided that i don´t need more that the one layer of filler i had put on. The body came out great and besides a very few places where i burned through the rest have to be done by the painter.
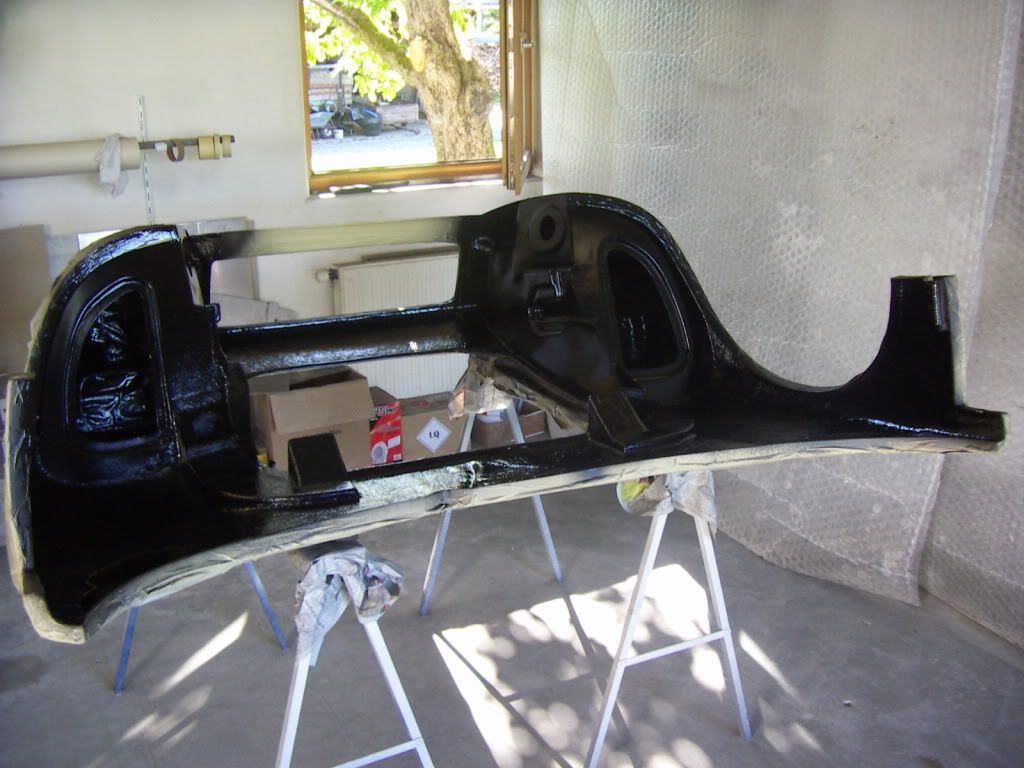
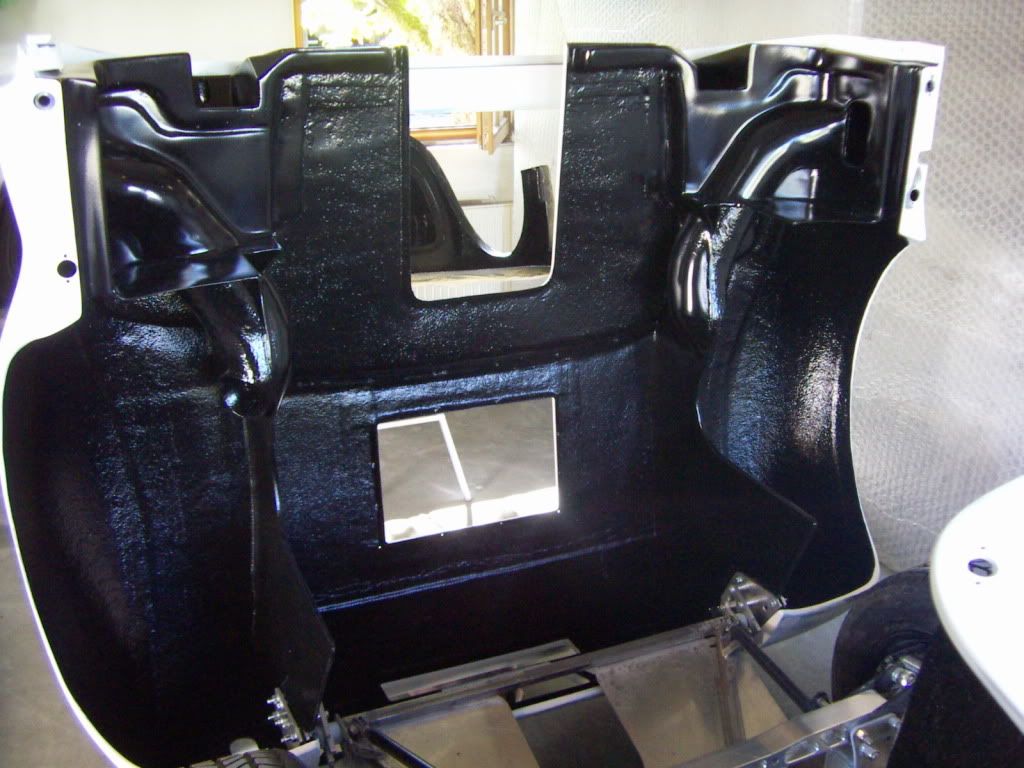
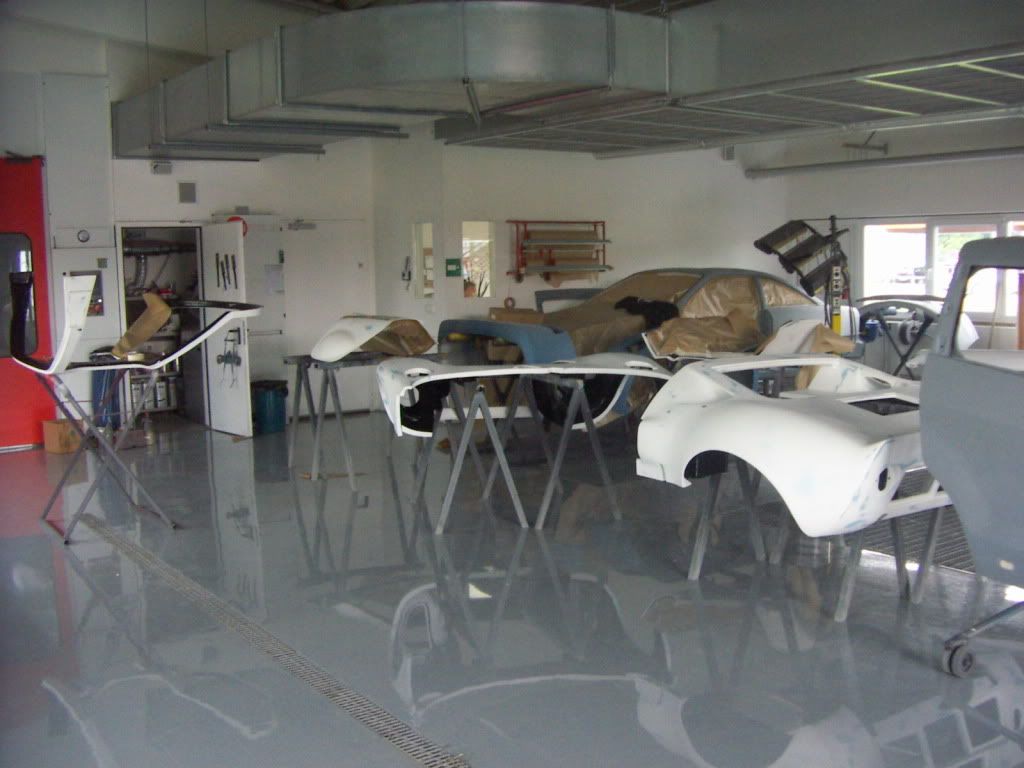
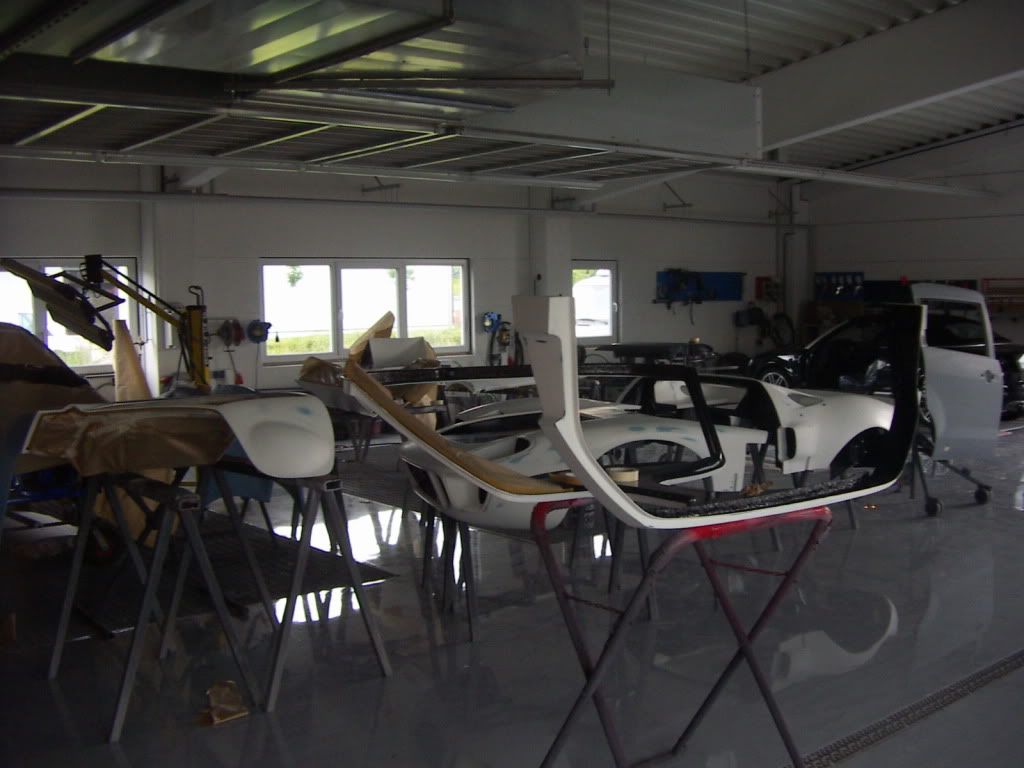
What was left than before storing away the body parts, is to paint all the inner panels.
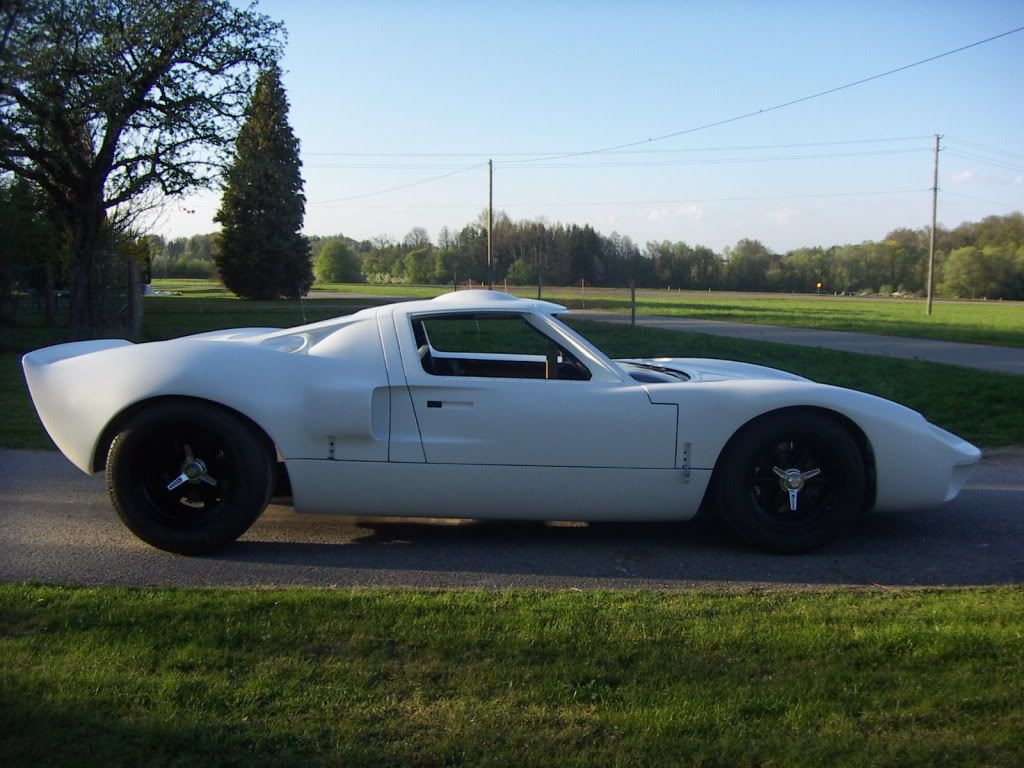
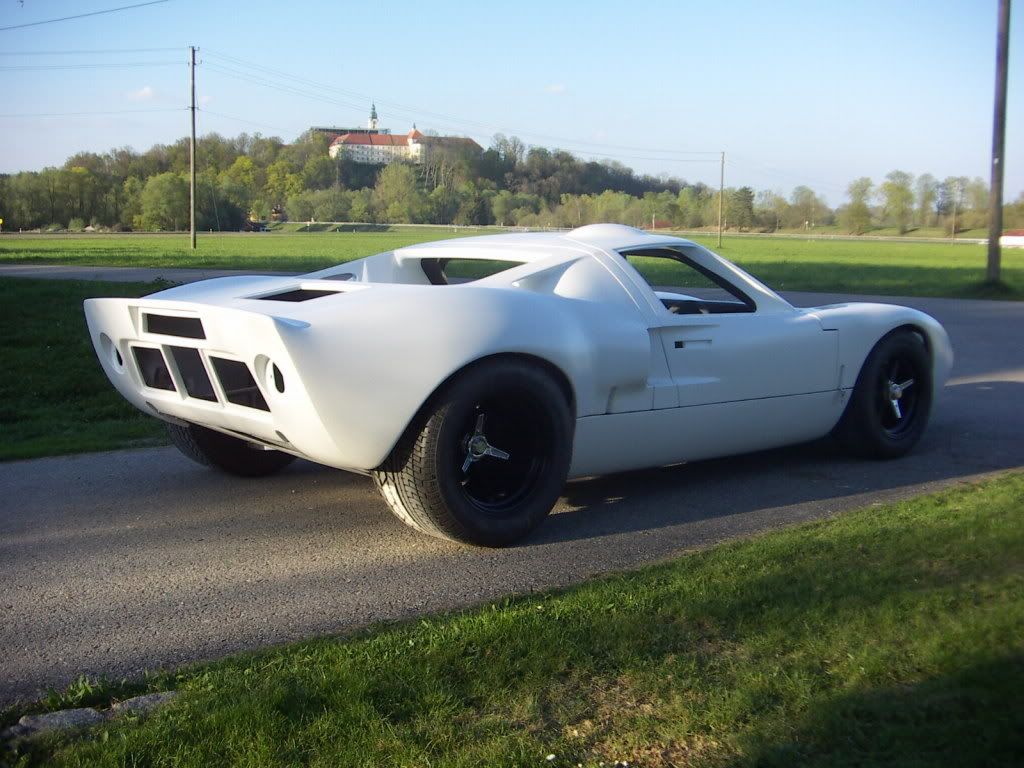
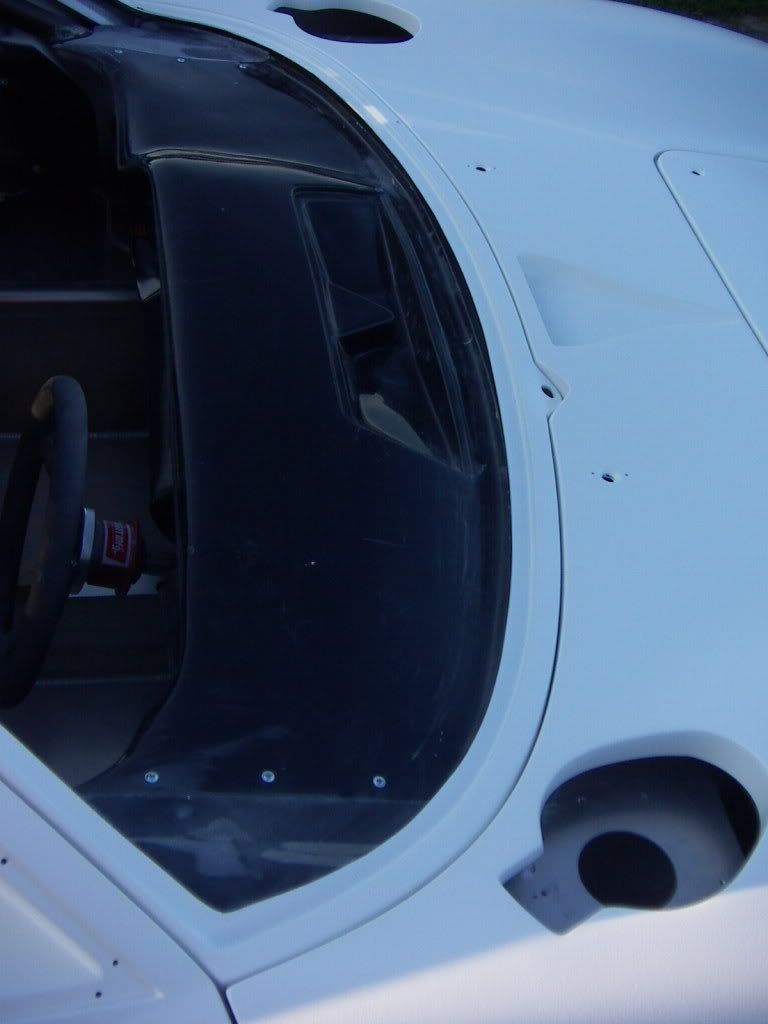
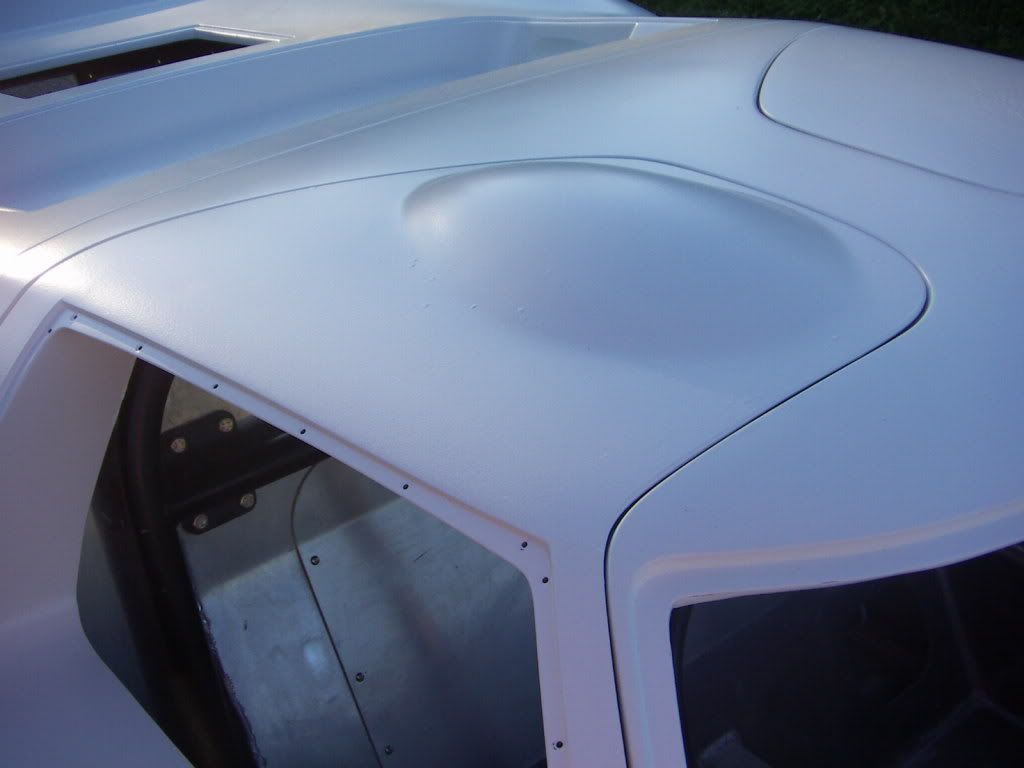
For this i used a expoxy primer/filler and topped it with a durable PU chassis paint in semigloss black. The inner side of fenders wher coated with a layer of stonechip protection before puttinng on the primer.
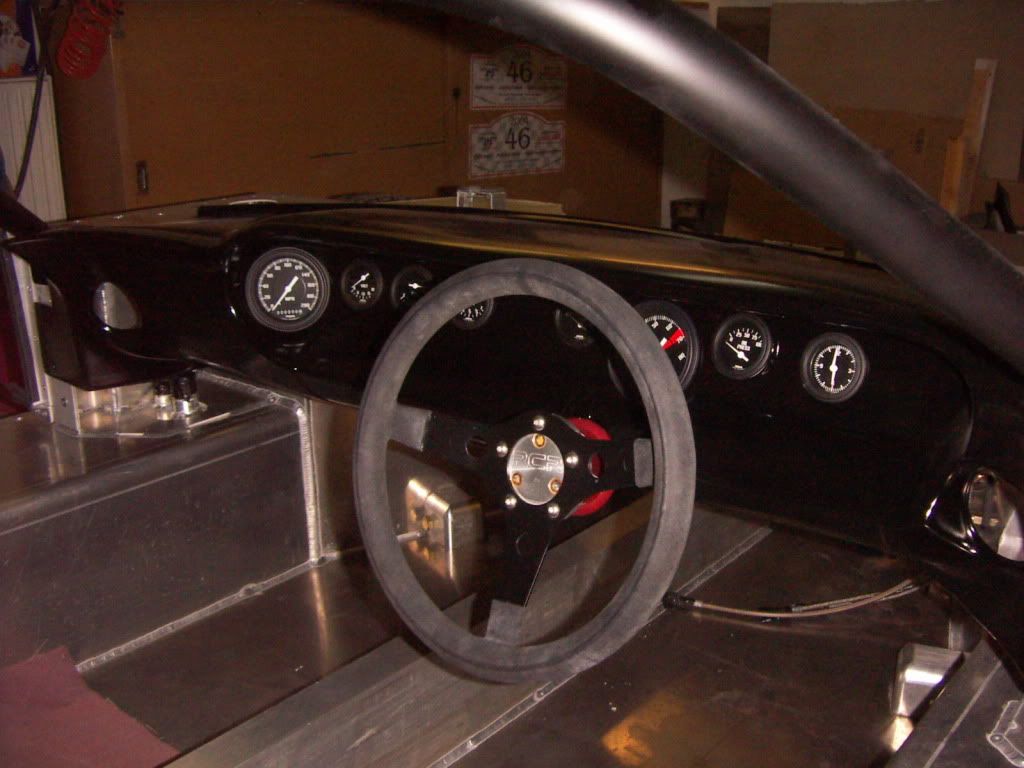
As i liked the semigloss look of this color very much, i also used it on the inner side of spider, doors and the dash.
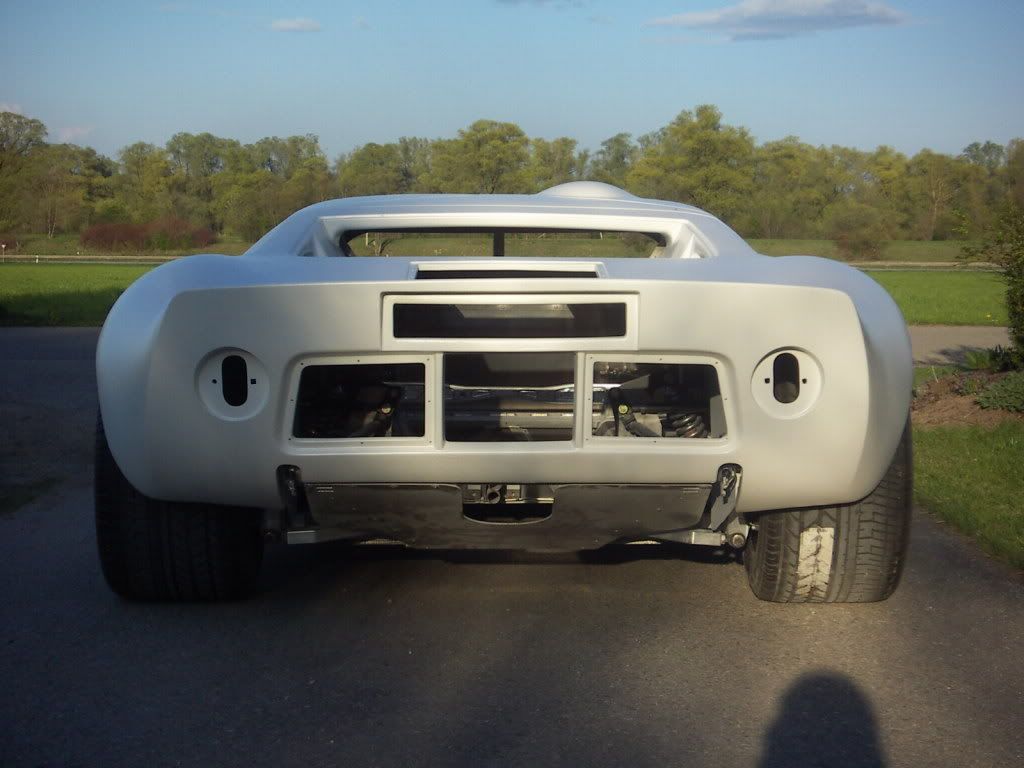
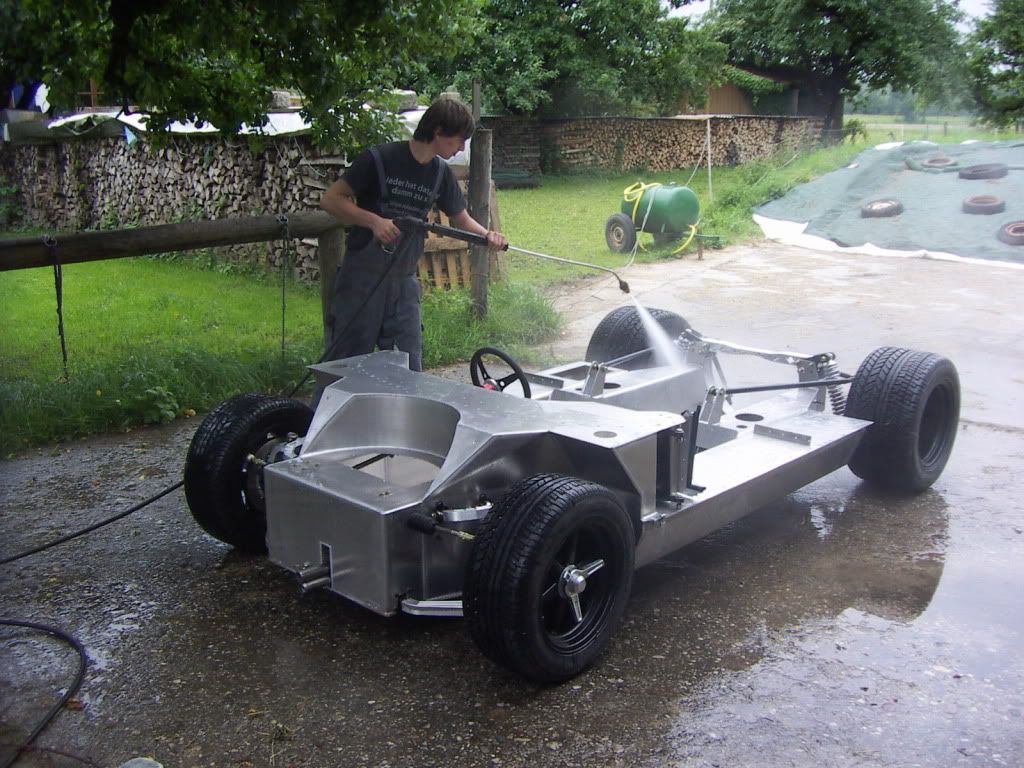
After storing away all the prepared bodyparts i started to focus on the chassis.
First step was to pressure wash all the sanding dust away. My son Michael did this perfectly.
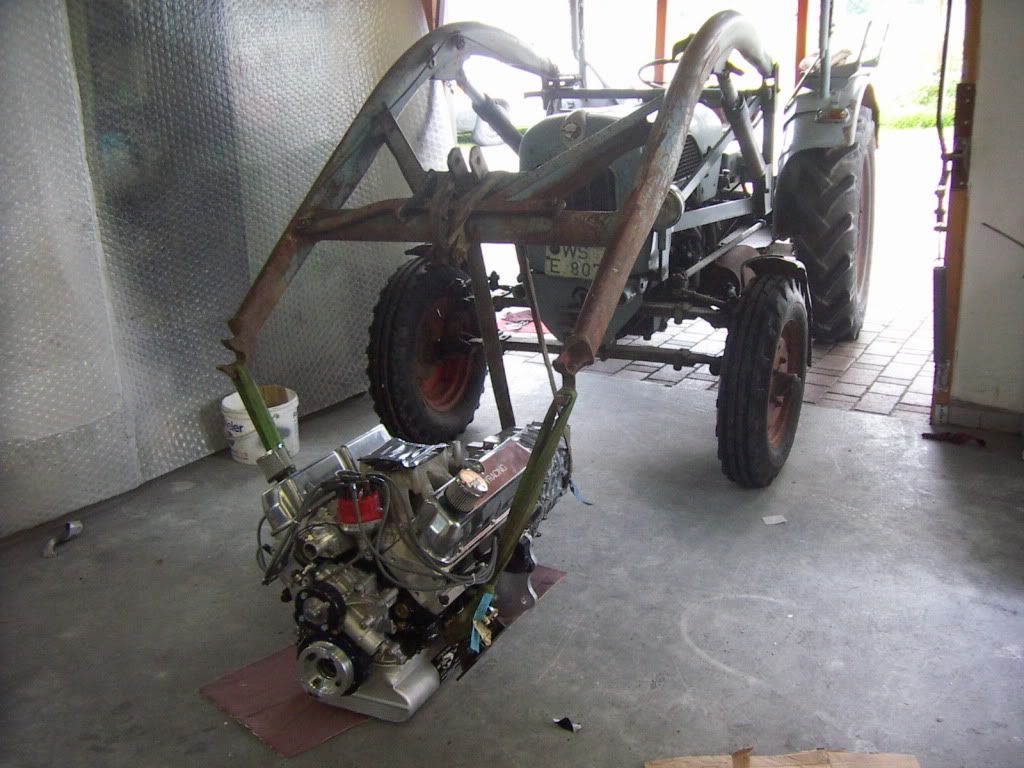
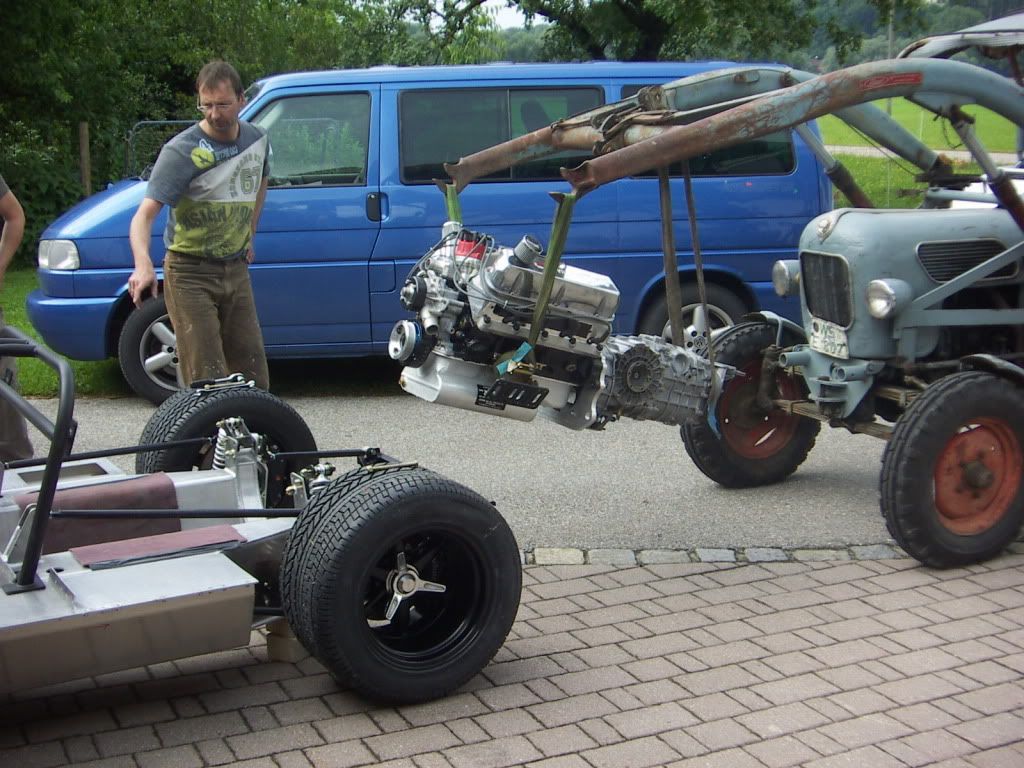
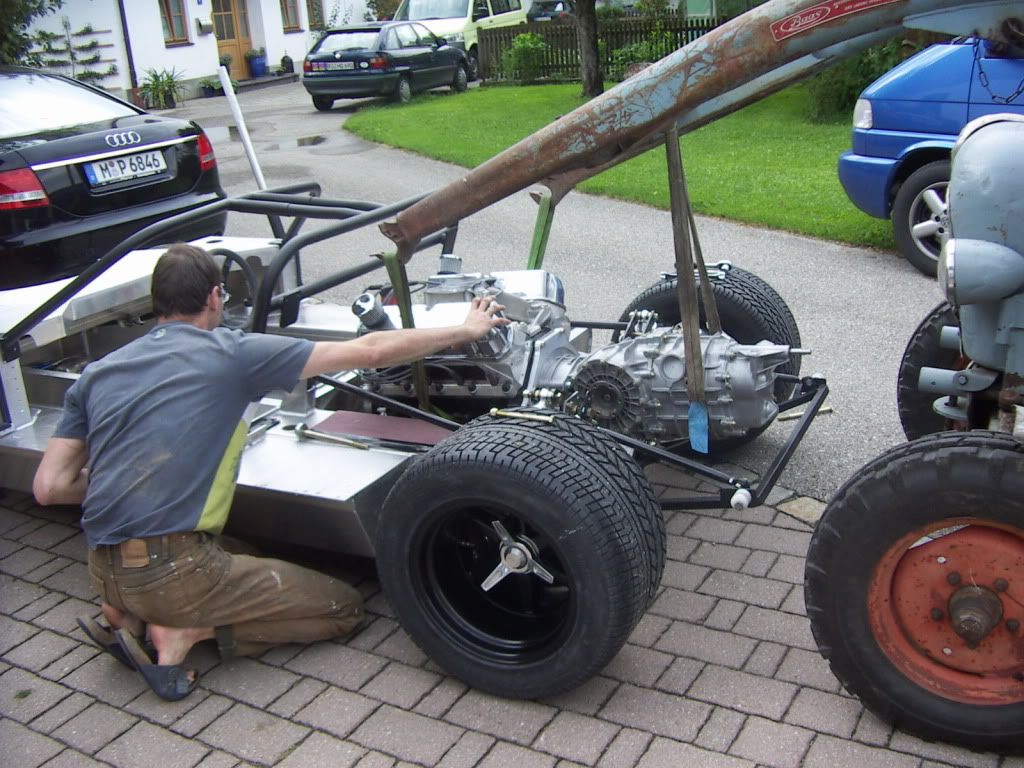
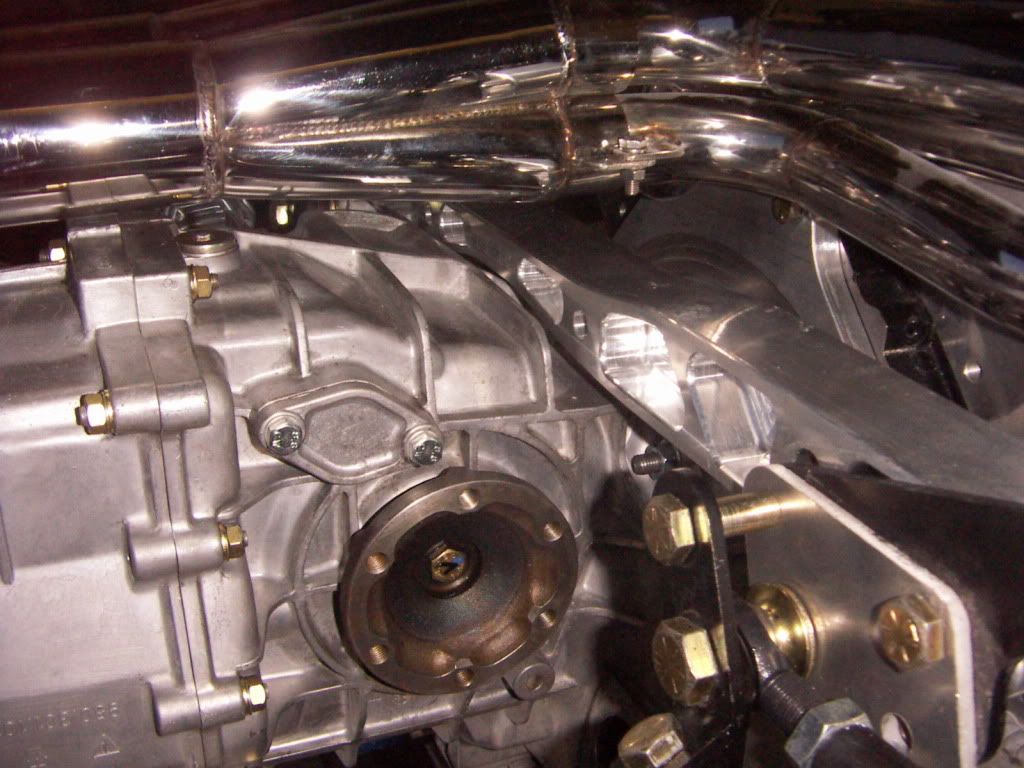
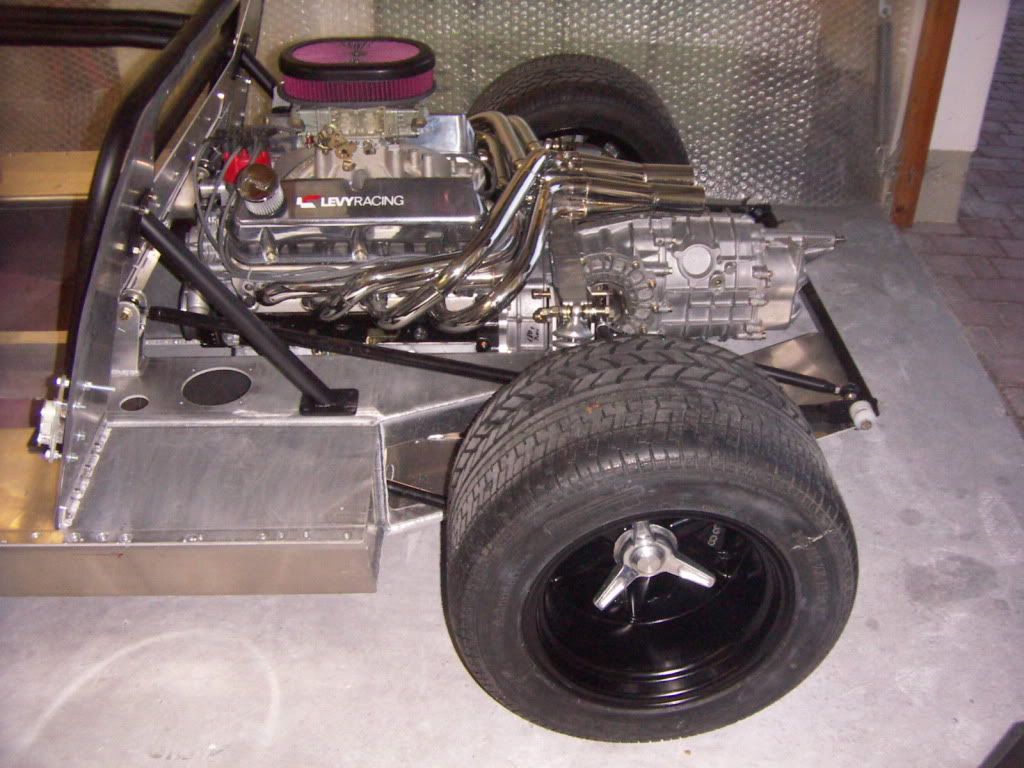
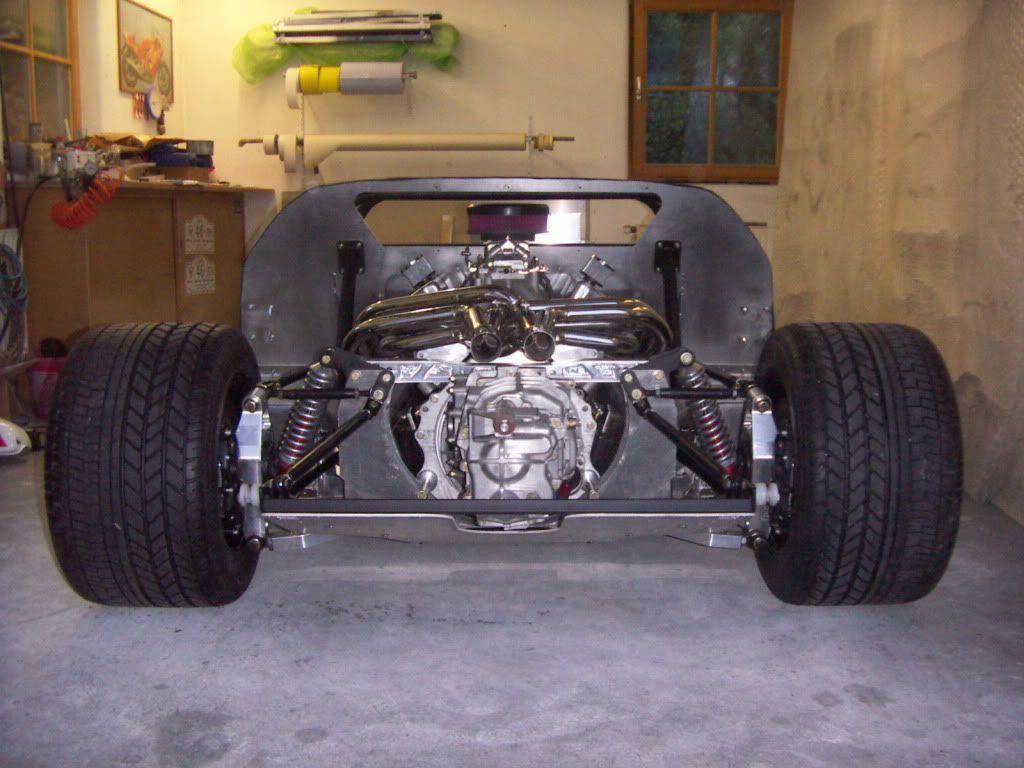
Than we mounted the driveline. We connected the G50/05 to the SBF with the delivered adaptor plate. I also mounted the recommanded poly engine mounts. Everything went together how intended. Than it was time for setting the driveline in the chassis. For this purpose i used my special engine lift. It is a 1963 Eicher traktor with the enormus power of 28 PS, but it has hydraulic front lift and a nice very short gear ratio. so perfect for my purpose.
With the help of my brother in law the first lifting in of the engine was done in 30 min.
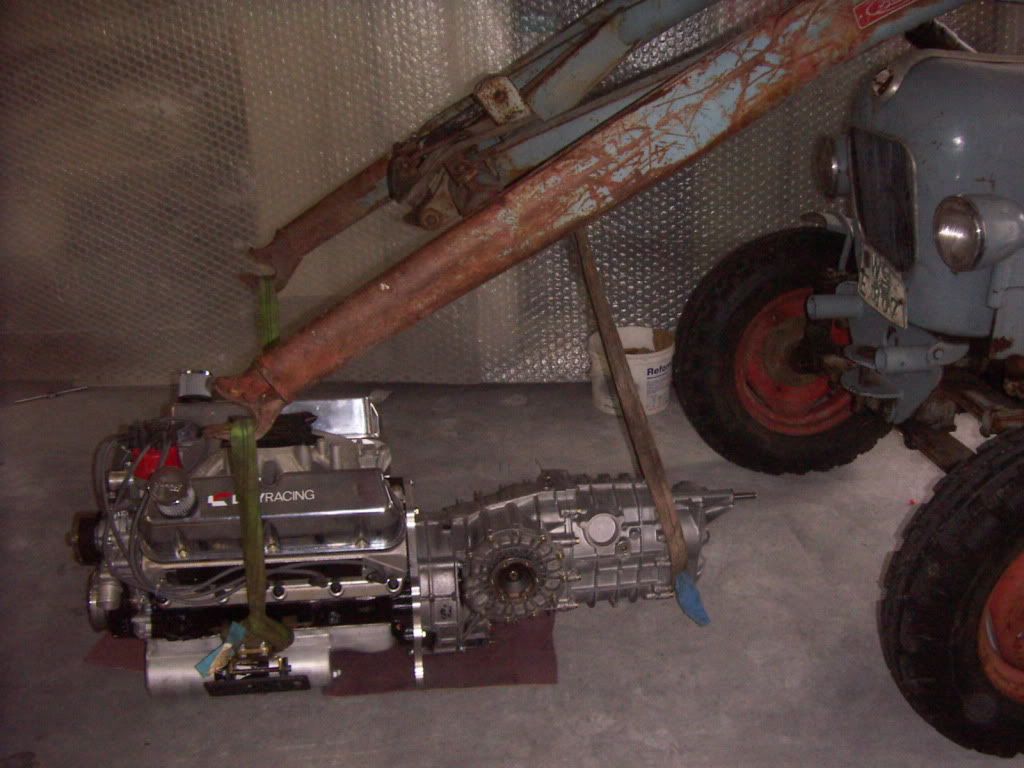
Still the wrong tilt to bring in the engine smoothly, so we shortened the rear belt and it went in very nice.
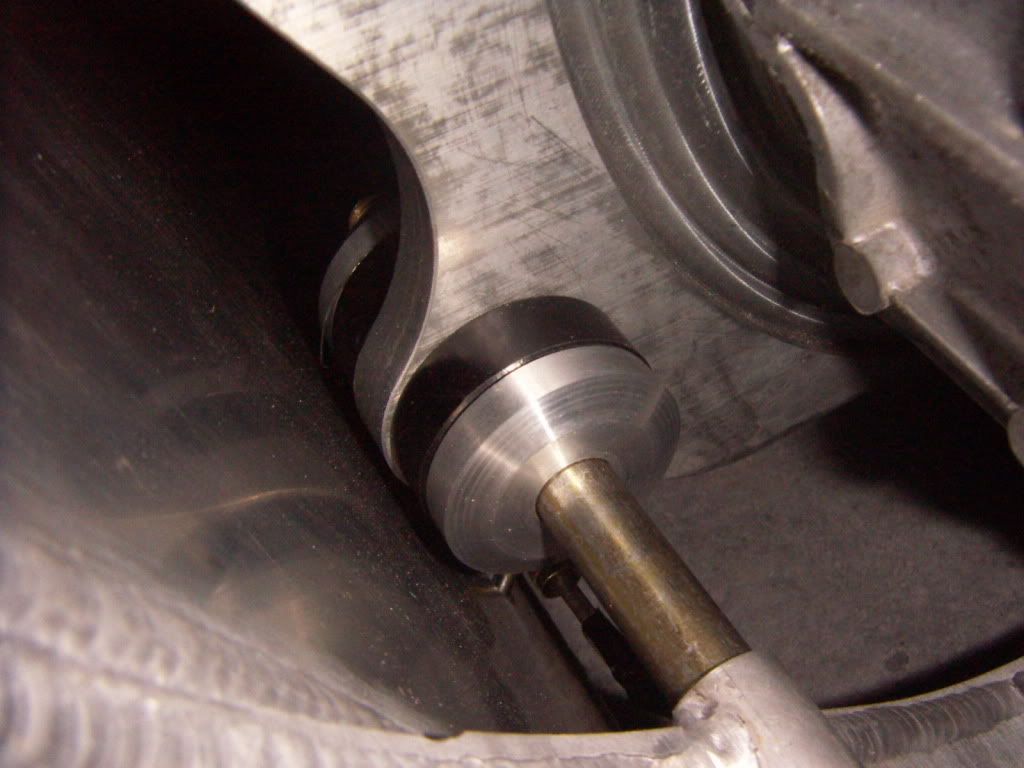
i modified the mounting in the adaptor plate by opening up the holes for the chassis bolts. I had Martin a friend of mine turning some nice DELRIN mounts with thick aluminium ( 7075) washers . This mounts are going through the plate and the bolt are going through the DELRIN mounts. This way it is not totally rigid mounted and the bigger diameter reduces wear of the polymounts.
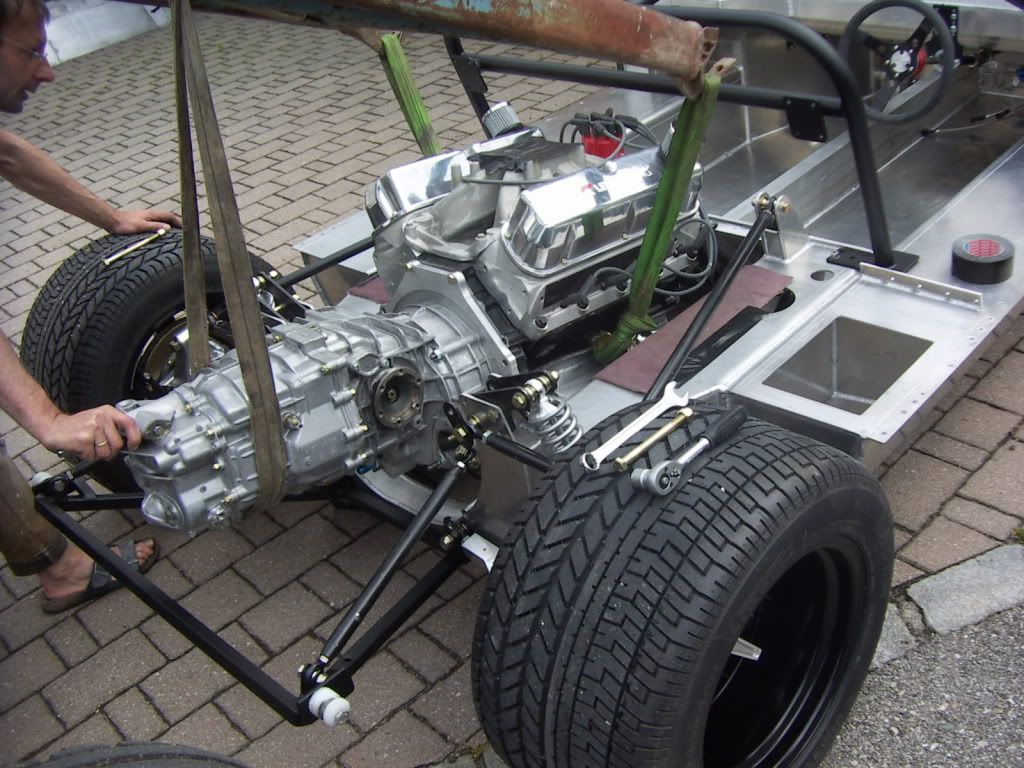
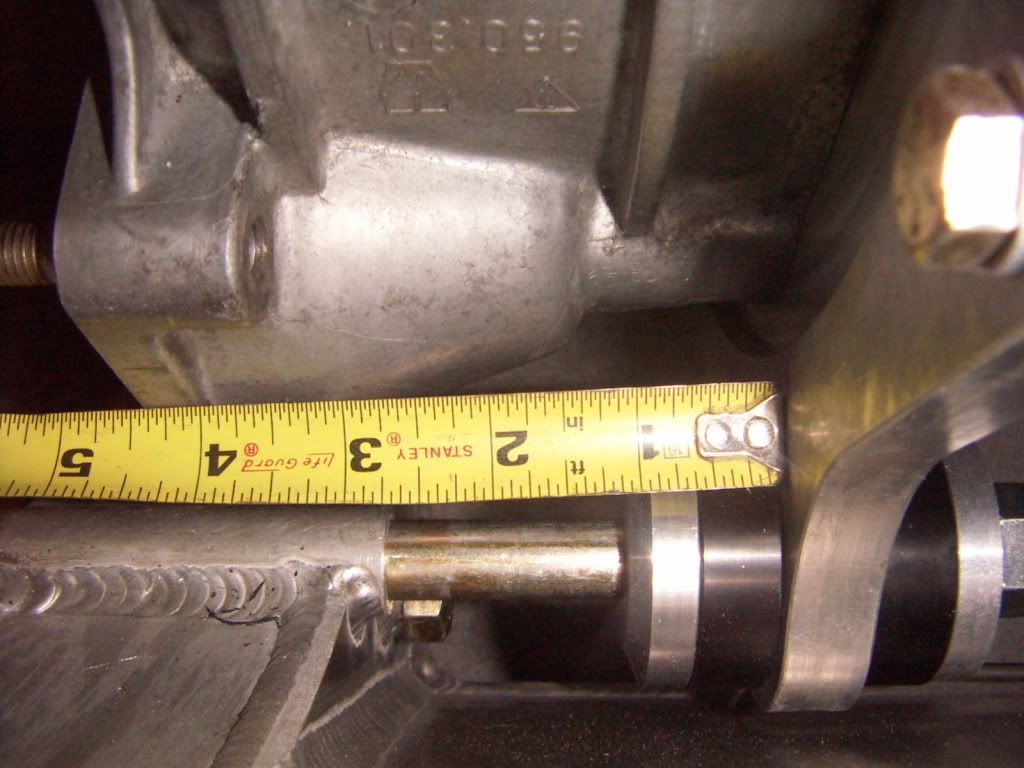
Finally i ended up with the engine foward as much as 2 3/4 " from the chassis sleeve to the adaptor plate. Still need some longer bolts(11") and the spacers.
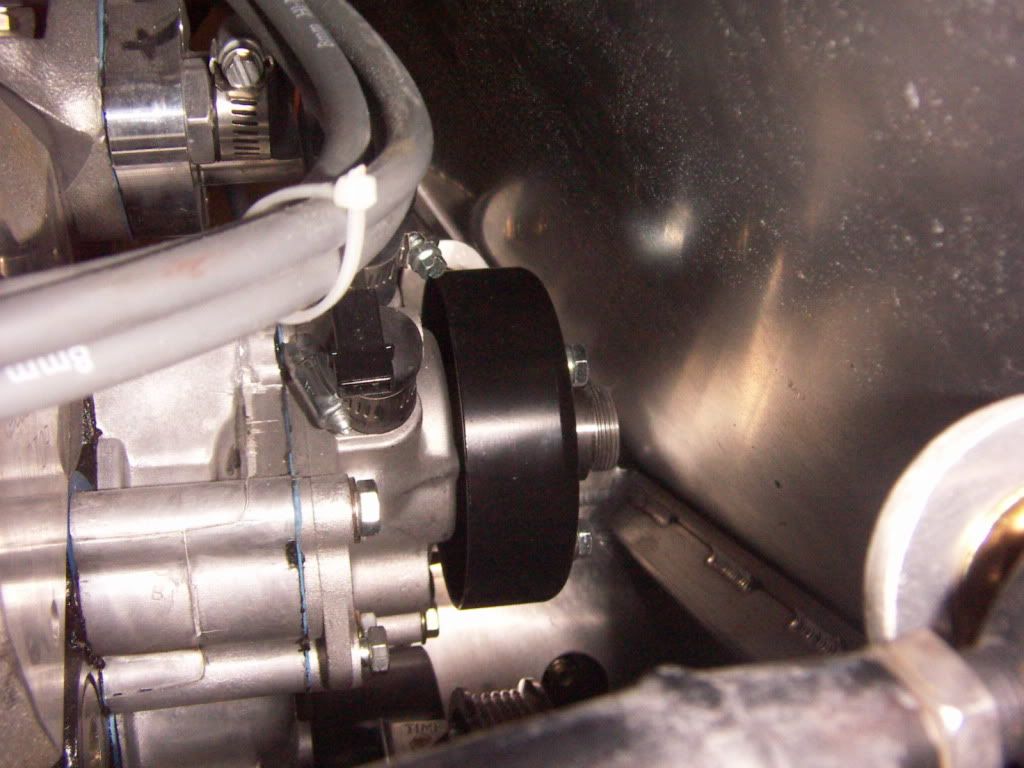
With the engine in this position driveshaft line up is perfectly parallel with the rear horseshoe ( therefore perpendicular to the wheels and drive of the gearbox). I expected to have some issues with waterpump clearance at the firewall, but much to my surprise my short waterpump serpentine belt drive setup whic Gordon had built for this engine,has still 1" clearance, so no bump needed. In order to have the engine almost leveled in the chassis (front to rear) i needed spacers below the engine mounts about 1/5" thick. The gearbox cleares the rear CNC brace with a 1/4" gap, but i will file down some of the gearbox ribs and also camfer the CNC brace to achieve 1/2" clearance.
The mounting of the headers was very straight forward. They fit perfect so it was done in 15 minutes. Next step is to install the spacers and than the shifter
TOM
AWh: 500 h