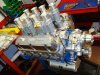
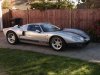
Few updated pictures.
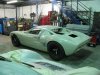
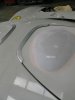
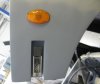
Shows catches slots, shut lines and the car is now sitting on it's wheels.
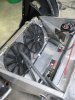
No I haven't had the car painted linden green it's the overhead lights in my workshop causing the colour cast.
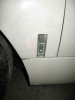
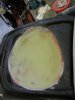
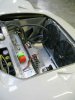
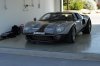
The last picture shows the recently modified cill that was 12mm too long. Now it's not
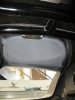
Shows catches slots, shut lines and the car is now sitting on it's wheels.
No I haven't had the car painted linden green it's the overhead lights in my workshop causing the colour cast.
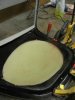
The last picture shows the recently modified cill that was 12mm too long. Now it's not