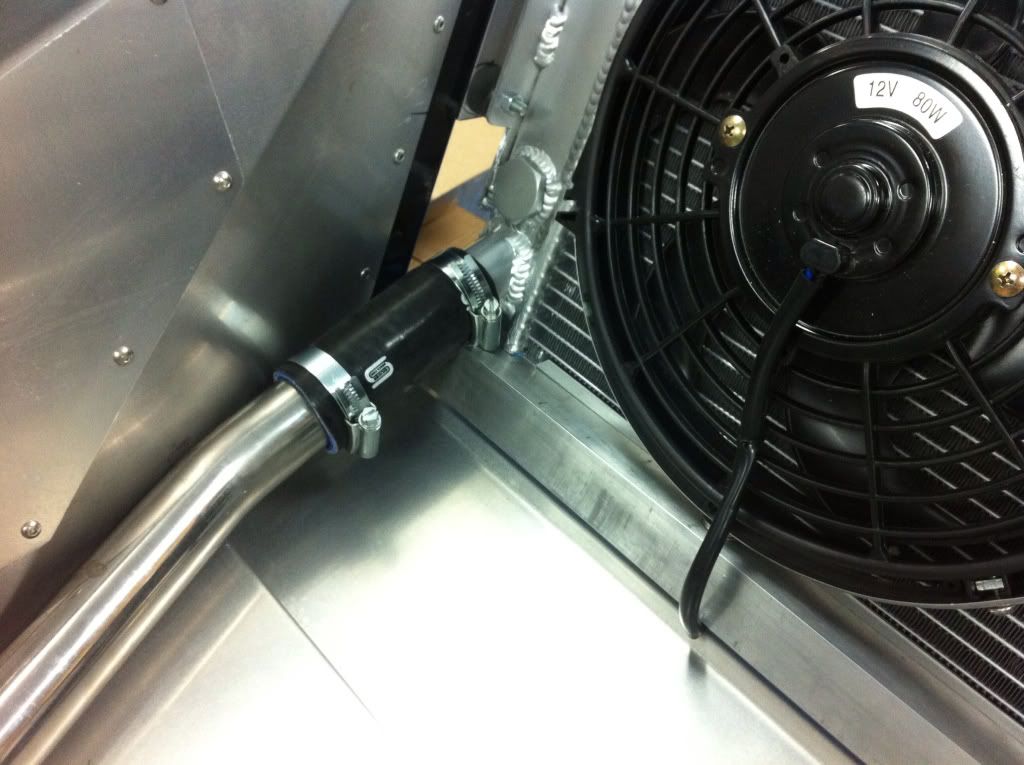
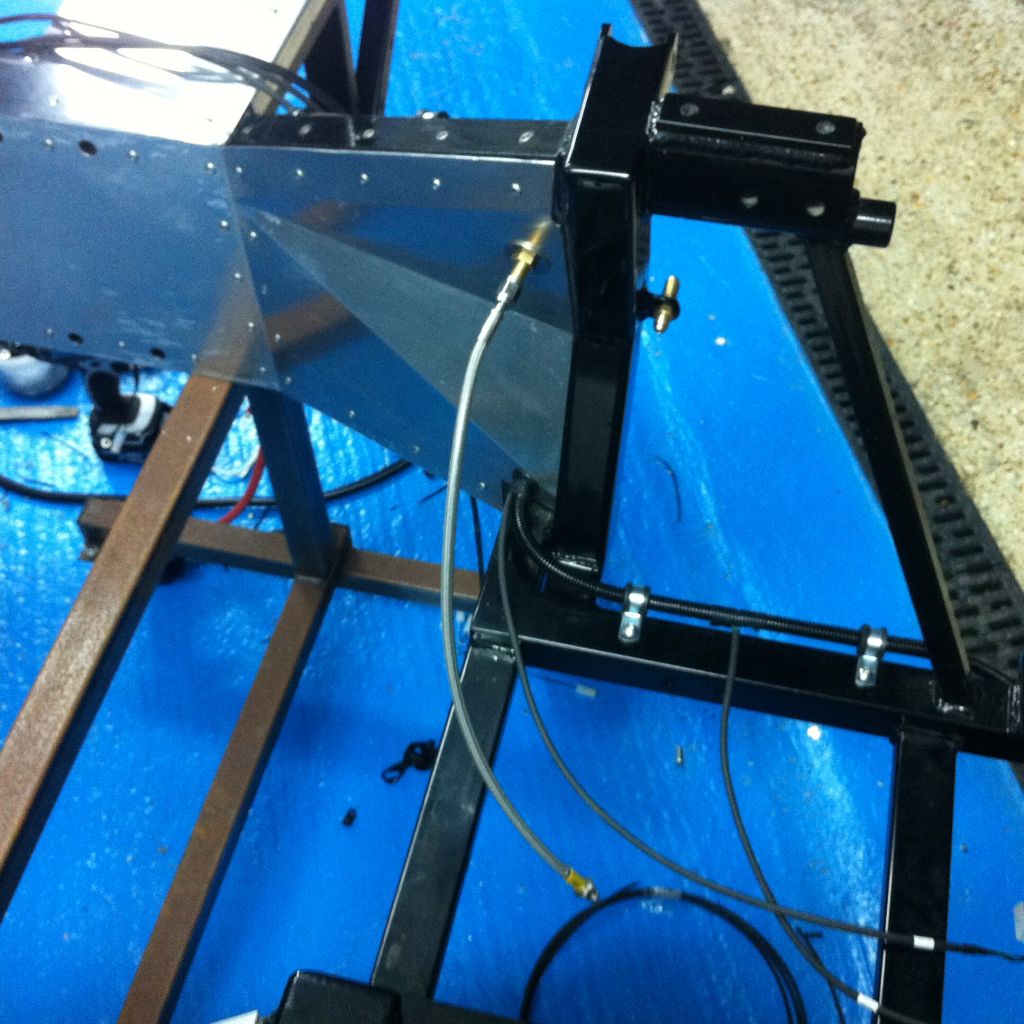
Just a quick point, the hole in the front ally where the steering arms protrude on mine were to small. The rubber gaiter was too near the hole and dragged on the edge which would have worn it through so I enlarged the hole to well clear.
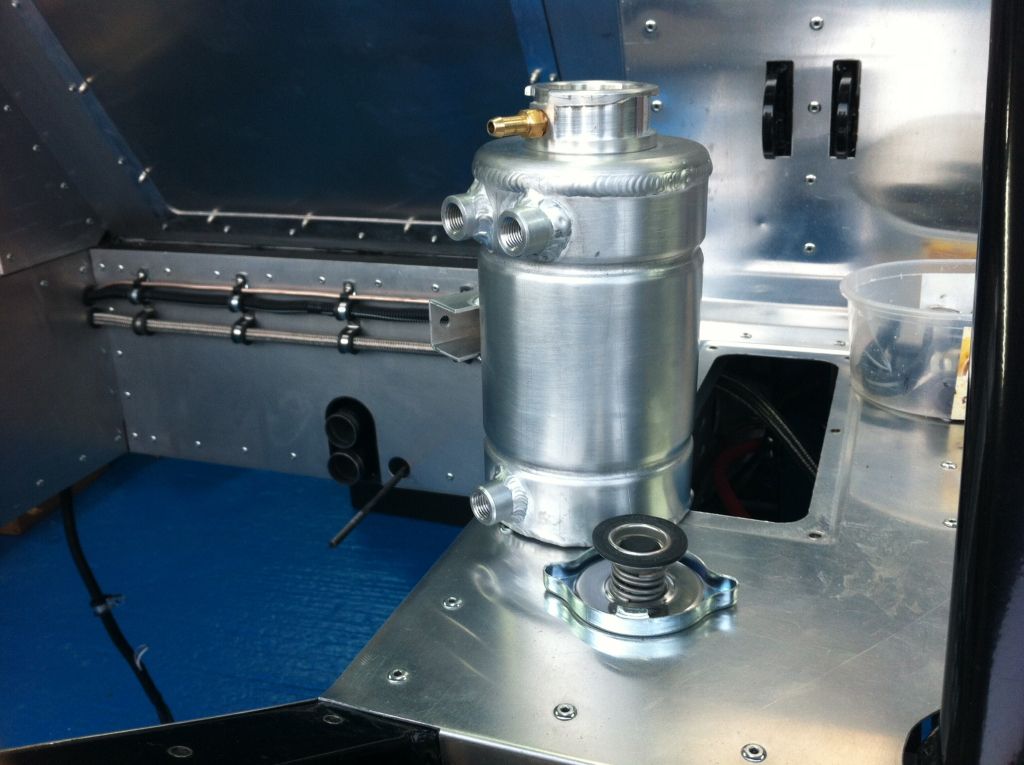
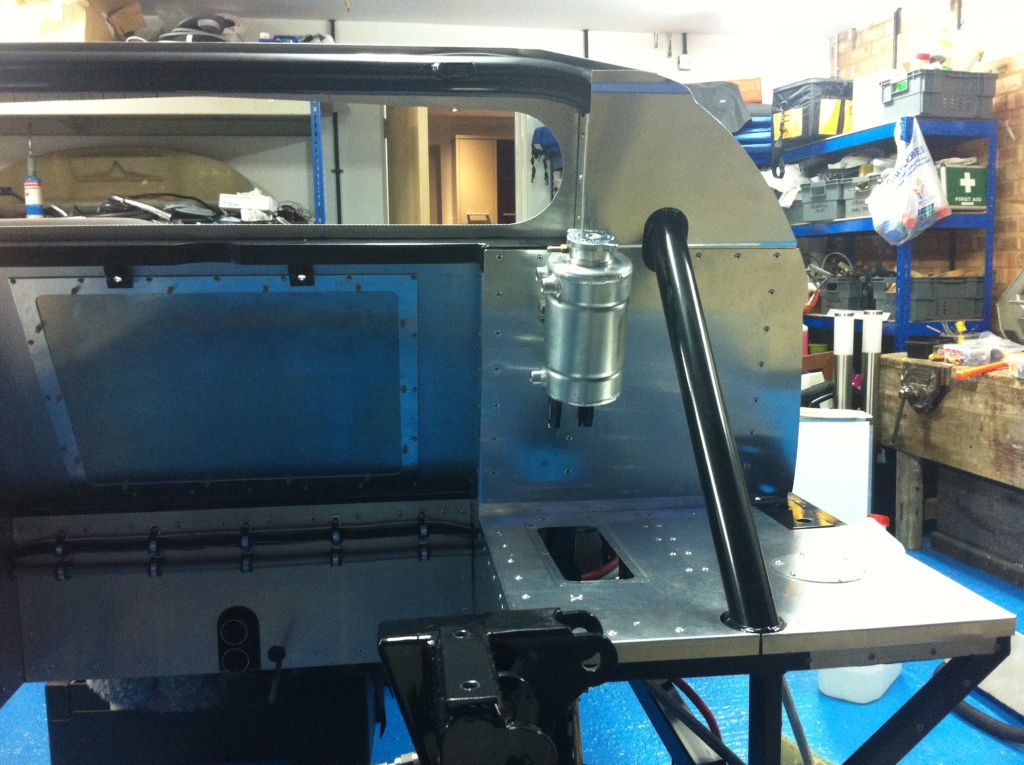
Later I had two laser cut edge trims made and they slipped over and tidied the whole thing up.
It's a bas....d job to cut the whole once the arm is through so best enlarge prior.
Just a thought
Keith
Remember to liaise with Mick at SGT along the way , I found that the way I did some things was different to Mick and after seeing it his way ended up changing it, thus wasting time and £.
The old saying ' if in doubt ,Ask '
Last edited:

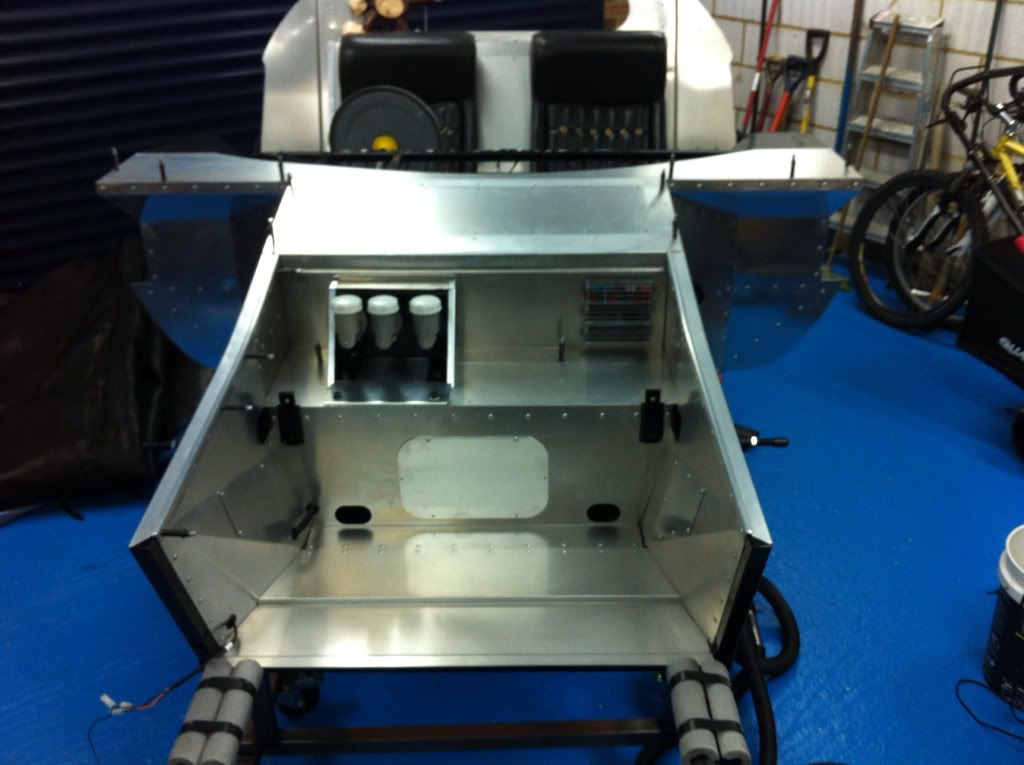
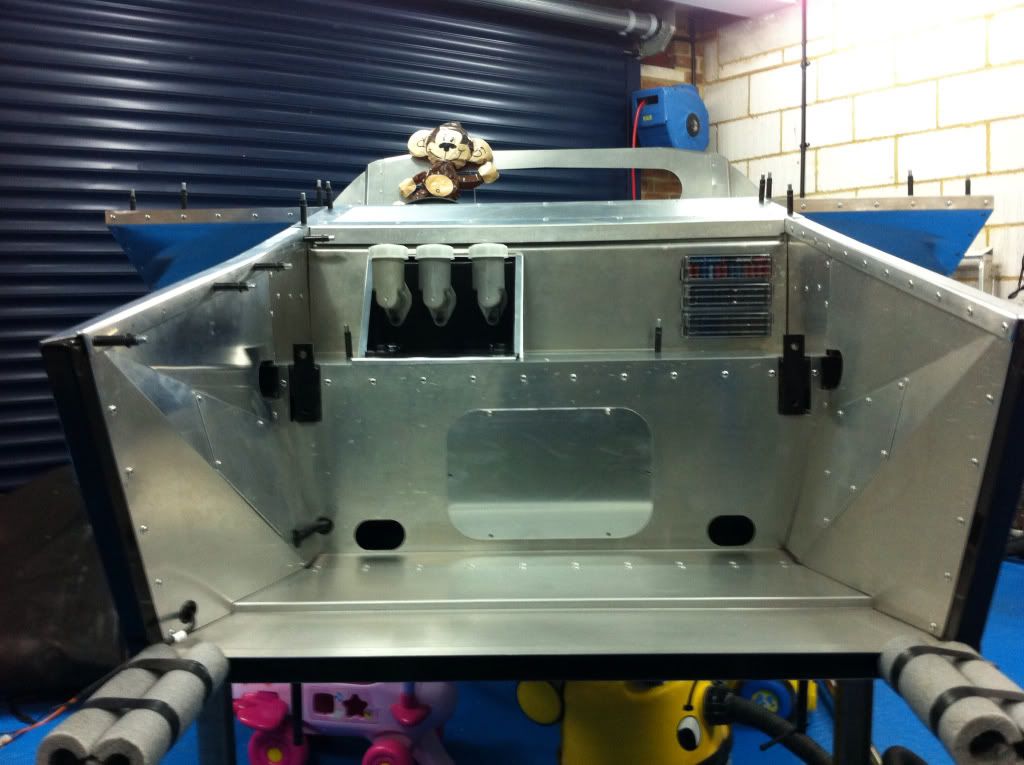

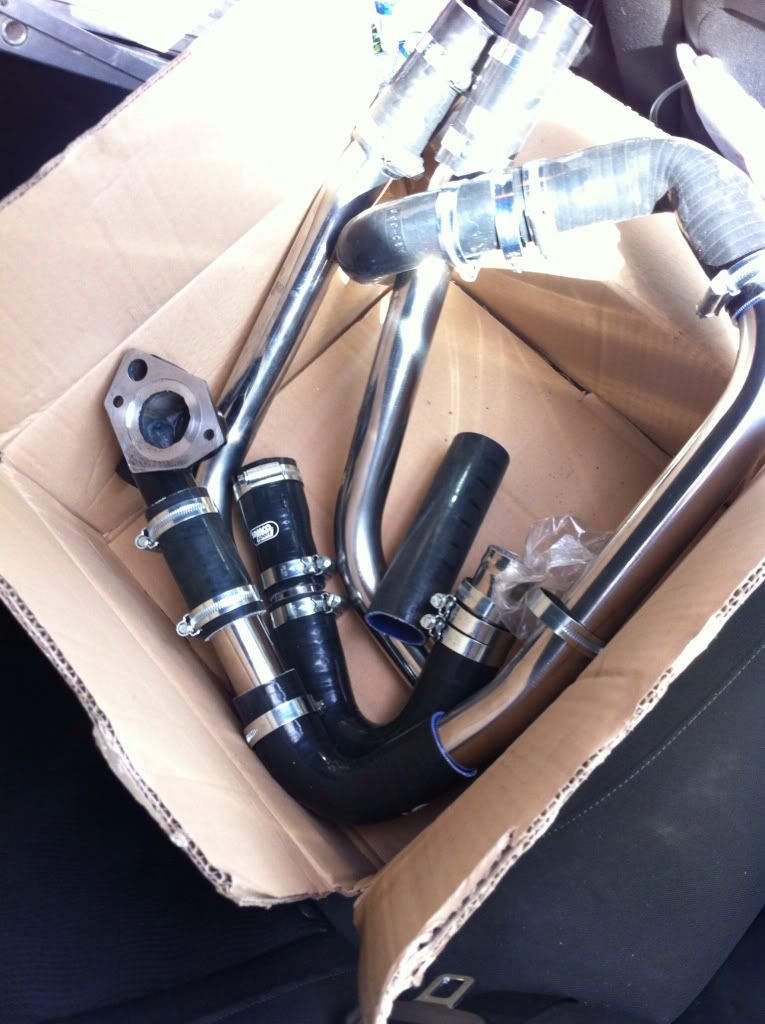
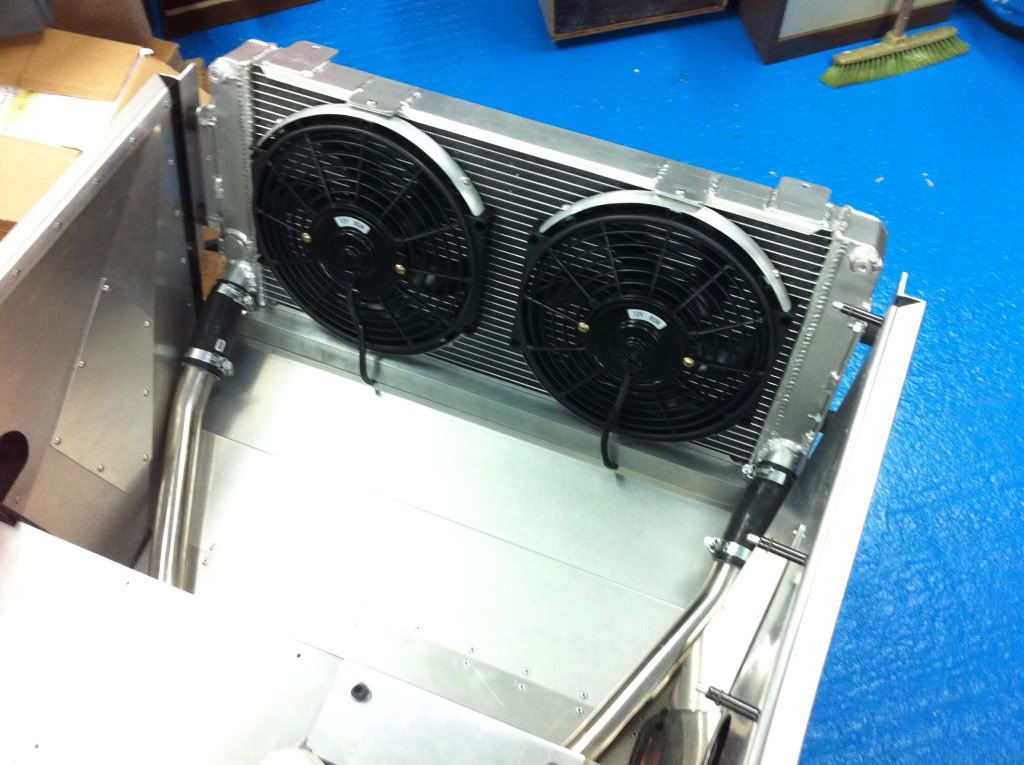
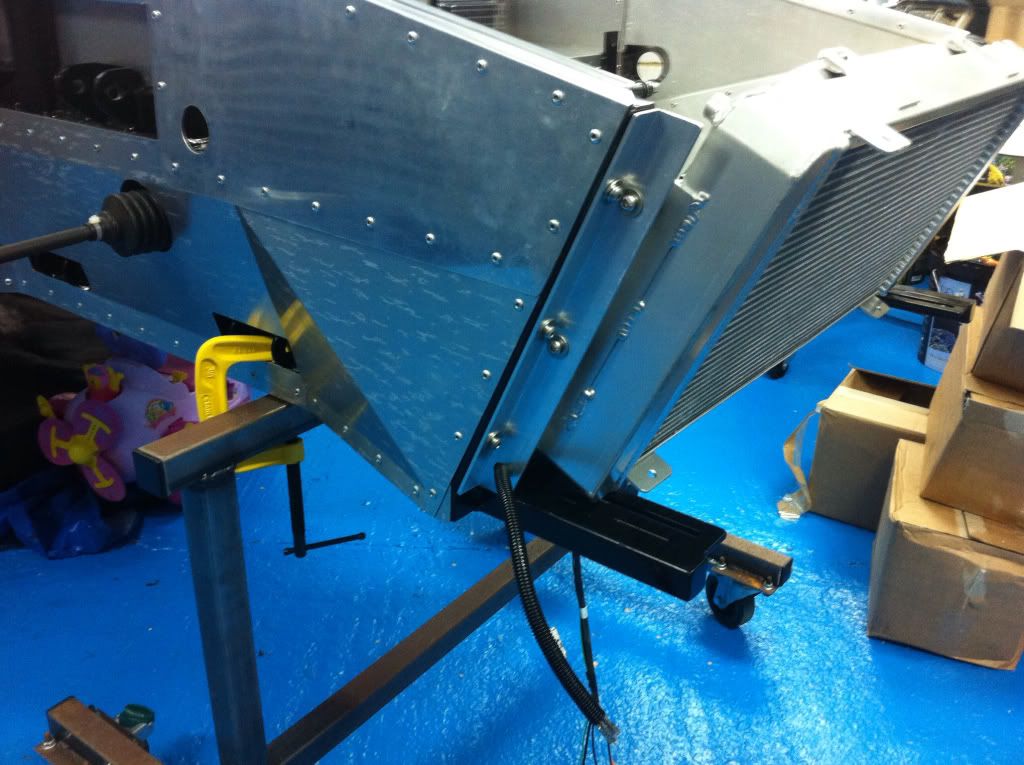
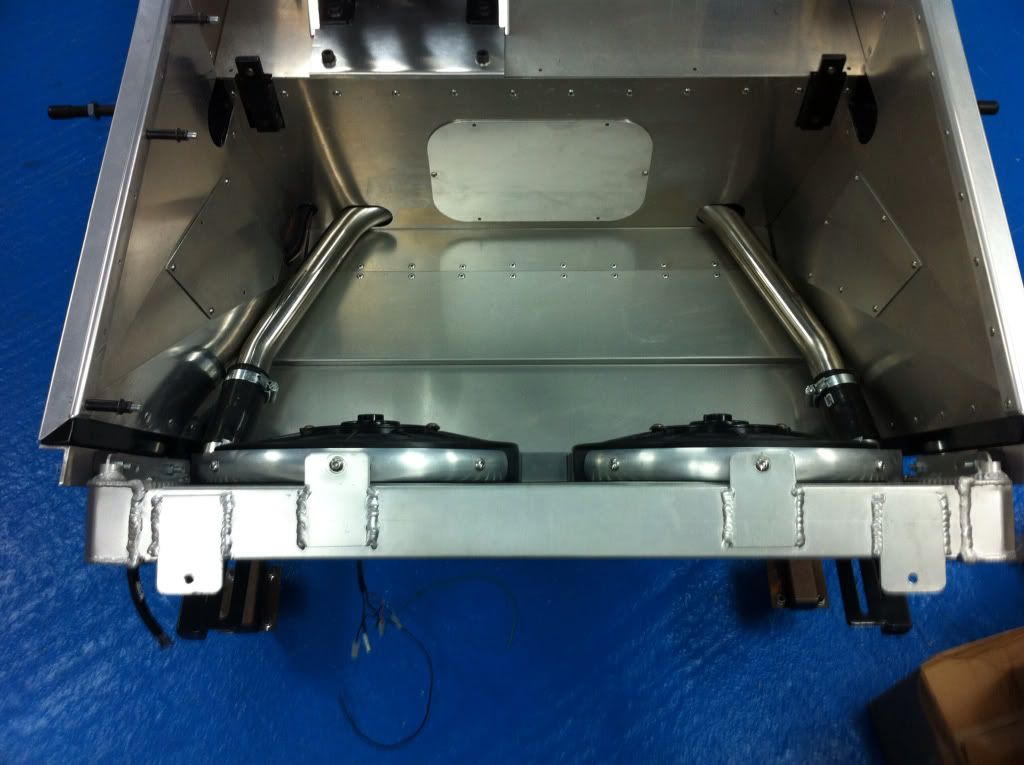
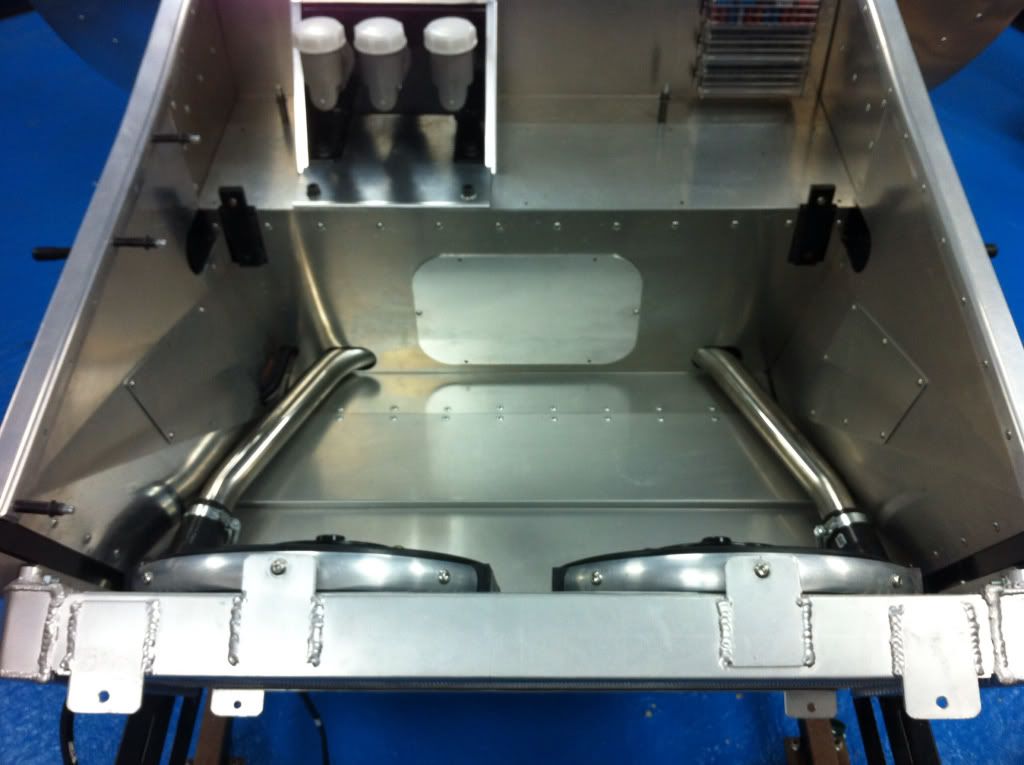
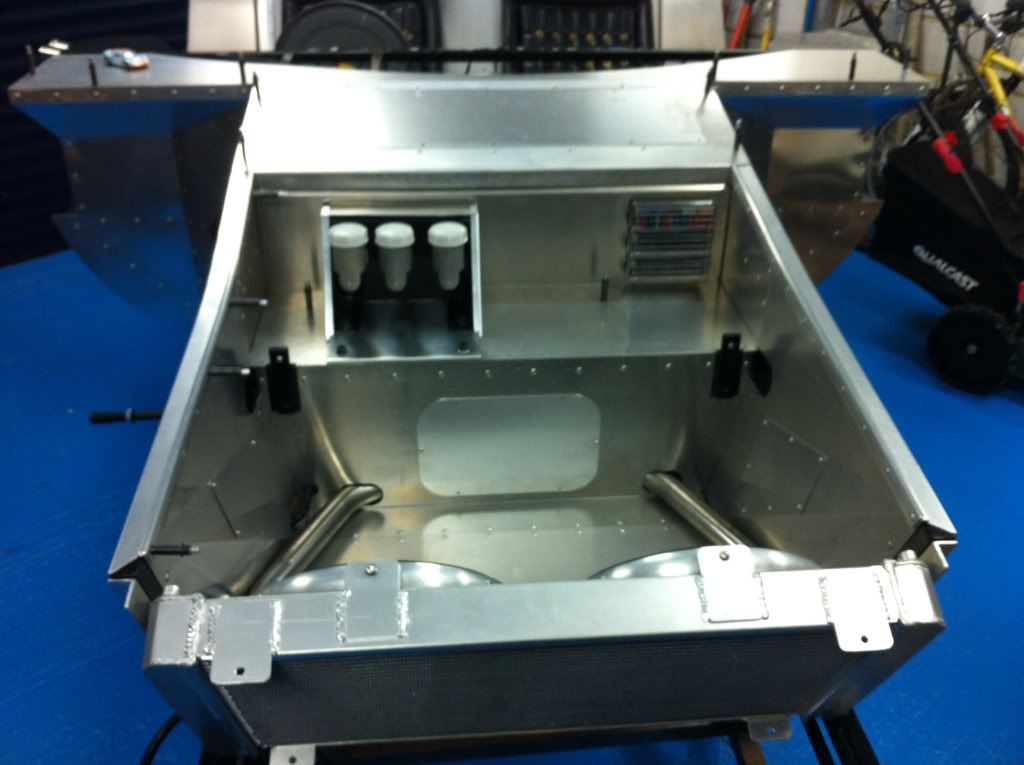
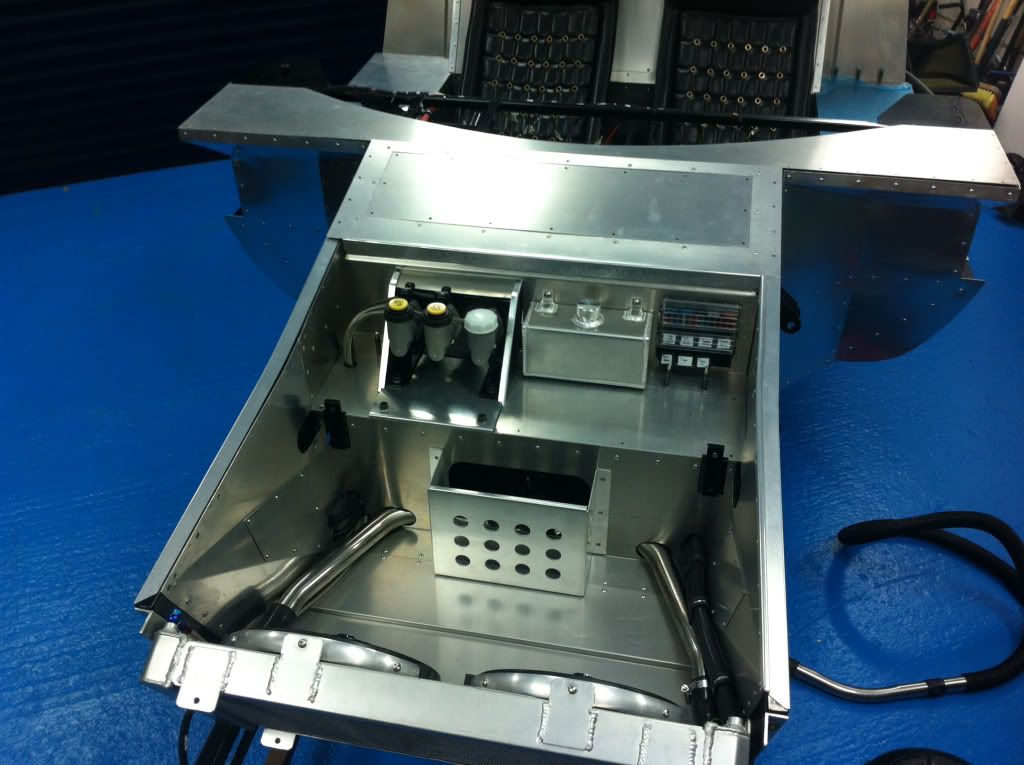
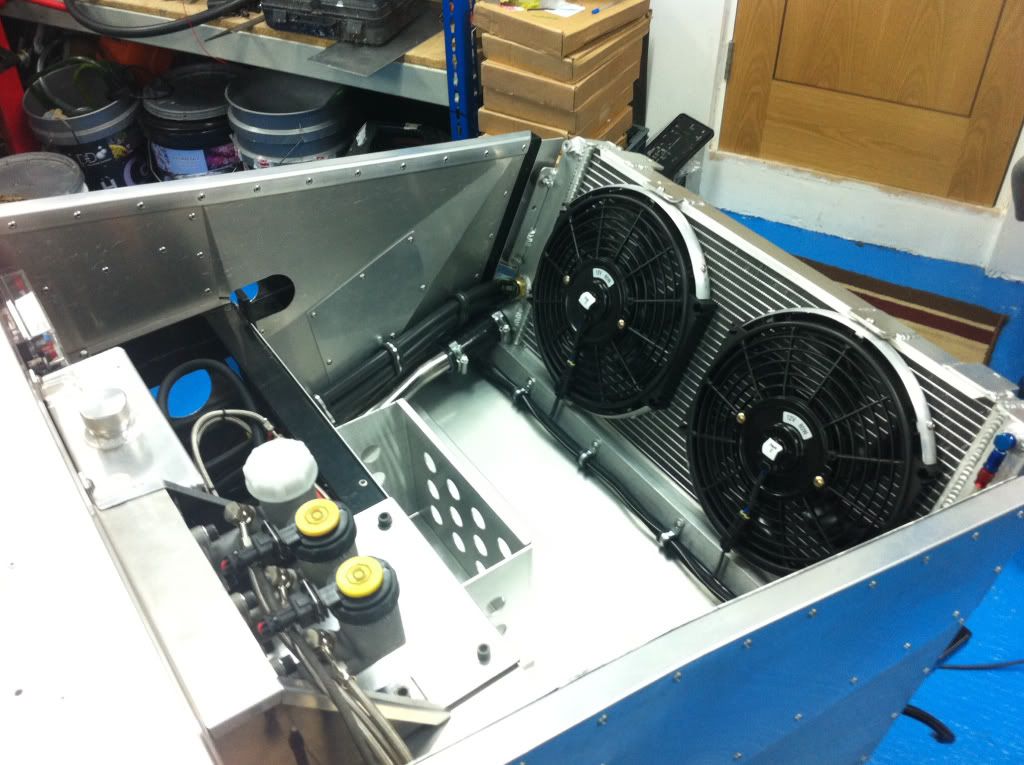
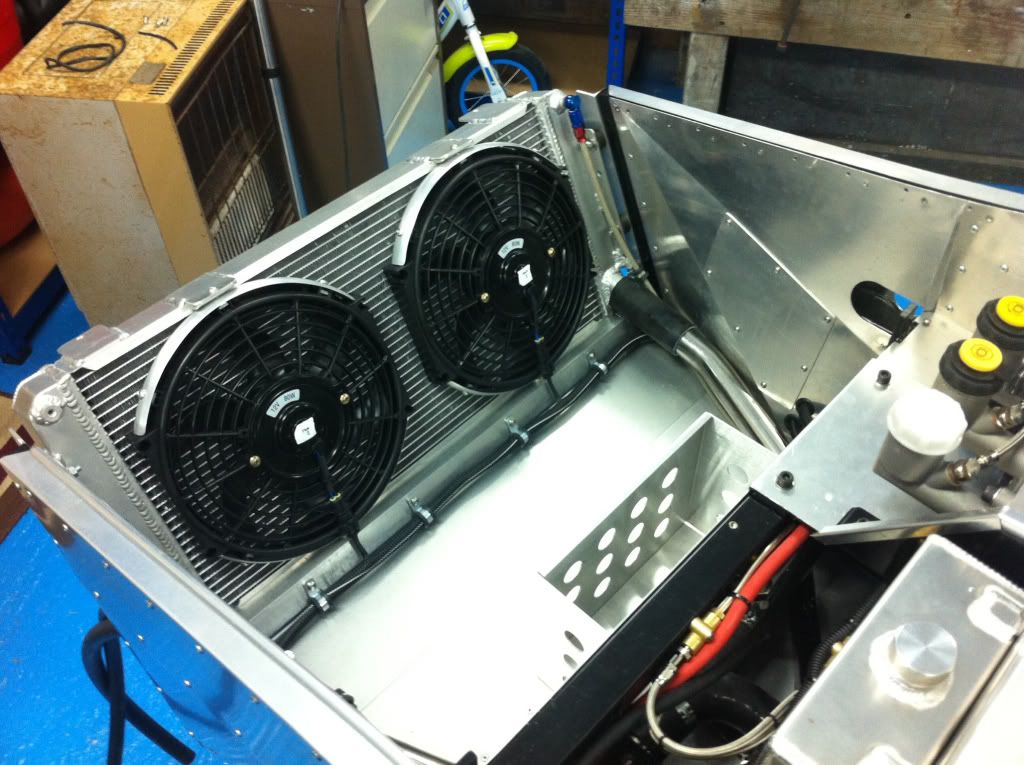
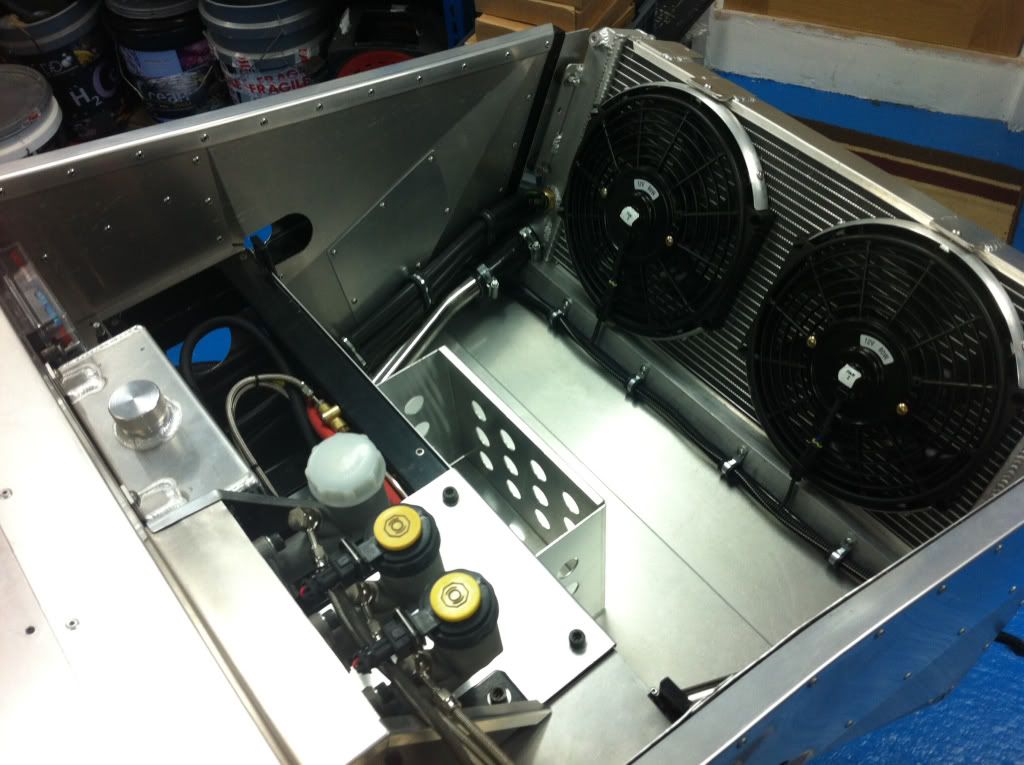
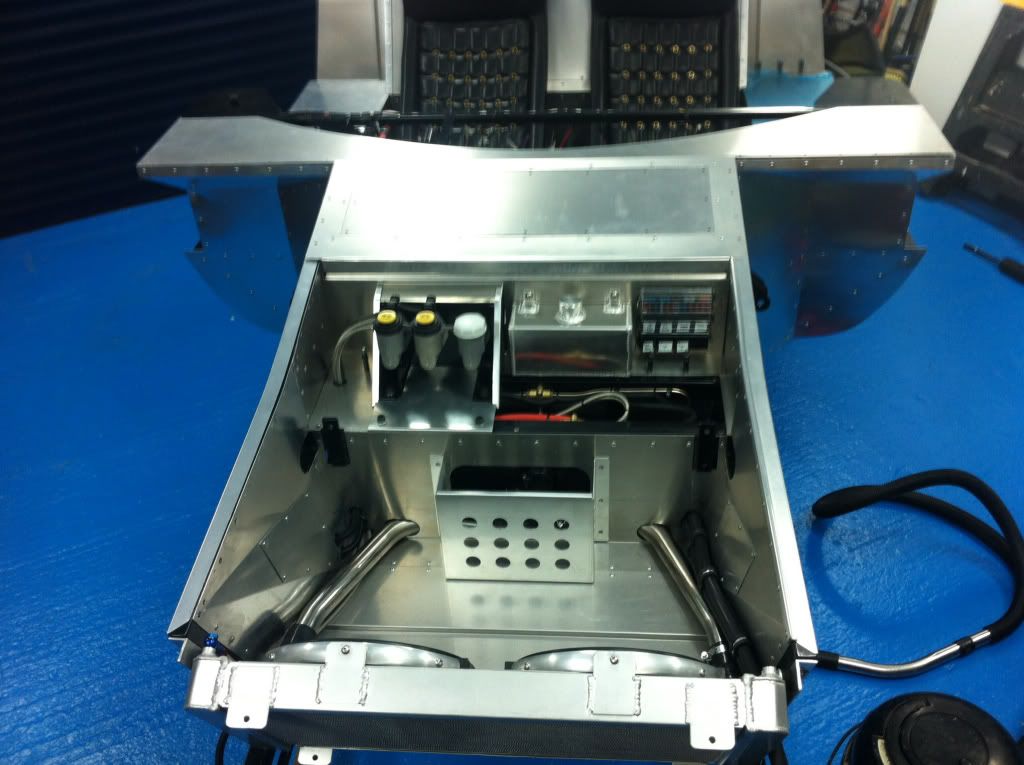
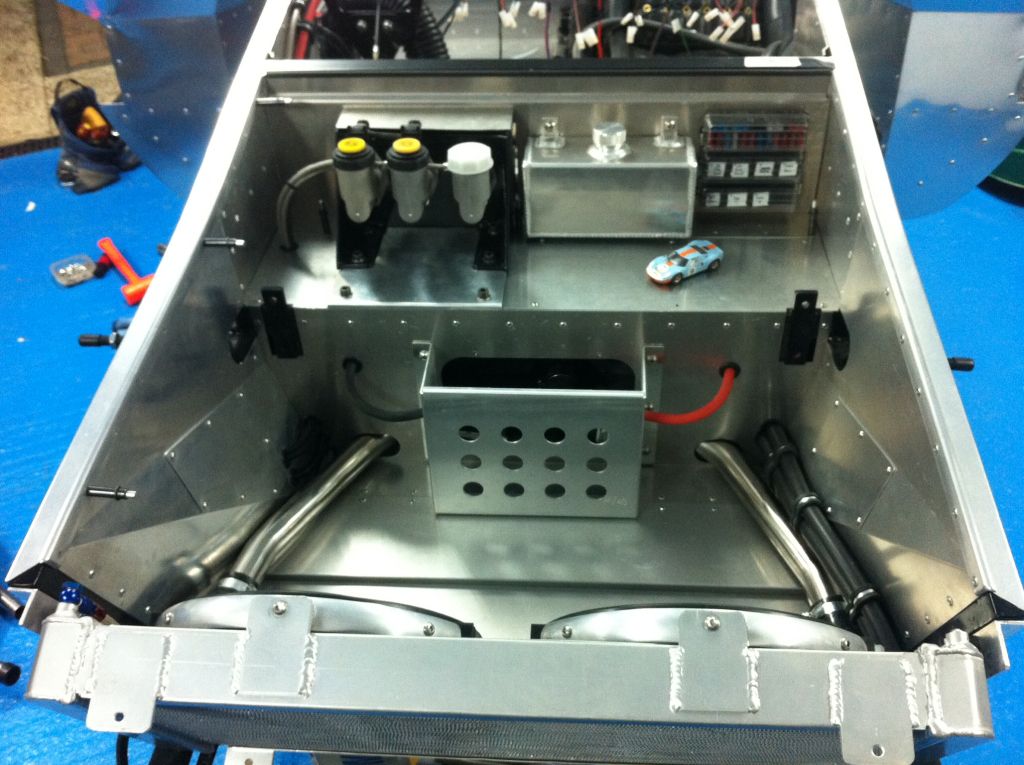
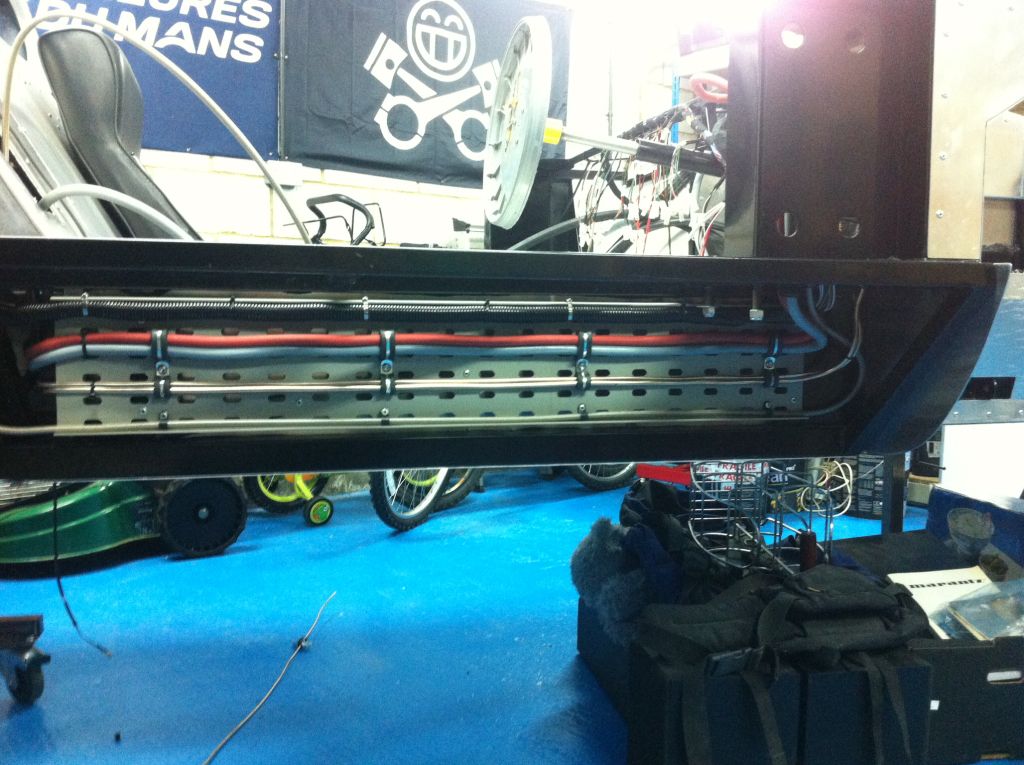
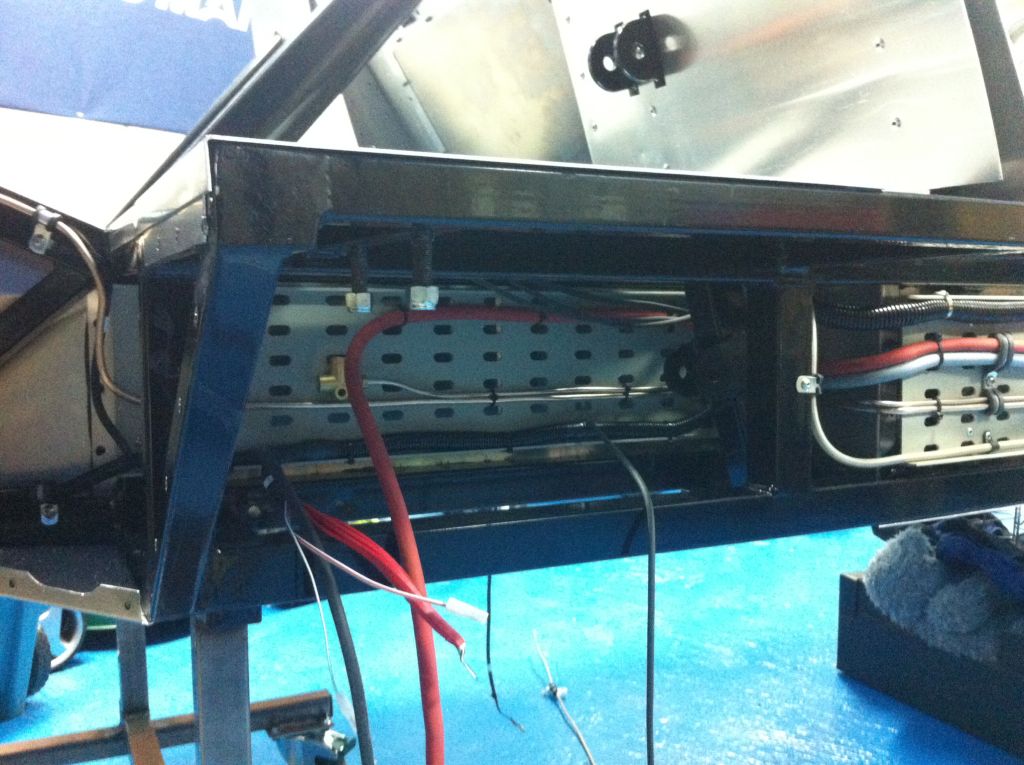
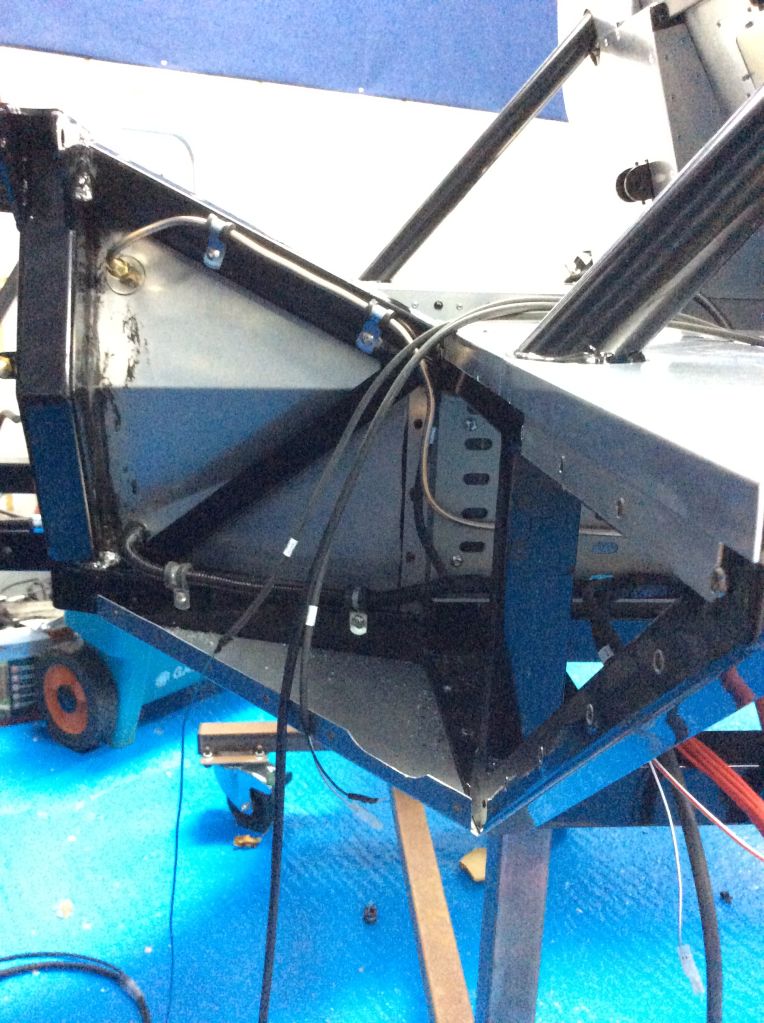
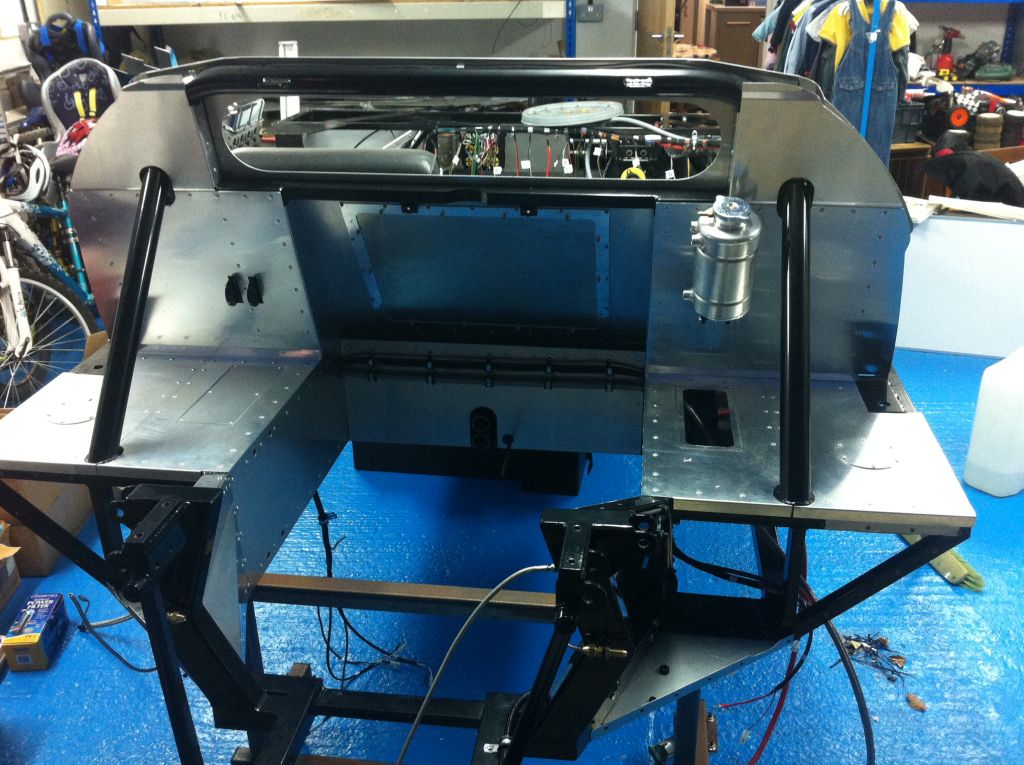
") really quite pleased so far but it all needs to come out again as there are one or two areas that require as a small amount of fettling before I'm totally happy, anyway here are some pics.....
really quite pleased so far but it all needs to come out again as there are one or two areas that require as a small amount of fettling before I'm totally happy, anyway here are some pics.....