917 Scratch Build

Chris,

Early screens were 4mm and increased later to 6mm. You should not need too much bonding for the screen providing you have your tubing well attached to the surrounding bodywork and screen surround itself.

917 screens are quite awkward to fit due to their depth and curvature and on originals matching up the aperture shape to hold the screen flush can be fiddly when bonding the supporting frame behind. The spider is a pretty wobbly affair until it has been fibreglassed to the frame. I,ve fitted two and i,m doing a third at the moment and ideally you want two people when fitting.

Graham.
 
Hi Graham,
Thanks for the info, my screen is 4mm (just under!) I have gone with 4mm clearance all round and 4mm depth clearance. The "floppy" screen surround issue I did think could be a problem so am actually incorporating a sacrificial inner screen in the final front clip molding, this will be cut out once the main clip has been glassed onto the frame/screen surround leaving me with the edges on which to place the sealant/screen. Hopefully this should keep it all true, am using a similar method with the doors, it will be more wasteful but should keep it all true!! (fingers crossed!)
regards Chris
 
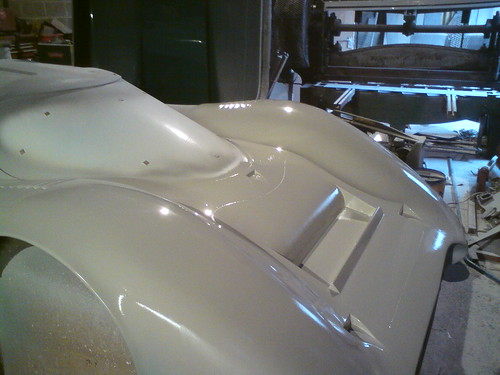
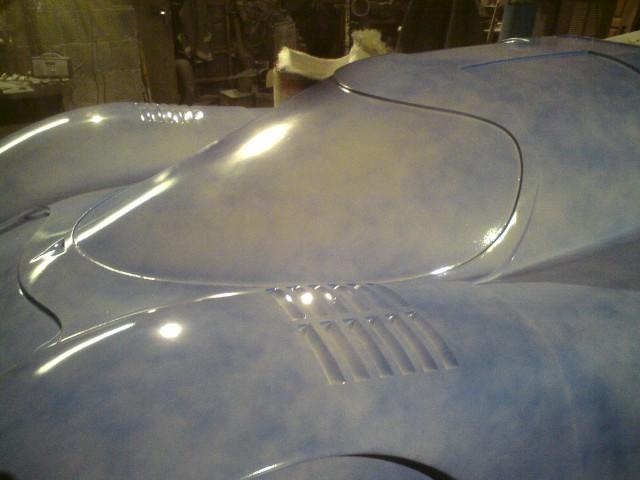
Just a quickie, managed to get the front hatch all sorted, scribed onto buck and primed, still have some work to do with the wings (outer) and inner wheel arches. Hope to have the Gell on if it warms up at the weekend. Pic is just after I banged on the primer.
5221020611_bb0e706f5f.jpg
 
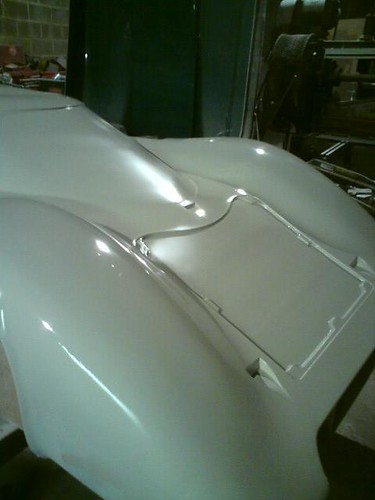
Have now done the hatch mould, came out ok, used PVA, the mould finish was not as good as wax, cut it all out and fitted a splash for the recess, used 10mm wood blocks for where the Dzus fasteners are to go, I put a rail along the front edge as this is where I intend to bolt the top of the rad when the time comes.
5244533130_67445ed554.jpg


Again a link to loads more photos on flickr
917 Buck progress so far - a set on Flickr

regards Chris
 

Randy V

Moderator-Admin
Staff member
Admin
Lifetime Supporter
Quite literally some of the most phenomenal work I've ever seen...

Fabulous work!!!!
 
Happy New Year to you all, I hope Santa got you everything you wished for Christmas!!
Have managed to get all the light cover recesses done, the right hand wheel arch mould flange (still have left to do) and am almost there, a bit of work to do under the front rad/brake ducts and then I`ll have finnished with the dust/mess that has been the last 6 months and the skin on my hands can recover!! I`d make the perfect criminal as have no palm/finger prints!!
However, plenty of priming to do and of course flatting down and then out with some 2K black then on with the mould making!
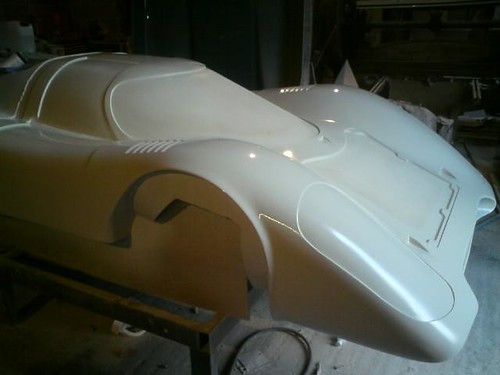
Pic is just after some more primer had been put on over the light cover recesses and wheel arch mould flange.
5312480034_598190afb6.jpg


5312481808_8415defe96_o.jpg
 
Last edited:

Randy V

Moderator-Admin
Staff member
Admin
Lifetime Supporter
I am in total awe of this work.... The amount of talent and perseverance shown here and in the other scratch build logs is just incredible...
 
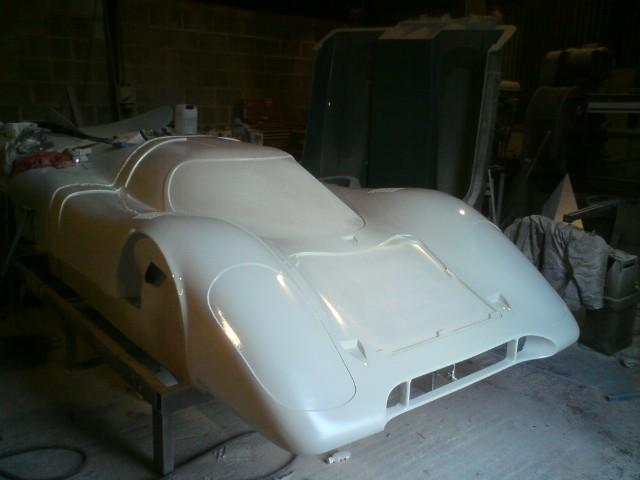
Pic after the last coat of primer applied and guide coat on, just a final flat down then some 2K black, then out with the wax!!!:thumbsup:
5330740340_77a87a3fc8_o.jpg
 
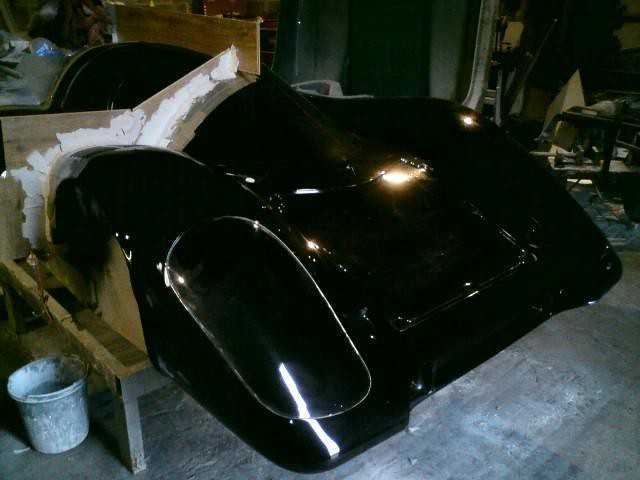
Another update, got the black on and polished up, did not worry too much where the hatches/light covers go as these will be cut out, picture of black and fences on (used laminated wood flooring, it has a lovely smooth side on the back of it and is easy to cut and sand)
5360253706_fa8910bd7b_z.jpg


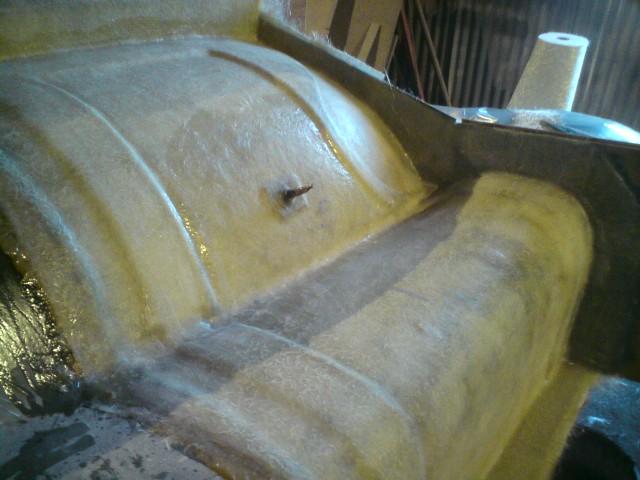
and next pic is of the side glassed up, have put an airline connection in to help "blow" out the finished part, just a simple airline connection welded to a steel plate with loads of holes drilled to stop it blowing out, just another few layers of 600 CSM to go and then onto t`other side.
5367146283_22c3c41201_o.jpg
 
Back
Top