Very cool pics, can't wait to see her move along.

You are using an out of date browser. It may not display this or other websites correctly.
You should upgrade or use an alternative browser.
You should upgrade or use an alternative browser.
BigB's RCR MKIV
- Thread starter BigB98
- Start date
Congrats on your purchase she looks stunning!!
I will be watching your build progress with envy & interest as the MKVI has always been a great favourite of mine. If only I could find a supplier for the body!??
I will be watching your build progress with envy & interest as the MKVI has always been a great favourite of mine. If only I could find a supplier for the body!??
Well, making some progress this weekend...Boy, did the time fly by today!
Brake lines are mostly done (really didn't have to do much there). Pedal assembly complete. Started running the wiring today....So far, what I know for sure about wiring, is that I am going to have a lot of questions down the road. I stink at wiring and always have.
That said, the easy part of the wiring is out of the way. Because the wiring harness is for front engine cars, there's some work to do to pull get the front and rear harnesses in order...Easy, just time consuming.
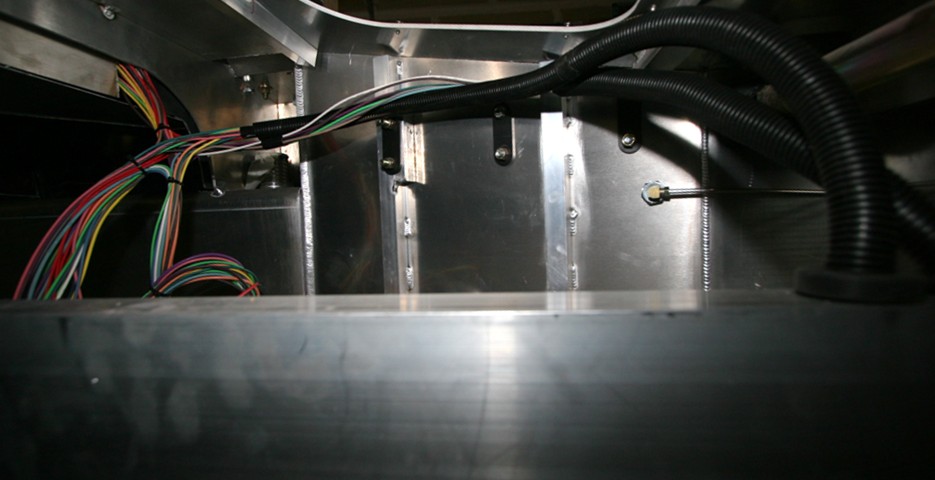
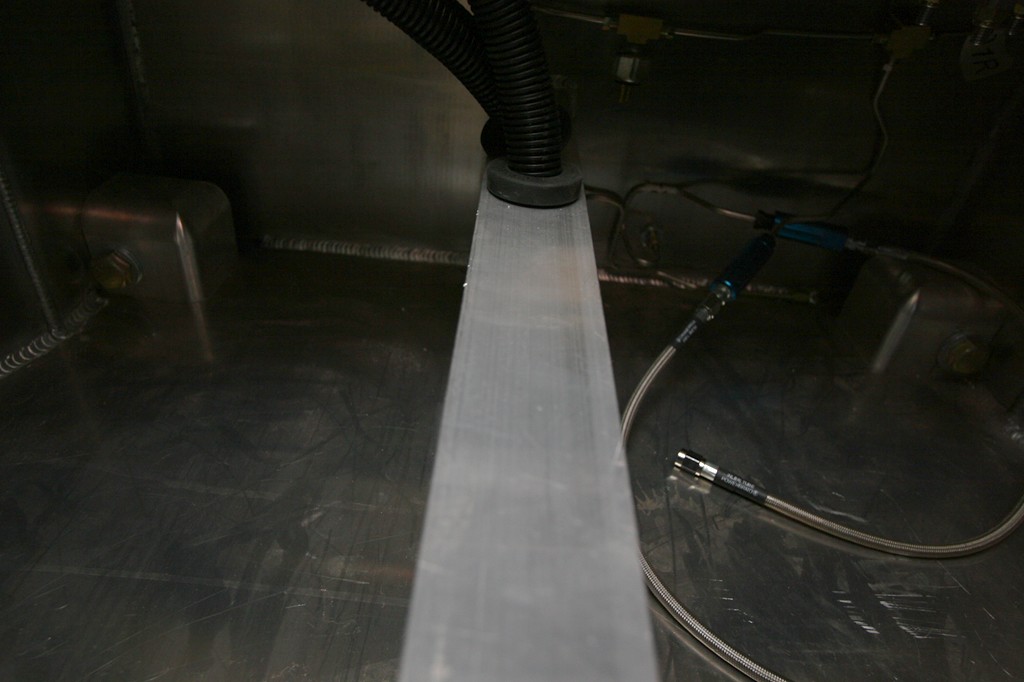
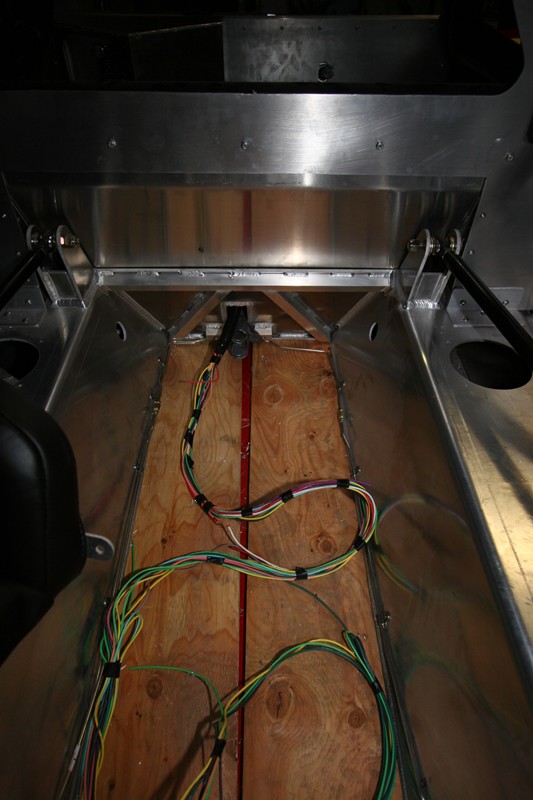
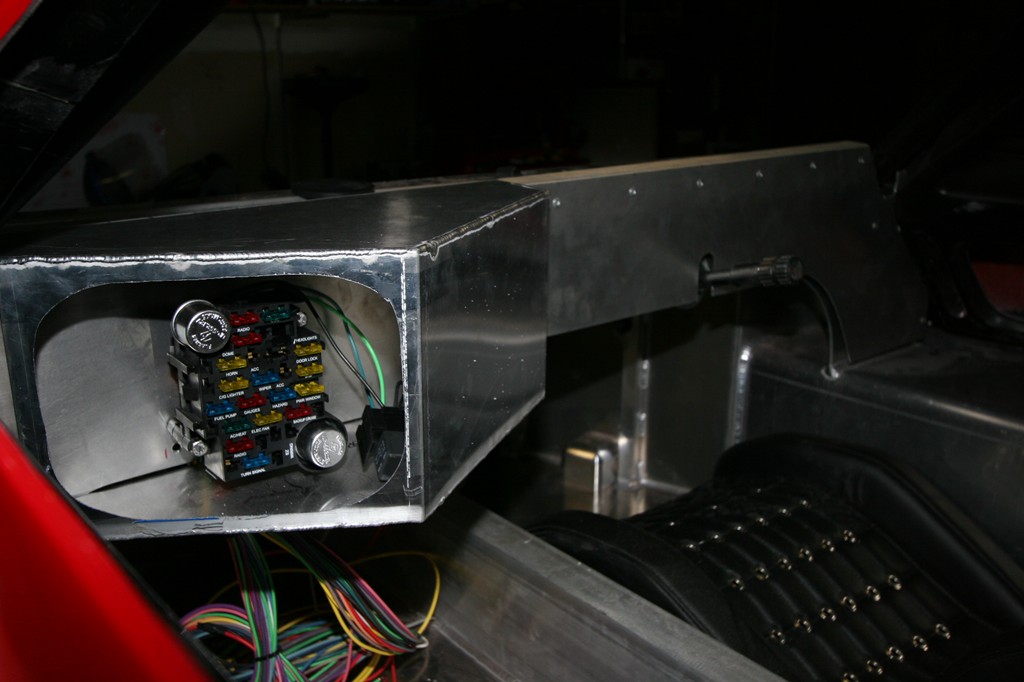
Wire ran to front and back down the spine with nice grommets. Tried getting the holes as far forward as I could with a 90 degree drill adaptor in hand. Not enough room for a standard drill get in that far forward of the access panel.
Decided to mount the fuse box behind the switch panel. Some original cars seem to have the fuses either behind a panel (similar to what I have done) or the old school fuses actually mounted and exposed on the front of the panel. I really like that look as it is of a raw look, and will probably make a "for appearances" only version. It's nice to have the new style fuse box actually doing the work. I didn't want to cut into the nicely done dash, but what the hey. Nice thing is that I'll have plenty of room to take car of the switch panel from the back side should it need attention.
Brake lines are mostly done (really didn't have to do much there). Pedal assembly complete. Started running the wiring today....So far, what I know for sure about wiring, is that I am going to have a lot of questions down the road. I stink at wiring and always have.
That said, the easy part of the wiring is out of the way. Because the wiring harness is for front engine cars, there's some work to do to pull get the front and rear harnesses in order...Easy, just time consuming.
Wire ran to front and back down the spine with nice grommets. Tried getting the holes as far forward as I could with a 90 degree drill adaptor in hand. Not enough room for a standard drill get in that far forward of the access panel.
Decided to mount the fuse box behind the switch panel. Some original cars seem to have the fuses either behind a panel (similar to what I have done) or the old school fuses actually mounted and exposed on the front of the panel. I really like that look as it is of a raw look, and will probably make a "for appearances" only version. It's nice to have the new style fuse box actually doing the work. I didn't want to cut into the nicely done dash, but what the hey. Nice thing is that I'll have plenty of room to take car of the switch panel from the back side should it need attention.
Looking good! It does get tight in there! I have radiator cooling tubes, main harness two a/c lines, accelerator cable, and then this weekend I had to run a power lead to the front of the car for the fan relay. It is tight!
If you are running a/c, you might wan to run the hoses before the main harness as the end connectors are 90 degree fitting and they take up a lot of room as you snake them through the spine.
If you are running a/c, you might wan to run the hoses before the main harness as the end connectors are 90 degree fitting and they take up a lot of room as you snake them through the spine.
Mark, I am definately going to remove the main harness and rerun everything.
Mike, yes, I'll have two seats in there.
Just a little more progress. I spent a fair bit of time working on getting the holes in the dash and the cross member of the chassis...I have determined that I need a plasma cutter. Hole saws, a rasper, and jig saw. Damn that was a lot of work for not much to show.
Dash is coming together, but the wiring stuff still scares the crap out of me.") I think I have things fairly well figured out, but I'm sure I'll run into a lot of little issues.
I think I have things fairly well figured out, but I'm sure I'll run into a lot of little issues.
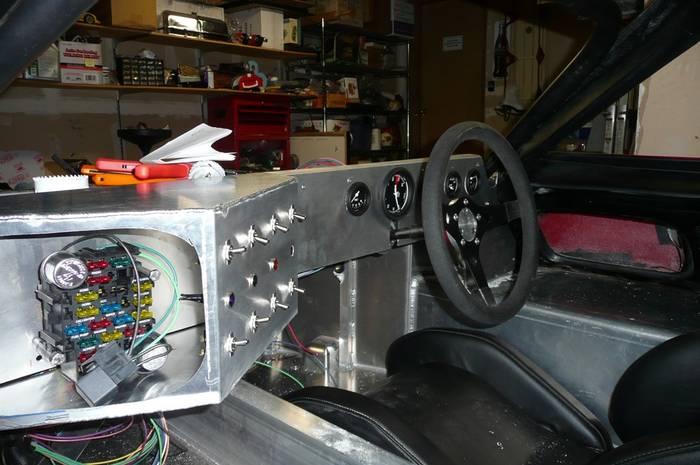
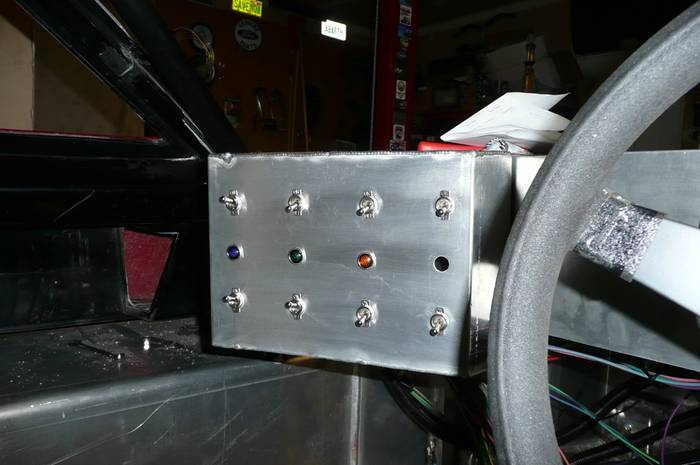
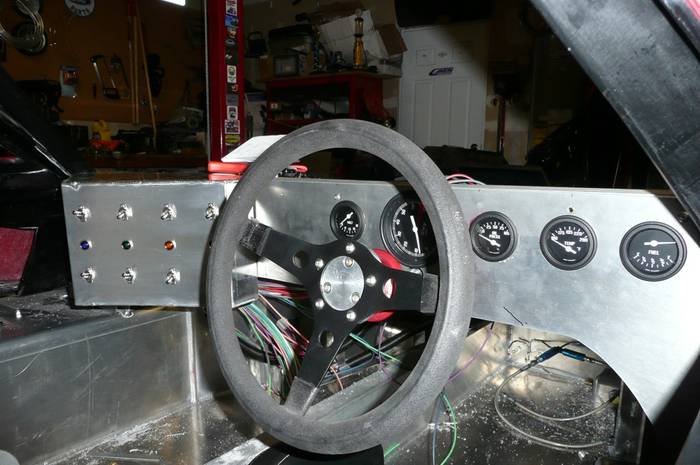
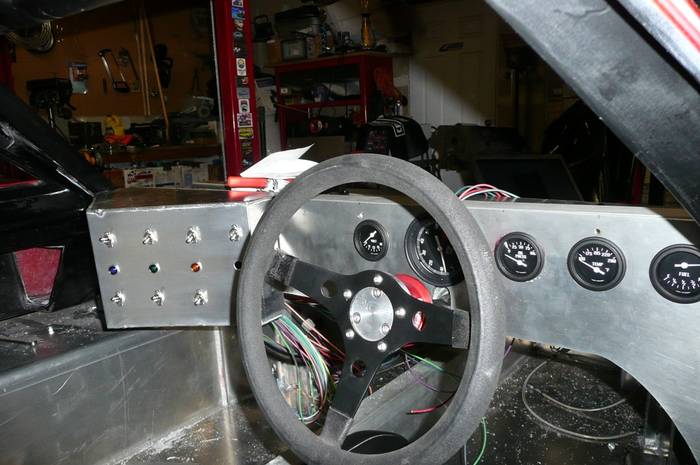
Here's a few shots of how things will look (dash will be black and I think I want the chrome bezel gauges instead).
Mike, yes, I'll have two seats in there.
Just a little more progress. I spent a fair bit of time working on getting the holes in the dash and the cross member of the chassis...I have determined that I need a plasma cutter. Hole saws, a rasper, and jig saw. Damn that was a lot of work for not much to show.
Dash is coming together, but the wiring stuff still scares the crap out of me.
I think I have things fairly well figured out, but I'm sure I'll run into a lot of little issues. Here's a few shots of how things will look (dash will be black and I think I want the chrome bezel gauges instead).
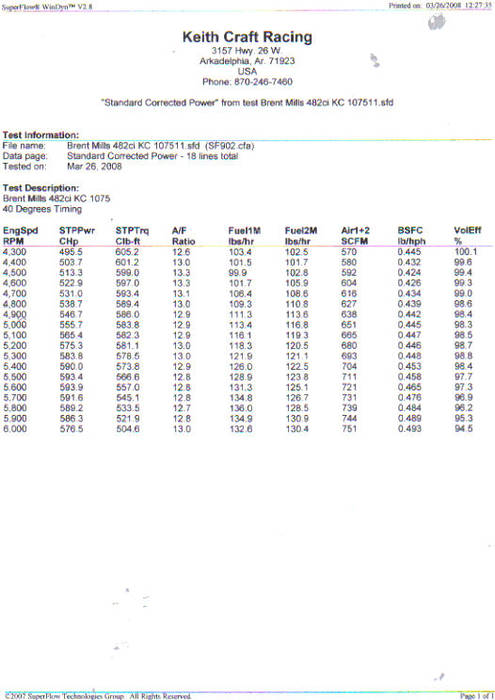
Well, I'm in the process of building an RCR GT MKIV, and I asked the folks at Keith Craft Performance Engines to build something "appropriate" for such a ride. We settled on a Shelby block, 482, which ended up on the dyno with some impressive numbers. 594HP and 605TQ. Uhmmm...that oughta do! 
I asked them to take some pictures and give me some captions, as I wanted to document the build of the car, and I have always wondered about what it takes to build these puppies. I know it's not rocket science, but to many of us, it seems like it. Anyways, below you'll find some pictures and descriptions of the process.
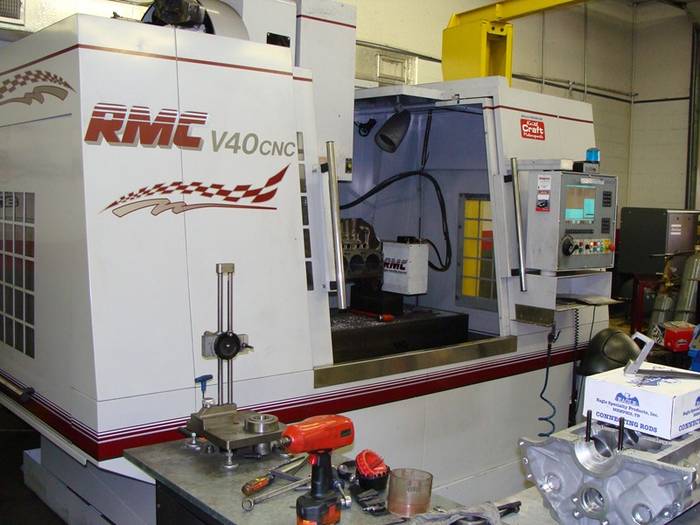
Boring, decking, and blueprinting done on RMC Machine
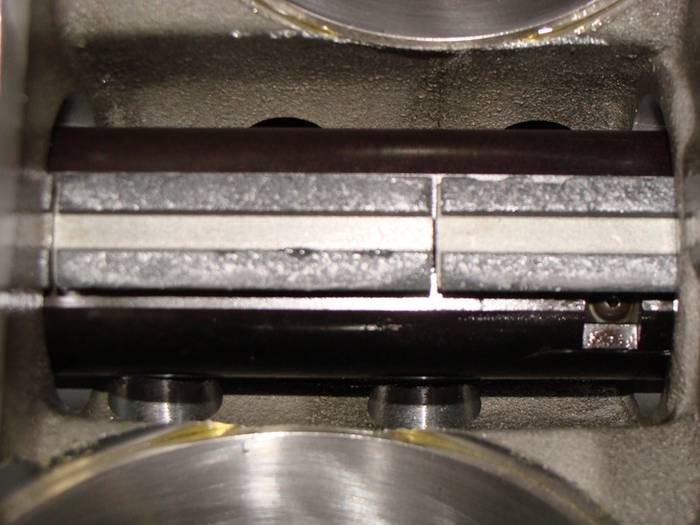
Here we are line honing the mains
Honing the block with torque plates
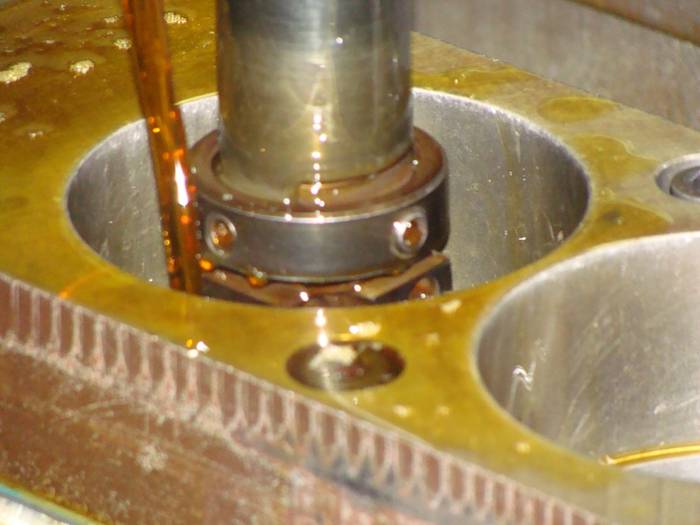
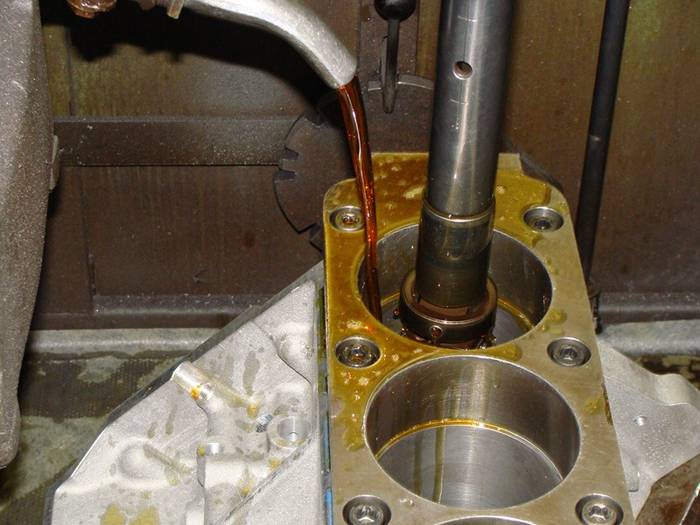
Honing bar inside block
Rotating assembly for engine build
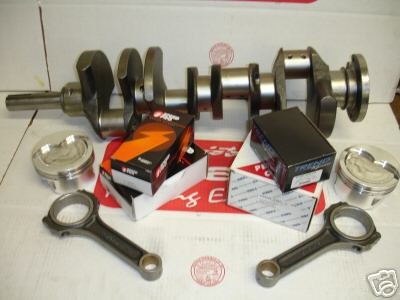
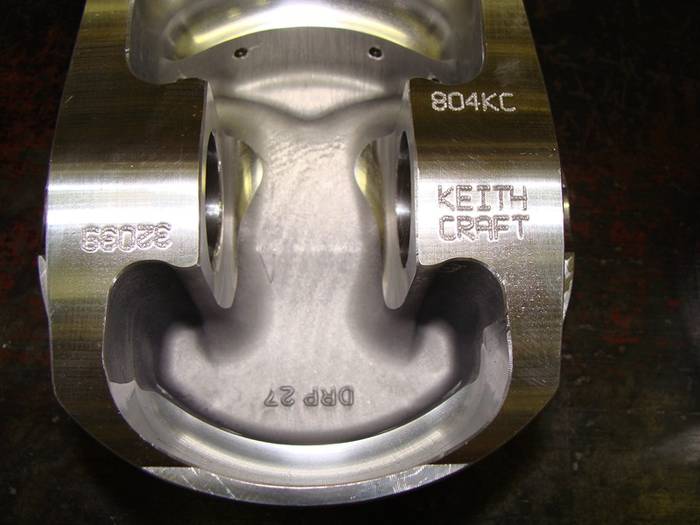
Custom Keith Craft Diamond Pistons
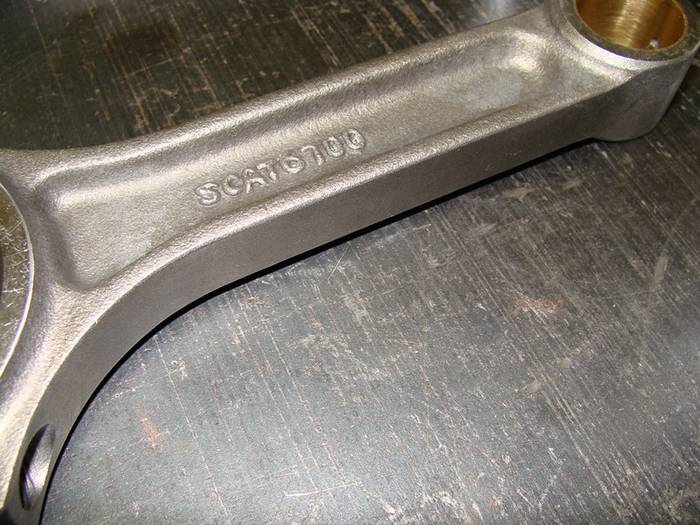
Scat I-Beam 6.700 Connecting Rods
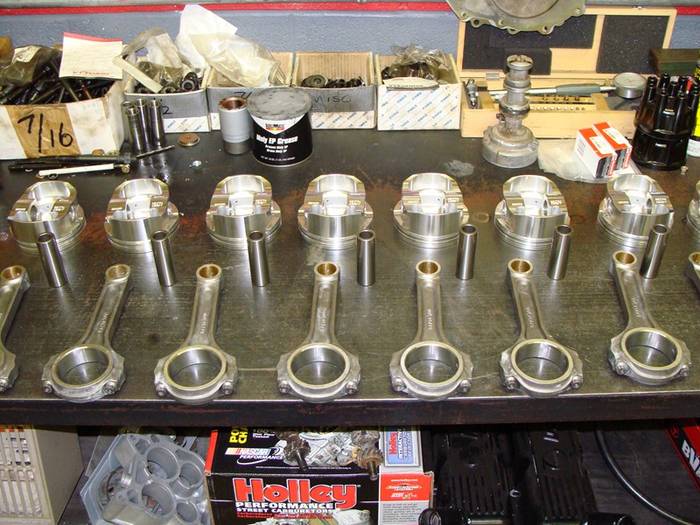
Pistons, pins, and rods before assembly
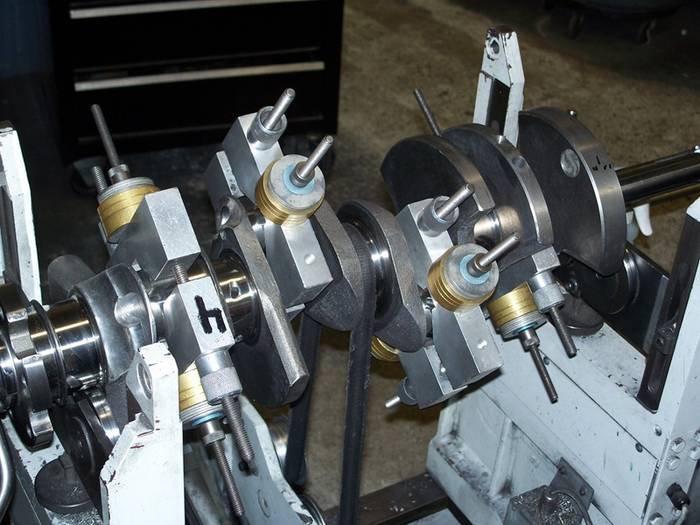
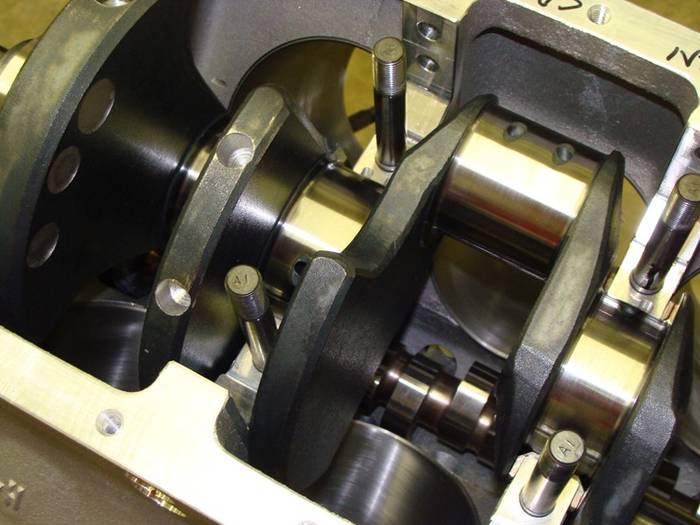
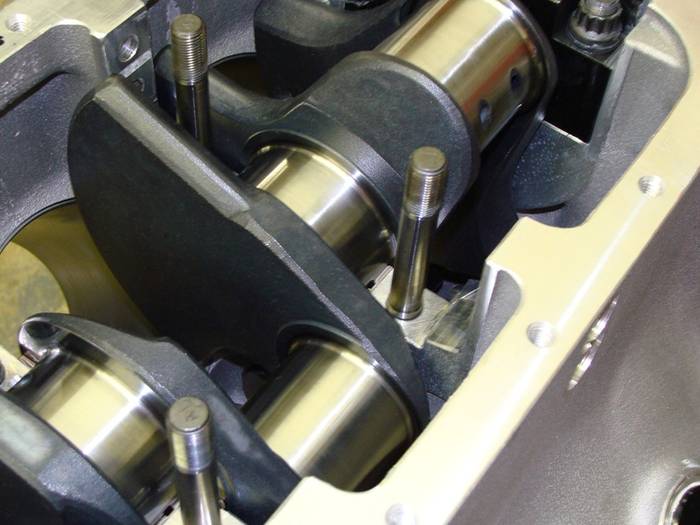
Crankshaft being balanced with correct bob weights
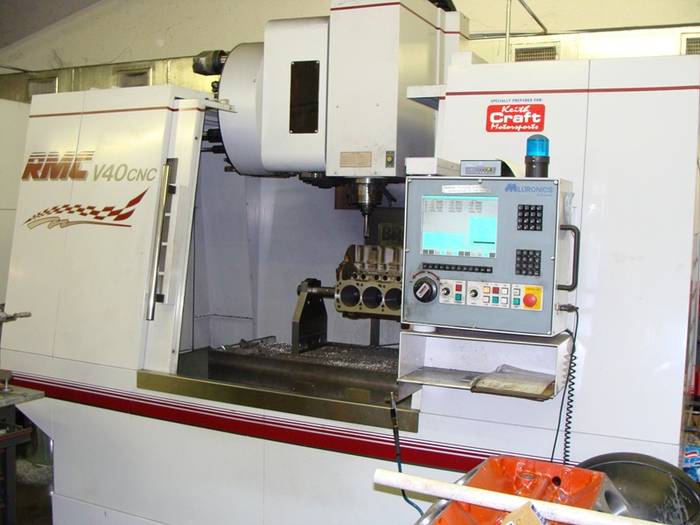
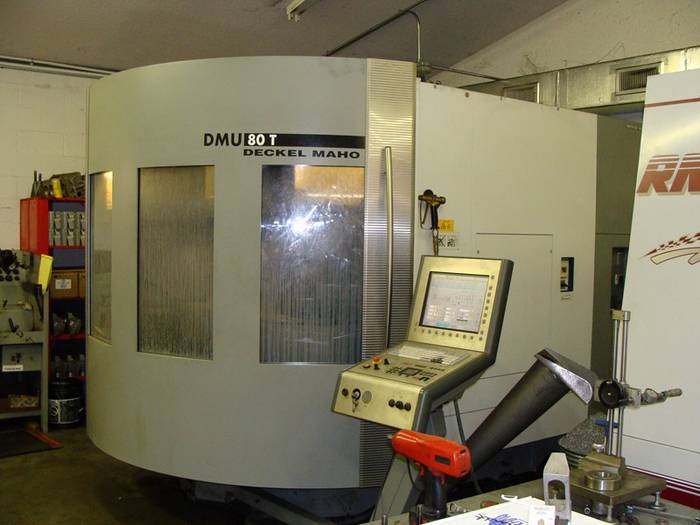
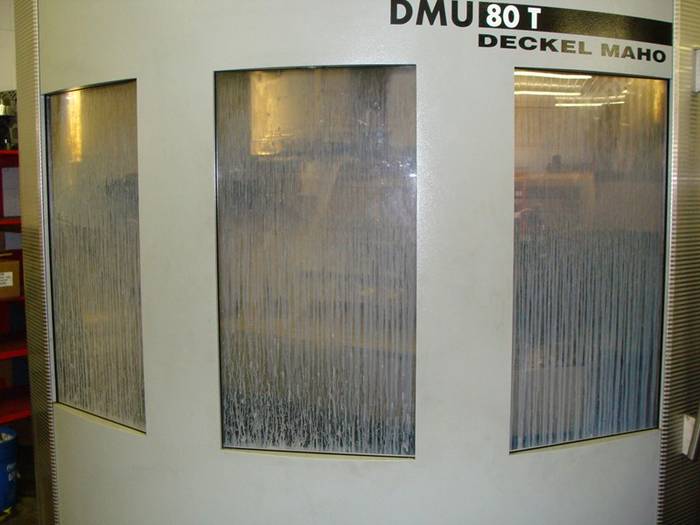
Heads being CNC ported in 5-axix CNC machine
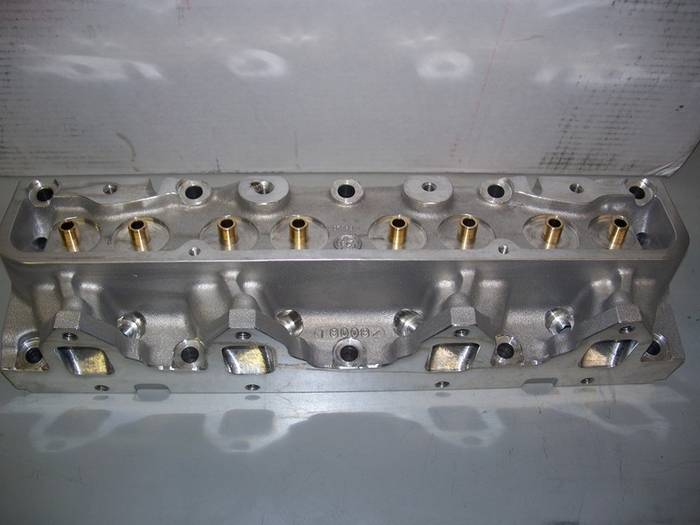
Bare Edelbrock CNC ported Castings
Chamber and valve job on Edelbrock CNC castings
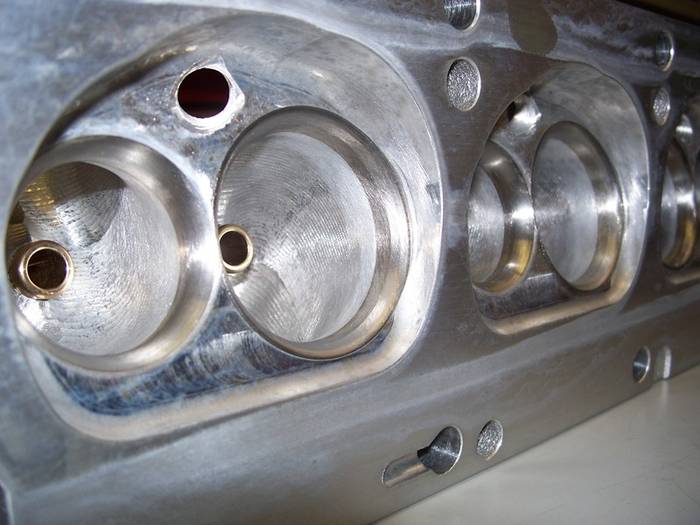
Exhaust ports on Edelbrock Castings
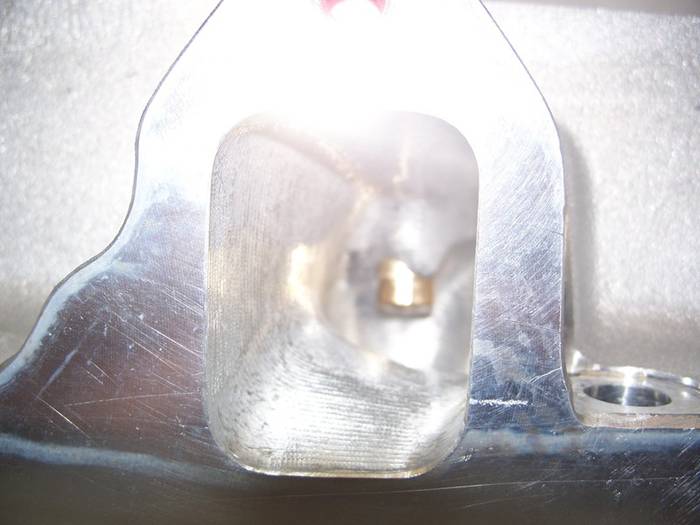
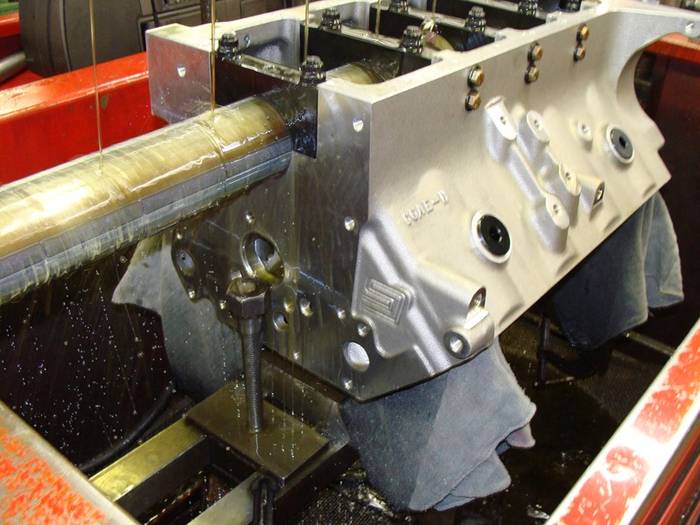
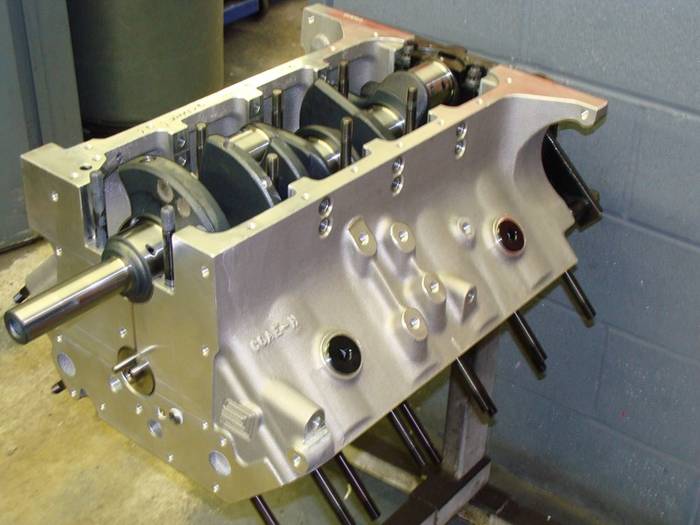
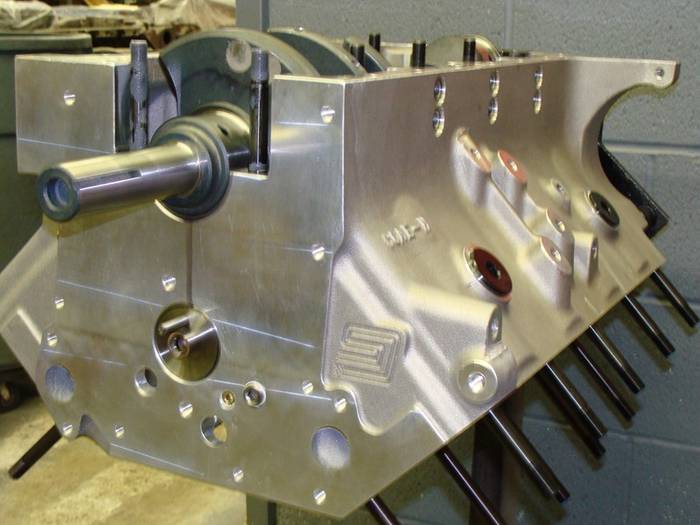
Shelby block with head and main studs, checking block for crankshaft rotation.
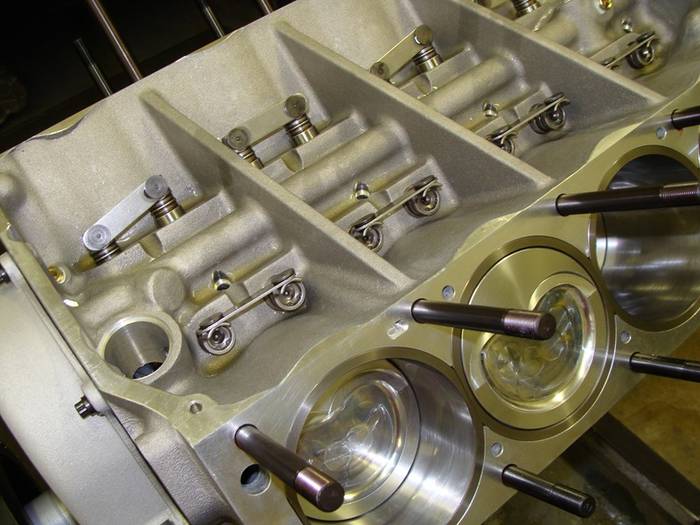
Shortblock with lifters and timing set installed.
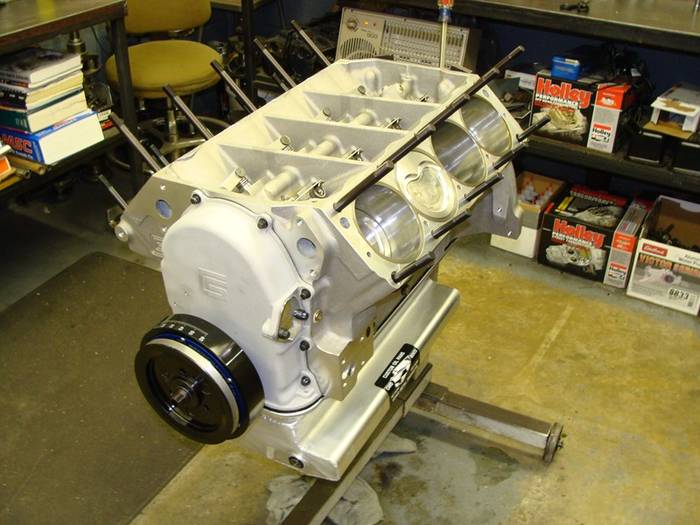
Shortblock with damper and oil pan.
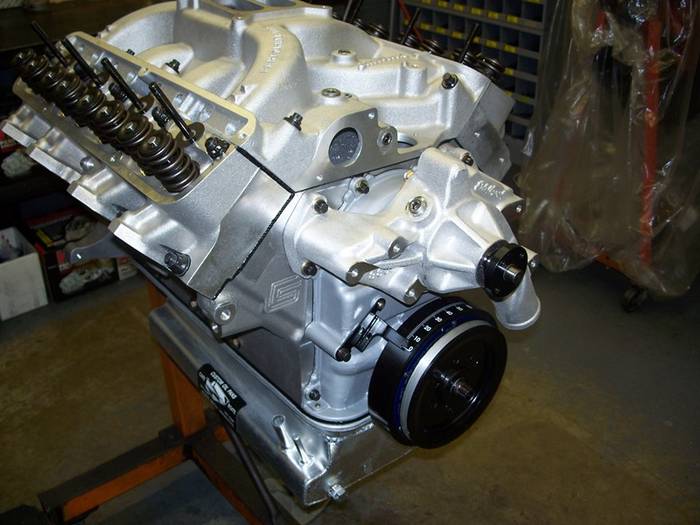
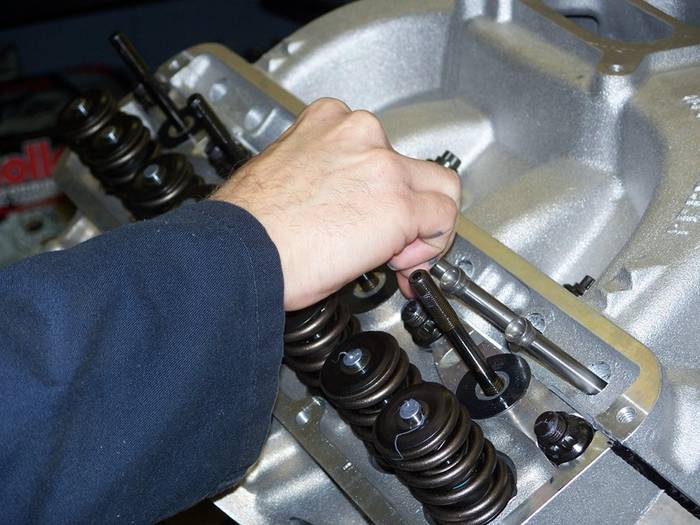
Long block ready for valvetrain installation.
Moly on the pushrods to keep from coming off lifter during assembly.
Engine on SF-902 for Dyno Test and Tune
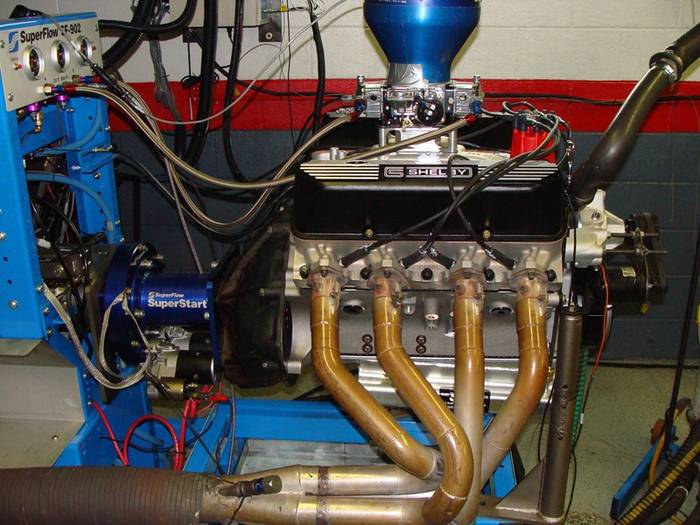
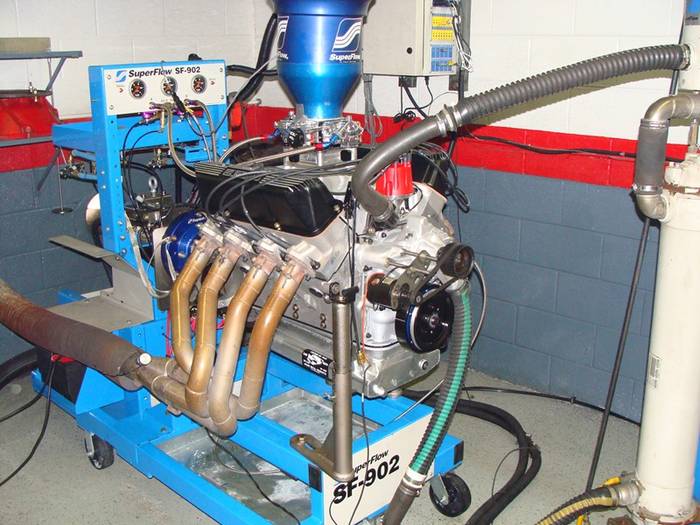
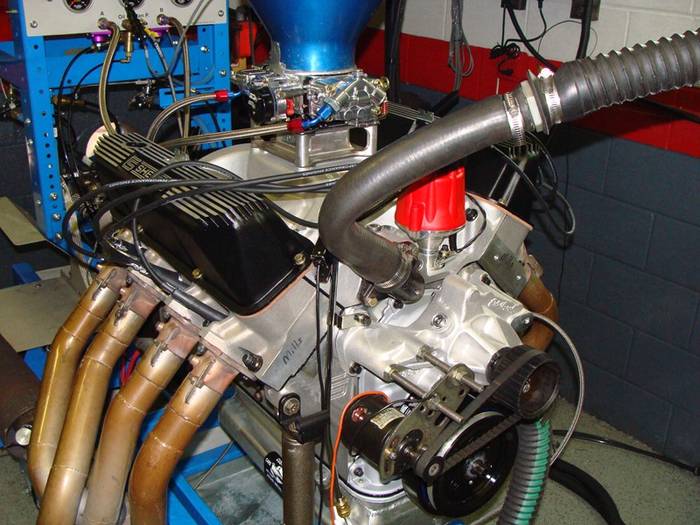
Dyno #'s!
I asked them to take some pictures and give me some captions, as I wanted to document the build of the car, and I have always wondered about what it takes to build these puppies. I know it's not rocket science, but to many of us, it seems like it. Anyways, below you'll find some pictures and descriptions of the process.
Boring, decking, and blueprinting done on RMC Machine
Here we are line honing the mains
Honing the block with torque plates
Honing bar inside block
Rotating assembly for engine build
Custom Keith Craft Diamond Pistons
Scat I-Beam 6.700 Connecting Rods
Pistons, pins, and rods before assembly
Crankshaft being balanced with correct bob weights
Heads being CNC ported in 5-axix CNC machine
Bare Edelbrock CNC ported Castings
Chamber and valve job on Edelbrock CNC castings
Exhaust ports on Edelbrock Castings
Shelby block with head and main studs, checking block for crankshaft rotation.
Shortblock with lifters and timing set installed.
Shortblock with damper and oil pan.
Long block ready for valvetrain installation.
Moly on the pushrods to keep from coming off lifter during assembly.
Engine on SF-902 for Dyno Test and Tune
Dyno #'s!
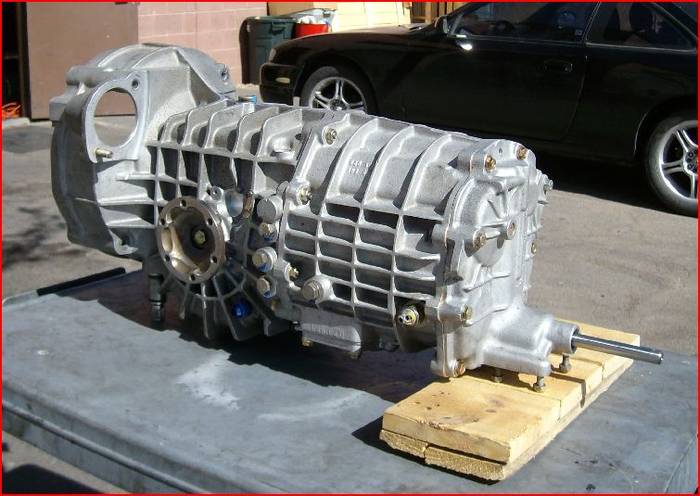
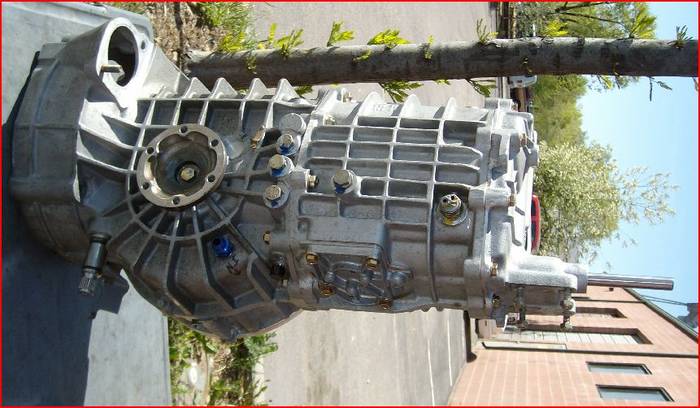
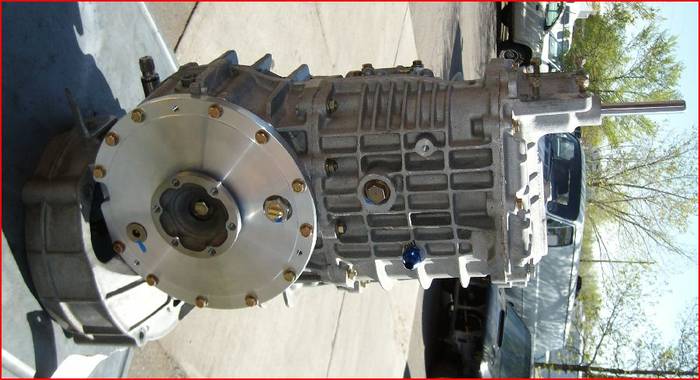
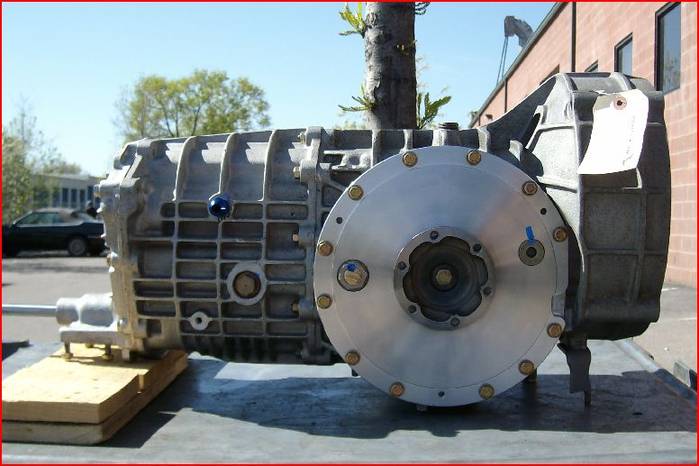
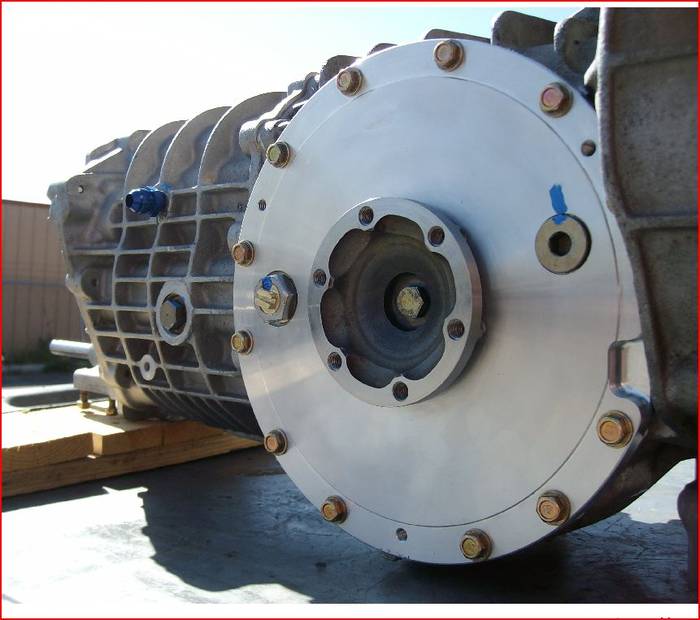
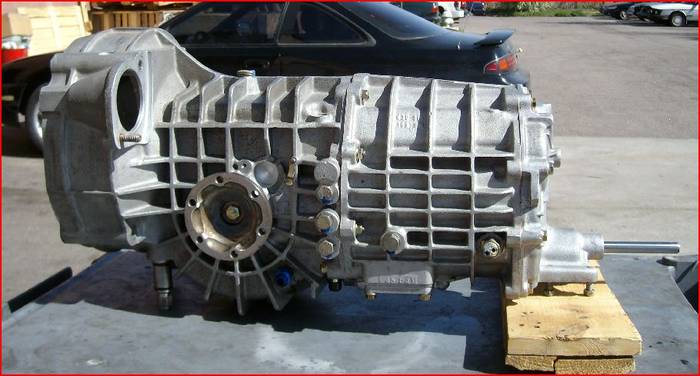
Aside from the engine pics above, the transaxle built by GBOX LLC. Porsche and Getrag service. Performance driveline engineering.http://www.gbox.com is on its way.

Here are a few things I have been working on....Admittedly, I am not a TIG welding professional, but I'm improving. Be nice!
That's me using a plasma cutter to make a big ass hole in all that nice work that Fran and the gents at his shop put together.

The reason I cut a bunch of crap out was so I could get the heating and air unit a couple inches higher making foot and leg room a little more accommodating for my wife or any other passenger (could have left as is). Note, this is not done yet.
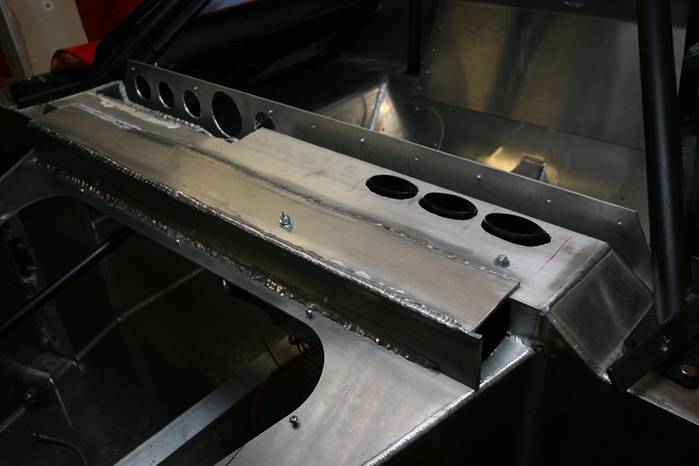
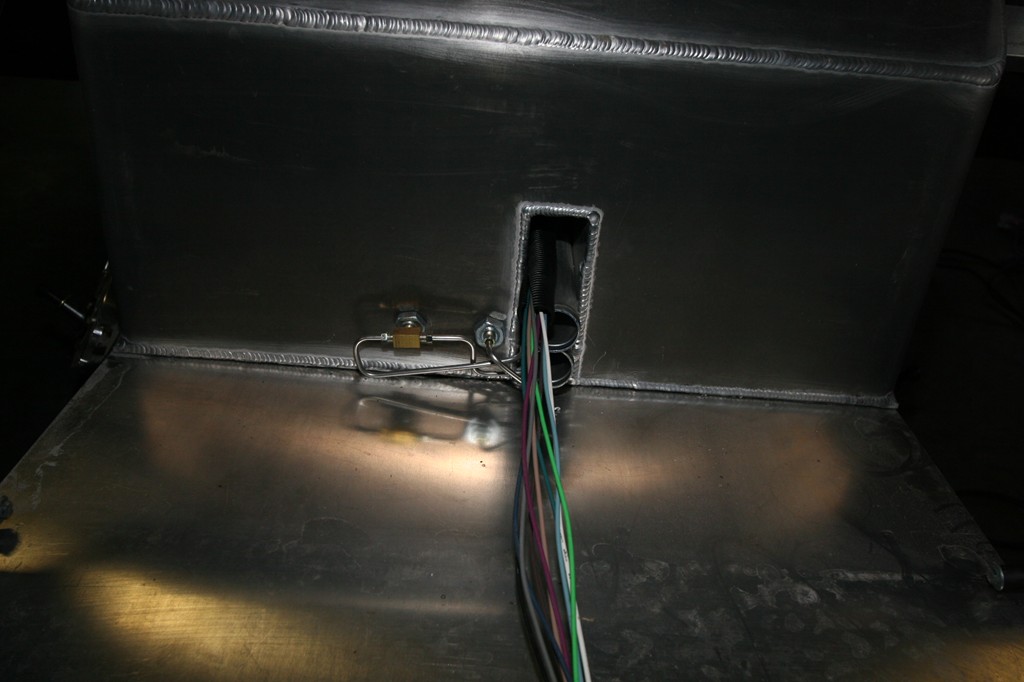
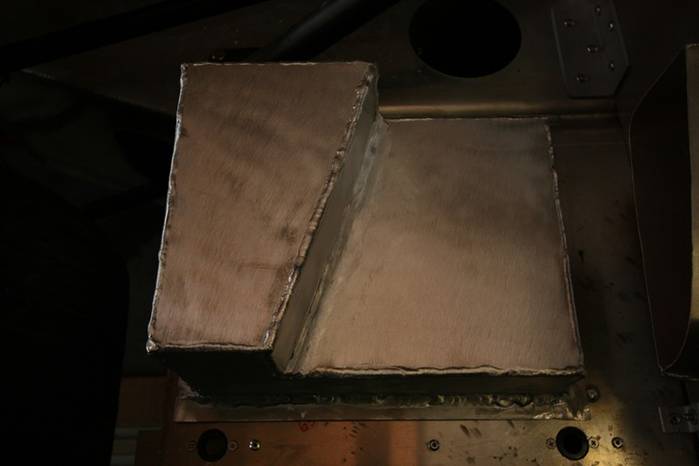
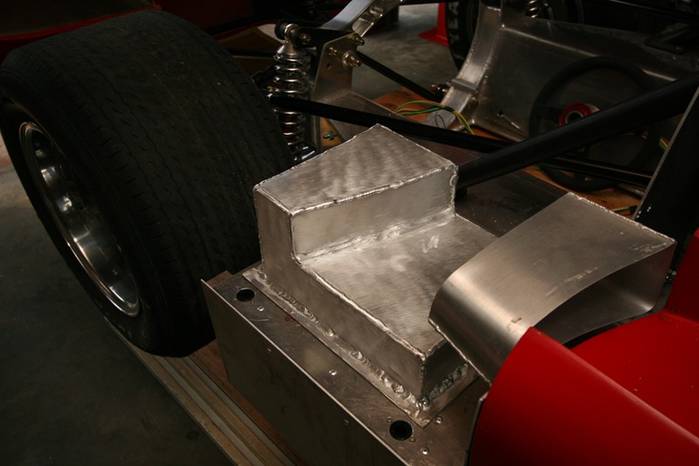
Here I am making a faux oil tank to cover the battery and to look like original. Still need to finish up the filler neck. Welds are not "perfect" so I'll probably grind and run more beads in some areas. I have especially difficult time doing the inside of the 90 degree corners for some reason. Drives me nuts! It is fun doing this sort of thing though, and with more practice, it'll be fun and look great to boot.
That's me using a plasma cutter to make a big ass hole in all that nice work that Fran and the gents at his shop put together.
The reason I cut a bunch of crap out was so I could get the heating and air unit a couple inches higher making foot and leg room a little more accommodating for my wife or any other passenger (could have left as is). Note, this is not done yet.
Here I am making a faux oil tank to cover the battery and to look like original. Still need to finish up the filler neck. Welds are not "perfect" so I'll probably grind and run more beads in some areas. I have especially difficult time doing the inside of the 90 degree corners for some reason. Drives me nuts!
It is fun doing this sort of thing though, and with more practice, it'll be fun and look great to boot.
Last edited:
I notice you have a Porsce 930 Transaxle as I have. How are you going to couple the transaxle to the drive wheels? Are you going to use CV joints on each end of the drive axles, or CV joints on the inner and U-joints on the outer.
I have a CV-Ujoint combination on the drive shafts and many members have advised me that this is a source of harmonic vibration!
I have Corvette drive hubs which use Ujoints
John
:stunned::stunned:
I have a CV-Ujoint combination on the drive shafts and many members have advised me that this is a source of harmonic vibration!
I have Corvette drive hubs which use Ujoints
John
:stunned::stunned:
invite us guys from Oregon will ya?
Similar threads
- Replies
- 139
- Views
- 41K