Brett James-McCall
Moderator
Nick,
PM me you email and I will send you some stuff I have done on the 01X like CV adaptors etc
Brett
PM me you email and I will send you some stuff I have done on the 01X like CV adaptors etc
Brett

") .
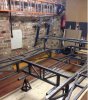
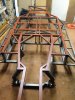
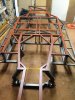
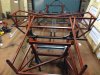
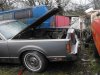
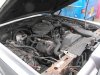
.Lucky for me the previous house owner had the garage carpeted !, its looking a bit worse for ware now I've been welding and grinding for over 3 weeks on it ;-(