Rcr 40-31

Chris Kouba

Supporter
Hi Tom,

We are now in OR and living life in temporary housing. The GT made it safely up here behind the Suburban tucked away in our 22' enclosed trailer and is now hanging out behind a friend's shop.

Life is basically on pause for now until the house in PHX sells (which could be a while...) and we get into another one up here. Our apartment is probably a little smaller than the garage I had...

On the bright side, work is going extremely well. The site I transferred to is a core business site (read: reasonable job security) and we're pretty busy. B hasn't had the greatest luck finding employment but we're currently seeing that as an advantage as it's enabled us to do a little touring and sightseeing. We actually just got back from three very pleasant days on the Oregon Coast.

Most importantly though, it feels fantastic to be back "home". Bethany feels good about the whole thing and is settling in well. Just need to turn the house and get on with life.

Hope you and the family are well too.
 
Chris

Great to hear that everything seems to work out good.

I don´t fell very well since almost four weeks ( can´t get rid of this damned virus)
it holds me of working on the car, i just got a chance when i felled a little better for a few days to start the sanding and bring my wheels for powdercoating.
Keeping fingers crossed for selling your house ( should go through as it is a nice one)

BTW time to update your signature :))
TOM
 

Rob

Lifetime Supporter
Chris,
Glad to hear you guys are getting settled in. Fingers crossed for you on selling the AZ homestead.
 

Chris Kouba

Supporter
Believe it or not Allen, still settling in to the new house... Been working on the honey-do's, chasing paint, tile and plumbing for two months now but the end is in sight.

Ironically, I was reasonably close to you and Tim/Dave/Neal last weekend but otherwise occupied in the hills. If the weather had been more favorable I would actually have been at Tim and Donna's randomly over the last week and a half but alas that was not the case. We ended up on the east side of the crest for most of our time.

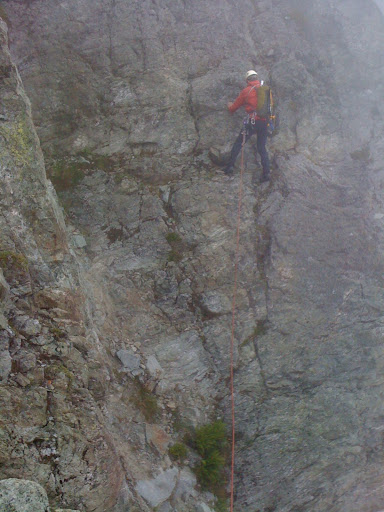
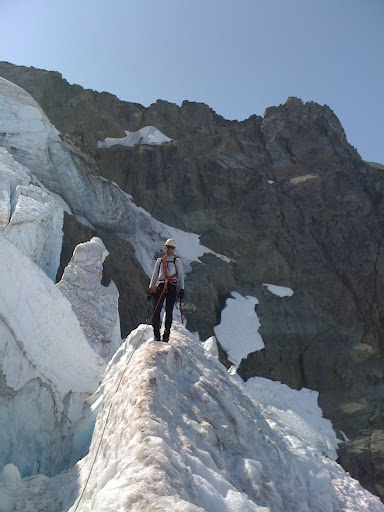
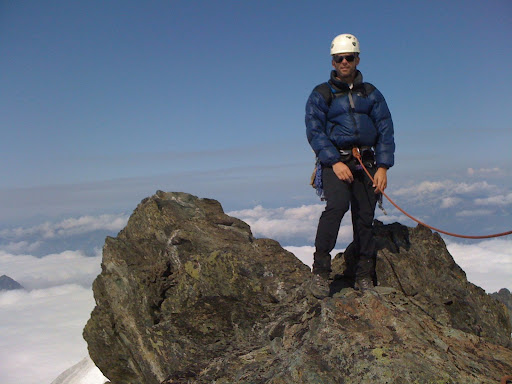
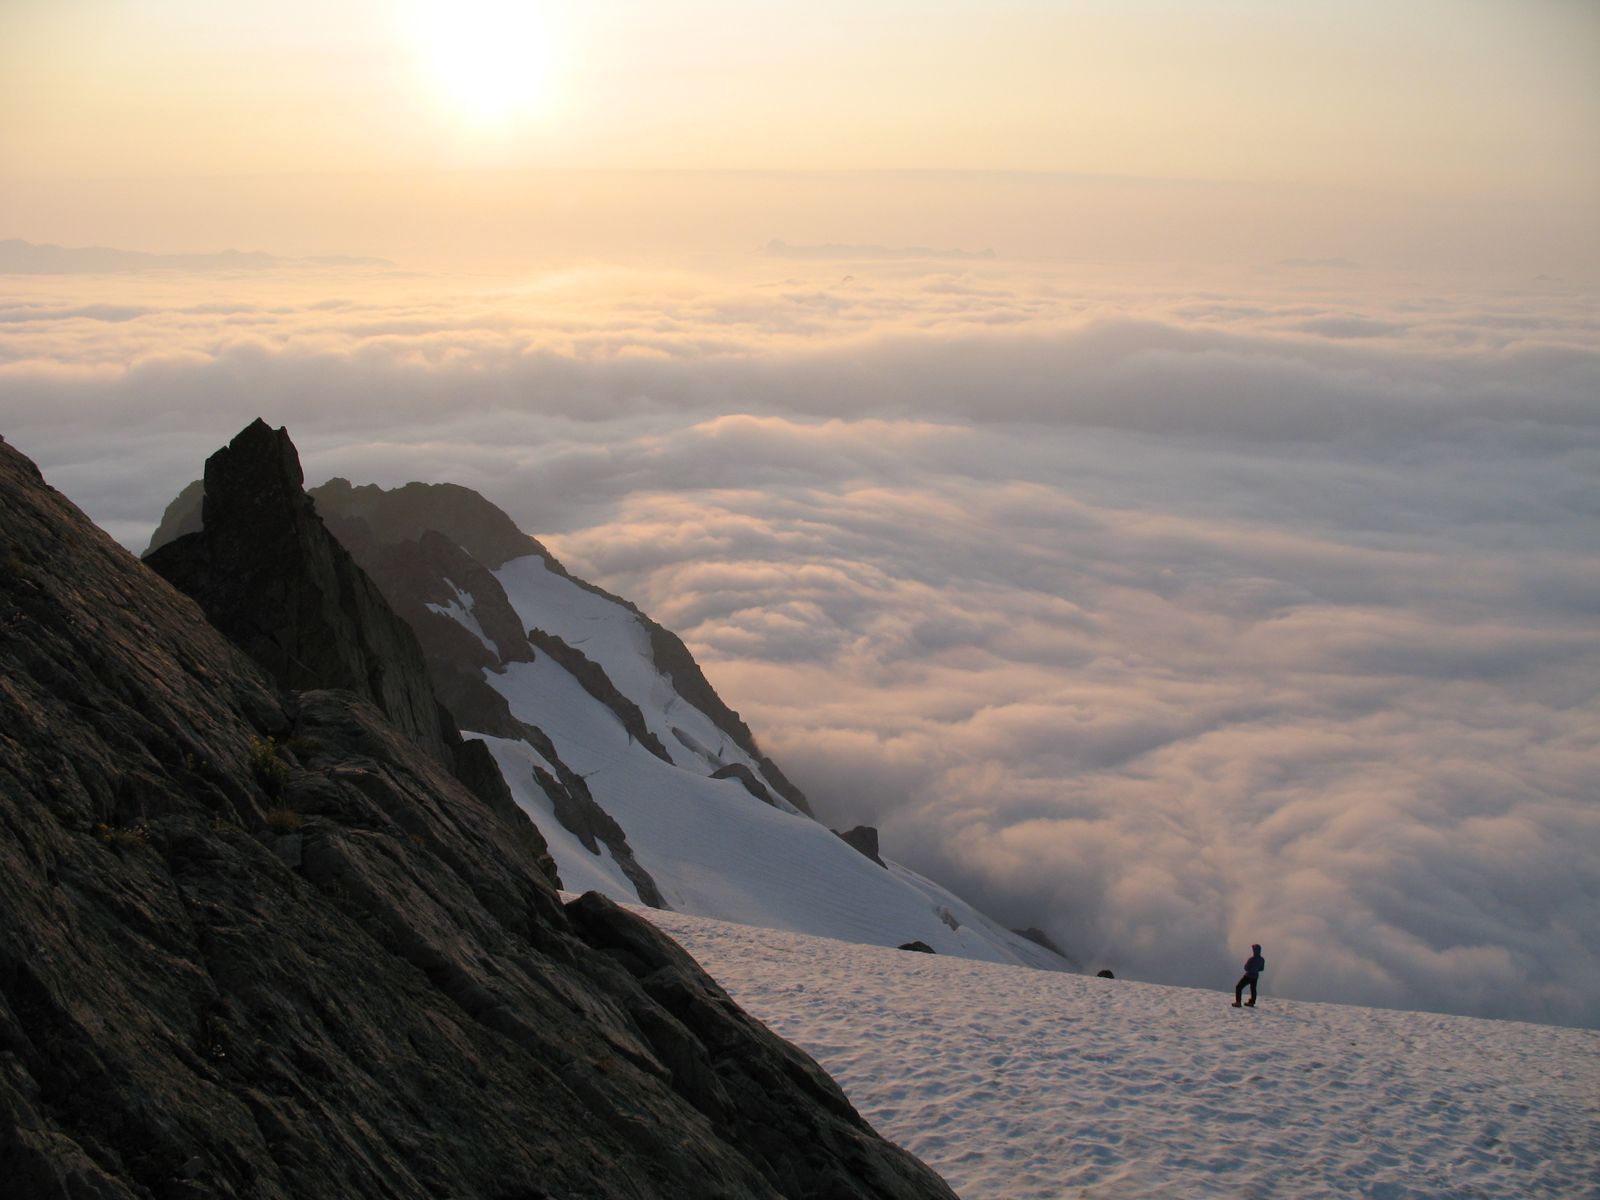
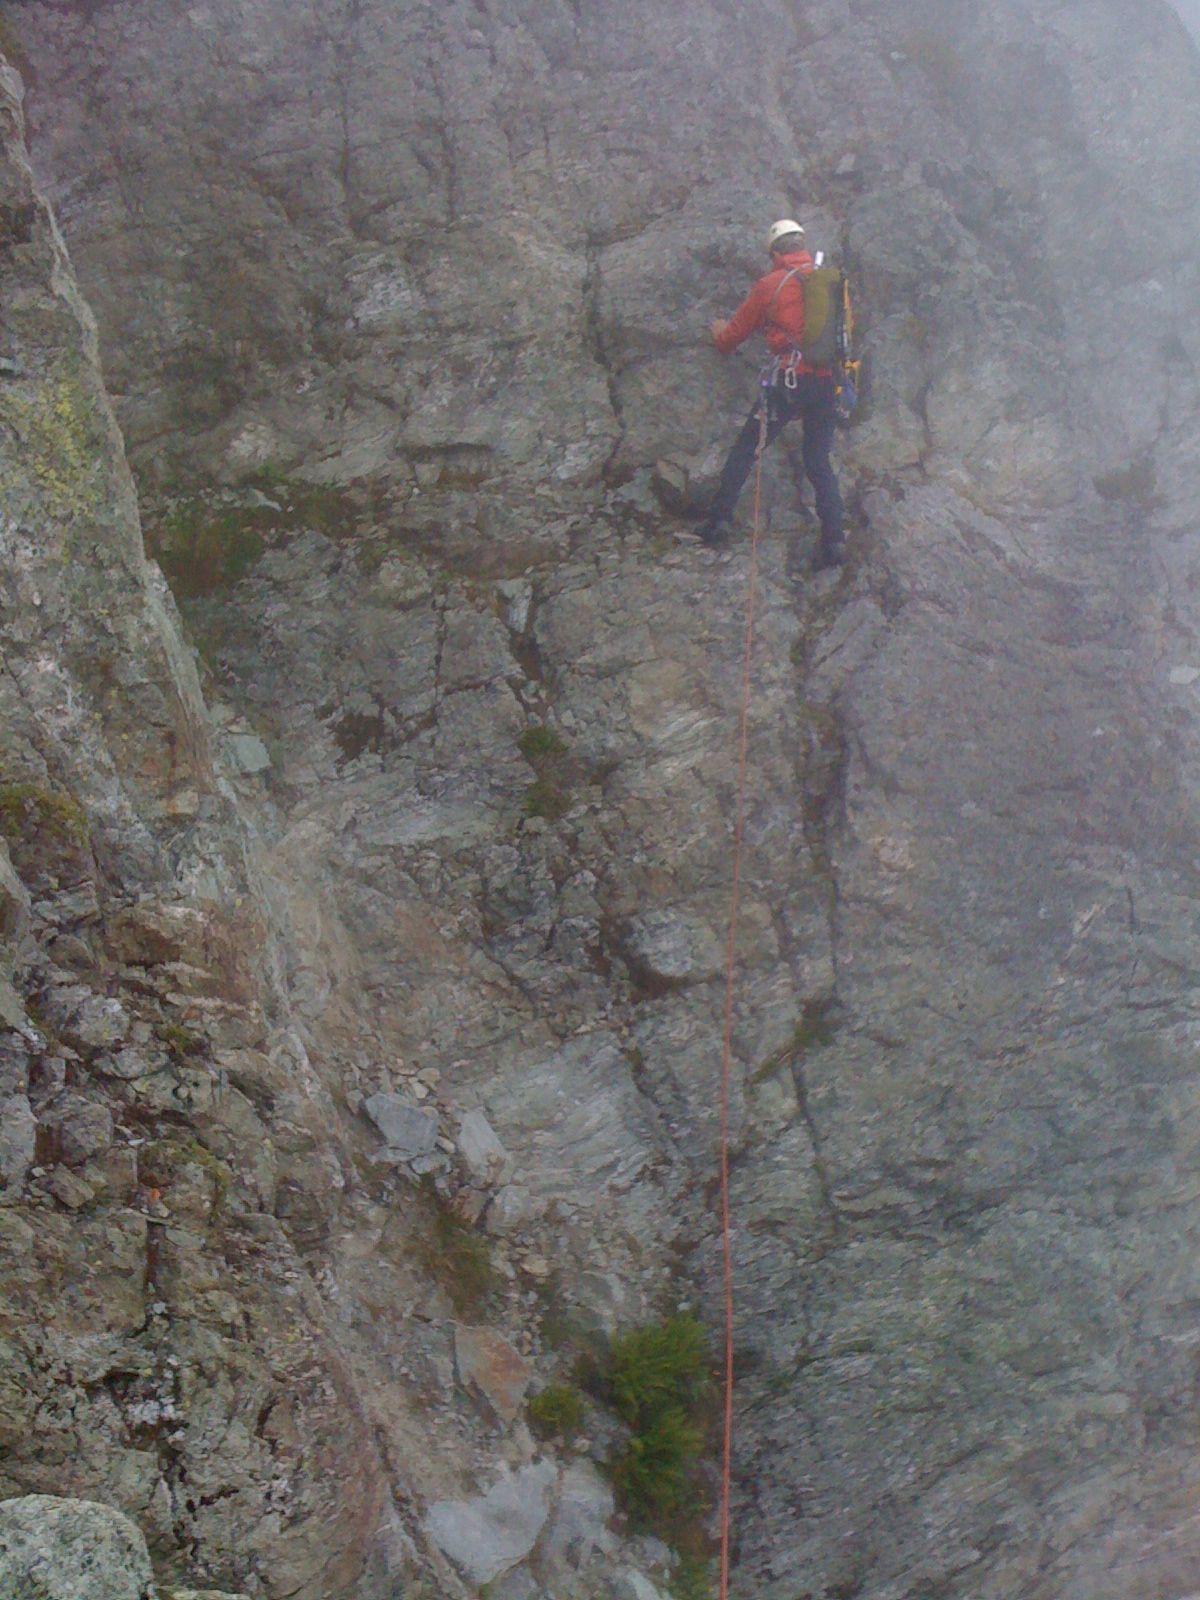
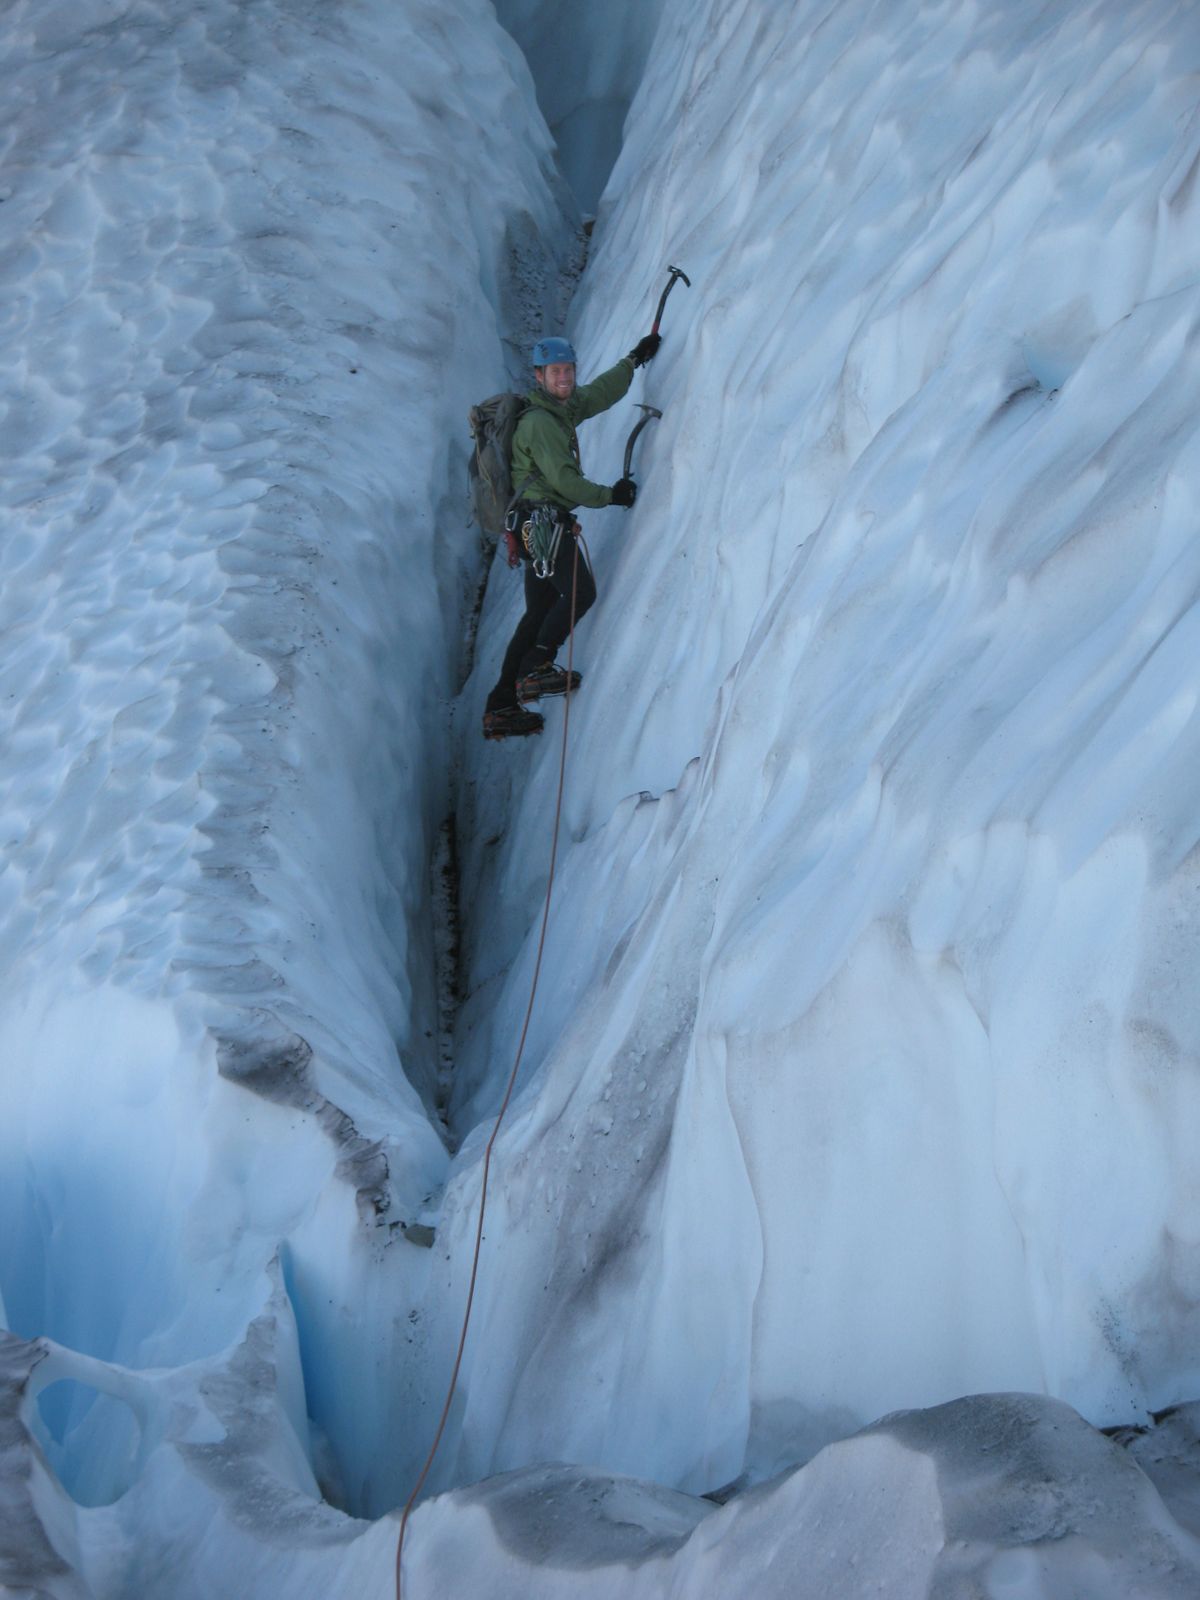
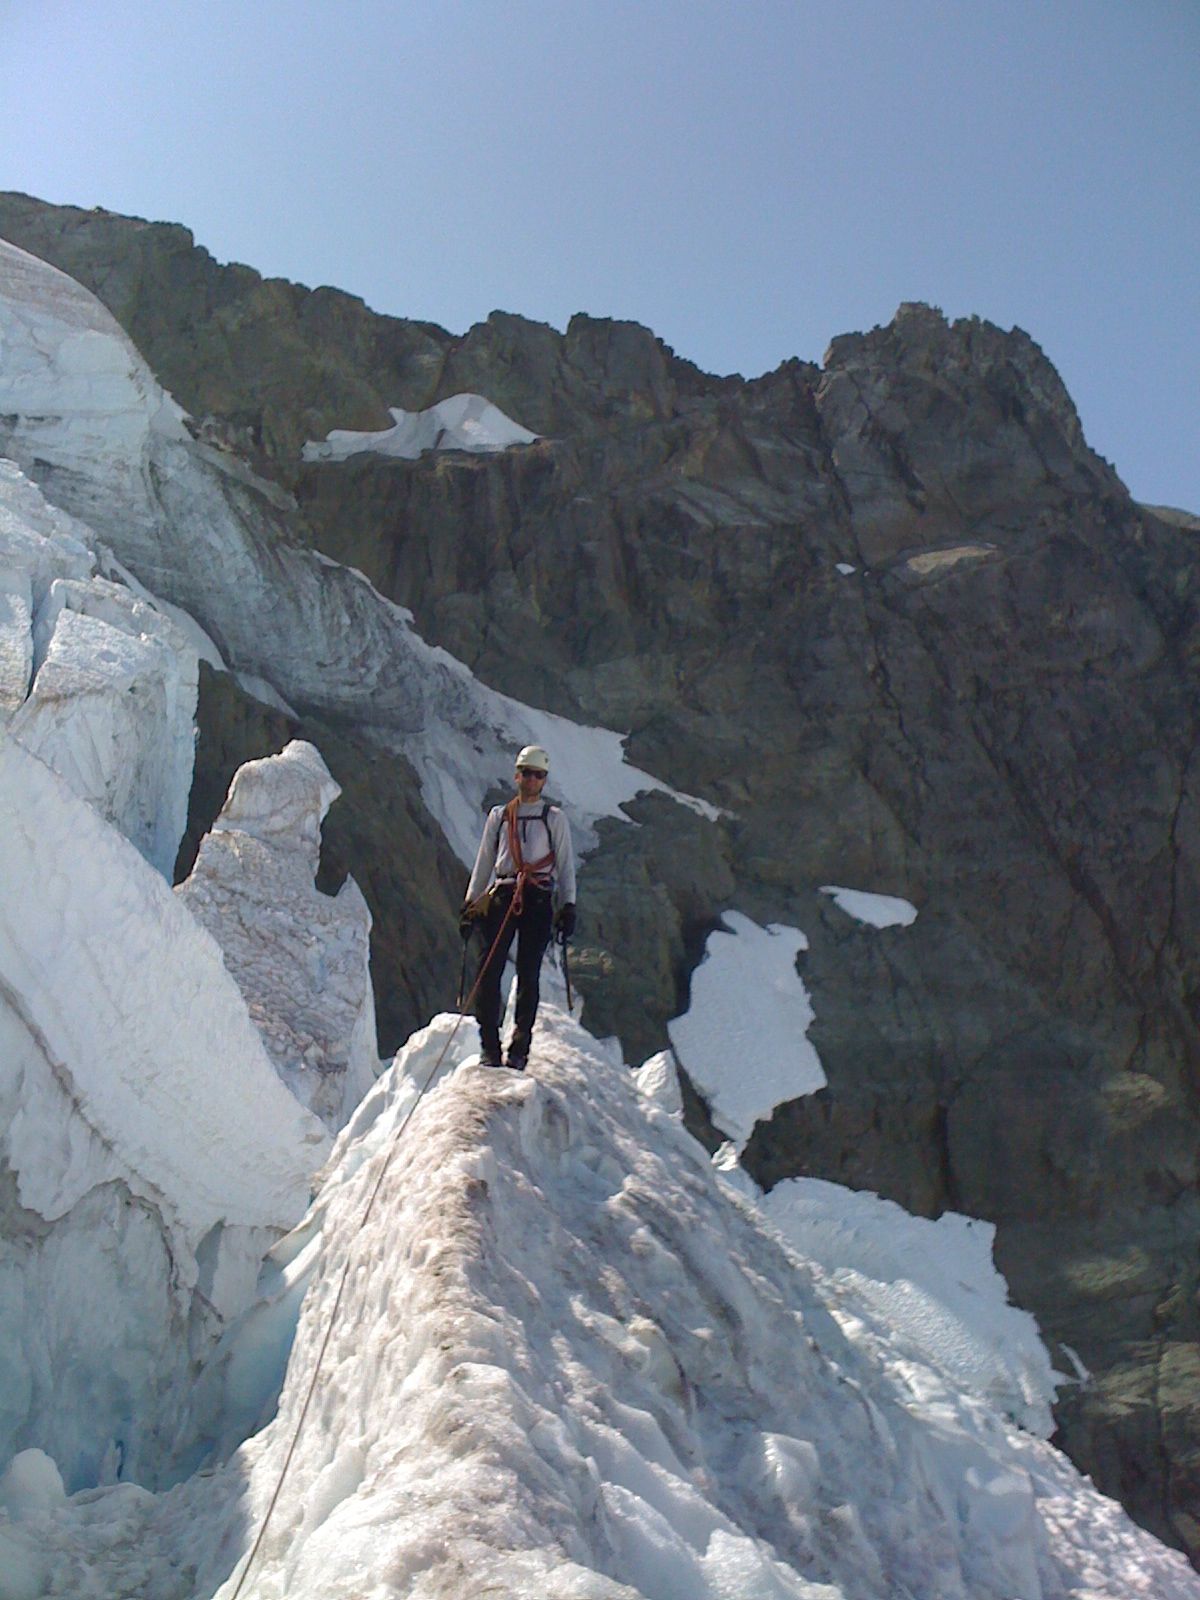
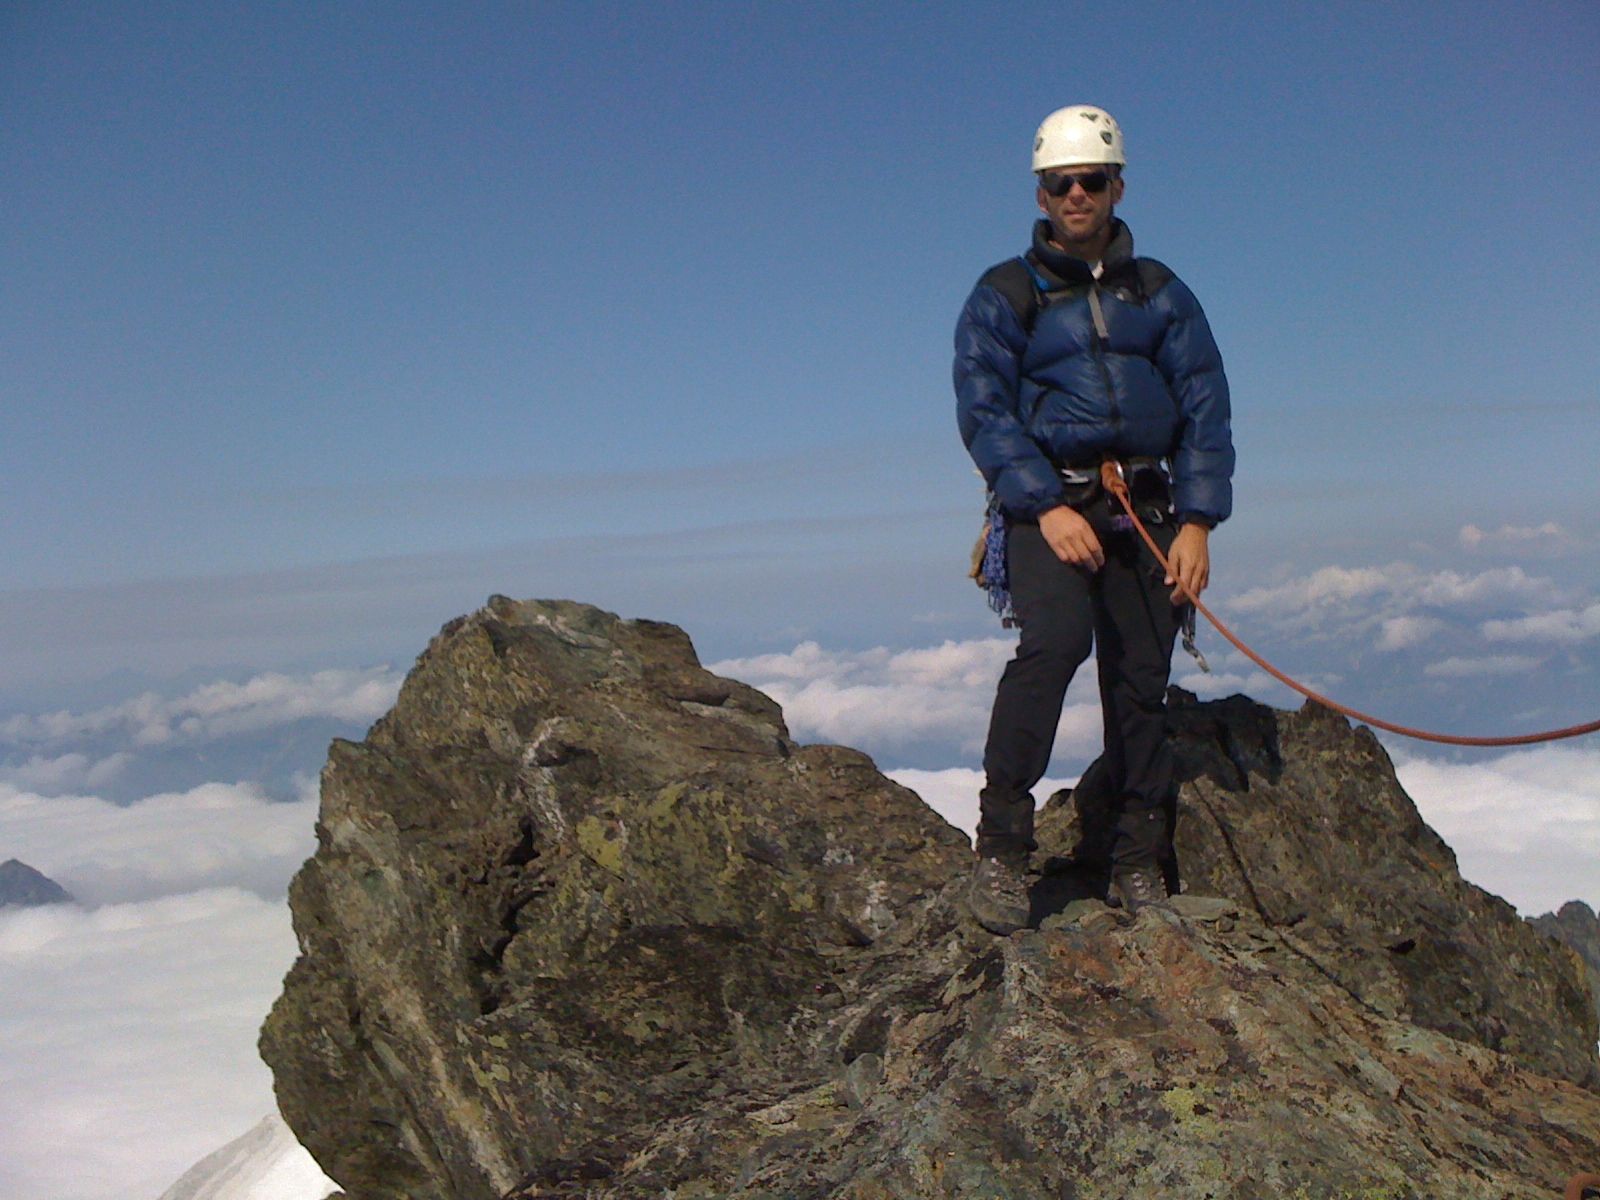
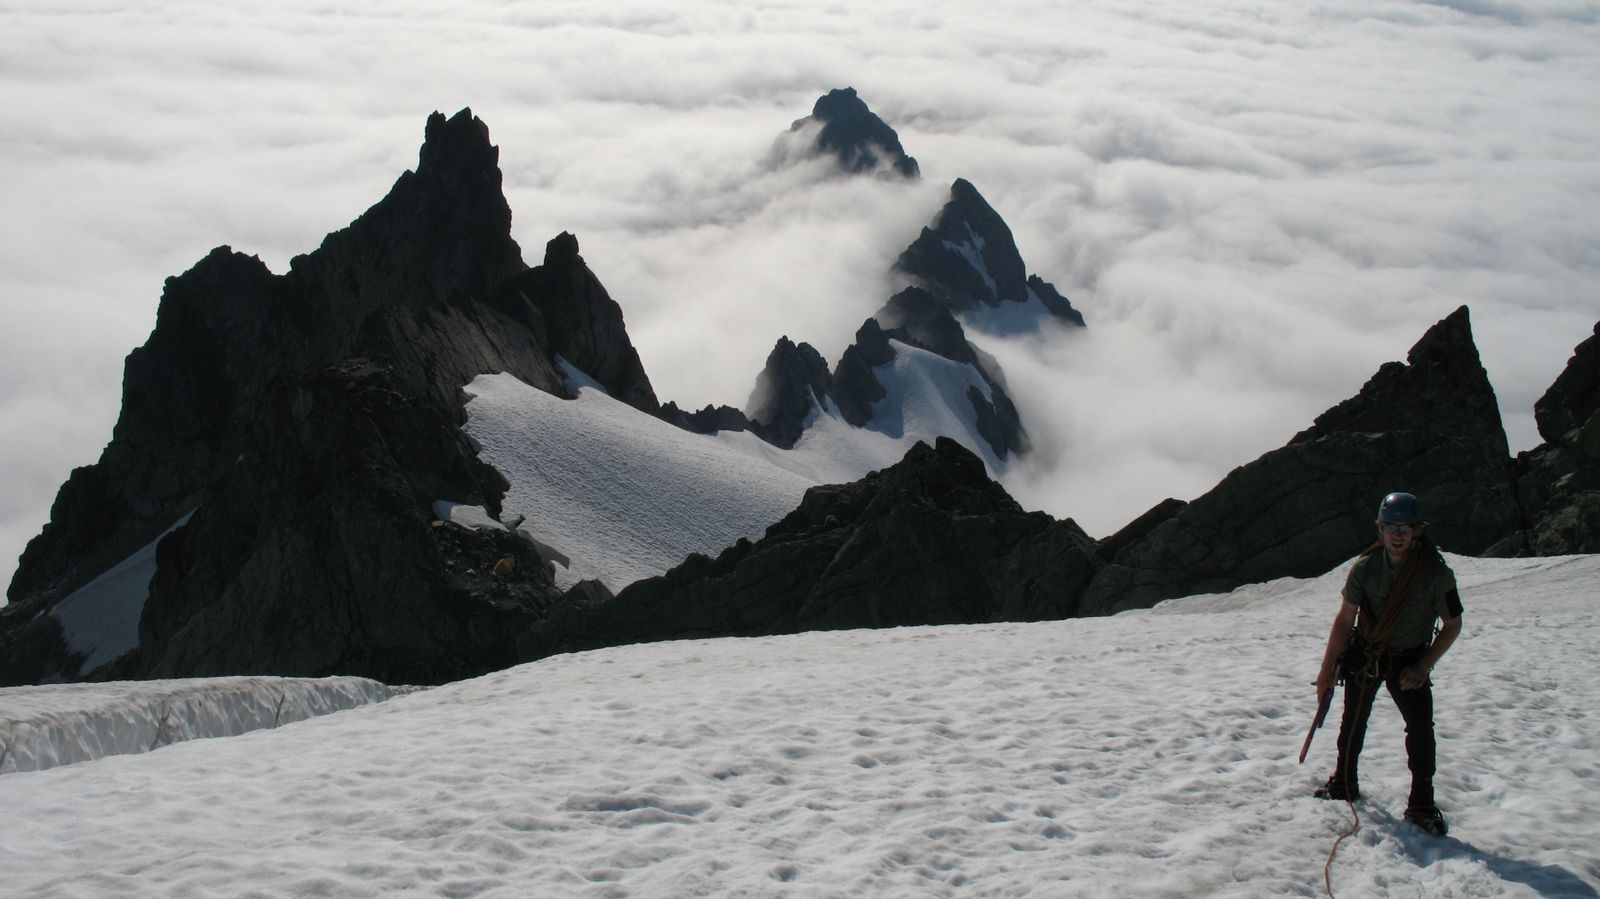
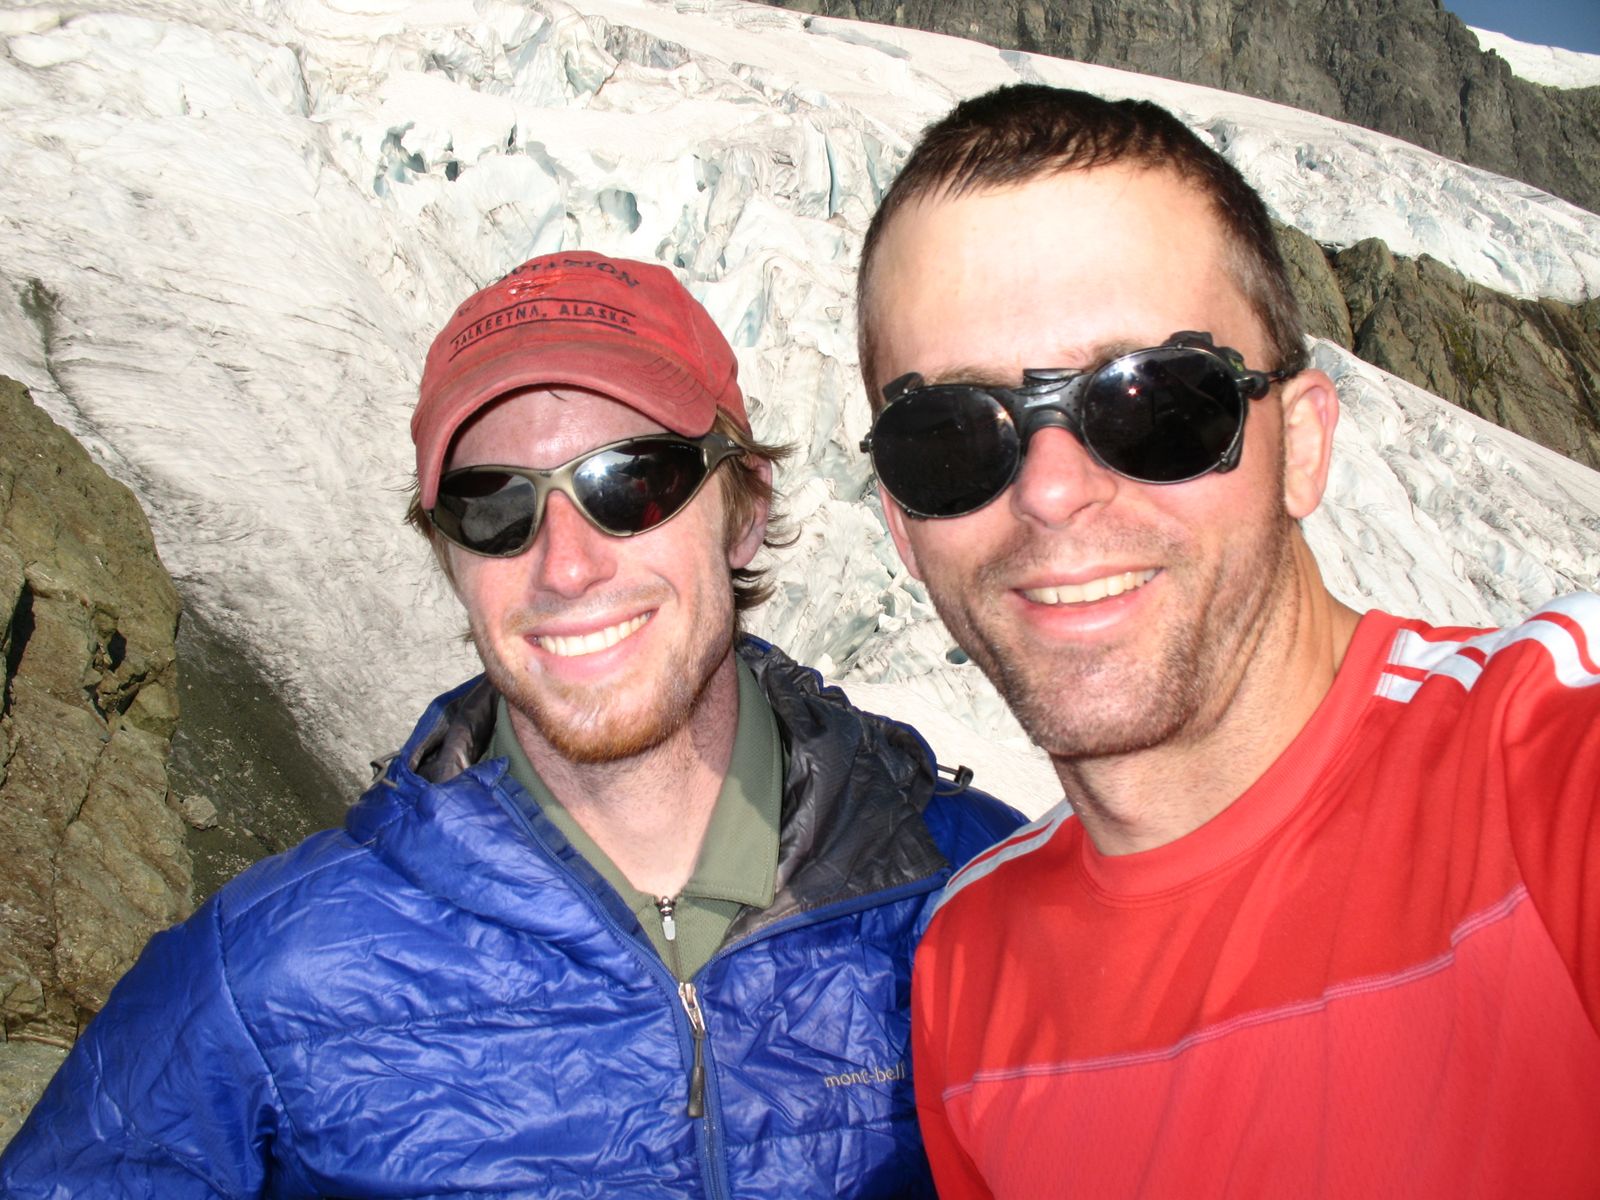
Still it was extremely good times. From the first part of the vacation, three days on Shuksan (next to Baker) with my good friend Kurt:

IMG_6055.JPG


random%20048.jpg


IMG_6093.JPG


random%20031.jpg


random%20018.jpg


IMG_6152.JPG


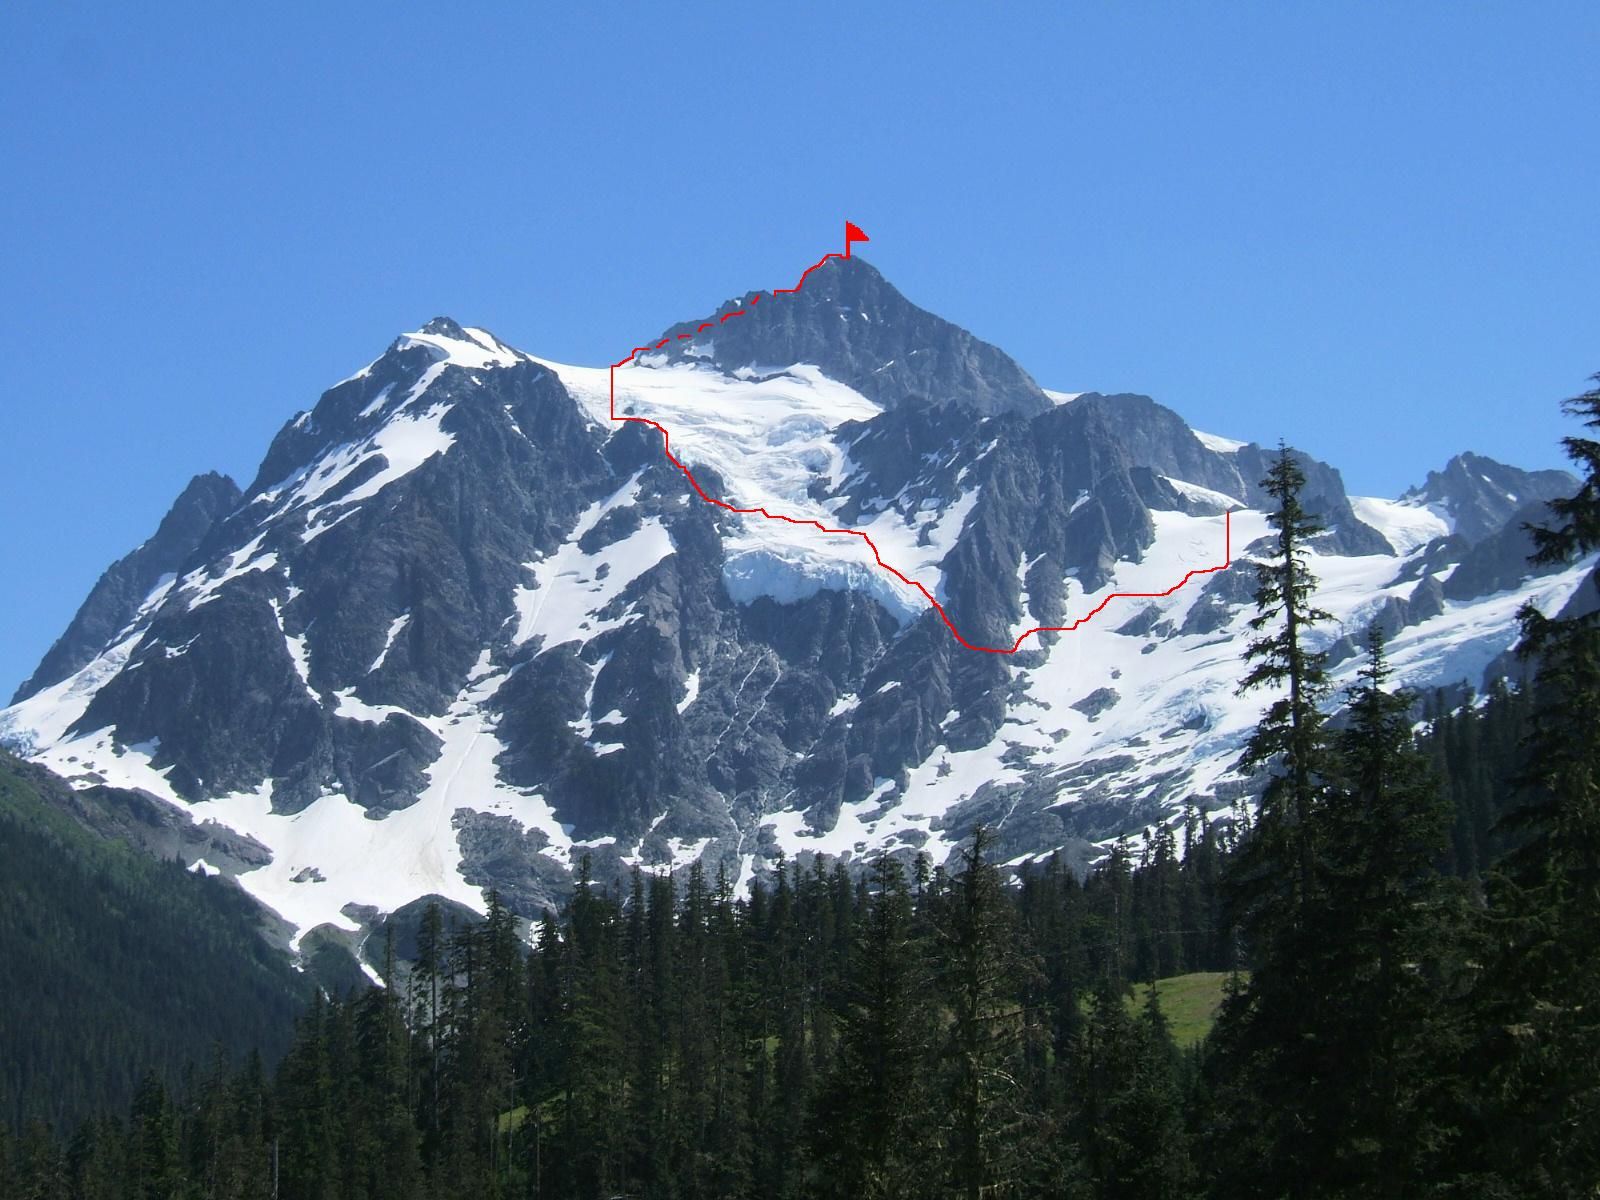
Our route:
shuksan%20route.JPG


At this point, Bethany and I are still living out of boxes as we haven't really finished the house and "moving in" but thing are coming together. I haven't touched the shop yet, much less the GT. This trip was reasonably important to me though and it felt fantastic to get back out in the hills.

But getting back to things, I have this weekend booked and then in-laws for next weekend but sometime in September I think would be about right to get back in the shop and host a visitor or two.
 
I know how it is moving, we did the same thing a couple of years ago and it really takes alot out of you. I would really like to do a few things with our home still, but financing the RCR40 is taking its toll right now.

When you have the time to slow down a bit and have us over to see your build let me know. I'm easiest to contact at work 503-408-4162.


Regards,
Allen
 

Chris Kouba

Supporter
Just realizing the photos didn't post when I'm not logged in to Picasa. They are-

The route:

2009_08_06_shuksan_route_topo1.jpg


Cloud deck below our bivy site:

2009_08_06_shuksan_winnies_slide_bivy.jpg


Me getting to the glacier:

2009_08_06_shuksan_crossing_rock_bands_to_hanging_glacier.jpg


Kurt on the glacier:

2009_08_06_shuksan_Kurt_on_hanging_glacier.jpg


Me on a small part of the glacier:

2009_08_06_shuksan_me_on_skywalk_traverse.jpg


Me on the summit:

2009_08_06_shuksan_me_on_summit.jpg


Kurt on the way down (bivy visible on the ridge below):

2009_08_06_shuksan_Kurt_on_descent_above_winnies_bivy.jpg


Happy to be back at camp:

2009_08_06_shuksan_back_at_the_bivy.jpg


I am SO incredibly happy to be back in the NW.
 
Last edited:
Great Pics Chris.


Yep its tough to not love the Pacific NW, you get the Mountains, Deserts and Oceans all real beautiful. Oh and not to forget the nice country roads for driving on.
 

Chris Kouba

Supporter
Slow progress

Been working my way through wiring. It was one of the things I was dreading and it's turning out not too badly. Thanks to reading through some of the builds here, I have been testing out my "progress" as I go with a cordless drill battery and a bunch of marker lights. It's reasonably validating to have things function as you intended (even if you don't get it right the first time).

Frustrations:
- Didn't order all the switches I need (from Del City) and turns out the style I chose is no longer available. I want them all the same and am now in the process of swapping them out. I have gone back to short chrome toggles. Not my first choice but all the multi-pole, multi-throw options I need are readily available.

- Still have no wiper switch. Never came with the car but I somewhat expect that it should. After numerous unanswered PM's to Fran over a number of weeks and a call to the shop I still don't have an answer to this (and a few other simple) question(s).

- The EFI harness is set up for a front-engine car... Need to re-arrange things to make it lay down where I need and reach the ECU somewhere in the cabin. This may prove "interesting."

I am also starting to work on the motor and getting that ready to fire. I have an alternator and will be proudly copying what Chuck and Ryan did for their install. I have been staring at the fuel cells and their respective homes and wondering how to facilitate the install of pickups in the aft end. There is so little space to work getting a drill into the aft cavity and once you do a large number of holes will need to be drilled with reasonable precision. Has anyone successfully done this yet? Any advice would be greatly appreciated.

The pics aren't glamorous as the progress isn't very visual but it does feel rewarding when I walk out there and see things have happened.
 

Attachments

  • random 033.jpg
    random 033.jpg
    56.3 KB · Views: 620
  • random 034.jpg
    random 034.jpg
    59.1 KB · Views: 671
  • random 036.jpg
    random 036.jpg
    54.8 KB · Views: 615
  • random 037.jpg
    random 037.jpg
    36.6 KB · Views: 570

Chris Kouba

Supporter
Had a lovely chat with Fran this afternoon and got the answers I was looking for.

If you want a wiper switch, It's a Snap will send you one gratis, just need to drop them a line. If anyone in installing the fuel bladders, give Fran a call as I was making the install a little more complex than necessary.

I also had a question regarding the parking brake calipers which I couldn't remember but just emailed Fran about as well.

On with the progress... out to the shop...
 
Hi Chris,

great to see that you are back on the car again. Thanks for the nice lines you dropped to me. THe pictures of you on the top of the hill are just great.

I think it´s time to modify your signature :)))

TOM
 
Chris,
You need a 12 volt power supply with low amperage to test out your circuits. Best done when they are completed. This will tell you if you have a short, without frying other wires close to the source. You can get them from next to nothing if you build one like this one. 25$

YouTube - HOW TO: 12-Volt, 5A. DC Power Supply For R/C Battery Charger

Or buy one ready made. 50$. Most have a circuit breaker on them to let you know you have a problem. It allows you to see if everything working before you hook up the 150 amp battery and start a fireworks display. I would suggest one like I have with a 6 amp output. It will allow you to see if the circuit is working but not over power it. Here is one with a 10 amp output.

Amazon.com: Pyramid PS12KX 10-amp 13.8-volt Power Supply: Electronics

These devices are great for any 12 volt project you might want to work on.

Bill
 

Chris Kouba

Supporter
Hi Chris

any progress on your car, or did you get lost in the mountains ?

TOM

Hi Tom!

Definitely NOT lost in the mountains, unless you count the mountains of work in the kitchen-

Before:
IMG_0143.jpg


During:
IMG_0156.jpg


After:
IMG_0347.jpg


With the exception of one or two random little things, it's DONE! I also donated a garage's worth of home furnishings to Goodwill (they sell donated goods to fund programs for disadvantaged) which cleared out the single garage to house the running Mustang. I shuffled the other one in the shop and now the GT is center stage again (as of last week).

And for the first time since October (before the Mustangs arrived), I spent genuine time and energy on the GT this week. It was nice but I've rather forgotten where I was and it took a while to get oriented again. This week's goal was to get the holes for the fuel cells opened up.

These holes are (understatement alert!!) a hassle. I will post a pic or two eventually but the gist of it is it's a very narrow space in which to fit something to make the hole, never mind wield it with any dexterity. The right side hole is complete, the left side I have started. I was able to get the fwd ones done as they were much easier access and they look good.

I spent a little time thinking about the fuel system and trying to place components mentally. The next step is to figure out exactly what I want to do, get the pieces and see how they fit physically.

I've gone back through my wiring as well. Things on that front seem to be reasonably on track. Bill- thanks for the tip on the circuit tester. The cordless battery has been pretty good to me so far but I've been thinking about something a little better now that I'm getting to EFI circuits, gauges, and the like. I will look in to it.

I need to figure out the ignition system as well. I have the EFI system and it's reasonably comprehensive. I haven't monkeyed enough with coils and alternators to know exactly what I am doing with it yet. I will need to do a little more research and plan out a system, then figure out its layout in the car.

After that, it's time for ancillaries, cooling system, and brakes. Once it's validated, then time to tear it apart and paint up the chassis and such. After all that, I will need to touch up the scratches and chips on the body and finish the paintwork. Still a long road to go but it's good to make progress again.

We're having a big party to celebrate our anniversary (lots of company in town and at the house), so the kitchen and housework have taken a priority. It took a year (almost exactly to the day) to completely redo the house, and while it looks great at this point, I am looking forward to not feeling like I need to be painting or drywalling or tiling or whatever.

B and I are taking a week after company leaves and heading off for a while. Until then, time, energy and money will be a little tight but we'll be in good shape after. It's a little crazy- I don't have a free weekend until halfway through August, and it's been that way for several weeks at this point.

But long story short is that it's good to be back at work on the car. I really do intend to get it finished one of these days... Driving the Mustang is really good motivation. To hear a little K-code 289 loping along at idle really warms my heart. Can't wait for an EFI 302!

Chris
 
Great Job

THis is what is ahead of me as of next week. Will add a new part to my house, retile the kitchen, the dining room and the storage room. Will tear down almost one complet side of the house to integrate the new part. Hopefully it will be finished end of August. At the same time i wnt to have the GT up and running end of August.
More sleepless nights ahead.

TOM
 

Chris Kouba

Supporter
Help Needed

For all of you with the SBF/ZF combination in RCR's out there, I have a few questions.

First, where is your motor located with respect to the transmission crossmember? Specifically, what is the distance from the aft face of the block to the fwd face of the crossmember?

Next, what did you use for an alternator and where (and how) have you mounted it?

Same question for AC compressor as well.
 

Chuck

Supporter
Chris:

Used a Rousch alternator bracket and the compressor bracket provided by Fran. The belts are from Napa:

Alternator: NBH-257365, 37 1/8”, 942 mm, $13.99
AC: NBH-257390, 39 5/8”, 1005 mm, $13.99

It is very tight - about a half inch clearance from the chassis to alternator / compressor. But it does come together and work just fine.

Spacing on the motor / transmission mount issue was noted on our build blog. Here is an excerpt:


"First, the engine mounts were moved forward about an inch. This brought the transmission support bar to about 2” of the cross member. This seemed about right; leaving enough clearance in front for the thermostat, hose and pulley and room in back to clear the rear support angle bracket."

This spacing has workd out well. More details on our build blog. I think I also posted dimensions of the engine mounts from the rear of the chassis. Hope this helps.


Here are excerpts from our build blog. Pics and more details are on the
 

Chris Kouba

Supporter
Hi Chuck,

Thanks for the quick reply. I almost PM'd you after I posted this as I do have your info already. I did find and purchase the alternator bracket you used but upon install it is contacting the chassis. Given that it has worked out for you guys, I am trying to figure out where my setup is different.

My motor is a lot further forward to try to get the axles as straight as possible (fore/aft). I have ~1.125" where you indicate ~2" between the crossmember and mount ears. I also think I have a deeper bellhouse which may push my motor slightly further forward as well.

I never received a compressor bracket from Fran so I am trying to figure out what to do there.

I am most interested to see where others end up locating their motors.
 
Chris,

Four and 9/16" from the cross member to the motor face.

I am using a GM one wire mounted on the right side of the motor above the A/C compressor. I had John Schriver at Design Enterprises make all my brackets and mounts for a serpentine belt front.

See the pics.

Great pics of your climbing. I am supposed to go to training in Seattle and Portland next month maybe we can connect?

Cheers,
Howard
 

Attachments

  • Cross member 047.jpg
    Cross member 047.jpg
    23.9 KB · Views: 415
  • Alternator 049.jpg
    Alternator 049.jpg
    39.7 KB · Views: 458

Chris Kouba

Supporter
After struggling with engine fitment for a while, I have two photos showing a motor on its mounts with an alternator properly hung from a bracket and clearing the chassis. I would like to dedicate them to Chuck Schmidt.

Alternator: Powermaster P/N 27294
Bracket: Roush Performance P/N 832-R21020005

GT%20fuel%20system%20009.jpg


GT%20fuel%20system%20011.jpg
 
Back
Top